How to Make a Summer Front Door Wreath

CraftsEasy4:337 stepsBrowse more →

By CraftingStepByStepPublished

Based on a video by We Craft Around.

Beth from We Craft Around makes wreath-building look almost too easy in this one. You take a plain 14-inch wire ring, some bright wired ribbon, and a handful of zip ties, and you end up with a full summer wreath for your front door.

There is no glue gun here and nothing to sew. You cut the ribbon into strips, fold each one into a little loop, and cinch it onto the frame. Once every loop gets opened up, the whole thing fills out and looks like it came from a shop.

She used a lemon-and-gingham summer ribbon, but any wired ribbon works. Pick a print you love and follow along.

Step-by-Step Guide

1

Gather Your Supplies

0:05
Step 1: Gather Your Supplies

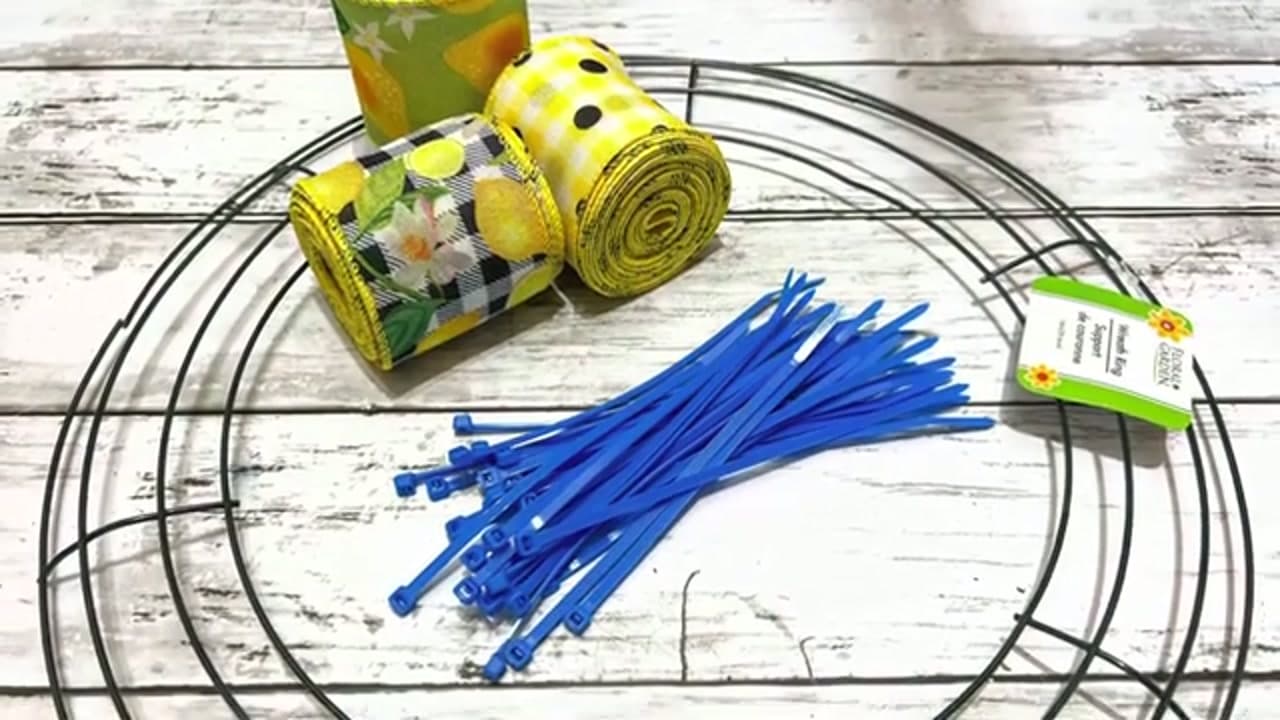
You need three things to start. A 14-inch wire wreath ring, some wired ribbon, and a handful of zip ties. Beth picked up her ring at Dollar Tree and used a summer lemon print, but any wired ribbon in a color you like will do. Lay everything out so you can see what you are working with. Wired ribbon matters here because the edges hold their shape once you open the loops, and that is what makes the wreath look full.

Tip

Grab three coordinating patterns instead of one. Mixing prints gives the finished wreath more depth.

Products used in this step

2

Measure and Cut the Ribbon Strips

0:54
Step 2: Measure and Cut the Ribbon Strips

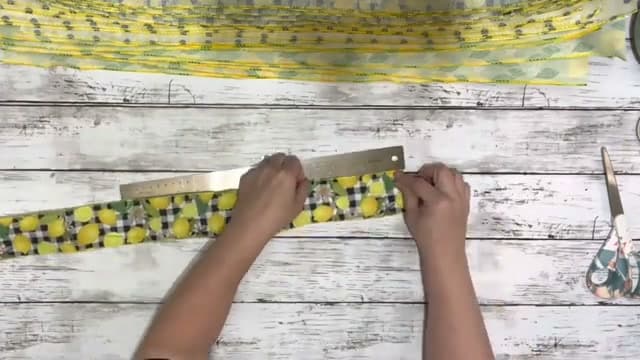
Open your first roll of ribbon and measure out a 31-inch length, then cut it. Use that first strip as a guide and match every other strip to the same size. It is faster than measuring each one. Beth cut six strips of each of her three patterns. She ended up with more than she needed and used 18 strips total, so cutting a few extra is smart.

Tip

Line up the cut strips against your first one before cutting so they all come out even.

3

Fold Each Strip Into a Loop

0:57
Step 3: Fold Each Strip Into a Loop

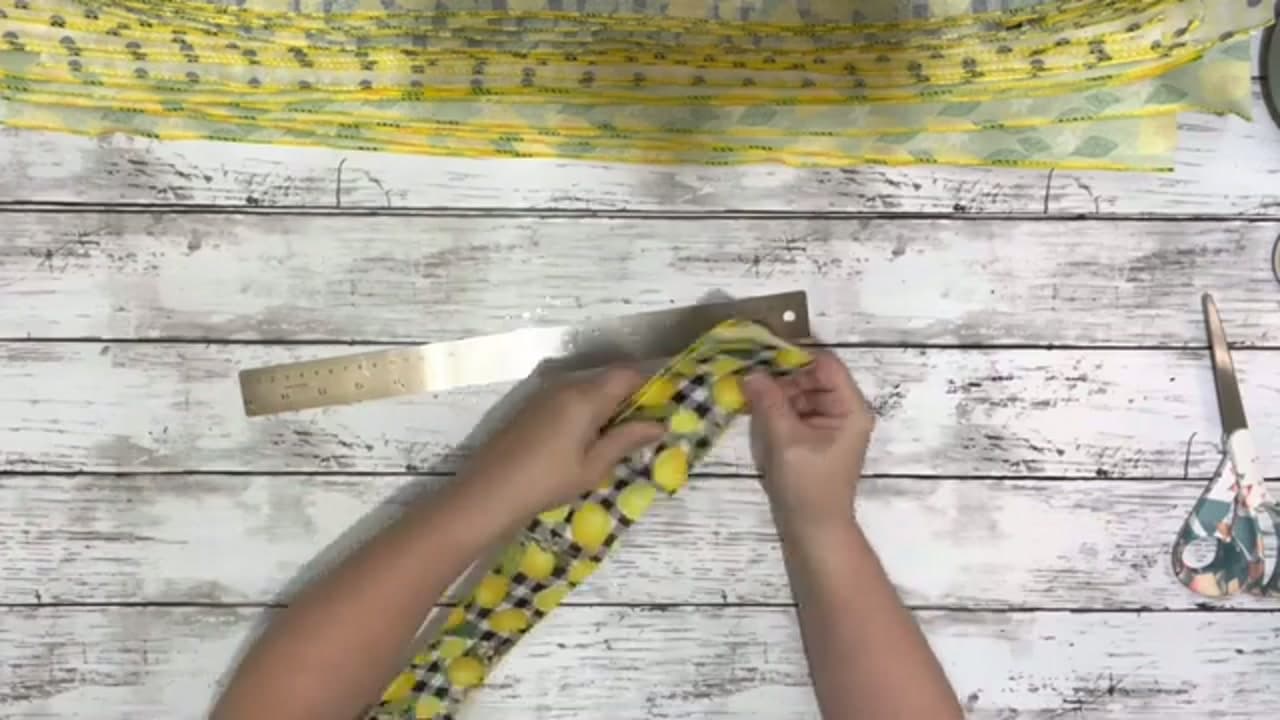
Take one strip and measure in about five inches, then fold it over. Keep folding it back on itself until you have three folds stacked up. That folded bundle is what pushes into the frame. Do this to every strip before you move on to the wreath. Three folds is the number to aim for. It gives each section enough ribbon to open up and fill the gaps later.

Tip

Keep your folds roughly the same length on every strip so the finished wreath looks even all the way around.

Products used in this step

4

Attach the Strips With Zip Ties

1:50
Step 4: Attach the Strips With Zip Ties

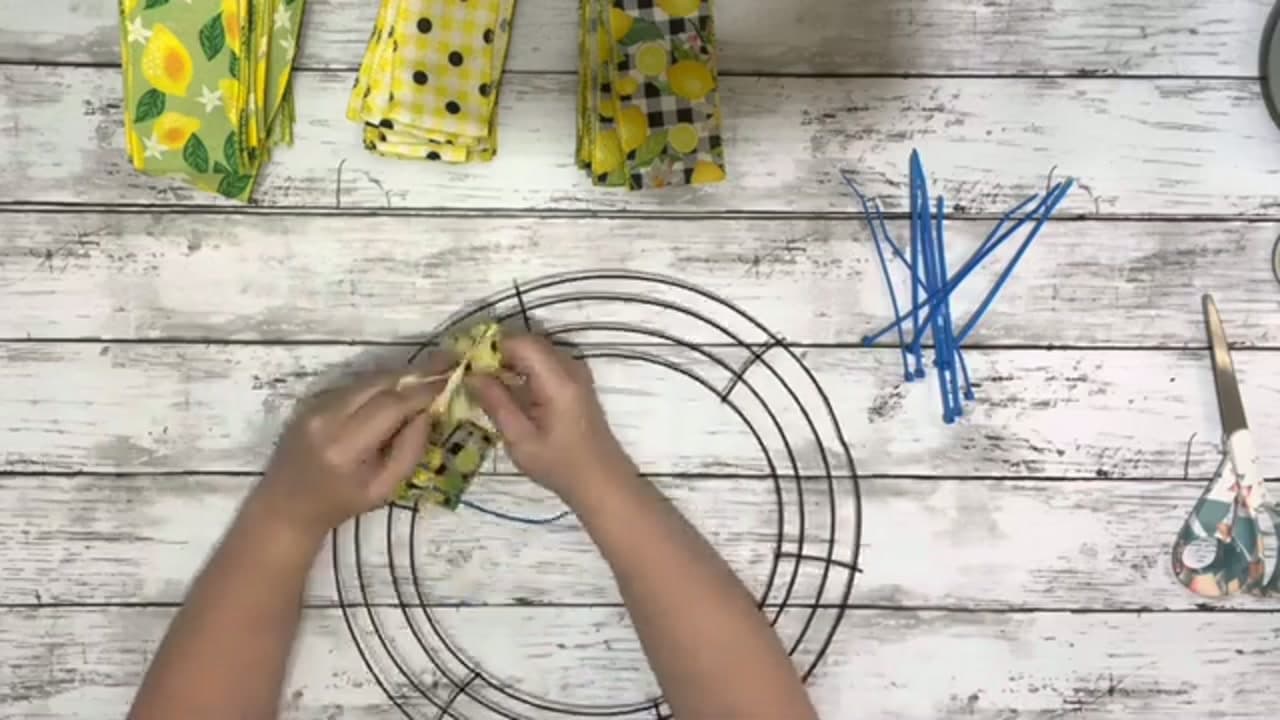
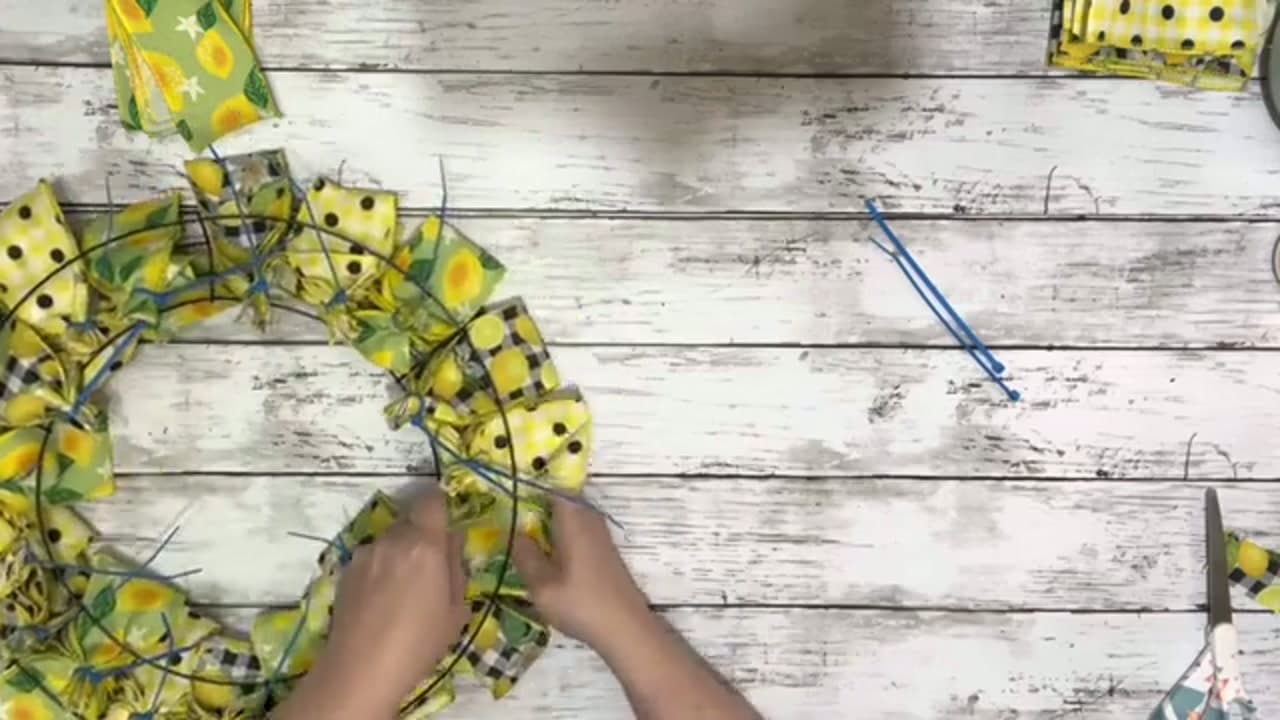
Flip the wire frame over. Push the three folds of a bundle through the spaces in the frame, then bunch up the back of the ribbon and wrap a zip tie around it. Pull the zip tie as tight as you can. Beth zip-ties around the ribbon itself, not the frame, and the wired edges hold it in place once the loops open. You can tie it to the frame too if you want it locked down.

Tip

Pull each zip tie snug. Loose ties let the ribbon slide and leave gaps in the wreath.

5

Work Around the Whole Frame

3:20
Step 5: Work Around the Whole Frame

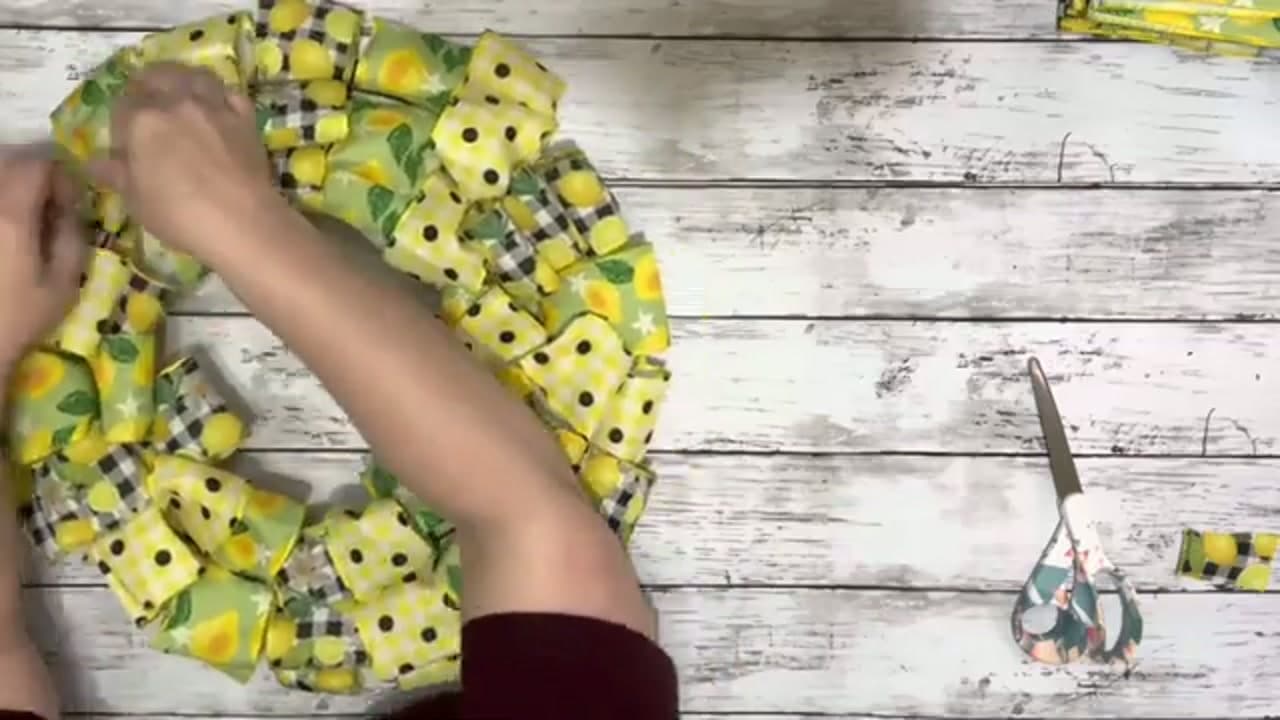
Keep adding bundles all the way around. Beth put three different patterns in each section, so only three ribbons sit in each slot before she moved to the next. That keeps the prints spread out instead of clumping. Go section by section around the full ring until it is packed and there are no bare spots showing through. This part takes the longest, so put on some music and settle in.

Tip

Rotate through your patterns in the same order each section for a balanced, even look.

6

Trim the Zip Ties and Fluff the Loops

4:10
Step 6: Trim the Zip Ties and Fluff the Loops

Once the frame is full, go around and snip off the tails of every zip tie. Then flip the wreath face up and open each little loop you folded, all the way around. This is where it comes to life. As you spread the wired edges apart, the gaps fill in and the wreath goes from flat to full and rounded. Take your time and fluff every loop.

Tip

Step back every few minutes as you fluff. It is easier to spot thin spots from a distance.

7

Hang Your Finished Wreath

4:28
Step 7: Hang Your Finished Wreath

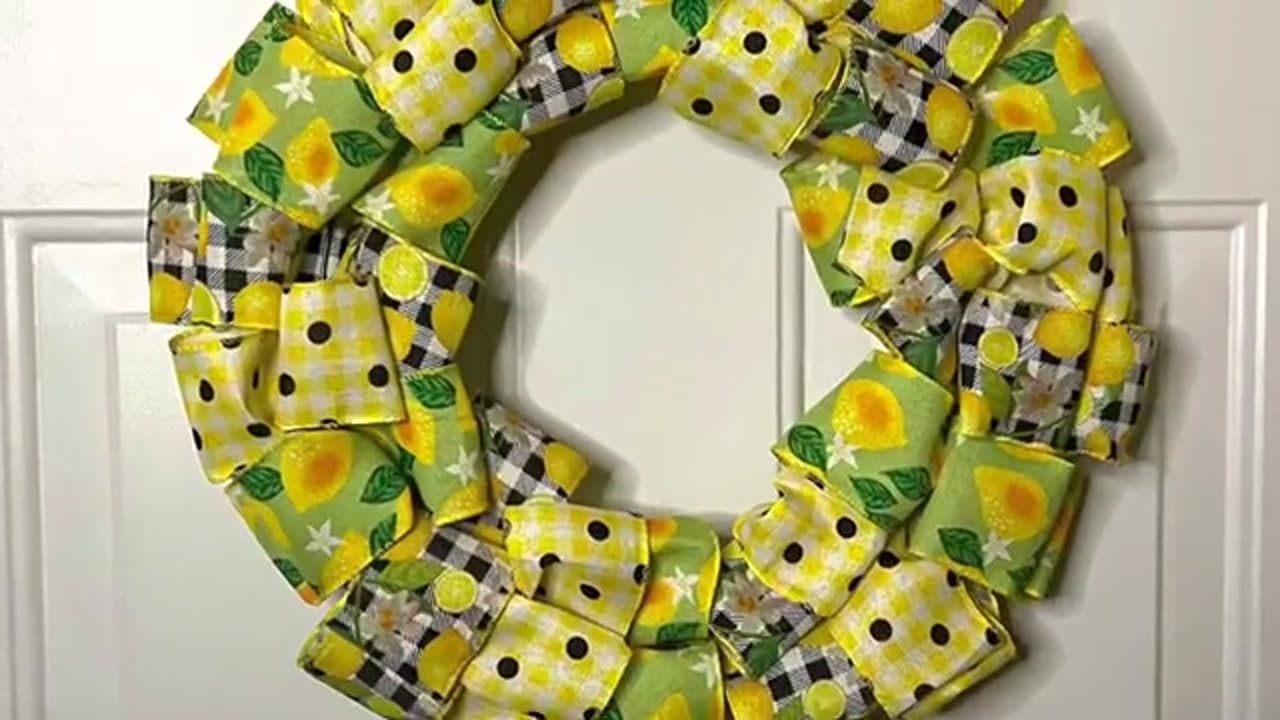
That is it. Hang your summer wreath on the front door and enjoy it. For something that costs a few dollars and takes no glue or sewing, it looks like a store-bought piece. Swap the ribbon print with the seasons and you can make a new one anytime. This lemon version is perfect for spring and summer.

Tip

Loop a piece of floral wire or a plastic wreath hanger through the back frame to hang it without marking the door.

Products Used

☐ The Checklist

How to Make a Summer Front Door Wreath

Tools
2
Materials
2
Steps
7
Video
5 min

Your Guide

We Craft Around

As an Amazon Associate we earn from qualifying purchases. Links on this page may be affiliate links - clicking them and buying doesn't change your price, but helps support ShowMeStepByStep.

Tags

Did this work for you?

What's next

Related collections

Curated theme pages that include this tutorial.

Weekly Digest

Liked this crafts tutorial?

Pick the categories you want to hear about. Weekly digest of new step-by-step tutorials. No spam, easy unsubscribe.

Send me tutorials about

We only email about new tutorials. Easy unsubscribe anytime.