How to Make a Fall Wreath (Easy 10-Minute Grapevine Wreath)

CraftsEasy14:238 stepsBrowse more →

By CraftingStepByStepPublished

Based on a video by Jenny’s Wreath Boutique.

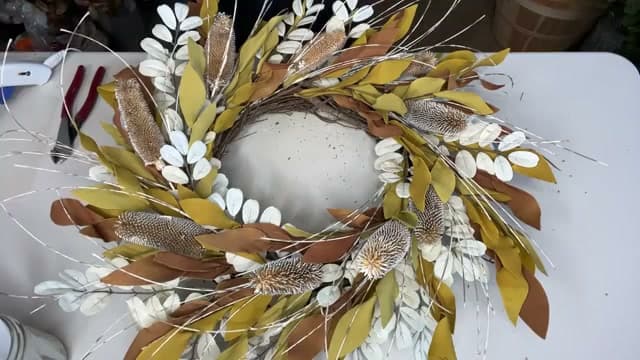
This is Jenny's Wreath Boutique's fast fall wreath, and it lives up to the name. The whole thing comes together in about ten minutes and looks like something you'd pay a lot more than the roughly $25 in supplies it takes to make. No mesh, no bow to fight with, no complicated technique. You glue florals onto a grapevine base and fluff.

Two choices make it quick. First, a grapevine wreath form grips each stem the second you push it in, so you're never standing there holding a piece while the glue cools. Second, using fuller fall bushes that already combine gold leaves, white accents, and a thistle means you cover a lot of ground with each stem instead of gluing on one element at a time.

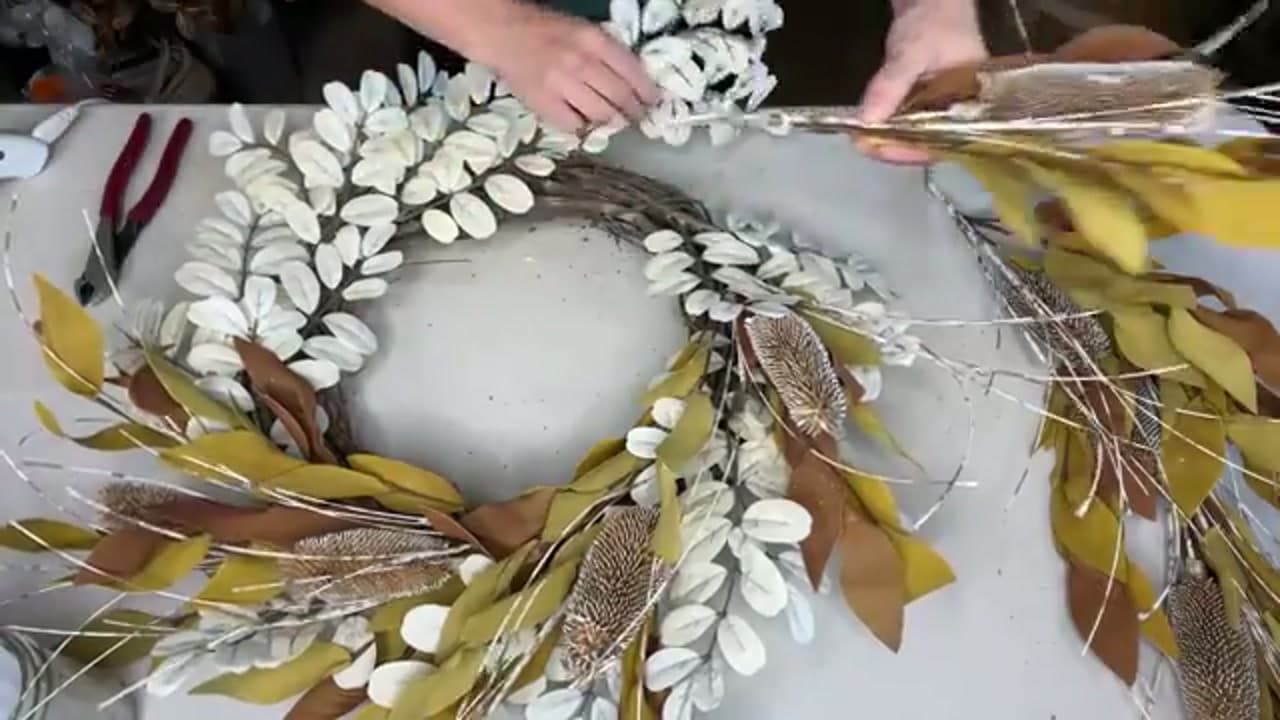
You'll start with a pale oval leaf stem as a base layer, then build up with the fall bushes, fanning each section out for fast coverage. Finish with a quick fluff to make everything flow along the round. The result is a full, high-end looking wreath that's ready to hang on your front door for the season.

Step-by-Step Guide

1

Step 1: Gather Your Grapevine and Florals

0:39
Step 1: Step 1: Gather Your Grapevine and Florals

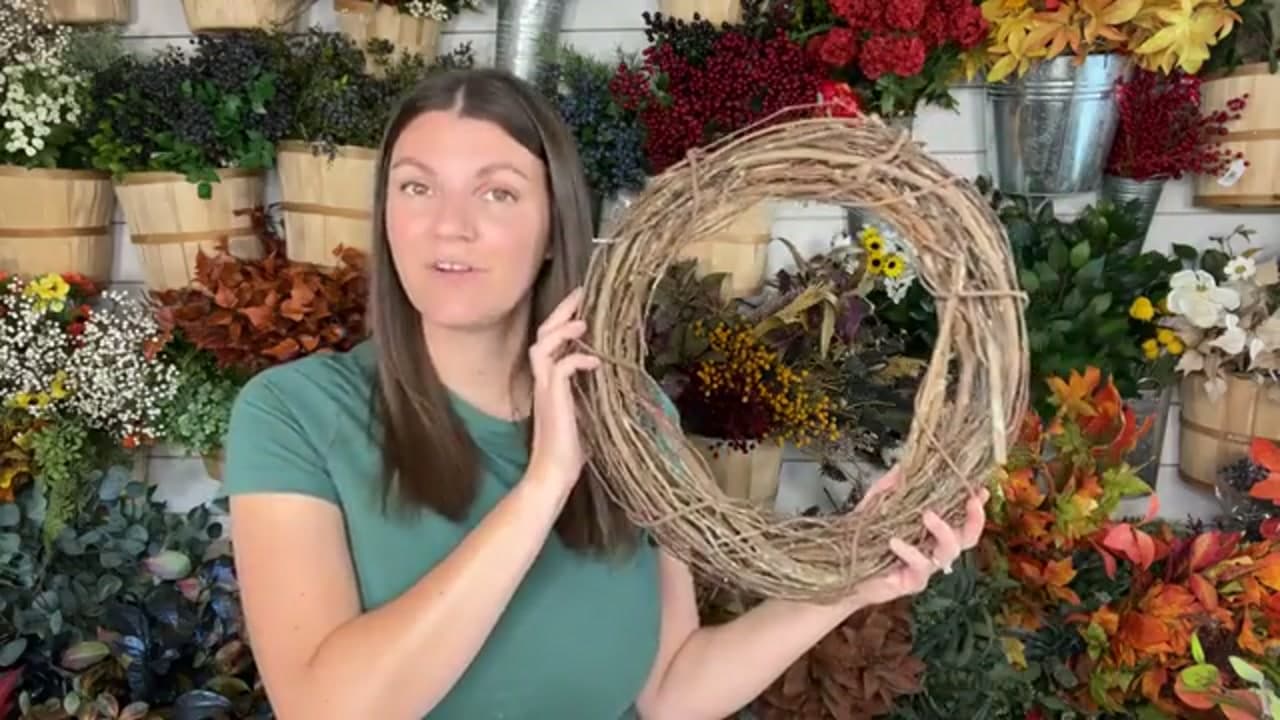
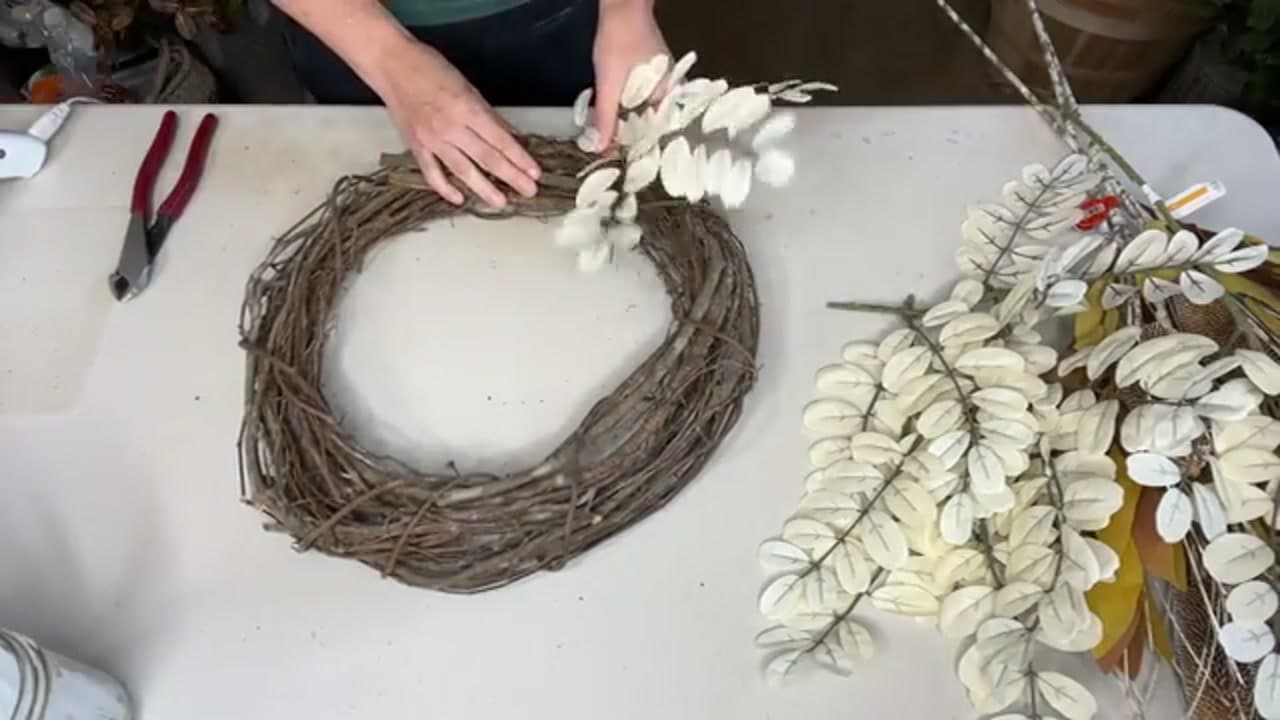
This wreath uses a 14-inch grapevine base and two kinds of fall florals. A grapevine is the fastest form to work with because the woody tangle grips a stem the moment you push it in, so you're not standing there holding pieces while glue dries. Look for one that isn't packed too tight or too loose.

For the florals, Jenny uses a pale oval leaf stem as the base layer and a few fuller fall bushes that pack mixed leaves, white accents, and a thistle onto a single pick. Picking a bush with lots going on already is what keeps this a ten-minute project.

Tip

Watch this step A 14-inch grapevine grows into a finished wreath around 25 inches leaf tip to leaf tip. Want it bigger? Start with a larger grapevine and buy a couple of extra bushes.
2

Step 2: Cut the Base Stem into Sections

2:23
Step 2: Step 2: Cut the Base Stem into Sections

Take the pale oval leaf stem and cut it into shorter chunks with your wire cutters. Vary the lengths so you have some longer pieces and some short ones. Cutting the stem down means you can tuck a few small pieces in at a time and spread them out evenly instead of wrestling one long stem into place.

You don't need to be precise here. Rough sections of different sizes give you more control over coverage once you start gluing.

Tip

Watch this step Wire cutters beat scissors on thick floral stems. Scissors slip and crush the wire, and a crushed stem is harder to seat in the grapevine.

3

Step 3: Glue the First Base Pieces In

3:20
Step 3: Step 3: Glue the First Base Pieces In

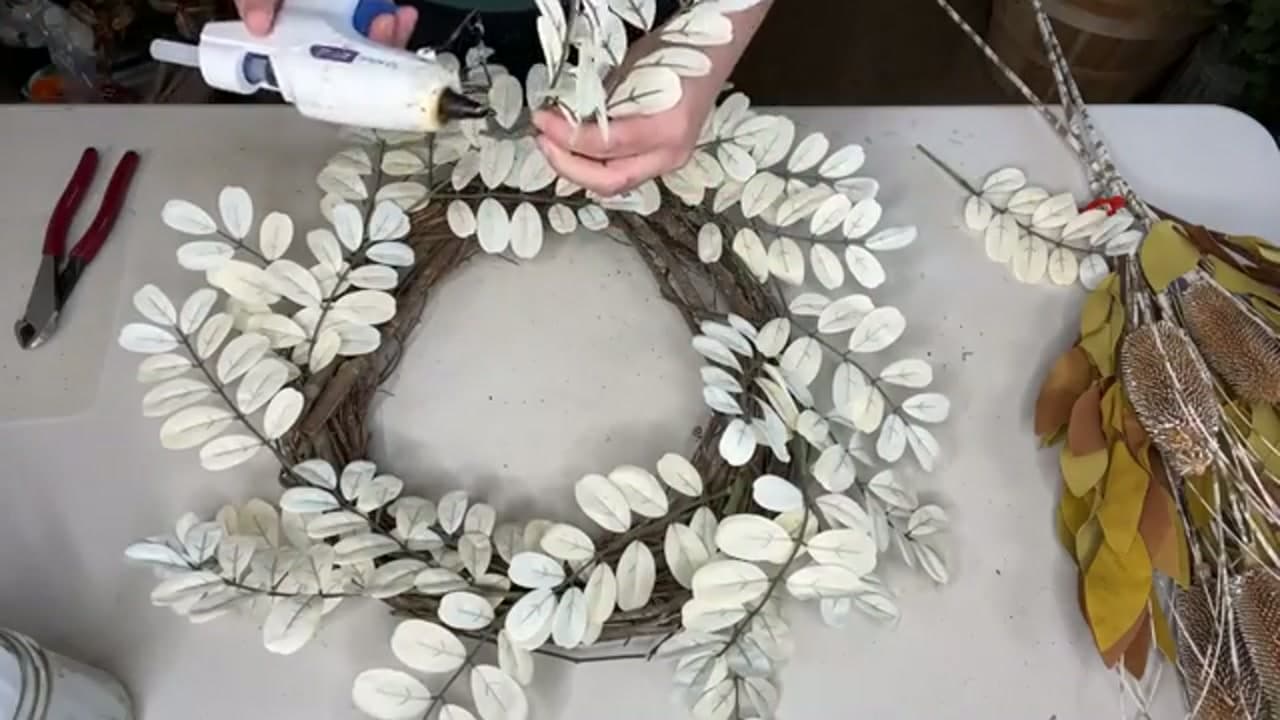
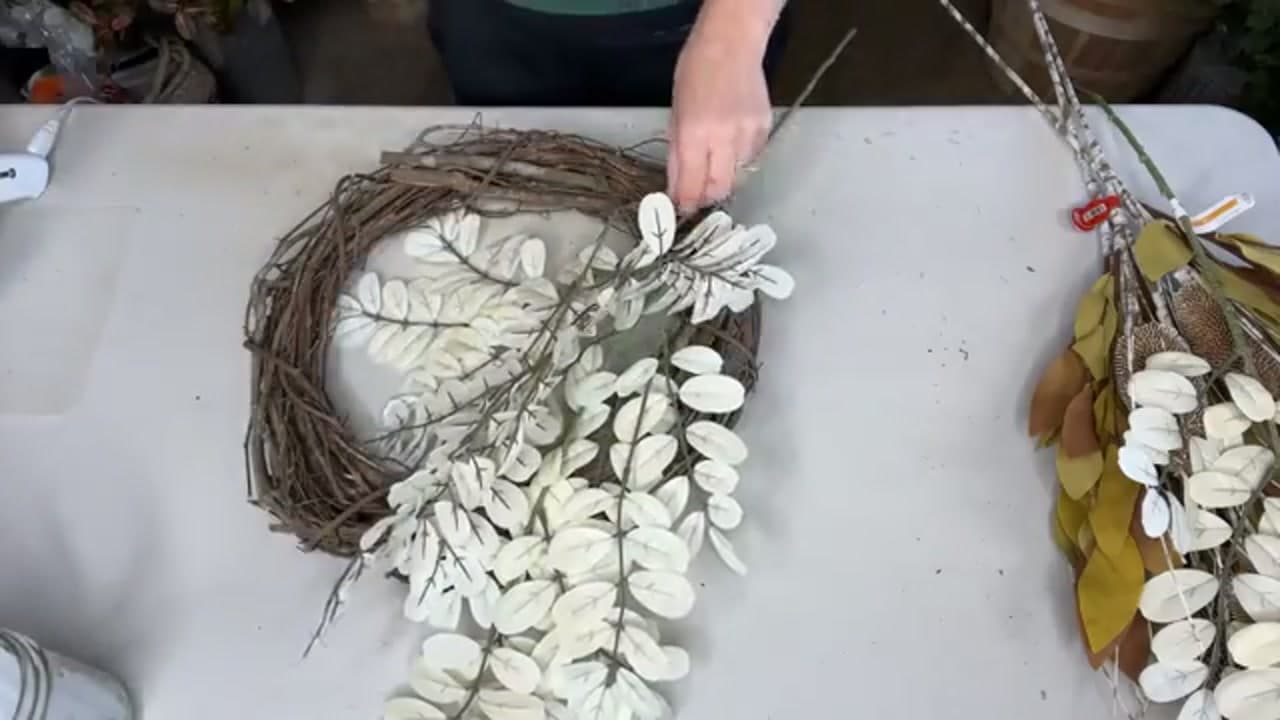
Run a bead of hot glue along the cut stem of a base piece, then push it into the grapevine along the grain. The grapevine holds it in place, so you can let go right away and move to the next one. If a piece sits wonky, add a little extra glue and nudge it down.

Work your way around, tucking pieces toward the middle of the form. This first layer sets the shape and gives you something to build on.

Tip

Watch this step Push the stem in the same direction the grapevine twists. Going with the grain lets the stem slide deep and grab, so the piece won't pop back out.

4

Step 4: Fill the Base Layer Evenly

5:48
Step 4: Step 4: Fill the Base Layer Evenly

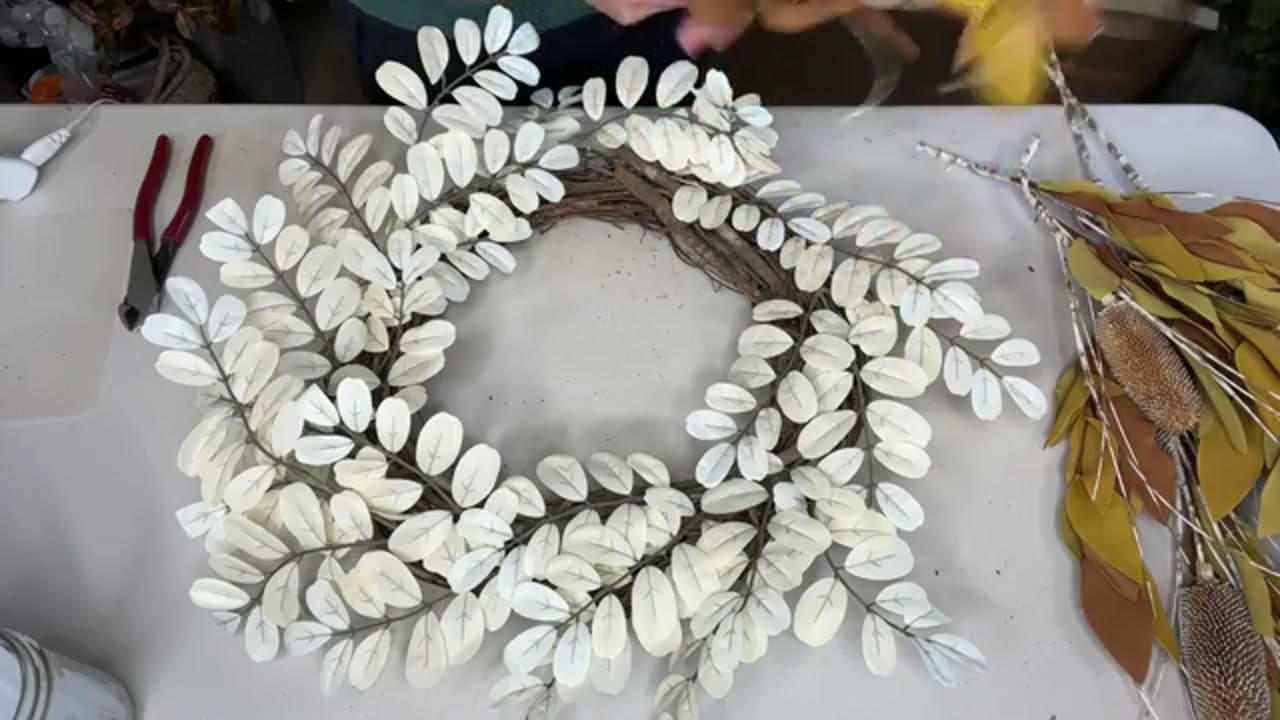
Keep adding the pale leaf sections all the way around, gluing as you go. Aim for even spacing so no side looks bare. When you've only got a small leftover piece, cut it apart so you can drop the fragments into any gaps and even things out.

It won't look perfect yet, and that's fine. The base is just there to give the wreath body so the fall florals on top read as full.

Tip

Watch this step Step back and turn the wreath every few pieces. Rotating it as you work is the easiest way to catch a thin spot before you cover it up.

5

Step 5: Break the Fall Bushes into Thirds

6:18
Step 5: Step 5: Break the Fall Bushes into Thirds

Now for the fall color. Take each full bush and pull it apart into three sections by hand. Most bushes are already grouped this way, so they separate cleanly. Three sections per bush spreads that mix of gold leaves, white accents, and thistle around the whole wreath.

Have a couple of spare bushes on hand. Three bushes covered this size wreath, but you may want one more if you're going for a denser look.

Tip

Watch this step A bush that already combines leaves, berries, and a focal thistle saves you from gluing each element separately. That one choice is what turns this into a fast build.

6

Step 6: Fan and Glue in the Fall Foliage

6:56
Step 6: Step 6: Fan and Glue in the Fall Foliage

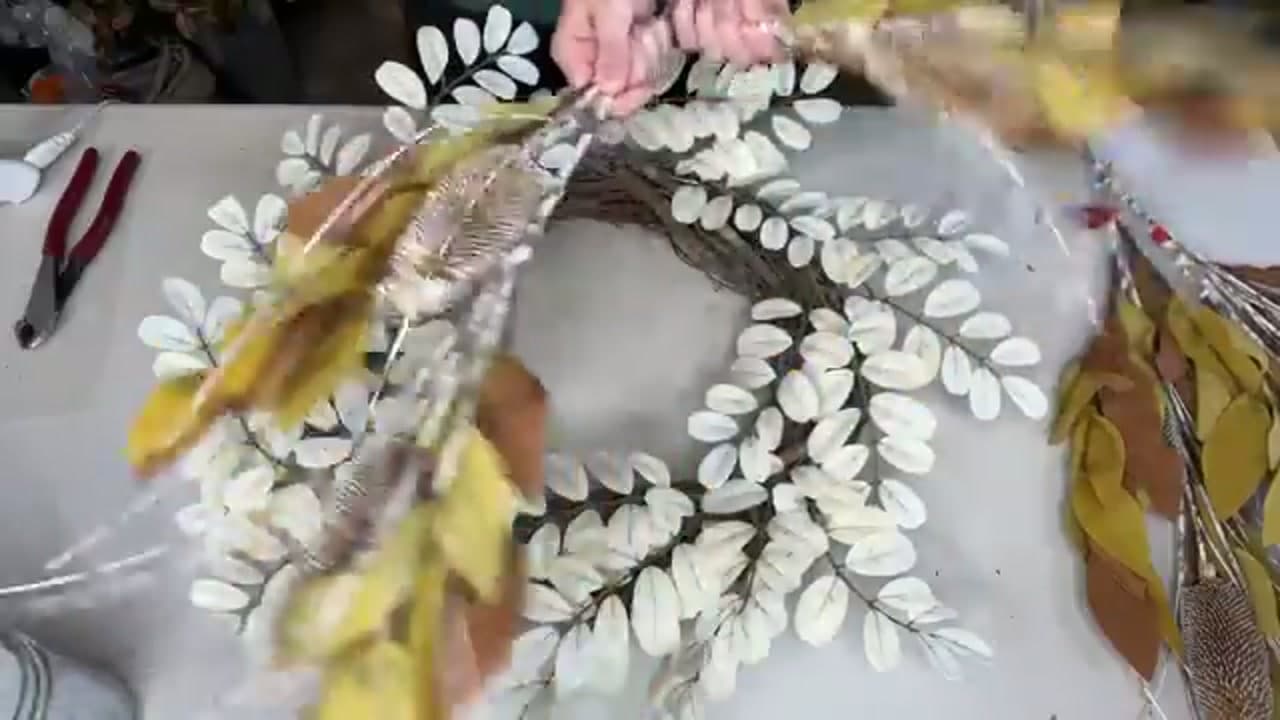
Spread the leaves of a bush section out into a fan so it covers more surface. Run glue all the way up the stem, especially if it's paper-wrapped, so everything holds together. Then push the whole fanned section into the grapevine.

Fanning the greenery before it goes in is the trick to fast coverage. One fanned section hides a big stretch of base, so the wreath fills quickly.

Tip

Watch this step Bend the stem slightly before you glue so the section curves along the round of the wreath. That little bend keeps everything flowing in one direction instead of sticking straight out.

7

Step 7: Layer in Chunks Until It's Covered

9:38
Step 7: Step 7: Layer in Chunks Until It's Covered

Keep adding fanned bush sections in big chunks, gluing each stem well and tucking it into the grapevine. Alternate the direction slightly so the gold leaves, white accents, and thistles land in a natural, scattered spread rather than a stiff ring.

Watch how fast it fills once the fuller bushes go on. A few well-fanned chunks and the base disappears under layers of fall texture.

Tip

Watch this step If you want more depth, tuck one extra filler stem low on the bottom of the wreath. It adds a little weight and stops the design from looking top-heavy.

8

Step 8: Fluff, Balance, and Hang

12:17
Step 8: Step 8: Fluff, Balance, and Hang

With everything glued on, go around and fluff each section, fanning leaves out and bending stems so they flow along the round. This last pass is what takes it from a pile of stems to a designed wreath. Nudge anything that pokes out and fill any last thin spots.

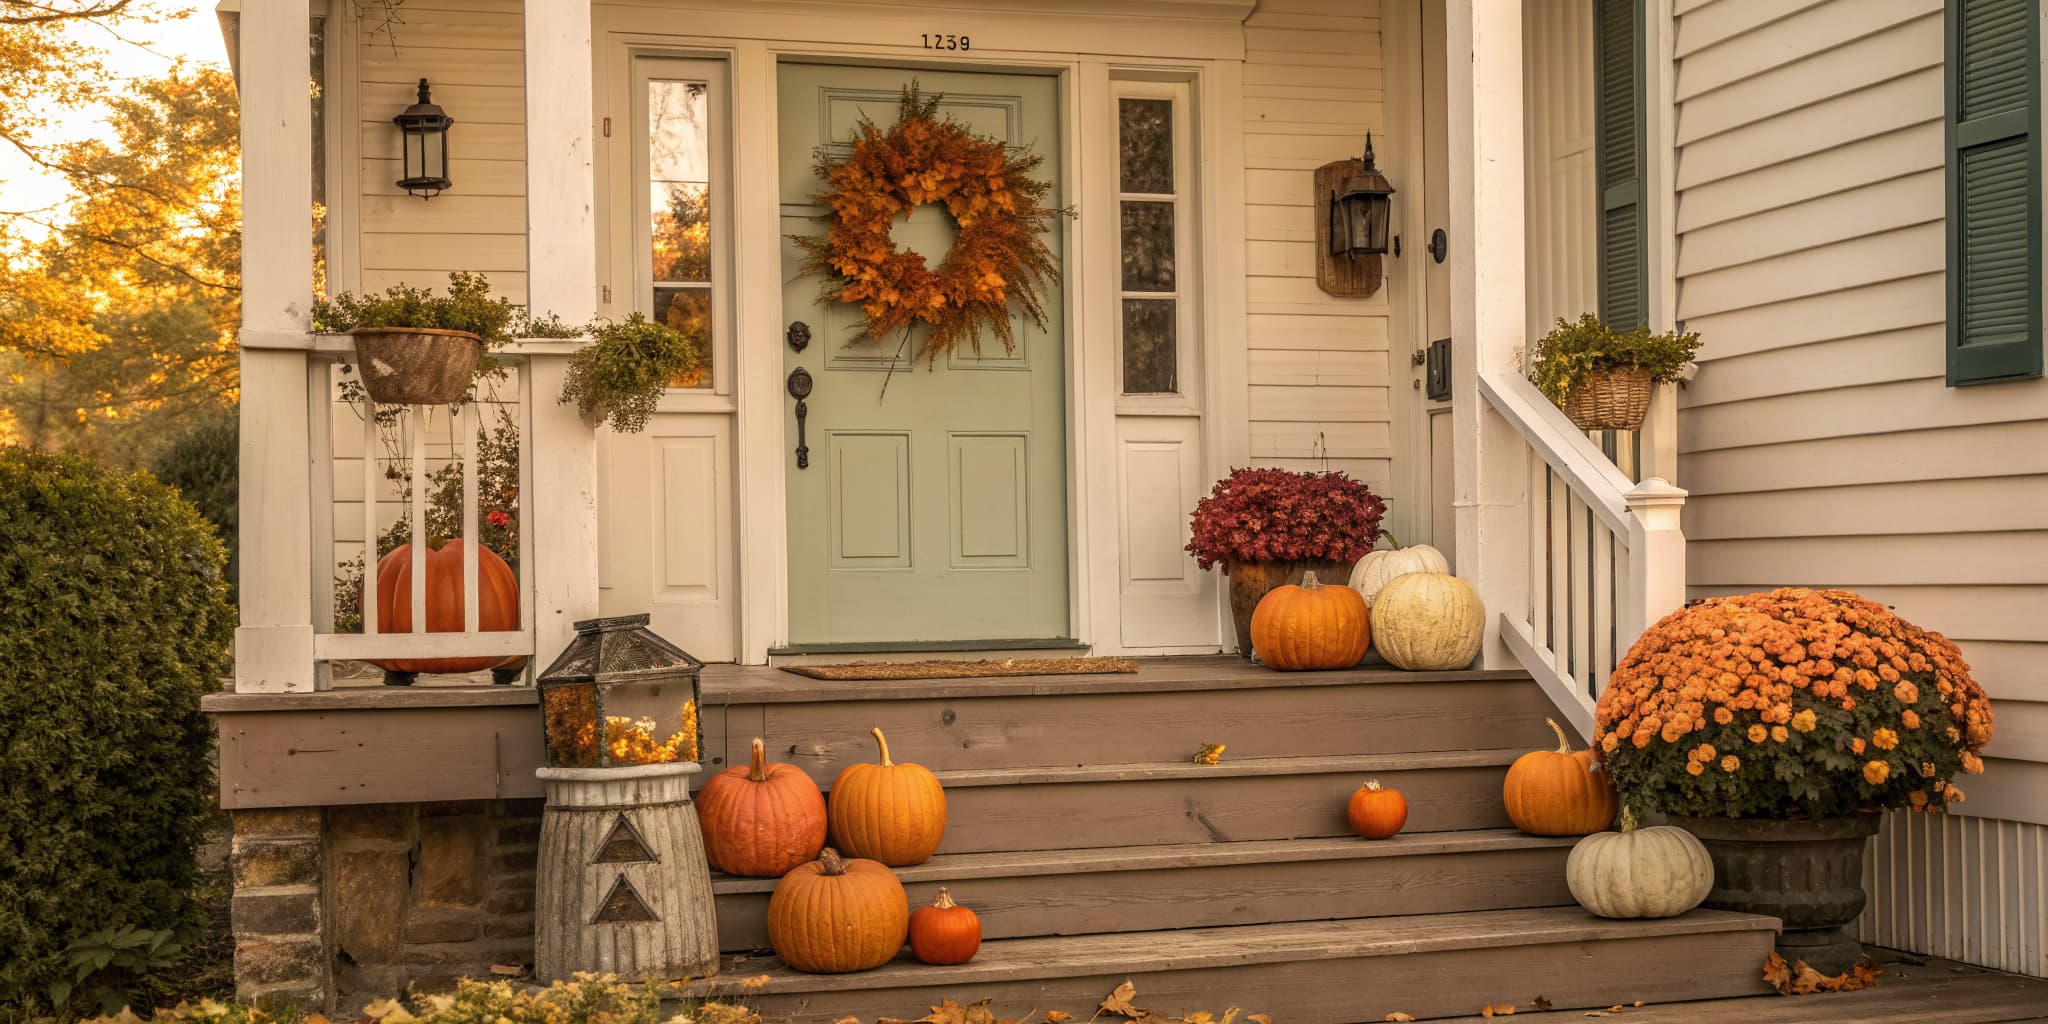
That's it. This one came together in about ten minutes and measures roughly 25 inches across. Loop a piece of floral wire or a wreath hanger on the back and it's ready for the front door.

Tip

Watch this step Hang it and look at it from a few feet back the way visitors will see it. Small gaps you obsess over up close vanish at door distance, so only fix what actually reads from across the room.

Products Used

☐ The Checklist

How to Make a Fall Wreath (Easy 10-Minute Grapevine Wreath)

Tools
3
Materials
6
Steps
8
Video
14 min

Your Guide

Jenny’s Wreath Boutique

As an Amazon Associate we earn from qualifying purchases. Links on this page may be affiliate links - clicking them and buying doesn't change your price, but helps support ShowMeStepByStep.

Tags

Sunday How-To

New crafts tutorials, every Sunday

One short email with the week's best step-by-step guides. Free, no spam, unsubscribe anytime.

Did this work for you?

What's next

Related collections

Curated theme pages that include this tutorial.

Weekly Digest

Liked this crafts tutorial?

Pick the categories you want to hear about. Weekly digest of new step-by-step tutorials. No spam, easy unsubscribe.

Send me tutorials about

We only email about new tutorials. Easy unsubscribe anytime.