How to Make a Wreath

CraftsEasy11:2210 stepsPart of DIY Crafts for BeginnersBrowse more →
The finished result: How to Make a Wreath

By CraftingStepByStepPublished

Based on a video by Deco Exchange.

A wreath is three things: a base, a bow and something green. Once you have made one, every other wreath you will ever make is a variation on the same build.

This walkthrough follows Coach Mel on the Deco Exchange channel putting together an everyday grapevine wreath. Everyday is the useful part. There is no holiday on it, so it can hang from January to December, and it is the version worth learning first because the seasonal ones are the same steps with different ribbon.

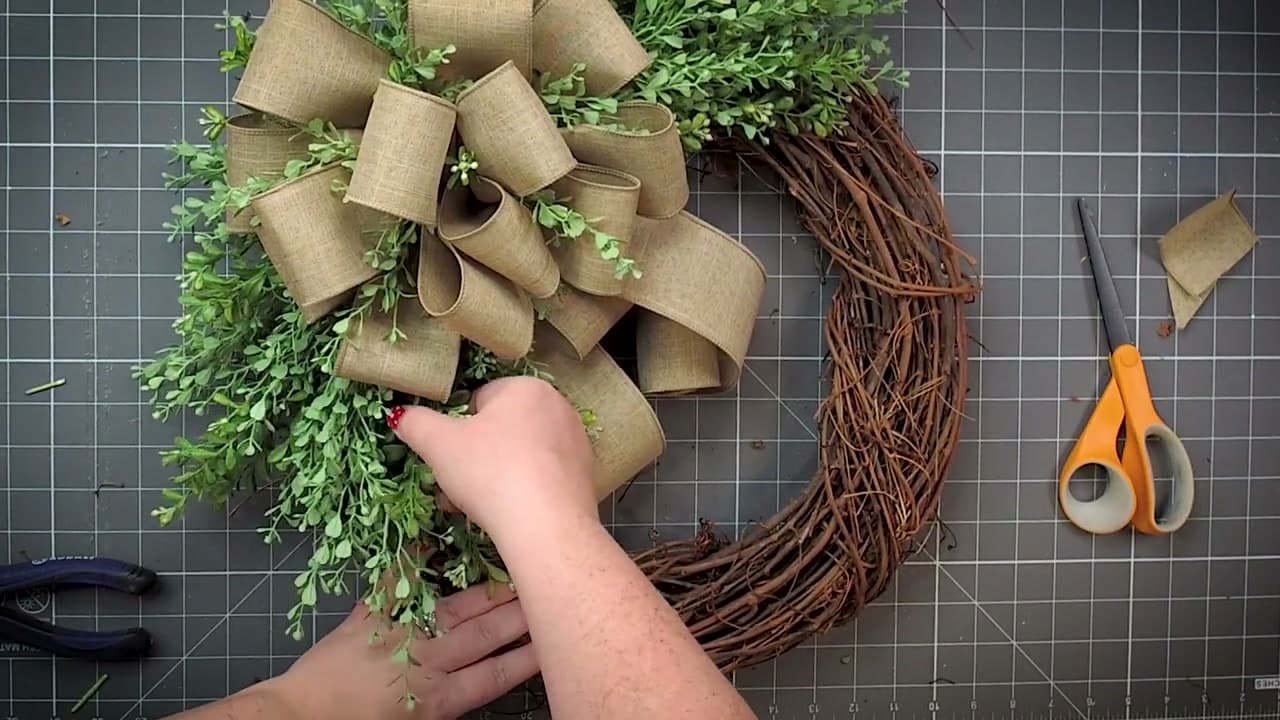
You will hand-tie a bow rather than buy one, wire it onto a grapevine base so the wire never shows, and glue in greenery that you have broken down into short pieces. About an hour, most of it spent on the bow.

What you need

A grapevine wreath form, a roll of wired ribbon, two or three faux greenery stems, pipe cleaners or floral wire, wire cutters, scissors and a hot glue gun. That is the whole list.

Once you have the base method

The same build takes seasonal ribbon and seasonal stems without changing a single step. There is a fall wreath version, a Christmas wreath, a Halloween wreath and a summer front door wreath on a wire frame rather than grapevine.

If the bow is the part giving you trouble, how to make a bow for a wreath covers it on its own. And for something with no glue gun involved at all, there is a paper wreath.

Step-by-Step Guide

10 steps · about 11 minutes.Check off each step as you go and your progress saves automatically.

1

Step 1: Lay Out the Base, the Ribbon and the Greenery

0:35
Step 1: Lay Out the Base, the Ribbon and the Greenery - How to Make a Wreath

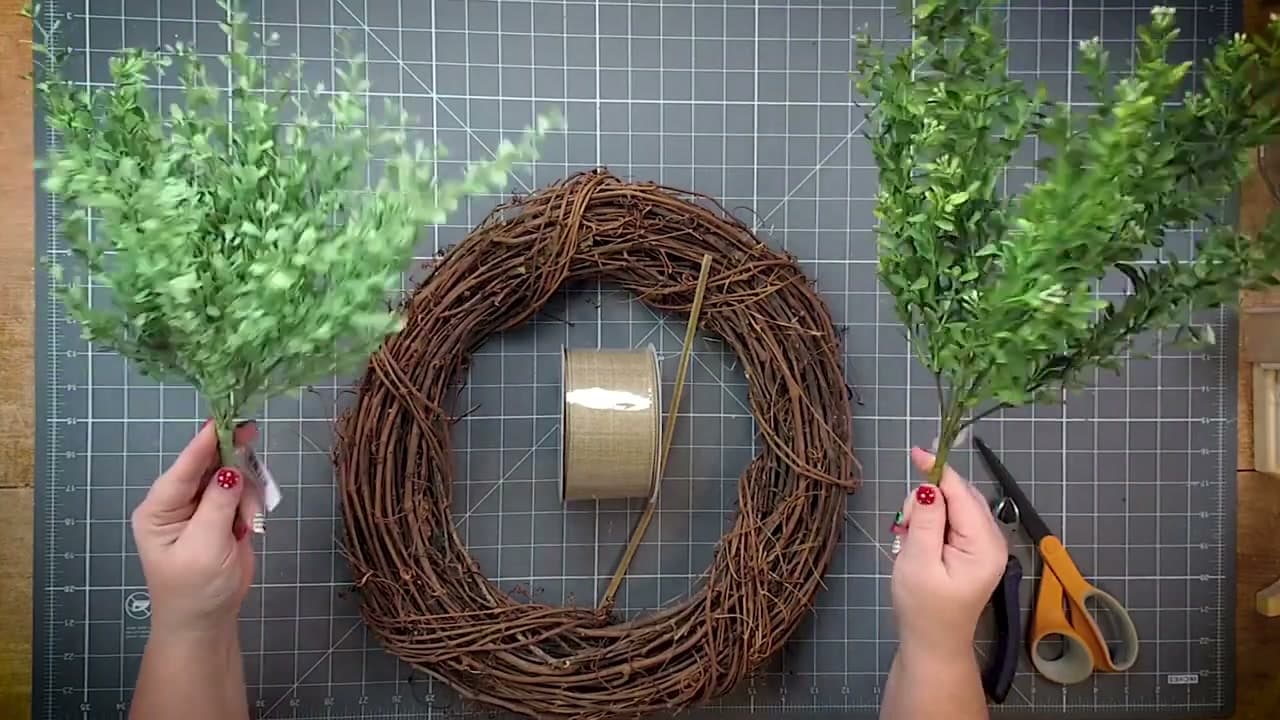
A grapevine wreath is the easiest base to start on. The twigs grab hold of wire and glue, and the bare parts still look like they belong, so you do not have to cover every inch of it.

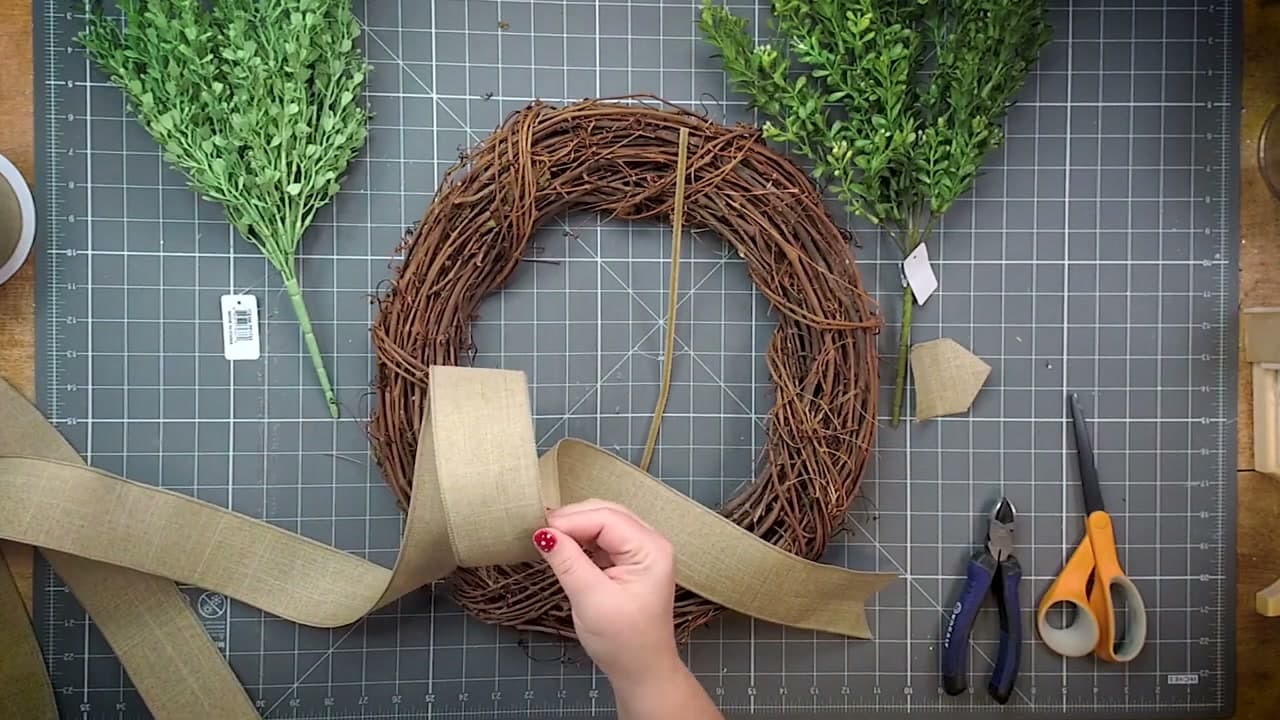
Set the wreath flat on the table and put everything else within reach: a roll of wired ribbon, two or three greenery stems, a pipe cleaner, wire cutters, scissors and a hot glue gun. Working flat and face up means you always see what the front will look like.

Two greenery stems is genuinely enough for an 18-inch wreath once you break them down, which happens in step 9.

Tip

Wired ribbon holds a loop on its own. Unwired ribbon collapses and you will spend the whole build fighting it.
2

Step 2: Cut a Dovetail Into the Ribbon End

1:06
Step 2: Cut a Dovetail Into the Ribbon End - How to Make a Wreath

Fold the end of the ribbon in half lengthwise, then cut at an angle from the folded edge out to the open corner. Open it back up and you have a clean V.

It takes five seconds and it is most of the difference between a bow that looks homemade and one that looks bought. A blunt square end reads as unfinished from across the room.

Leave plenty of ribbon below the cut, at least 12 inches. That length becomes the tail that hangs down the side of the finished wreath.

Tip

Cut the dovetail before you build the bow, not after. Once the loops are stacked in your fist you cannot get scissors in there cleanly.

3

Step 3: Make the Centre Loop and Find the Right Side

1:10
Step 3: Make the Centre Loop and Find the Right Side - How to Make a Wreath

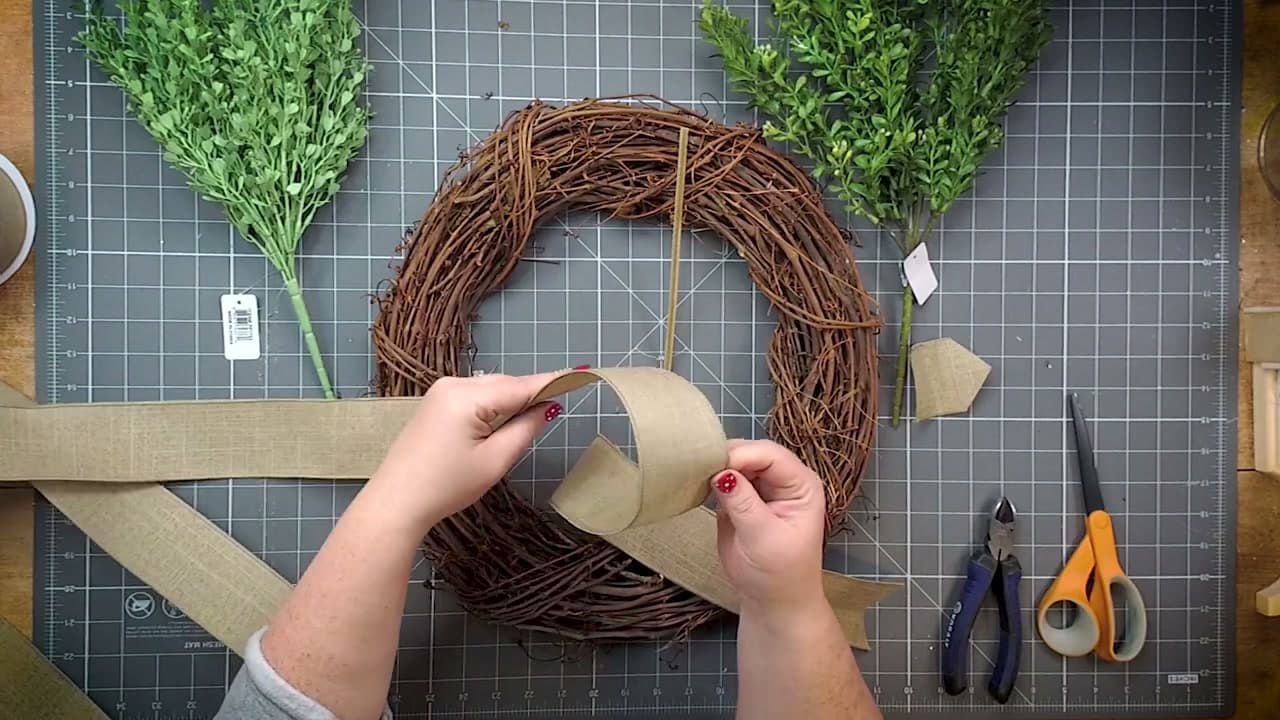
Make one small loop in the middle of the ribbon and pinch it closed between your thumb and finger. Everything else builds off this loop, so keep it tight and keep it under four inches across.

Before you go further, work out which face of your ribbon is the front. Most wired ribbon has an obvious right side. On a burlap-style ribbon like this one you can tell from the stitching along the edge.

Hold the centre loop so that good side is looking up at you. That is the orientation you keep for the rest of the bow.

Tip

Pinch with your non-dominant hand and keep it pinched. Every loop from here gets added into the same pinch point.

Used in this stepWired burlap ribbon
4

Step 4: Pinch, Twist, Loop - Over and Over

2:30
Step 4: Pinch, Twist, Loop - Over and Over - How to Make a Wreath

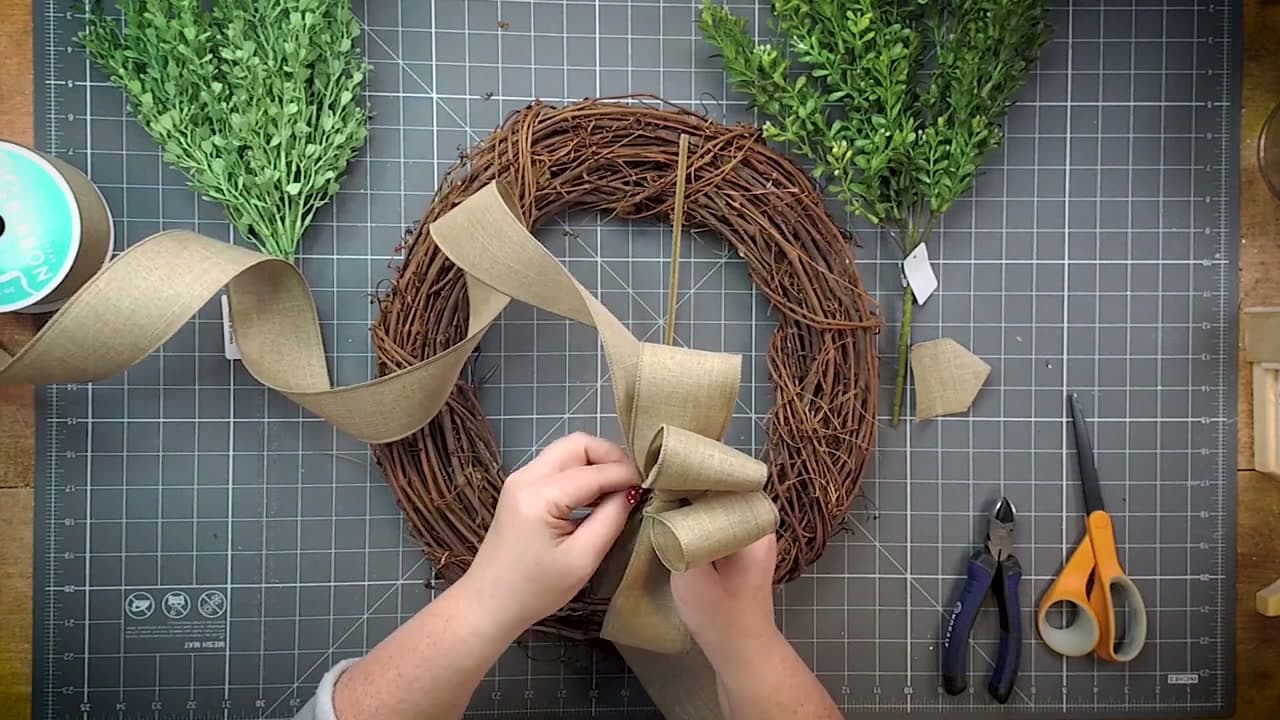
The whole bow is three moves repeated. Twist the ribbon at the pinch point so the good side comes back up. Pull out a loop to one side. Pinch it back into the centre. Then twist again, loop to the other side, pinch.

The twist is the move people skip, and skipping it is exactly why one half of a homemade bow ends up showing the back of the ribbon while the other half looks fine.

Alternate sides every single time. If you do two loops on the right before going left, the bow grows lopsided and no amount of fluffing fixes it later.

Tip

Say it out loud while you work - pinch, twist, loop. It sounds daft and it stops you losing your place.

Used in this stepWired burlap ribbon
5

Step 5: Grow the Loops as You Go

4:05
Step 5: Grow the Loops as You Go - How to Make a Wreath

Start small in the middle and make each pair of loops a little wider than the last. That is what turns a flat stack of ribbon into something that reads like a layered flower.

Eight to ten loops a side is plenty for a wreath this size. Keep squeezing the centre tight in your fist as it grows. When your hand starts to cramp, you have enough.

If you want to go deeper on the bow on its own, there is a full walkthrough at how to make a bow for a wreath, including how to measure the loops so both sides match.

Tip

Ten yards of ribbon makes a generous wreath bow with tails left over. Five yards is tight.

Used in this stepWired burlap ribbon
6

Step 6: Wire the Centre With a Pipe Cleaner

4:12
Step 6: Wire the Centre With a Pipe Cleaner - How to Make a Wreath

Dovetail the loose end the same way you did the first one, so both tails match.

Then, still gripping the bow, wrap a pipe cleaner around the pinched centre and twist it once behind the bow to lock the whole stack together. A length of floral wire does the same job if you have it.

Leave both ends of the pipe cleaner long and sticking out. Those ends are what tie the bow onto the wreath in the next step, so resist the urge to tidy them up now.

Tip

Twist the wire at the back, not the front. A twist on the front shows through the middle of the finished bow.

7

Step 7: Push the Wire Through the Grapevine From the Front

4:45
Step 7: Push the Wire Through the Grapevine From the Front - How to Make a Wreath

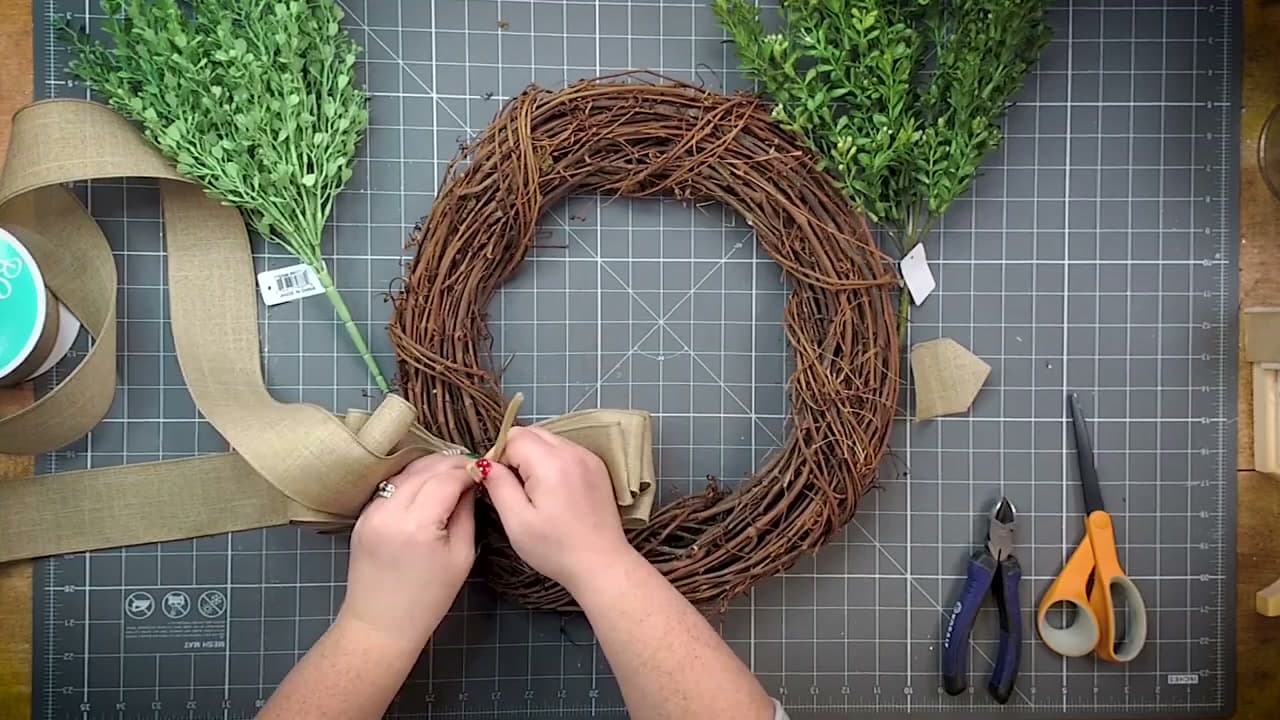
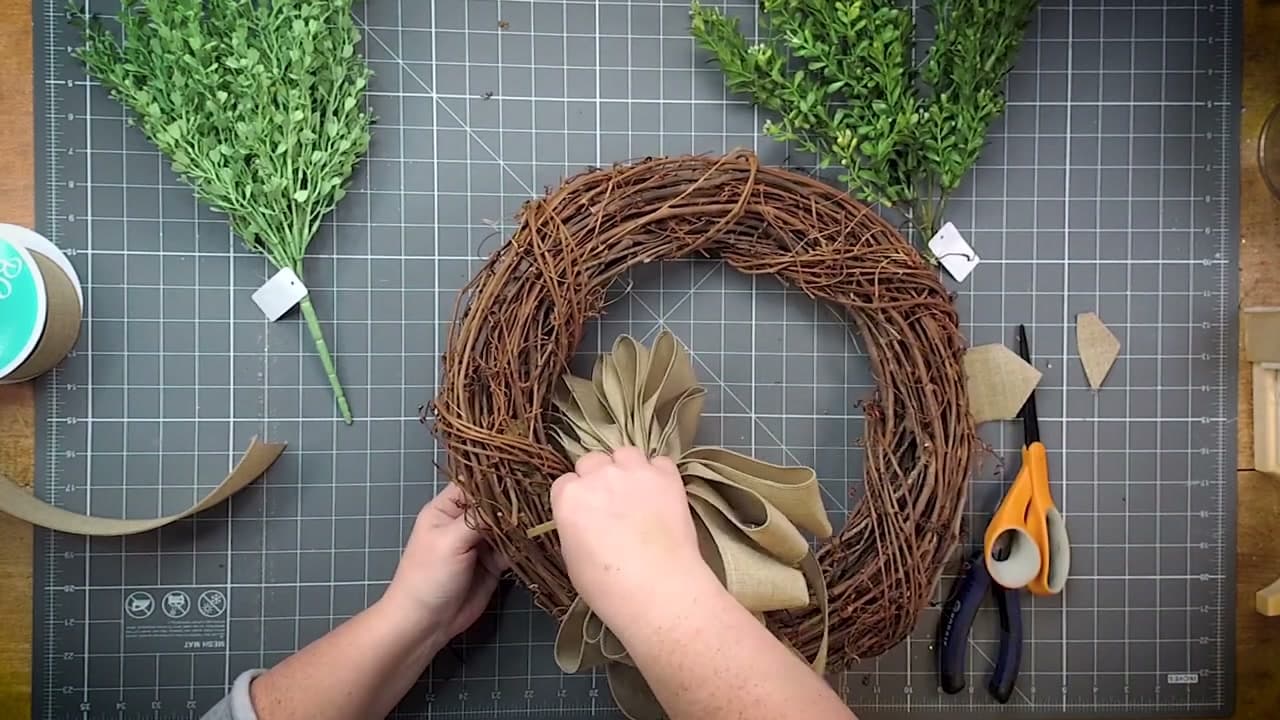
Decide where the bow sits before you attach anything. Off to one side, roughly where four or eight o'clock would be, looks better than dead centre on a round wreath.

Feed both pipe cleaner ends straight through the twigs and out the back. Front to back matters. If you loop the wire around the outside of the wreath instead, you see it every time the door opens.

Reach behind, pull both ends tight, cross them over each other, twist them down and push the sharp ends into the grapevine so nothing scratches the door.

Tip

Hold the wreath up at arm's length before you twist the wire tight. It is much easier to move the bow now than after.

8

Step 8: Fluff the Bow Into Shape

5:30
Step 8: Fluff the Bow Into Shape - How to Make a Wreath

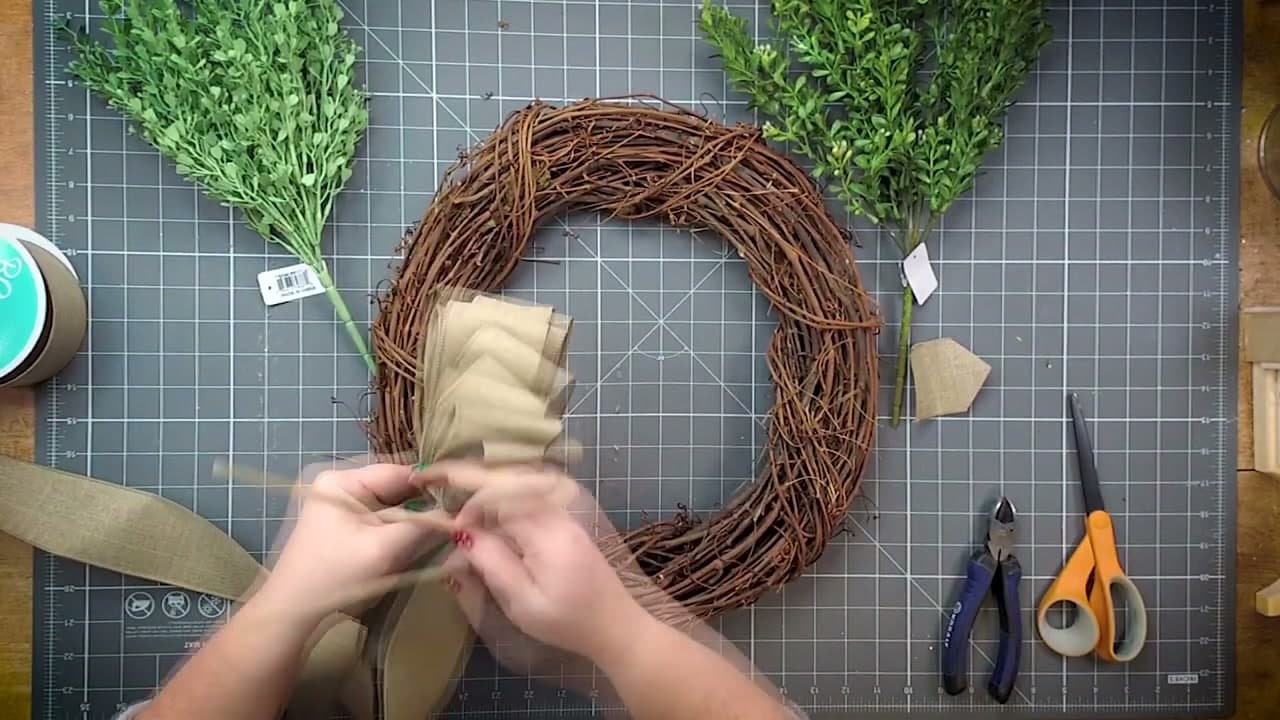
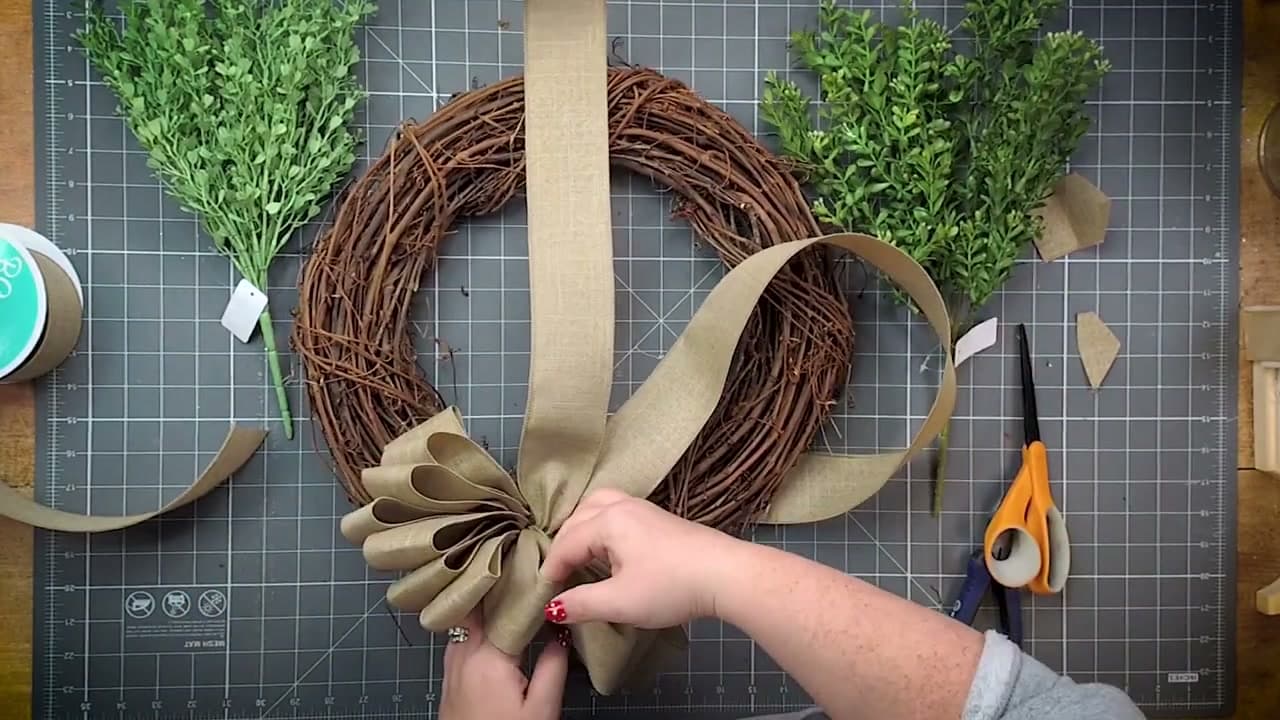
This is the step that decides whether the wreath looks good, and it takes longer than you expect. A bow straight off the hand looks flat and a bit sad. Fluffed properly it looks full.

Take each loop in turn and pull it out and away from the centre. Work around the bow in order rather than grabbing at random, or you will keep missing the same loops.

Push some loops forward and some back so the bow has depth rather than sitting in one plane. If the pipe cleaner is tight you can be genuinely rough with it. Keep going until there are no flat spots.

Tip

Step back and look at it from four feet away. Flat spots that are invisible up close are obvious from across the room.

Used in this stepWired burlap ribbon
9

Step 9: Break the Greenery Down and Glue It In

7:50
Step 9: Break the Greenery Down and Glue It In - How to Make a Wreath

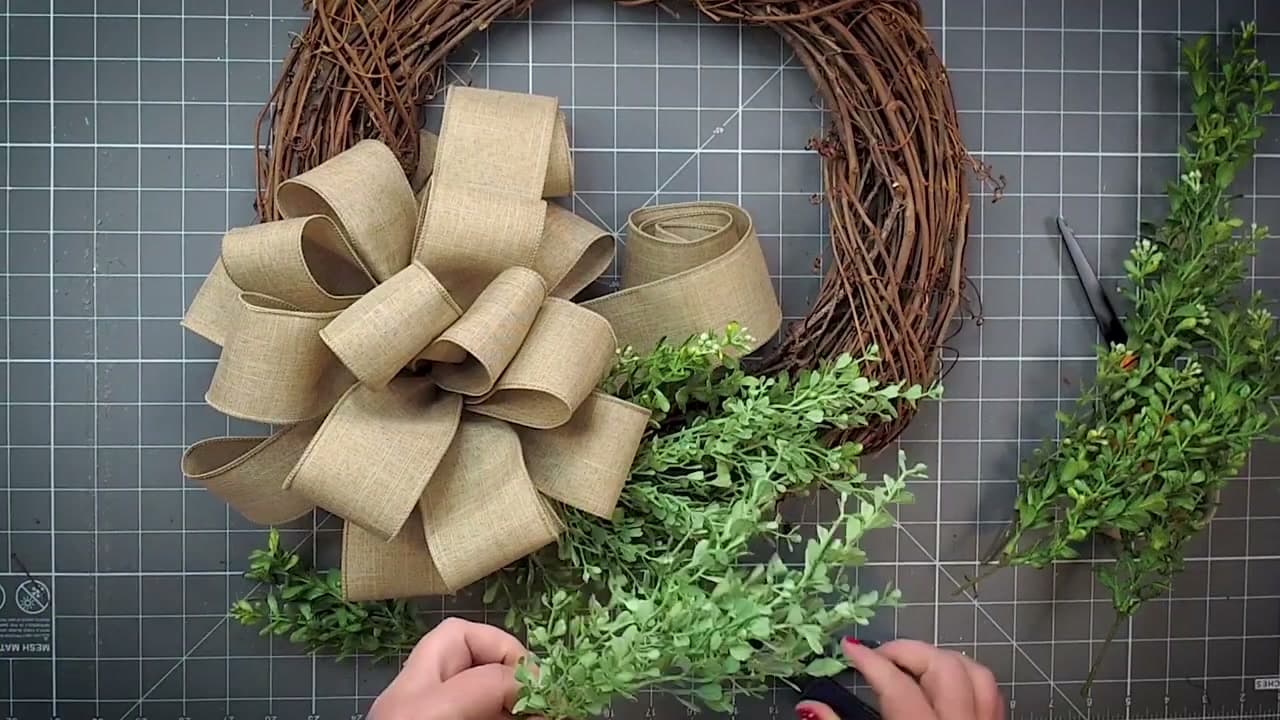
Pull each greenery stem apart at the joints so one long spray becomes four or five short sprigs. Short pieces are far easier to place than a whole branch, and they let you build the shape gradually instead of committing all at once.

Do not let taking the stems apart put you off. Worst case you lay several short pieces end to end and they read as one long branch again.

If you have two shades of green, alternate them as you go so the colours blend rather than sitting in blocks. Run a thick blob of hot glue on the underside of each sprig and press it down into the twigs, fanning them out from behind the bow in both directions.

Tip

Glue the sprigs so they point away from the bow, following the curve of the wreath. Greenery pointing straight out looks stuck on.

10

Step 10: Tuck Greenery Through the Bow and Drop the Tails

10:20
Step 10: Tuck Greenery Through the Bow and Drop the Tails - How to Make a Wreath

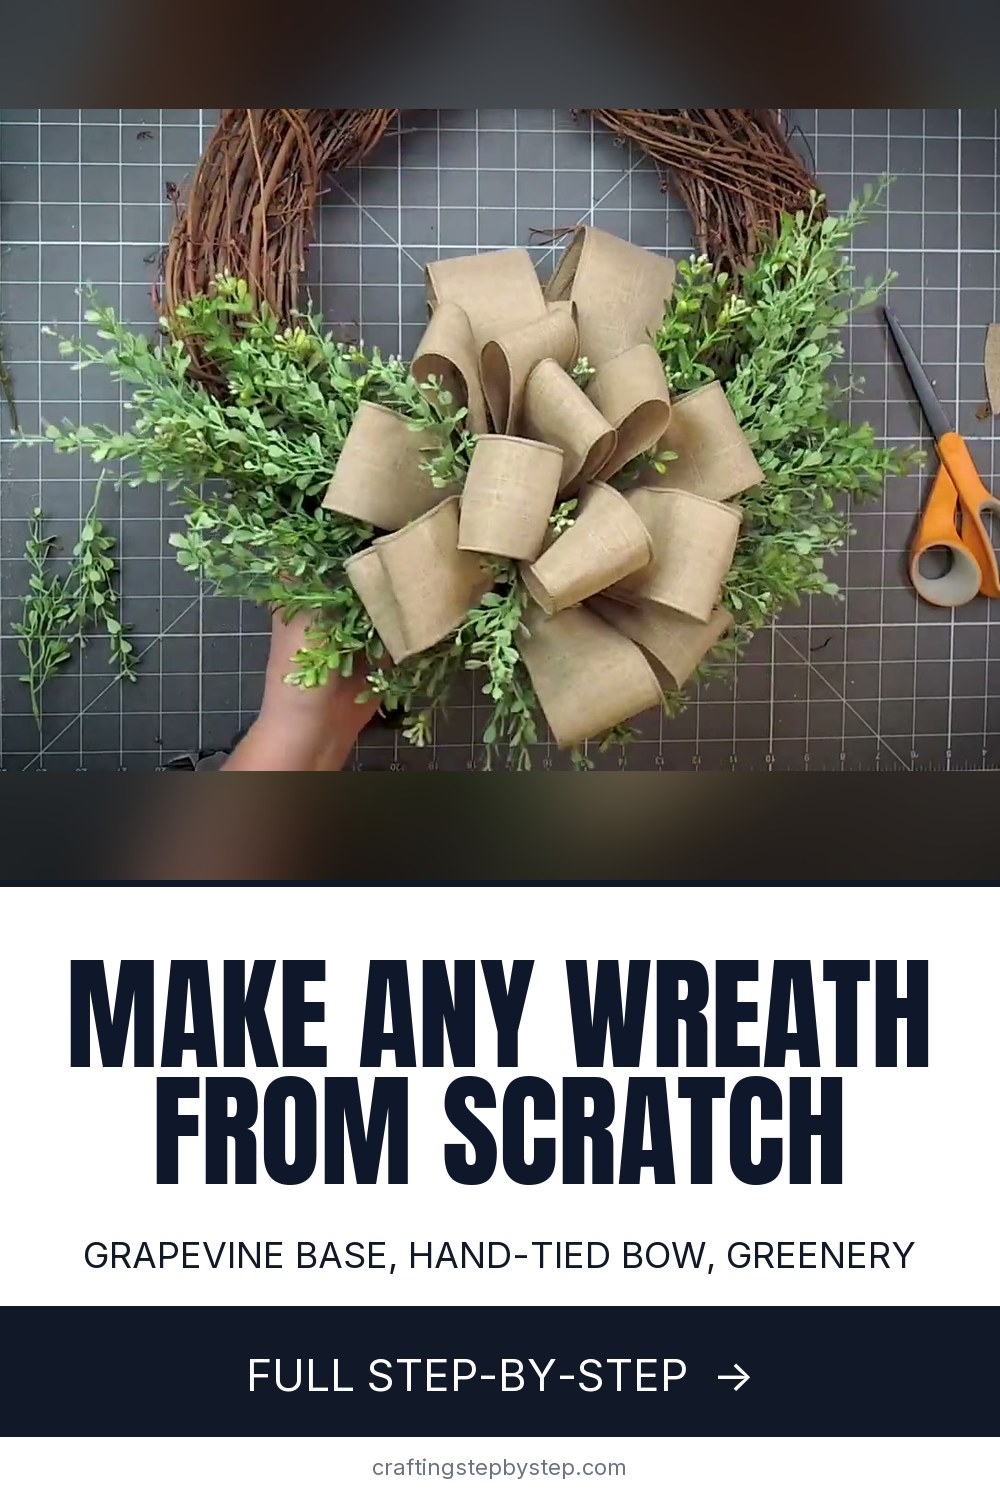
Slip a few of the smallest sprigs in between the loops of the bow itself. This is a small move with a big payoff - it is what stops the bow and the greenery looking like two separate things stuck to the same ring.

Then let the ribbon tails down. Arrange them so they fall along one side of the wreath rather than straight down the middle, and trim each one at an angle if it is longer than you want.

To hang it, an over-the-door wire hook is the simplest option. Otherwise loop a length of ribbon through the back of the grapevine and tie it off. Because there is nothing seasonal on this wreath, it can stay up all year.

Tip

Swap the ribbon and the greenery for seasonal versions and the same base carries you through the year. The build never changes.

Keep going

How to Make a Snow Globe

Products Used

The Checklist

How to Make a Wreath

Tools
3
Materials
7
Steps
10
Video
11 min

Tools we recommend

Your Guide

Deco Exchange

As an Amazon Associate we earn from qualifying purchases. Links on this page may be affiliate links - clicking them and buying doesn't change your price, but helps support CraftingStepByStep.

Tags

Sunday How-To

New crafts tutorials, every Sunday

One short email with the week's best step-by-step guides. Free, no spam, unsubscribe anytime.

Did this work for you?

What's next

Related collections

Curated theme pages that include this tutorial.

Weekly Digest

Liked this crafts tutorial?

Pick the categories you want to hear about. Weekly digest of new step-by-step tutorials. No spam, easy unsubscribe.

Send me tutorials about

We only email about new tutorials. Easy unsubscribe anytime.