How to Solder Stained Glass

CraftsMedium19:0110 stepsBrowse more →
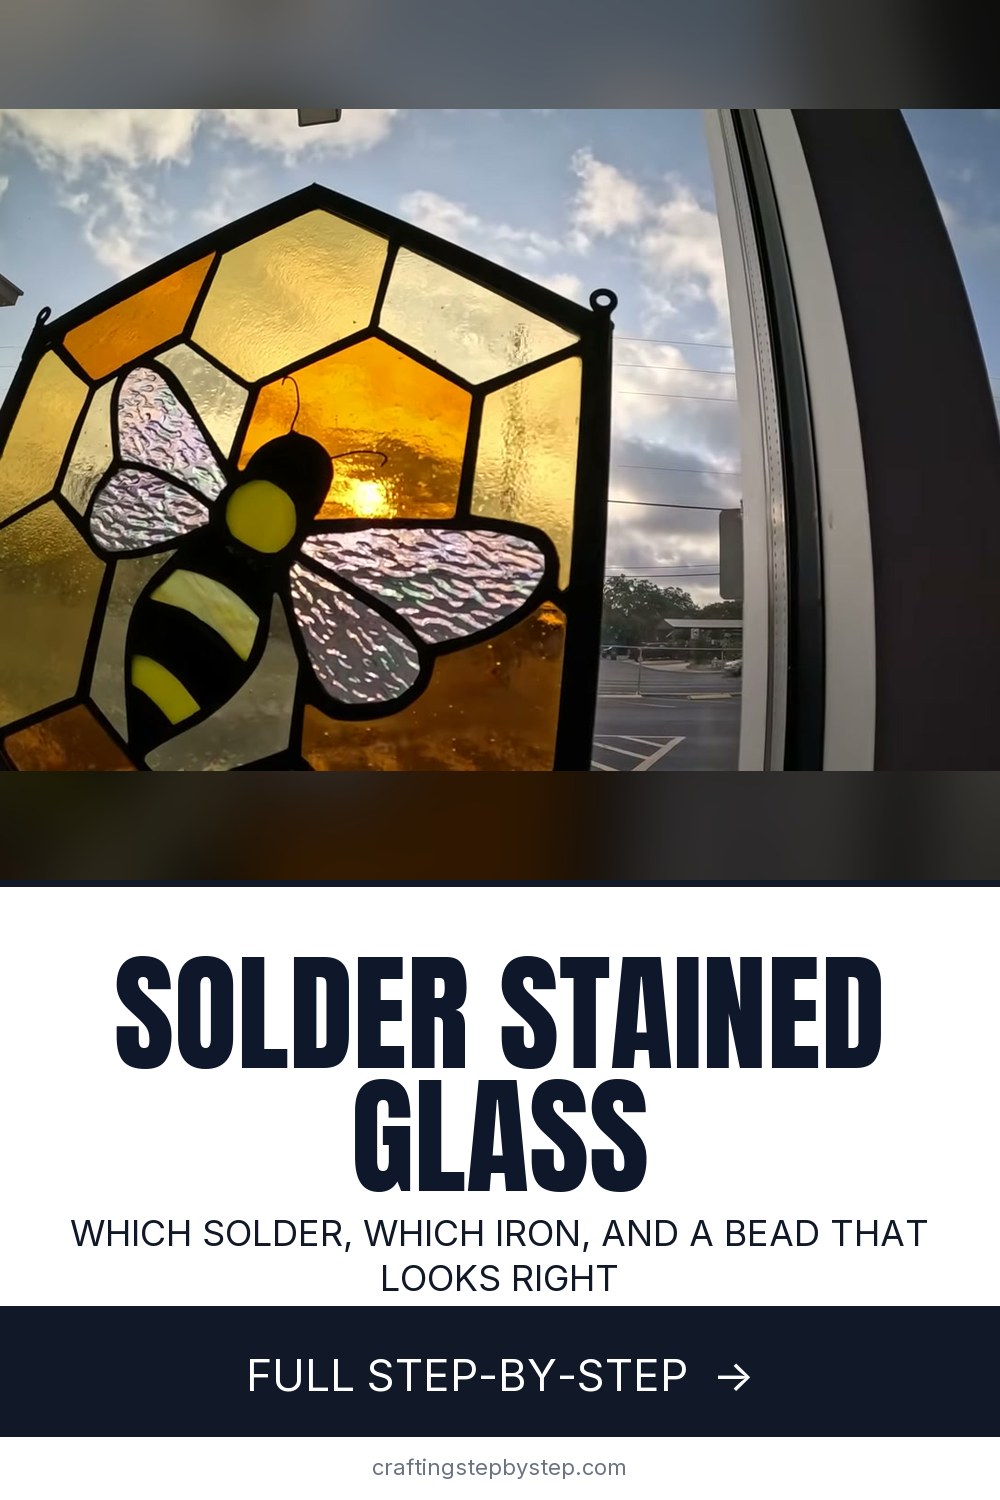
The finished result: How to Solder Stained Glass

By CraftingStepByStepPublished

Based on a video by MrStainedGlass.

Cutting and foiling glass is the patient part. Soldering is the part that decides whether the finished panel looks handmade or homemade.

This walkthrough from MrStainedGlass covers the whole thing: what solder actually is and which alloy to reach for, how to pick an iron, and then the soldering itself on a copper foil panel - tacking, running beads, edge beading, and the mistakes that are easiest to make.

The good news is that almost every soldering mistake is reversible. Solder melts again. A lumpy bead, a joint in the wrong place, a jump ring that pulled off - heat it up and do it again.

Two safety notes before you start. Run a fume extractor or work by an open window, because flux fumes are genuinely unpleasant. And wash your hands before you eat, especially with leaded solder.

If you have not cut your glass yet, start with how to use a glass cutter. To put this technique straight to work, try a stained glass suncatcher.

Step-by-Step Guide

10 steps · about 19 minutes.Check off each step as you go and your progress saves automatically.

1

Step 1: Pick Your Solder

1:15
Step 1: Pick Your Solder - How to Solder Stained Glass

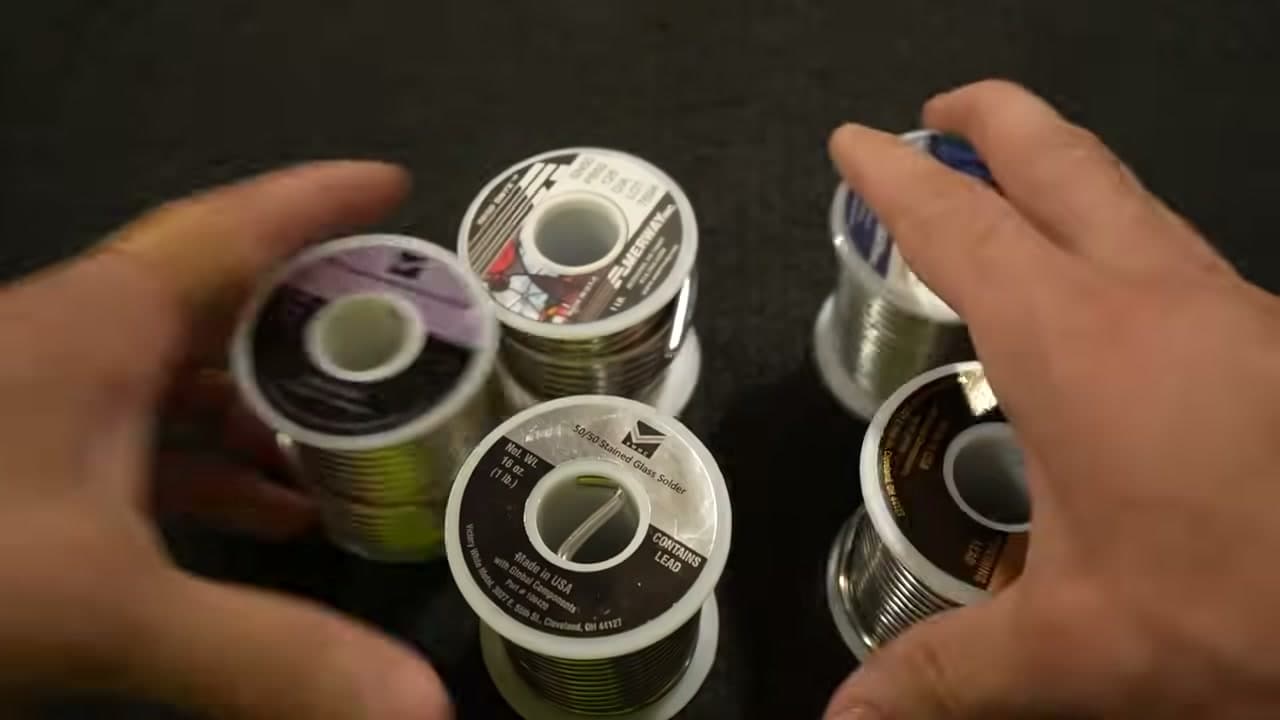
Solder is an alloy with a low melting point, and the ratio on the label changes how it behaves.

60/40 is the copper foil default. Lower melting point, and it flows and self-levels, which is what makes long foil runs look uniform.

50/50 melts hotter and sets faster. It suits leaded glass, and some people lay a 50/50 base bead then top it with 60/40 because the base will not remelt and bleed through to the other side.

Lead-free (97% tin, 3% copper) is the one for anything that gets handled with bare hands - gifts, jewellery, pieces for a child's room.

Tip

Getting lead poisoning from handling solder is difficult but not impossible. Wash your hands before eating and do not eat at the bench.
2

Step 2: Choose a Soldering Iron

2:20
Step 2: Choose a Soldering Iron - How to Solder Stained Glass

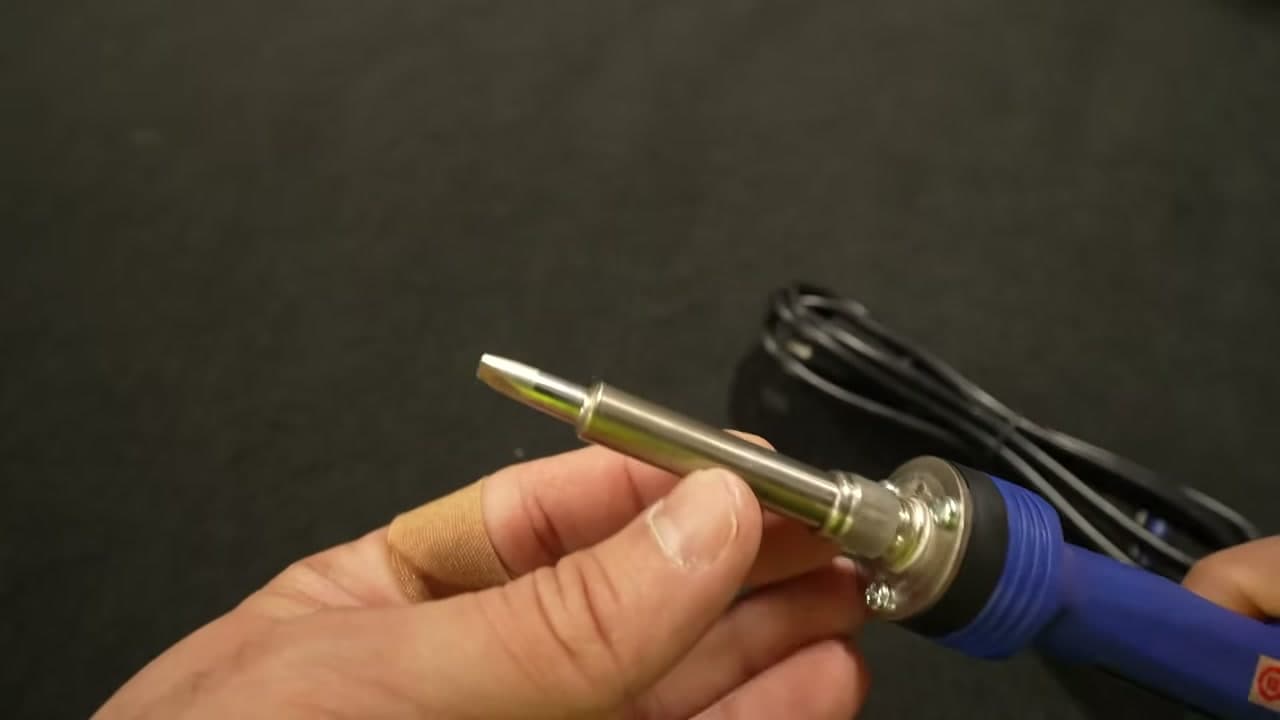
The Hakko FX-601 is the copper foil pick because the temperature control sits on the handle. That matters more than it sounds: a foil run and an edge bead want different heat, and so do different solder alloys.

For leaded glass a Weller 100 watt iron is hard to beat. It heats fast and hot, so joints go quickly. On a window with 400 joints, a second or two saved per joint is 10 to 15 minutes off the job.

Buy the stand at the same time. It keeps a 400-degree iron off your bench, and it usually holds the wet sponge too.

3

Step 3: Add a Rheostat if Your Iron Has No Temperature Control

3:42
Step 3: Add a Rheostat if Your Iron Has No Temperature Control - How to Solder Stained Glass

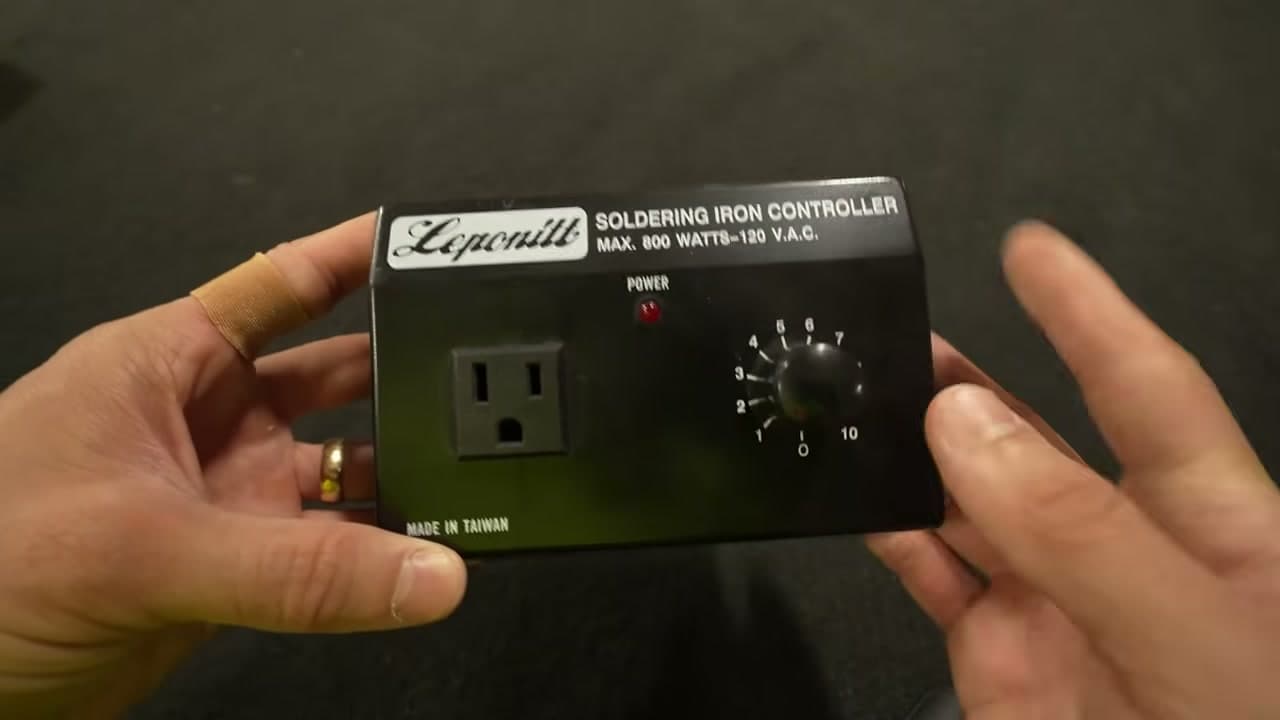
If your iron runs at one fixed temperature, you are not stuck. A rheostat - sold as a soldering iron controller - sits between the wall and the iron and dials the power down.

It costs a fraction of a temperature-controlled iron and gives you most of the same benefit. Turn it down for delicate work and back up for a long bead.

4

Step 4: Get Your Flux and Safety Kit Ready

4:30
Step 4: Get Your Flux and Safety Kit Ready - How to Solder Stained Glass

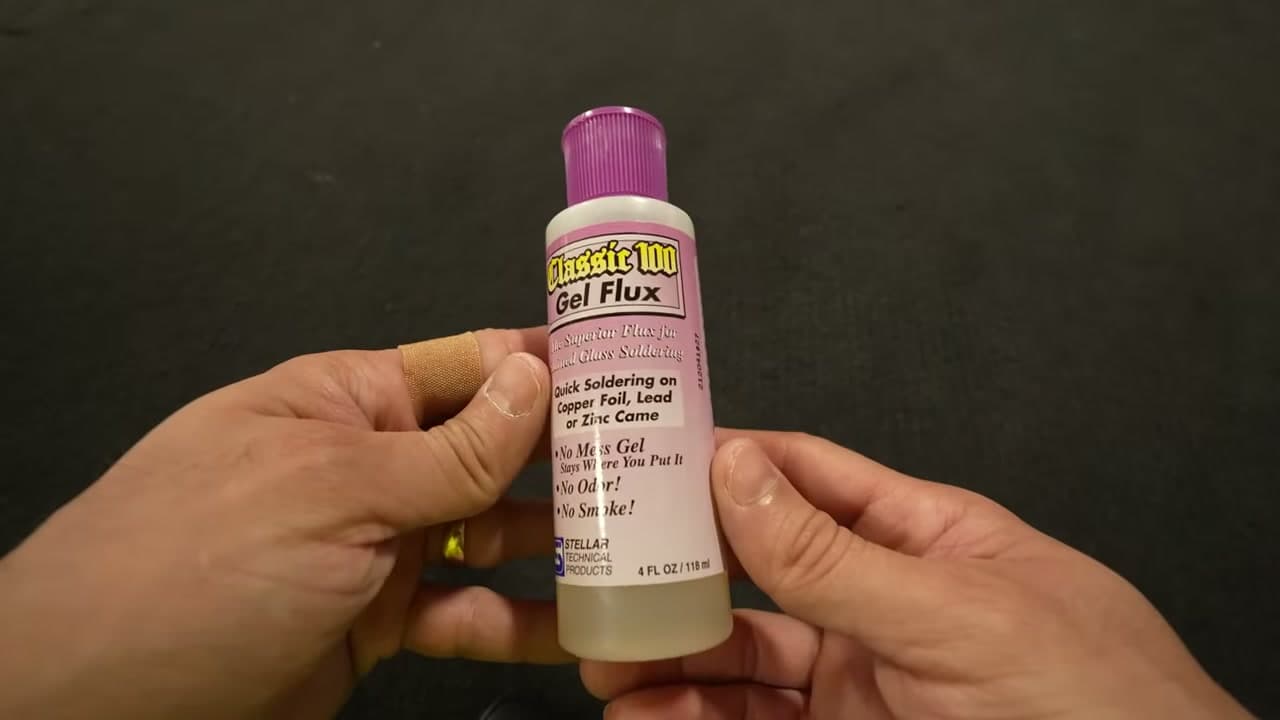
Flux is not optional. Solder will not wet bare copper foil without it - it beads up and rolls off instead of bonding.

Gel flux is the easiest to control because it stays where you brush it rather than running across the glass.

Set up ventilation before you switch the iron on. A fume extractor is worth the money if you solder often; an open window and a fan is the minimum. Gloves and safety glasses too.

Tip

Keep the flux in a small container with its own brush rather than dipping into the main jar. It stays clean and you waste less.

5

Step 5: Keep the Tip Clean and Tinned

5:10
Step 5: Keep the Tip Clean and Tinned - How to Solder Stained Glass

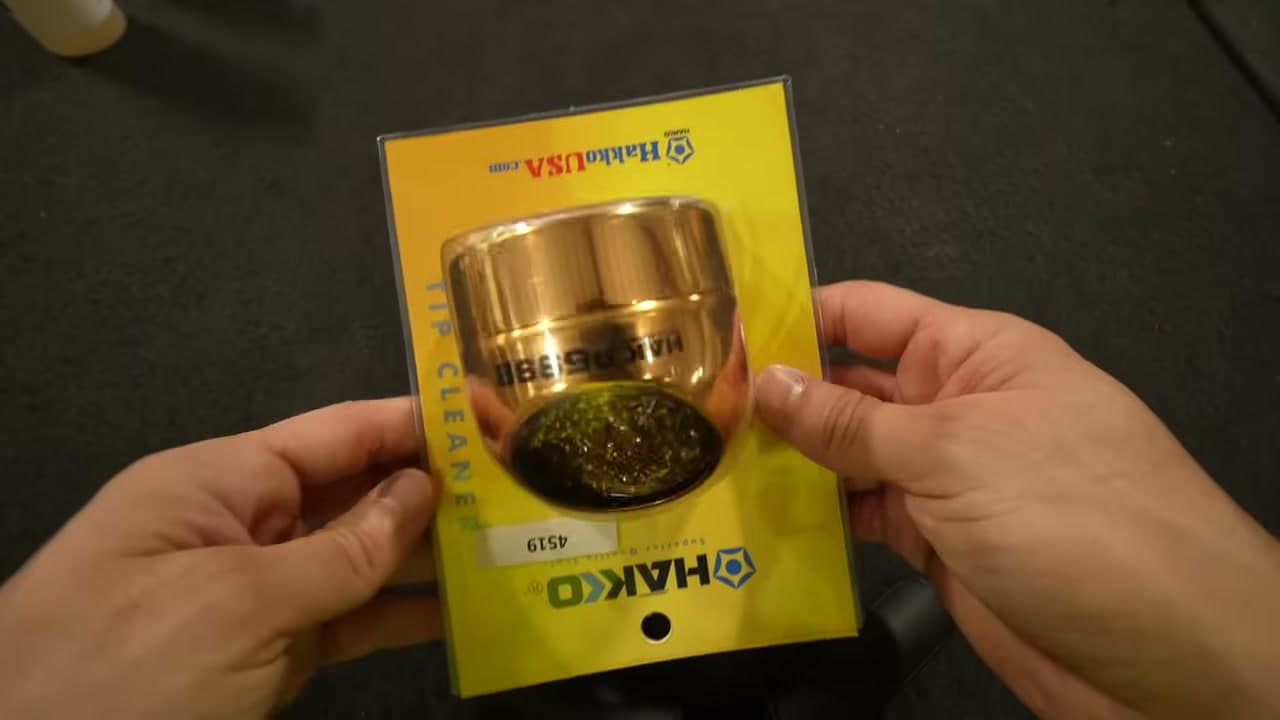
Your tip will get gunked up. That is normal, and a dirty tip is the reason a lot of beginners think their iron is faulty - oxidised tips stop transferring heat.

Wipe on a wet sponge as you work. For a deeper clean use tip tinner paste, or tin the iron on a block of sal ammoniac.

Sal ammoniac smokes hard. Get the extractor going before you touch it, and do not lean over it.

6

Step 6: Flux the Copper Foil

9:15
Step 6: Flux the Copper Foil - How to Solder Stained Glass

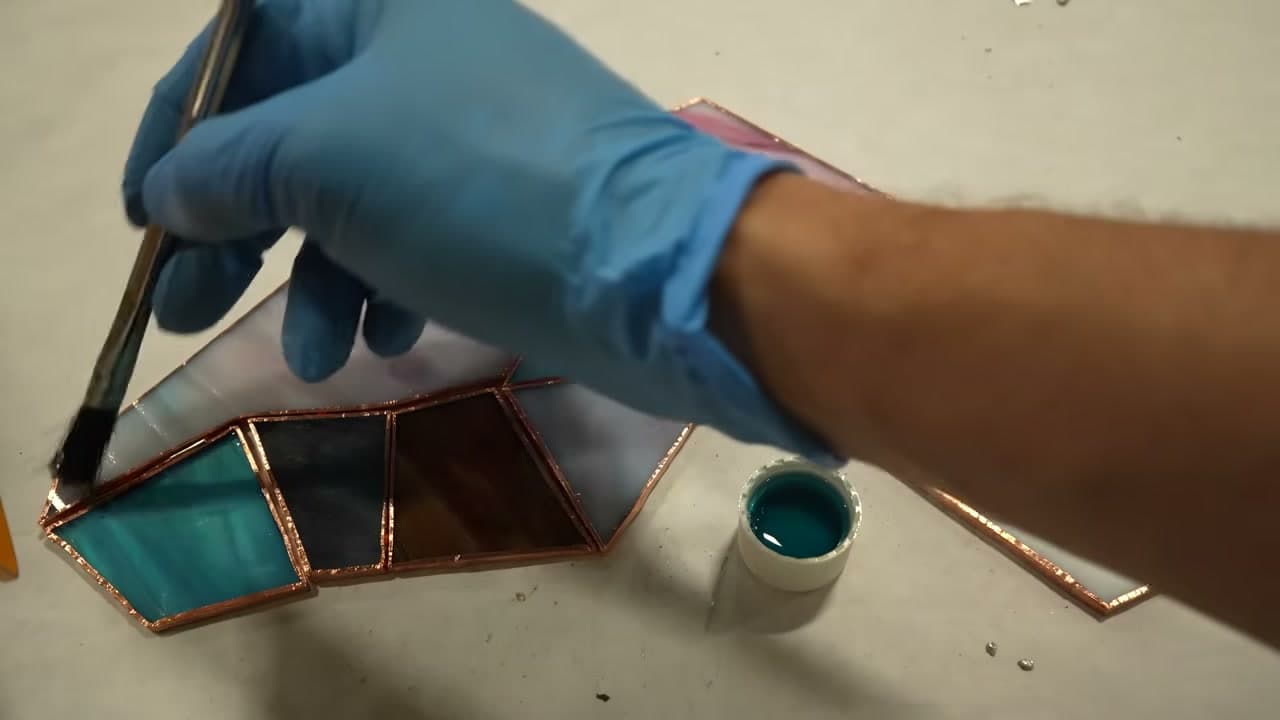
Brush flux along every foil line you are about to solder.

On a small piece you can flux the whole thing at once and work through it. On a big panel, flux a section at a time - flux dries out and stops working, and you will just be reapplying it anyway.

You will see the foil change as the flux goes on. That is what you want.

7

Step 7: Tack the Panel Together

10:20
Step 7: Tack the Panel Together - How to Solder Stained Glass

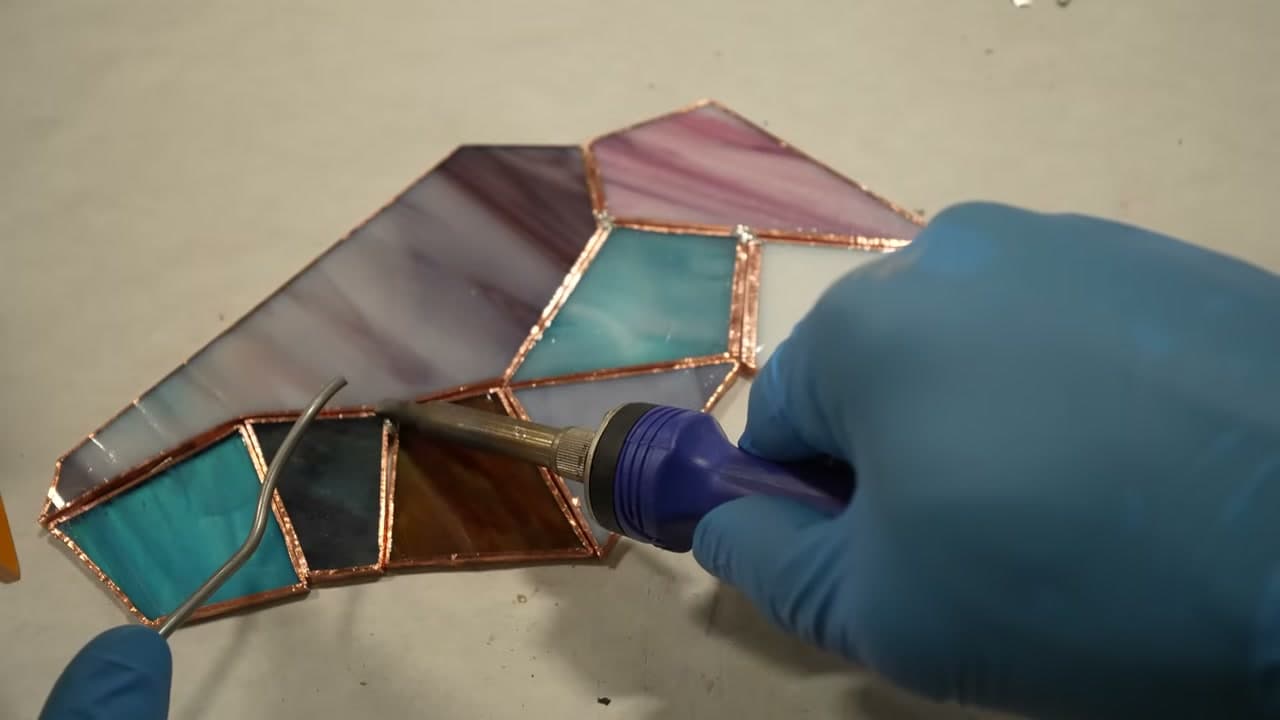
Before running full beads, drop a small blob of solder at the joints to lock the pieces in position.

Tacking first means nothing shifts while you are working, and it lets you check the layout one last time.

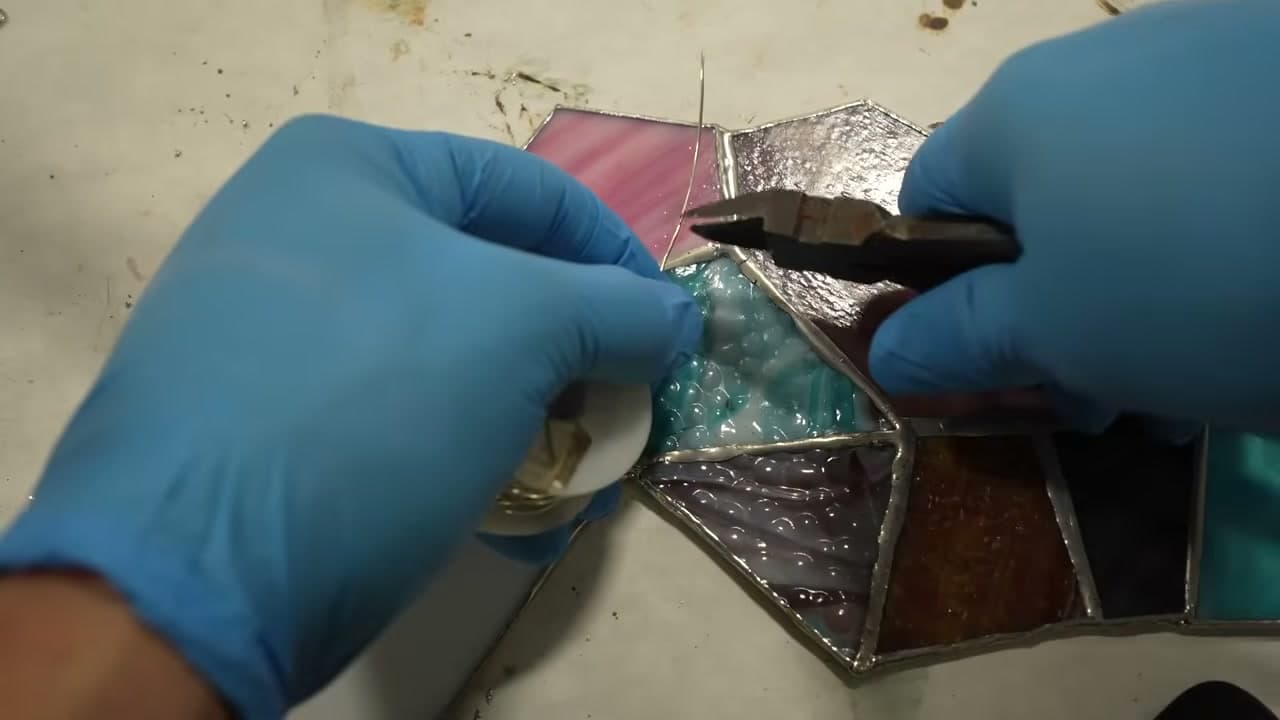
Big gaps between pieces are fixable without recutting. Lay small pieces of tinned wire into the void and solder over them - the solder has something to grip instead of falling through.

Tip

Work from a pattern with layout forms around the edge. It holds everything square while you tack.

8

Step 8: Run the Bead

11:30
Step 8: Run the Bead - How to Solder Stained Glass

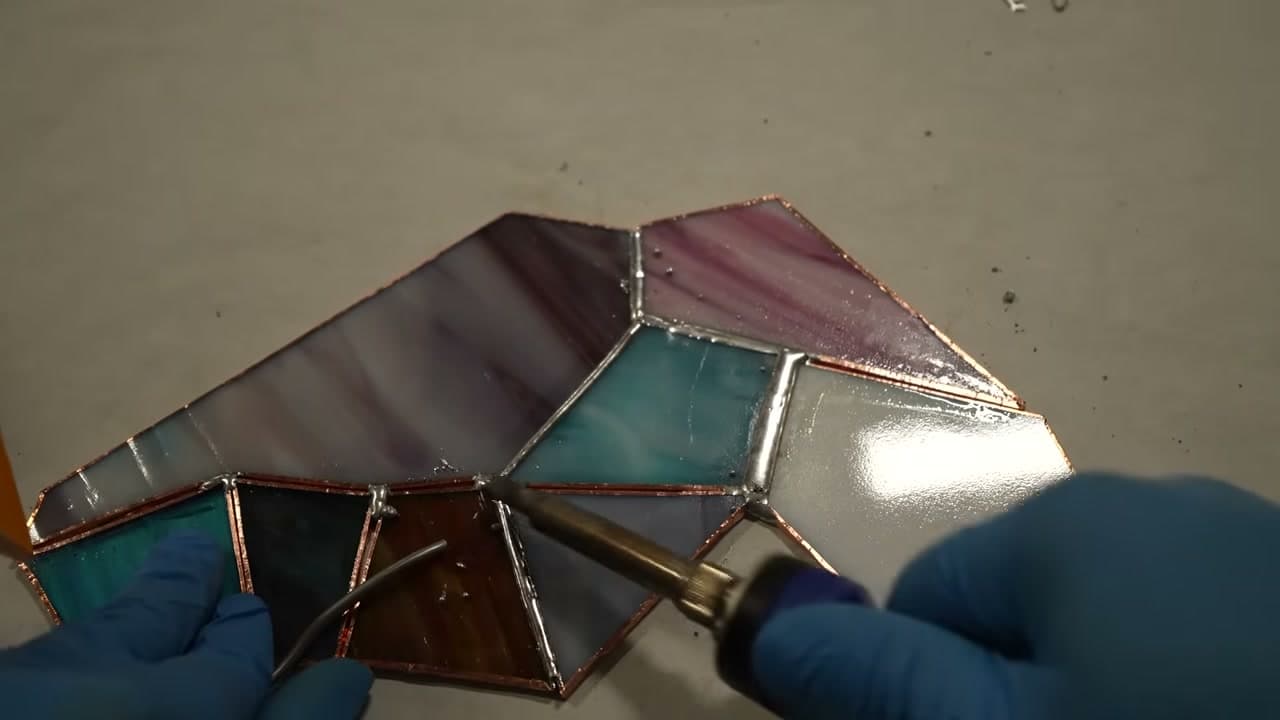
Feed solder onto the fluxed foil and move joint to joint rather than trying to run the whole length in one pass.

A good bead is smooth and rounded, high in the middle and tapering into the glass on both sides. Flat means not enough solder. Lumpy means the iron moved too slowly or the foil was not fluxed.

If you find it awkward feeding from the whole roll, cut a short length of solder and feed that by hand instead.

Do not lift the panel by a bead you have just run. Let it cool first.

9

Step 9: Tin the Perimeter and Run the Edge Bead

14:15
Step 9: Tin the Perimeter and Run the Edge Bead - How to Solder Stained Glass

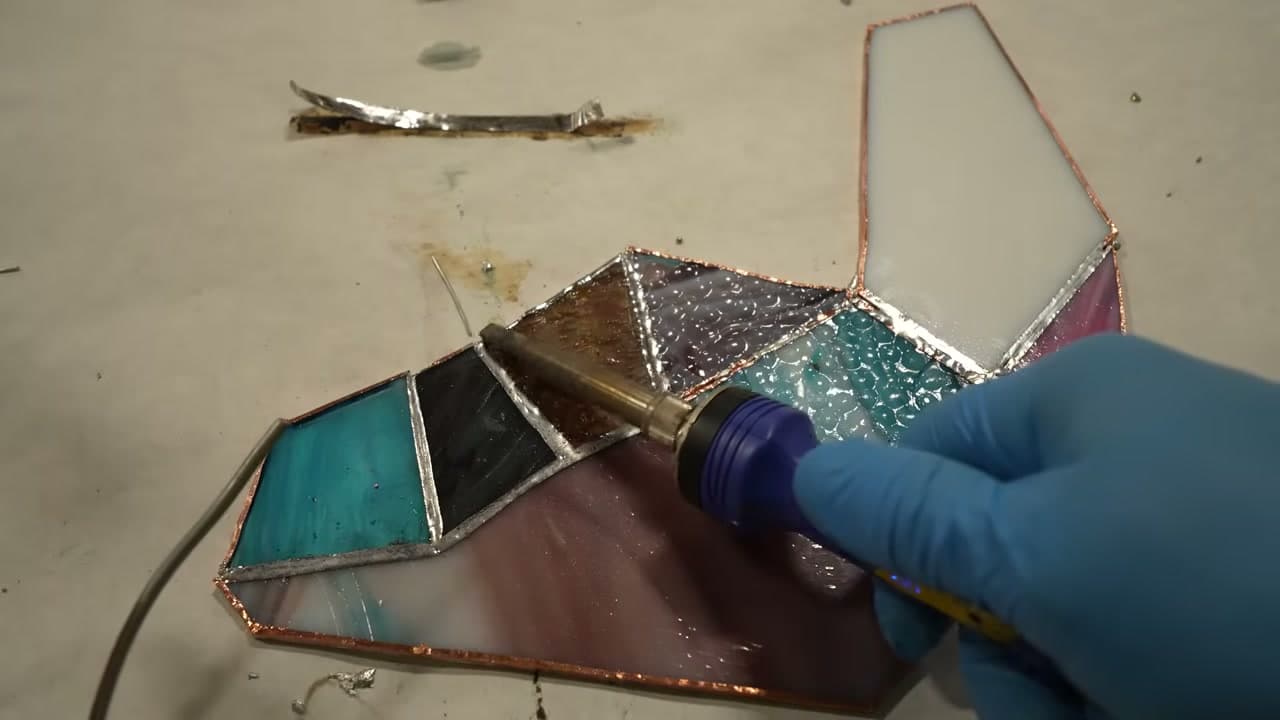
The outside edge needs tinning on both faces before you can bead it, otherwise the edge bead has nothing to hold on to.

Textured glass takes a little more solder along the edge, because the texture lifts the foil off the surface and there is more gap to fill.

Sharp corners want smoothing into the adjacent edge. Let the area cool, pick up a drop of solder on the iron, and feed it into the corner.

Tip

Stand the panel on edge and work along it. Trying to edge bead a flat panel means fighting gravity the whole way.

10

Step 10: Attach the Jump Ring and Finish the Sides

16:50
Step 10: Attach the Jump Ring and Finish the Sides - How to Solder Stained Glass

Solder jump rings onto a joint, never into the middle of a foil run. A ring in the middle of a run will eventually pull away and drop the panel on the floor.

Hold the ring with pliers, heat the joint, and feed a little solder around the base.

Bead the remaining sides and the piece is ready to hang.

Keep going

How to Make a Snow Globe

Products Used

The Checklist

How to Solder Stained Glass

Tools
9
Materials
8
Steps
10
Video
19 min

Tools we recommend

Your Guide

MrStainedGlass

As an Amazon Associate we earn from qualifying purchases. Links on this page may be affiliate links - clicking them and buying doesn't change your price, but helps support CraftingStepByStep.

Tags

Sunday How-To

New crafts tutorials, every Sunday

One short email with the week's best step-by-step guides. Free, no spam, unsubscribe anytime.

Did this work for you?

What's next

Related collections

Curated theme pages that include this tutorial.

Weekly Digest

Liked this crafts tutorial?

Pick the categories you want to hear about. Weekly digest of new step-by-step tutorials. No spam, easy unsubscribe.

Send me tutorials about

We only email about new tutorials. Easy unsubscribe anytime.