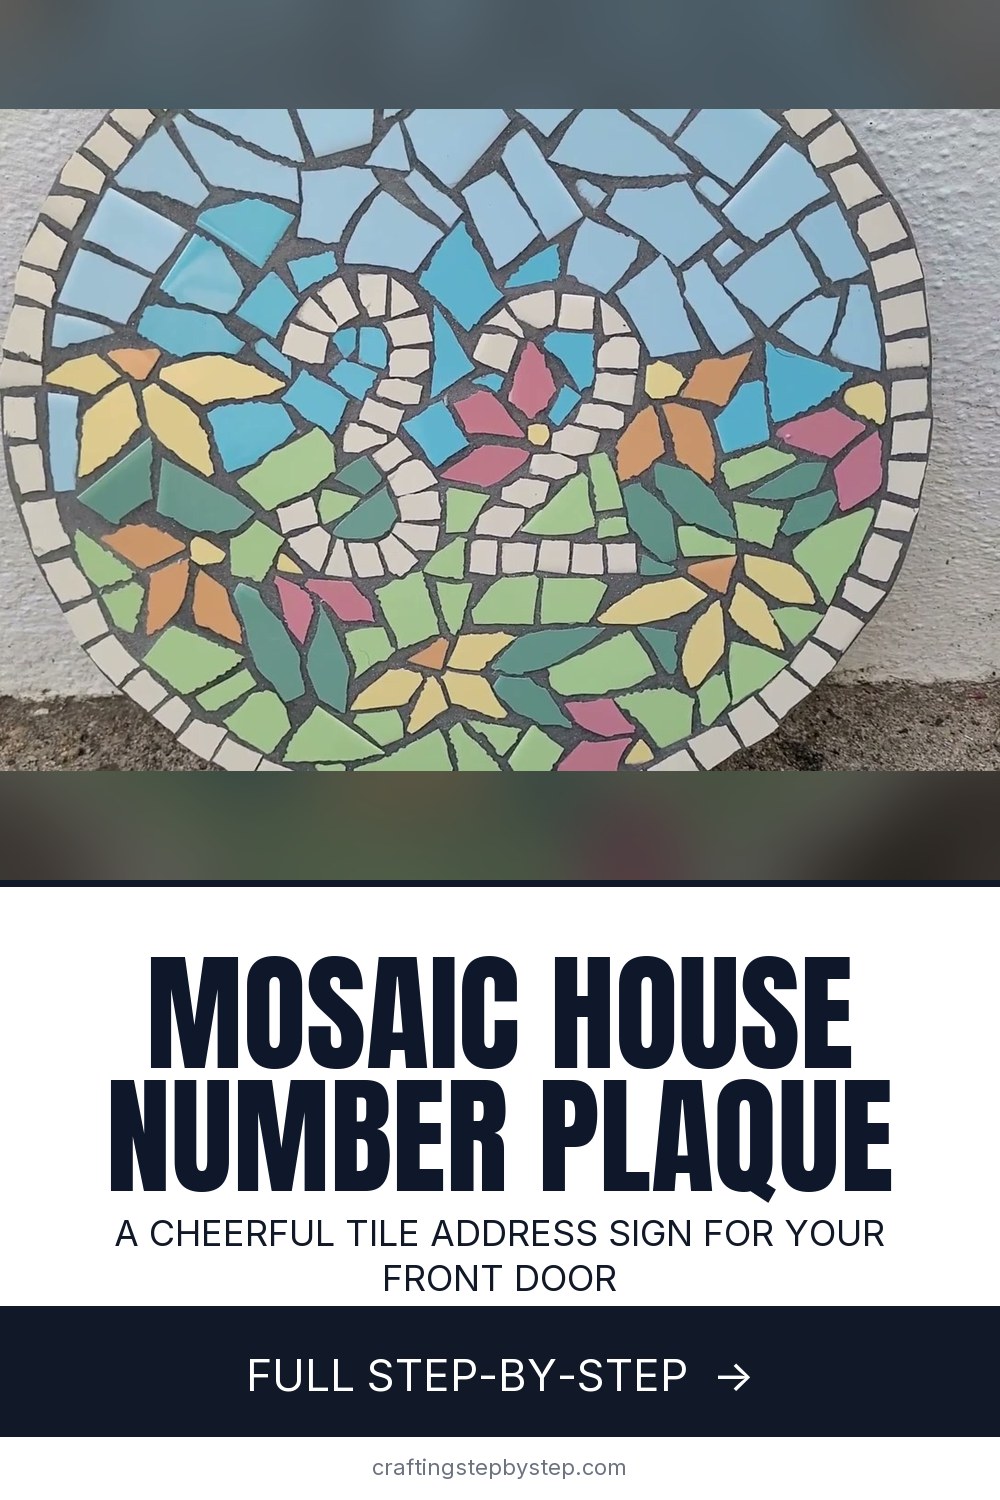
A mosaic house number plaque makes your address easy to spot and gives the front door a handmade welcome. This round sign has the number in white tile, a blue sky, a row of pastel flowers and a crisp white border. YouTube maker Angelica made it as her very first mosaic, which shows how forgiving the craft is. You need tiles, nippers, a waterproof board, adhesive and grout.
How to make a mosaic house number plaque: the short version
- Sketch the design on paper and count your colors.
- Practice nipping tiles, then draw the circle and number on a waterproof board.
- Lay and glue the border and number in white squares.
- Fill in flowers, then sky and grass, gluing as you go.
- Grout, wipe clean and let it cure before hanging.
Make the number big enough to read
A house number is only useful if a delivery driver can read it from the street. Make the digits at least 4 inches tall, and use a light color against a darker or busier background. White on blue reads well. Angelica's one regret was not making her number bigger, so draw it larger than feels right. A two digit number fits a 12 inch circle. Three or four digits suit a long rectangle better.
Choosing a board for outdoors
An outdoor sign needs a waterproof base. Wood swells and the tiles pop off after a winter. Foam tile backer board or cement board is the safer choice, and the rough surface grips the adhesive. Foam board cuts with a sharp utility knife, so you can trim it round after tiling. The back of a large floor tile also works as a base.
Picking tiles
Plain glazed ceramic wall tiles are cheap and easy to nip. Buy a few 6 inch squares in each color, and keep every tile the same thickness so the surface stays level. Practice on a spare tile first. Use the corner of the nippers for small pieces, and remember each tile breaks a little differently.
How long it takes
Plan on a full weekend. Sketching and drawing the board take an hour. Cutting and gluing the pieces is the long part, often six to eight hours for a 12 inch sign. Let the adhesive dry overnight before you grout, then give the grout a day or two before the sign goes outside. Working outdoors on a warm day makes the cutting much more pleasant.
Hanging and weatherproofing
- Glue strong picture hooks to the back before you tile, or mount the whole plaque with exterior construction adhesive.
- Grout the edges too, so no board shows.
- Seal the grout once it cures. See how to seal a mosaic for outdoor use.
Common mistakes
- Gluing everything at the end. Pieces shift while you work. Glue each section once it is laid.
- Uneven gaps. Keep the spaces between pieces about the same so the grout lines look tidy.
- Pieces at different heights. Press each one down to match its neighbors.
New to mosaics? Plan your layout with how to lay out a mosaic design and finish with how to grout a mosaic. Prefer a modern look? Try concrete house numbers.