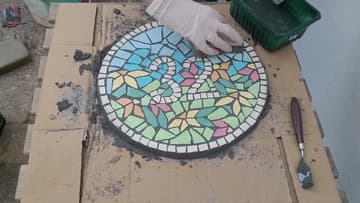
How to Make a Mosaic House Number Plaque
Source: Simply by A. • Full tutorial: www.craftingstepbystep.com/crafts/how-to-make-a-mosaic-house-number-plaque
- Difficulty
- Medium

Tools
- tile nippers
- plastic spatula
- rubber grout float
- sponge
- utility knife
- permanent marker
- safety glasses
- disposable gloves
Materials
- glazed ceramic wall tiles
- foam tile backer board
- exterior tile adhesive
- tile grout
- picture hanging hooks
Steps
1. Sketch the Mosaic House Number Design on Paper
Start on paper. Draw the shape of your sign, the border, the number and the background.
Tip: Draw the number bigger than you think. It needs to read from the street.

2. Practice Nipping Ceramic Tiles for the Mosaic
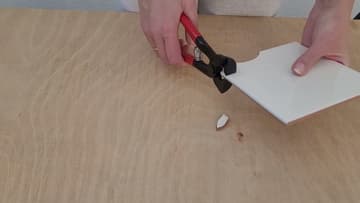
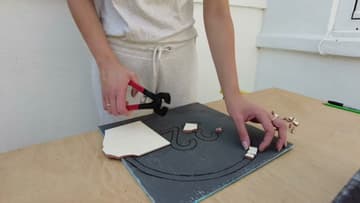
If you have never cut tile, practice on an old tile of the same thickness first. Hold the tile with one hand and bite into the edge with the tile nippers.
Tip: Wear safety glasses. Small chips can fly when the tile snaps.
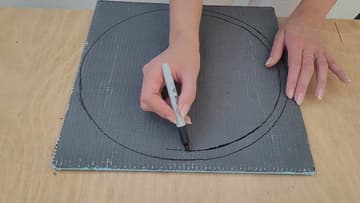
3. Draw the Circle and Border on the Backer Board
Use a waterproof board for an outdoor sign, like foam tile backer board. Trace around a bucket or a plate to draw the circle with a marker.
Tip: Leave the board square for now. Trim it round once the tiles are on.
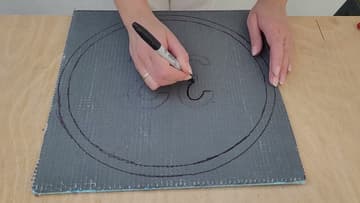
4. Outline the House Number Inside the Circle
Draw the number in the middle of the circle with the marker. Make the strokes about the width of a tile square so you can fill each line with a single row of pieces.
Tip: Print the number in a bold font and trace it if freehand feels tricky.
5. Cut and Lay the White Border Squares
Nip white tiles into small squares and lay them along the border line, one beside the next. Keep the gaps between them even.
Tip: Slightly wedge shaped pieces help the squares follow the curve of the circle.
6. Glue the Border and Number Tiles in Place
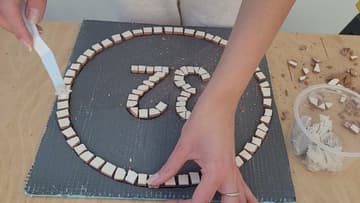
Glue the white pieces before you start the rest. Pick up one piece at a time, spread a little exterior tile adhesive on the back with a plastic spatula, and press it back into exactly the same spot.
Tip: Gluing section by section stops pieces sliding around while you work on the next area.
7. Nip Flower Petals From Colored Tiles
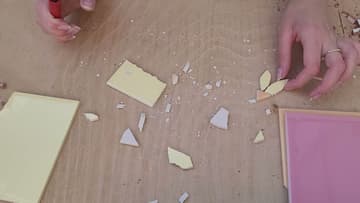
Now the flowers. Cut small triangles from orange tile for the centers and longer pieces with pointed ends from pink and yellow tile for the petals.
Tip: Nip a point by taking two small angled bites off one end of a strip.
8. Fill the Mosaic Sky and Grass Around the Flowers
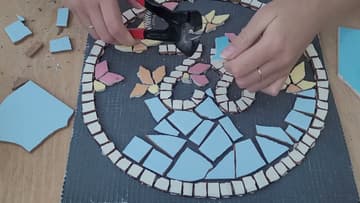
Fill the background last. Work from the border inward, cutting blue pieces for the sky and green pieces for the grass to fit each gap.
Tip: Two shades of blue and green make the background look richer than one.
9. Grout the Mosaic House Number Plaque
Mix powdered grout with water until it is like thick peanut butter. Wear gloves.
Tip: Gray grout makes bright colors pop and hides dirt better outdoors than white.
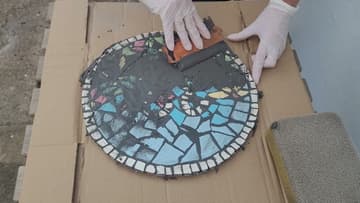
10. Sponge the Grout Off the Mosaic Plaque
Let the grout firm up for 15 to 20 minutes, then wipe the surface with a damp sponge. Rinse the sponge often and wipe lightly so you do not drag grout out of the gaps.
Tip: Wring the sponge out well. Too much water weakens the grout lines.