How to Make a Pinata

CraftsMedium9:1310 stepsBrowse more →
The finished result: How to Make a Pinata

By CraftingStepByStepPublished

Based on a video by BeforeAndAfterTV.

A piñata is a hollow paper shell you fill with sweets and then destroy. Building one from scratch sounds like a weekend job, and the reason this version is not is the party hats: five cone hats taped to a foil balloon give you a five-point star before you have touched any paper mache.

This build comes from BeforeAndAfterTV, and the supply list came to about eight dollars at a dollar store. Flour and water make the paste. Newspaper makes the shell. Crepe paper does all the visual work at the end.

How strong should it be?

Three to four layers of paper mache is the sweet spot. Two layers and it splits on the first hit, which is anticlimactic. Five or more and you have built something genuinely difficult for a child to break. Let the layers dry properly between coats, because thickness from wet layers piled on wet is not the same as real strength.

The drying step is the one people rush

Standing it in a weighted jar rather than laying it on a table matters more than it sounds. Flat on a surface, one side stays damp and the shape flattens where it rests, and you find out at the fringing stage when nothing sits right.

Why fold the crepe paper before fringing

Folding the strip over before you cut gives you double thickness, and doubled fringe is what looks full on the finished piñata. Single-layer fringe goes limp and shows the shell through the gaps.

Step-by-Step Guide

10 steps · about 9 minutes.Check off each step as you go and your progress saves automatically.

1

Step 1: Start With Five Party Hats

0:34
Step 1: Start With Five Party Hats - How to Make a Pinata

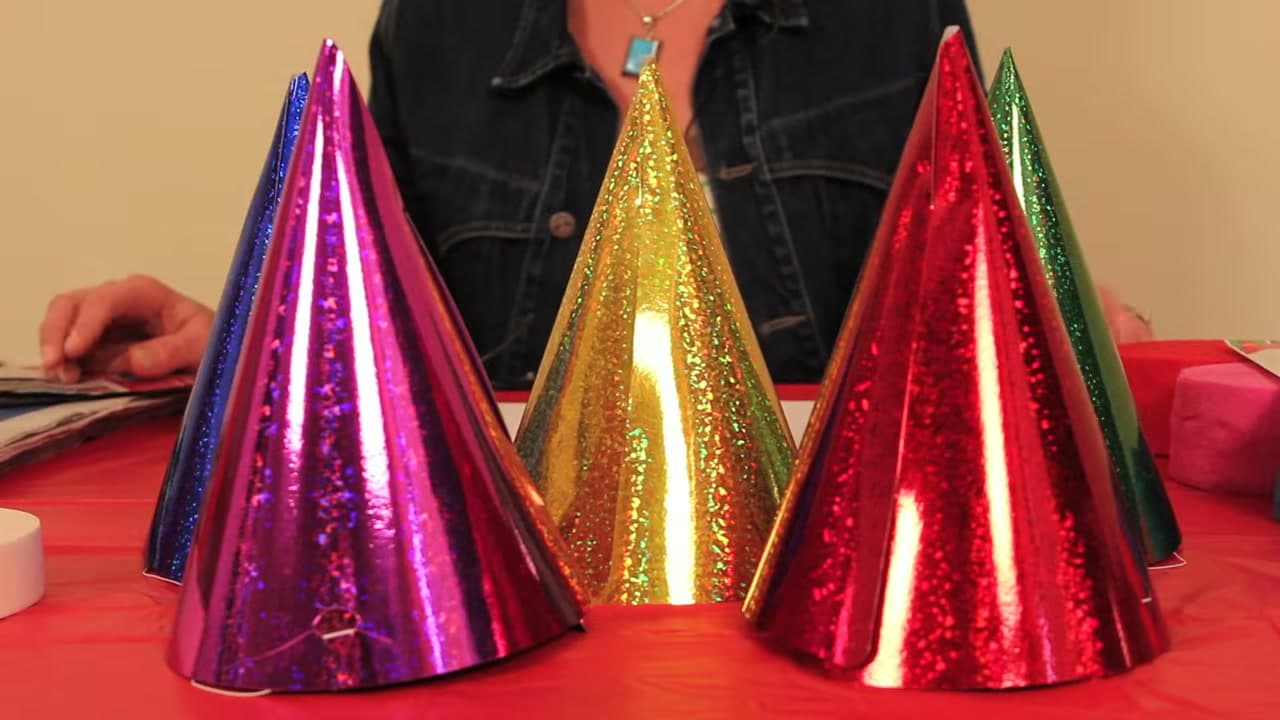
The clever part of this build is that the star points are just cone party hats. Five of them, in whatever colours you want the tips to be.

You also need a foil balloon for the body, newspaper, flour, masking tape, crepe paper and glue. The whole lot came to about eight dollars at a dollar store.

Tip

Foil balloons hold their shape better than latex under wet paper mache, and a star-shaped one gives the points something to sit on.

2

Step 2: Tape the Cones On

1:06
Step 2: Tape the Cones On - How to Make a Pinata

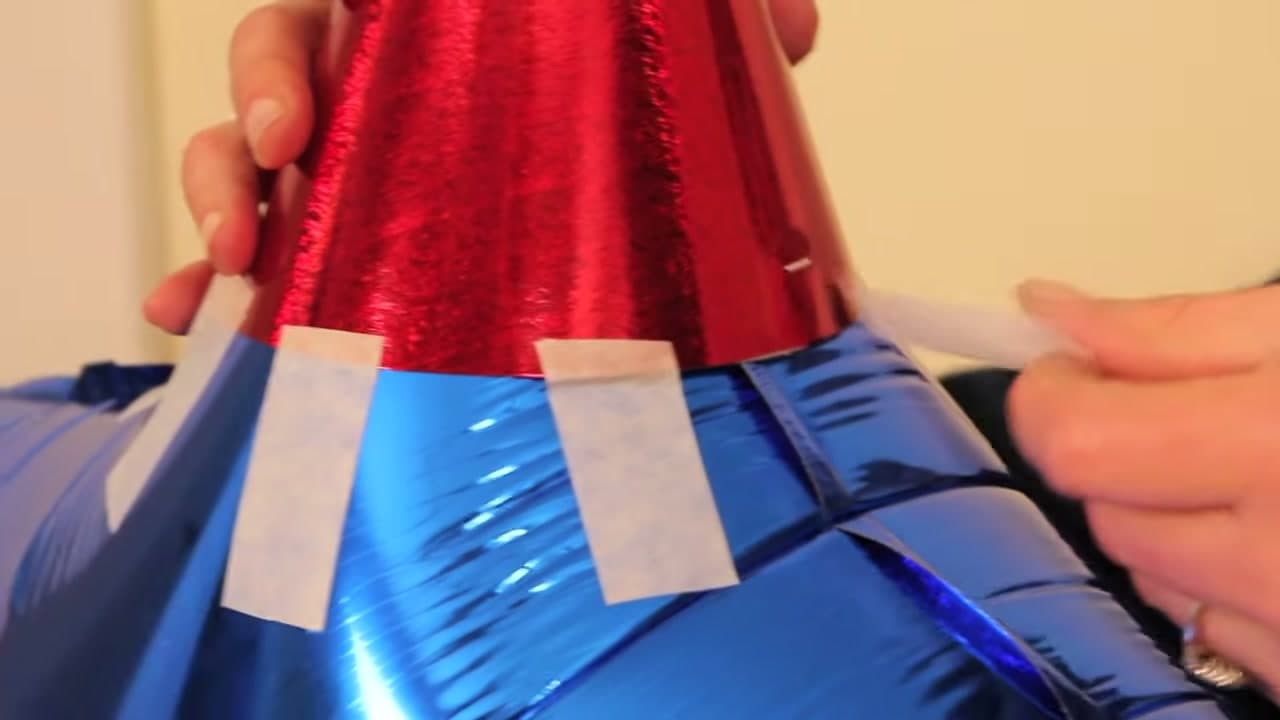
Inflate the balloon, then slide a party hat over each of the five points and tape it down with masking tape.

You only need enough tape to hold it steady. The paper mache is what actually locks the cones on.

Tip

Masking tape rather than clear tape here. Paste soaks into masking tape and grips it; it slides straight off the shiny stuff.

Products used in this step

3

Step 3: Mix the Paper Mache Paste

1:34
Step 3: Mix the Paper Mache Paste - How to Make a Pinata

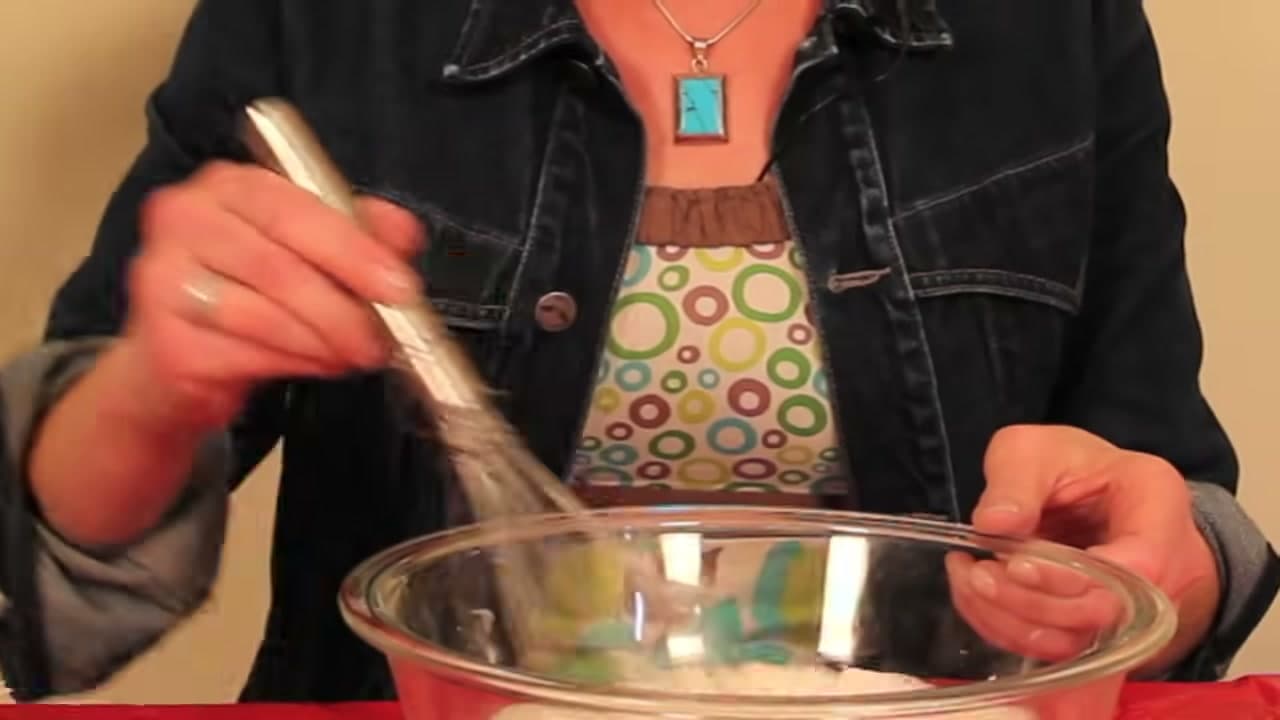
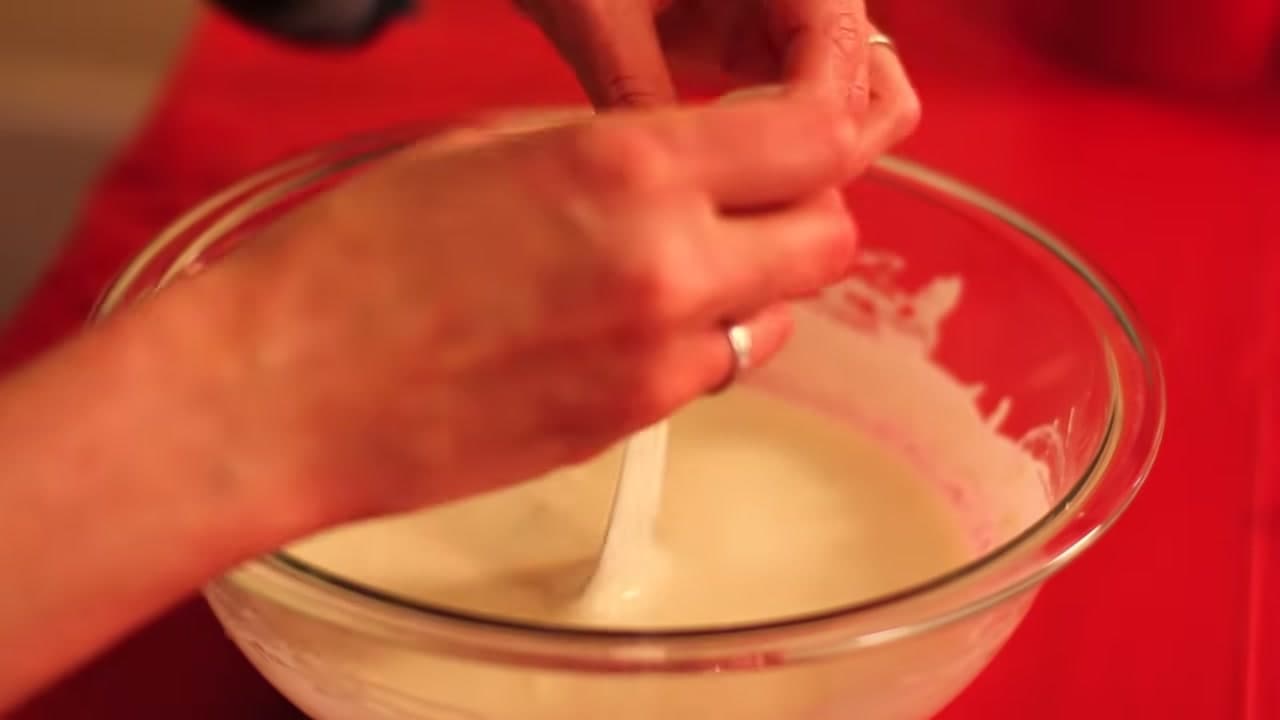
Whisk one cup of plain flour into one and a half cups of water until there are no lumps left.

You want it about the consistency of thin pancake batter. Too thick and it dries lumpy under the fringe, too thin and the paper will not hold.

Tip

Mix it in a wide bowl rather than a deep one. You need room to drag full-length strips through it.

4

Step 4: Dip and Strip the Newspaper

2:00
Step 4: Dip and Strip the Newspaper - How to Make a Pinata

Tear newspaper into strips about two inches wide. Dip a strip, swirl it through the paste, then draw it out between two fingers to squeeze off the excess.

Do not pinch too hard. You want a coating left on the paper, just not a dripping one.

Tip

Tear the newspaper rather than cutting it. Torn edges feather into each other and disappear; cut edges leave visible ridges.

Products used in this step

5

Step 5: Build Up Three to Four Layers

2:30
Step 5: Build Up Three to Four Layers - How to Make a Pinata

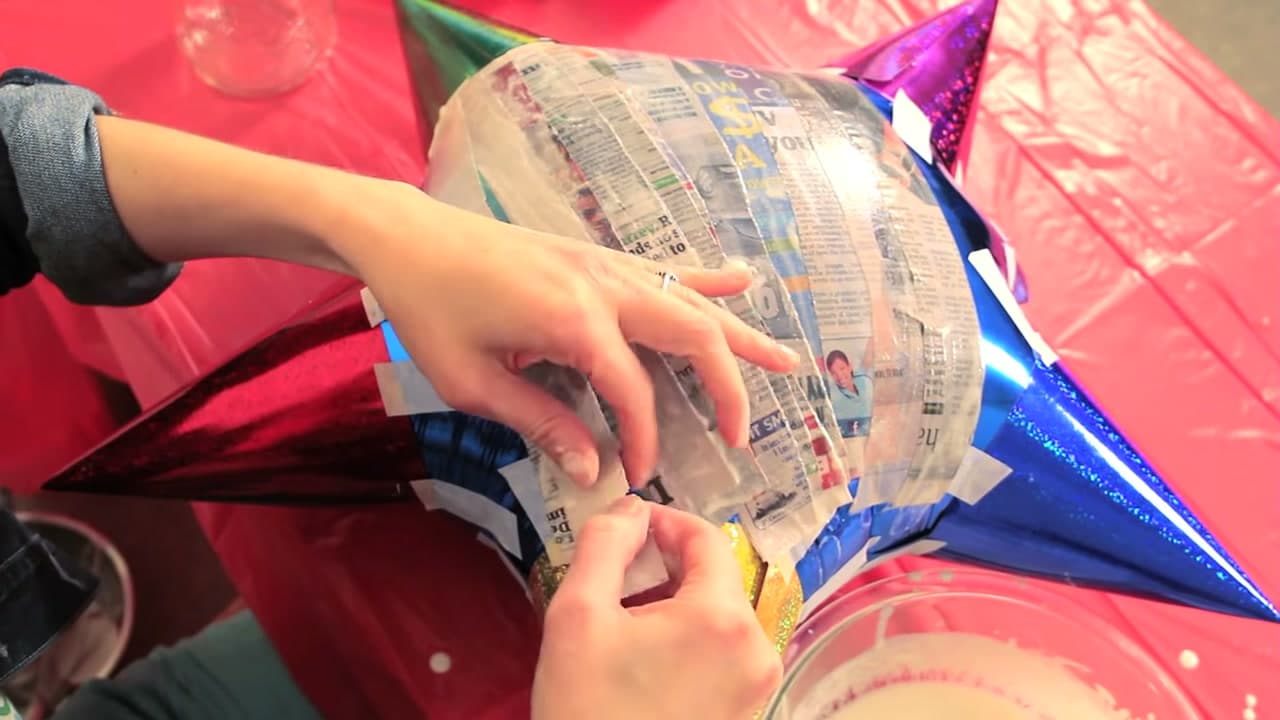
Start in the middle of the balloon and work outward, overlapping each strip over the last.

Use shorter pieces around the cones where the curve is tight, and take the paper over the join so the balloon and the hat become one shape. Three to four full layers is what holds up to a bat.

Tip

Let each layer dry before you add the next. Piling wet layers on wet gives you a shell that stays soft in the middle.

Products used in this step

6

Step 6: Stand It in a Jar to Dry

2:56
Step 6: Stand It in a Jar to Dry - How to Make a Pinata

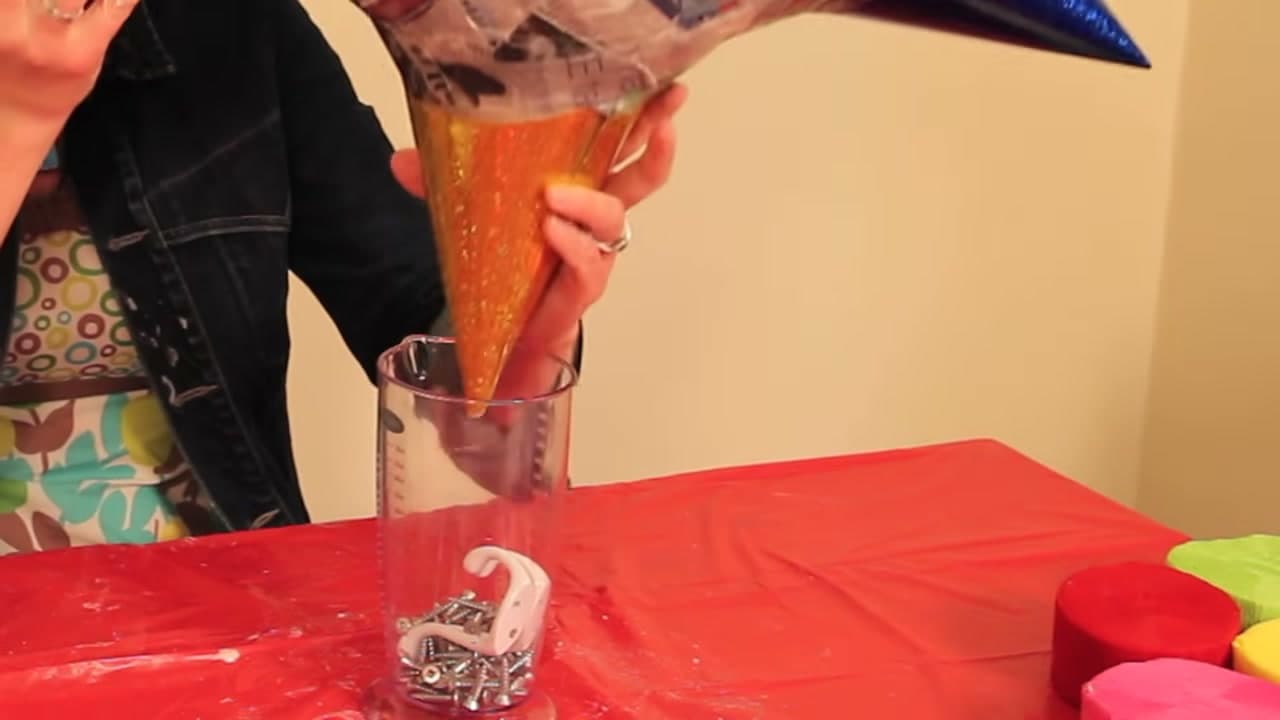
Sit the piñata point-down in a tall jar so it dries evenly on both sides.

Weight the jar with something heavy, screws or bolts, or the whole thing tips over. Laid flat on a table one side stays wet and the shape flattens where it rests.

Tip

Give it overnight at least. Paper mache that feels dry on the surface is often still damp underneath.

Products used in this step

7

Step 7: Cut the Candy Hole

3:34
Step 7: Cut the Candy Hole - How to Make a Pinata

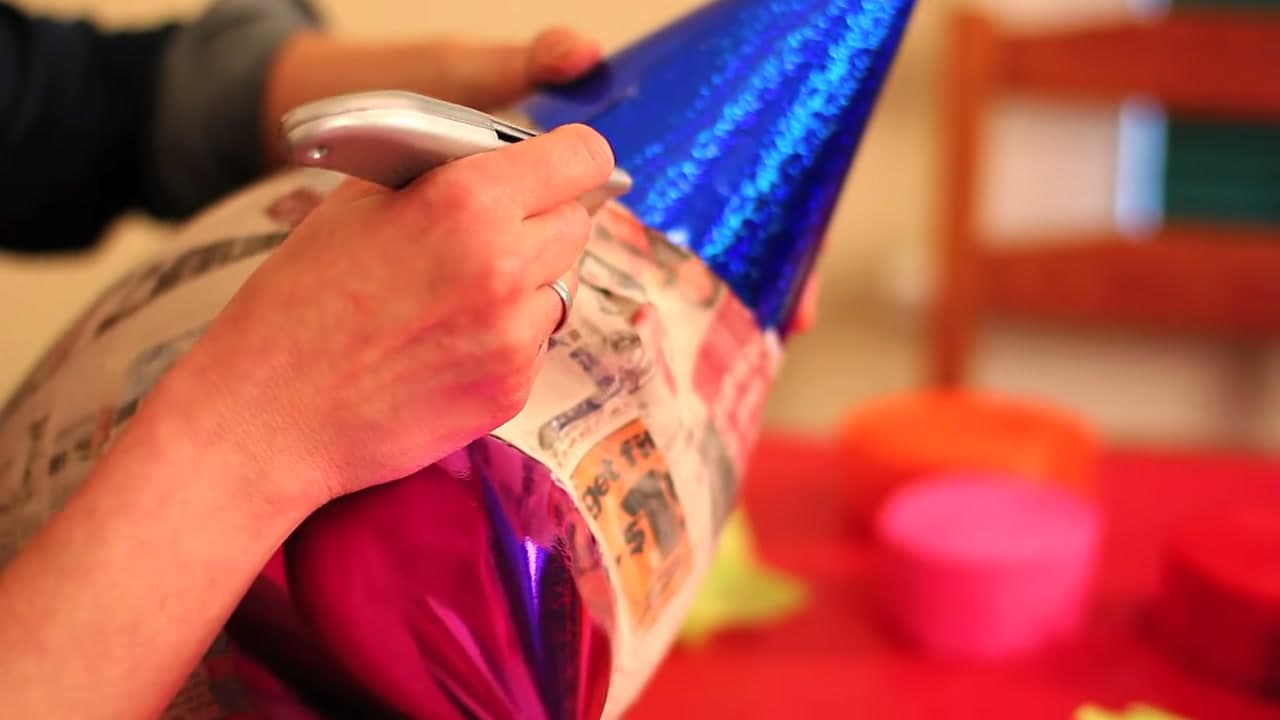
Once it is properly dry, cut a hatch with a craft knife, somewhere it will be hidden by fringe later.

Cut three sides and leave the fourth as a hinge if you want a flap you can close again.

Tip

The balloon usually pops or shrivels once you cut in. That is fine, the paper shell is the structure now.

Products used in this step

8

Step 8: Cut the Fringe

4:10
Step 8: Cut the Fringe - How to Make a Pinata

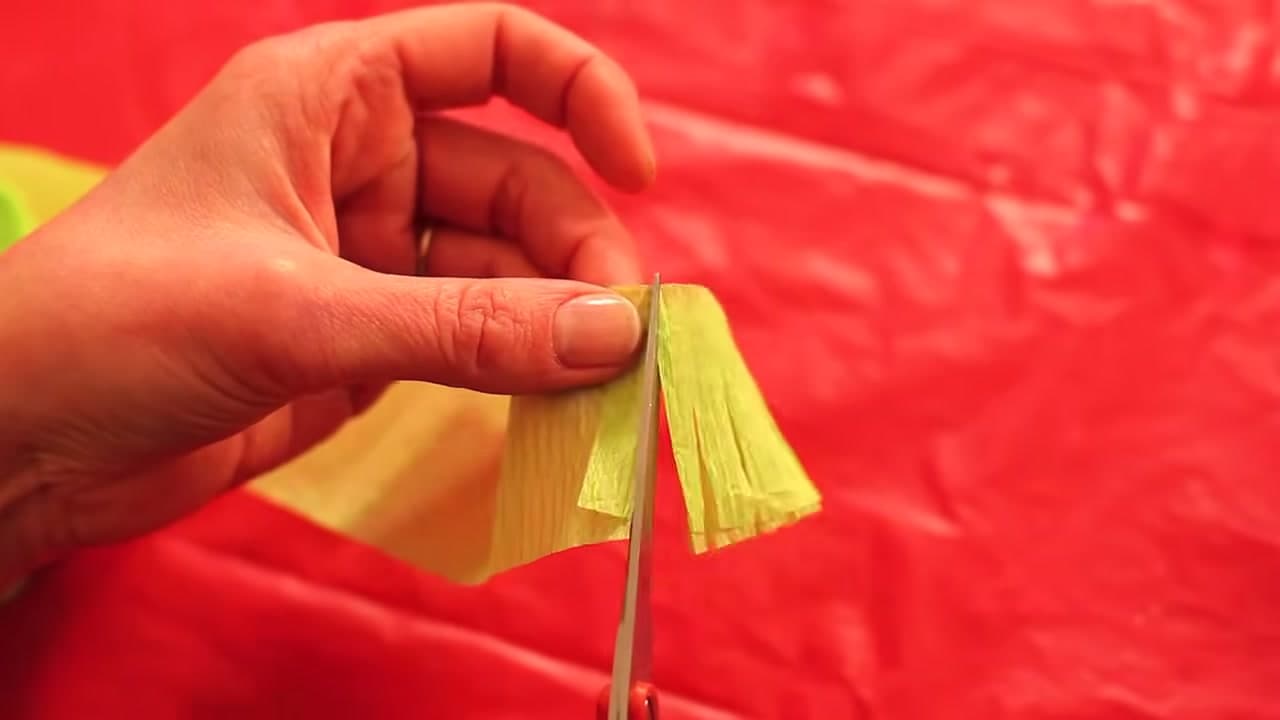
Fold a length of crepe paper over on itself about three inches deep, then cut a fringe along the folded edge, stopping short of the fold.

Folding first gives you double thickness, which is what makes the finished fringe look dense instead of thin and stringy.

Tip

Cut the fringe strips before you start gluing. Doing them one at a time between glue coats is how this project turns into an all-day job.

9

Step 9: Glue the Fringe in Rings

7:10
Step 9: Glue the Fringe in Rings - How to Make a Pinata

Thin white craft glue with a splash of water so it brushes on easily, then paint a band onto the shell and press a fringe strip down.

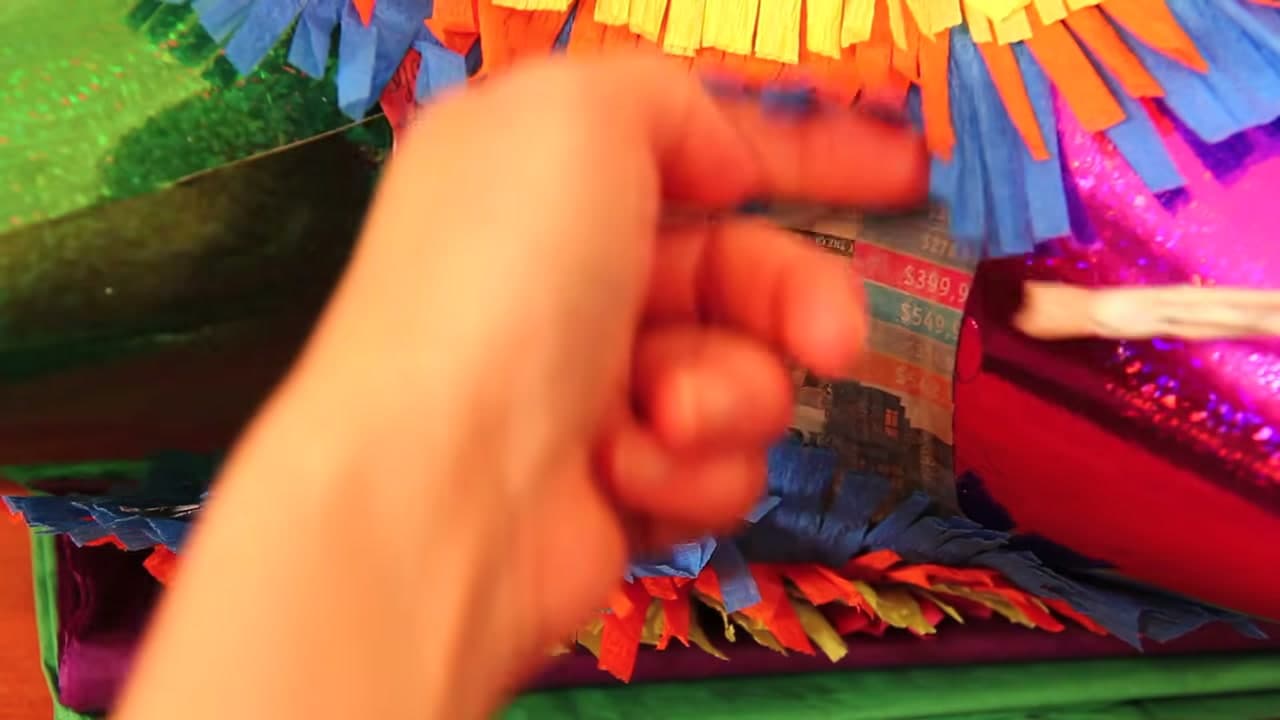
Work in rings, overlapping each new strip so it hides the glued edge of the one before. Take the colour right over onto the party hats.

Tip

Concentric rings of alternating colour are what give a piñata its look. Random placement reads as a mess from any distance.

10

Step 10: Fill It and Seal It Up

7:56
Step 10: Fill It and Seal It Up - How to Make a Pinata

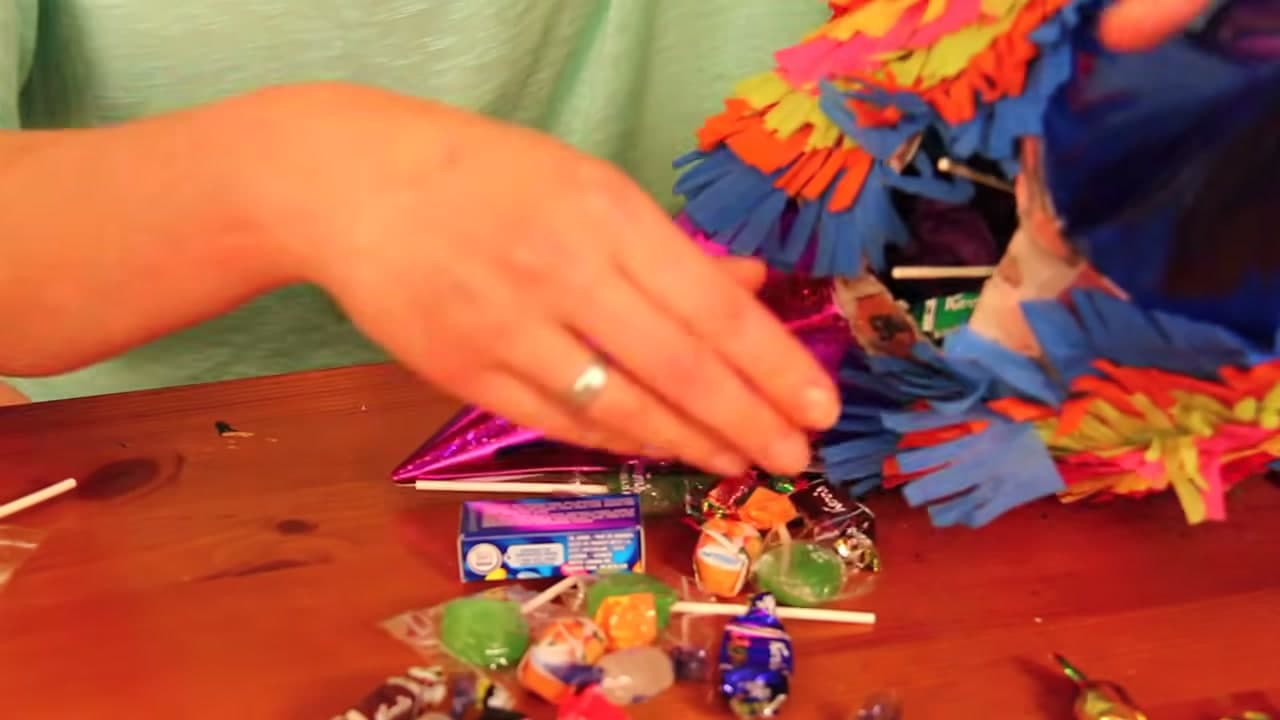
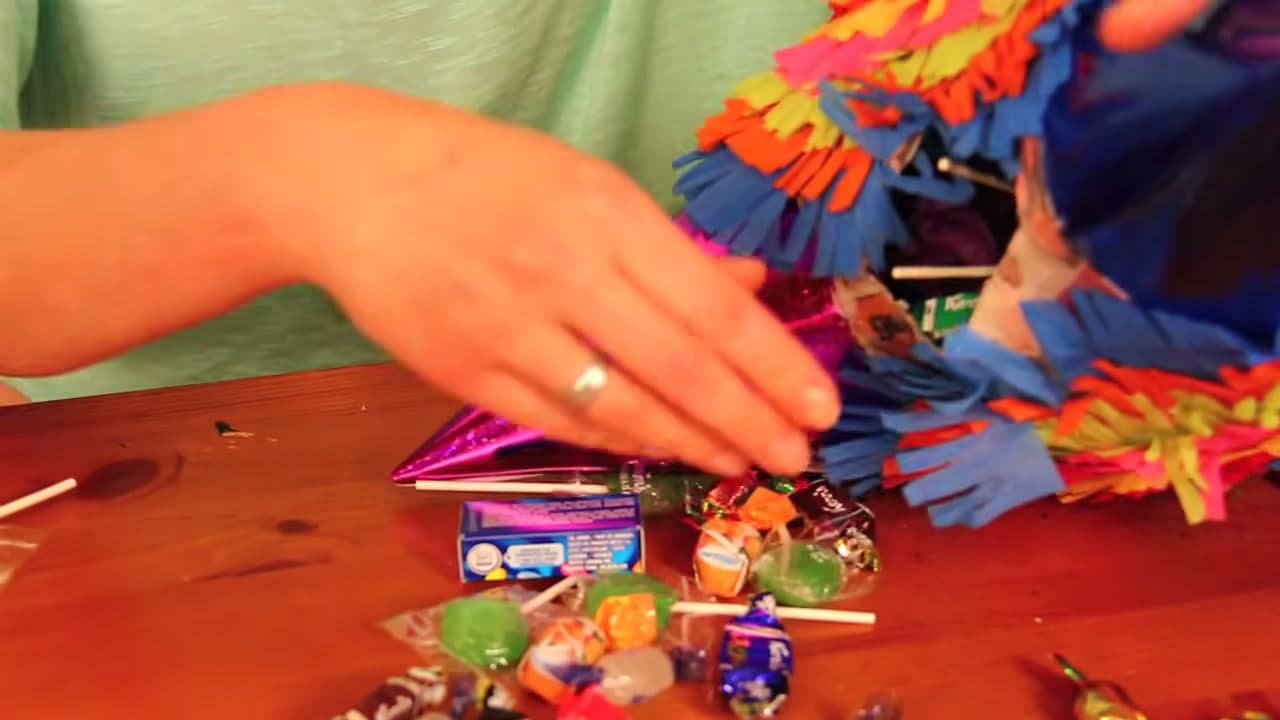
Thread a length of string through the top for hanging, then fill it with wrapped sweets.

Tape a piece of card over the hatch, fringe over the top of it, and nobody will find the seam. Keep the sweets wrapped since they end up on the grass.

Tip

Tie the hanging string around one of the internal cone bases if you can reach. String taped only to the shell tears out on the first swing.

Keep going

How to Make a Ghost Garland

Products Used

☐ The Checklist

How to Make a Pinata

Tools
5
Materials
9
Steps
10
Video
9 min

Tools we recommend

Your Guide

BeforeAndAfterTV

As an Amazon Associate we earn from qualifying purchases. Links on this page may be affiliate links - clicking them and buying doesn't change your price, but helps support ShowMeStepByStep.

Tags

Sunday How-To

New crafts tutorials, every Sunday

One short email with the week's best step-by-step guides. Free, no spam, unsubscribe anytime.

Did this work for you?

What's next

Related collections

Curated theme pages that include this tutorial.

Weekly Digest

Liked this crafts tutorial?

Pick the categories you want to hear about. Weekly digest of new step-by-step tutorials. No spam, easy unsubscribe.

Send me tutorials about

We only email about new tutorials. Easy unsubscribe anytime.