Slime is three ingredients and about two minutes of real work. The recipe is not where batches go wrong. Texture is, and texture comes down to how much activator goes in and how fast you add it.
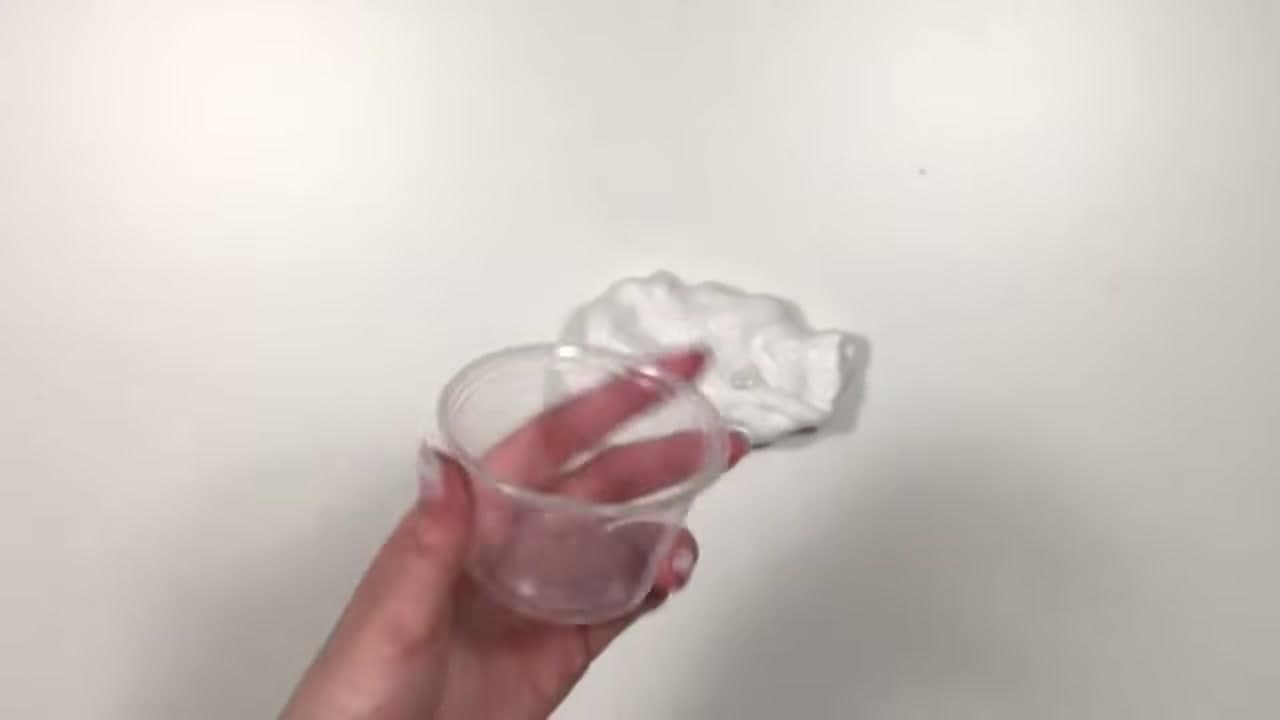
Rachel from Chillin' with Rachel films this one overhead on a plain white table, so you can see what the mixture looks like at every stage. That is worth more than any measurement. Slime gets diagnosed by eye - you learn what stringy looks like, what over-activated looks like, and after a batch or two you stop measuring at all.
Not every glue makes slime
The bottle has to say PVA. White school glue is the standard and gives the opaque, matte slime most kids picture. Clear PVA glue makes glass slime, which needs a few days sealed in a container to lose its bubbles and turn see-through. Glitter glue works too and saves you stirring glitter in by hand.
What will not work: rubber cement, glue sticks, wood glue, and craft glues that leave PVA off the label. Washable school glue is fine and worth buying with young children around, though it sets a little softer. Buy the big bottle. Three ounces of glue makes roughly a fist-sized ball, and one batch is never enough.
Borax, saline or liquid starch
All three activators do the same job. They cross-link the glue so it stops behaving like a liquid. They are not interchangeable by volume.
- Borax solution - one teaspoon of borax powder in one cup of warm water. The strongest and fastest of the three. Add it a splash at a time or it seizes.
- Saline solution - contact lens solution listing boric acid and sodium borate, with half a teaspoon of baking soda stirred into the glue first. The most forgiving option for small hands.
- Liquid starch - pour and stir, roughly equal parts starch to glue. No mixing step, middle ground on strength.
Borax is a laundry booster, not a food product. Mix the activator yourself rather than handing a child the box, mark the bottle so nobody drinks it, and wash hands after play. Skin irritation is the usual complaint, so saline is the kinder route for anyone with eczema.
Sticky or stiff: the only two failures
Slime that clings to your fingers is under-activated. Add activator a few drops at a time and keep kneading. It takes longer than people expect. A solid minute of kneading rescues most batches that look like write-offs.
Slime that tears instead of stretching got too much. You cannot take activator back out, so you dilute it: knead in more glue, a pump of lotion, or a few drops of baby oil. Warm hands help. Rubbery slime left overnight in a sealed container also relaxes on its own.
Fluffy, butter, clear and glitter
Once the base batch works, every variant is a small addition to it. Shaving foam makes white glue slime fluffy and light, about a cup of foam to three ounces of glue, and it deflates again after a day. Butter slime takes soft modelling clay kneaded through until it spreads like frosting. Clear slime is the patient one: clear glue, no lotion, then days of sitting still while the bubbles rise out.
Color goes in with the glue, never after. Food coloring, acrylic paint or a squirt of washable poster paint all work, and one drop is plenty. Glitter, foam beads and small charms get kneaded in at the end.
Storing it, and what to make next
Air is what kills slime. An airtight container keeps a batch going for weeks. A plate on the counter gives you a brittle skin by morning. If the edges dry out, knead a few drops of warm water through it. Throw it out when it smells sour or spots appear, because glue and water in a warm room eventually grow mold.
Other rainy-day projects that hold attention this long: friendship bracelets for the older kids, a ribbon bow from whatever is in the scrap drawer, and homemade stickers that need nothing but paper and tape.
Another two-ingredient sensory mix worth keeping in a tub: how to make fake snow.