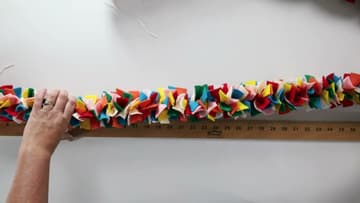
How to Make a Felt Garland - Ruffled Rainbow Strip Garland
Source: The Crafty Blog Stalker • Full tutorial: www.craftingstepbystep.com/crafts/how-to-make-a-felt-garland
- Difficulty
- Easy
- Hands-on time
- About 3 hours
- Cost
- About $10 to $25
- Makes
- 1 garland, about 81 inches

Tools
- rotary cutter
- self healing cutting mat
- quilting ruler
- fabric scissors
- large eye needle
- yardstick
Materials
- 9 x 12 inch felt sheets in assorted colors
- white cotton thread
Steps
1. Gather Felt Sheets, Thread and a Rotary Cutter
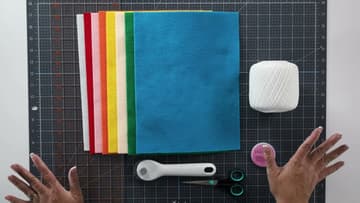
Set out your felt sheets in every color you want. Katie has eight colors and two or more sheets of each, since she was not sure how much she would need.
Tip: No rotary cutter? Sharp fabric scissors work. Cutting takes longer.
2. Stack Two Felt Sheets on the Cutting Mat
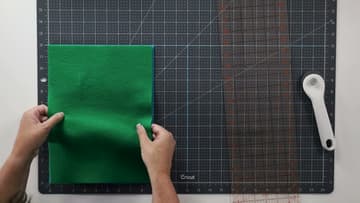
Lay one sheet on the mat and line a second one up on top of it. Cutting two at a time halves the cutting work.
Tip: Line the felt up on a grid line of the mat. The ruler then sits square.
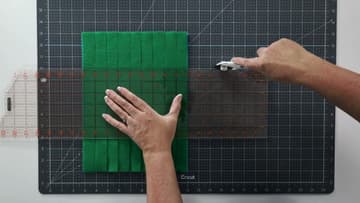
3. Cut the Felt Into 1-Inch Strips
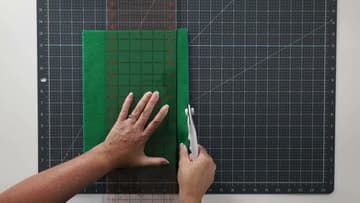
Lay the quilting ruler over the felt with the edge on the one inch mark. Hold the ruler down firmly with your flat hand.
Tip: Always close the rotary cutter blade when you set it down.
4. Cut the Felt Strips Into 3-Inch Pieces
Turn the ruler crosswise over the strips and cut them every three inches. Keep the strips together so one cut does several at once.
Tip: Toss the cut pieces into one big pile so the colors mix as you string.
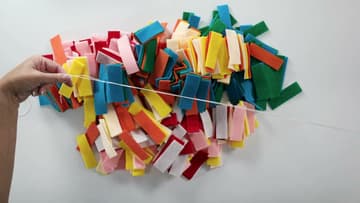
5. Pull Off a Long Length of Garland Thread
Pull off a long piece of cotton thread, as long as you want the finished garland plus some extra. One long piece means you never have to join two threads in the middle.
Tip: Fold the thread back on itself a few times to keep it under control.
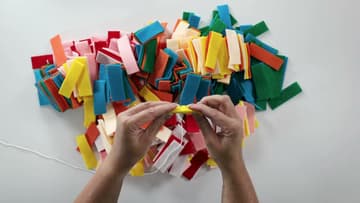
6. Pinch Each Felt Piece and Pierce the Center
Pick up a felt piece and pinch it in the middle so the long sides fold toward each other. Push the needle straight through the center of that pinch.
Tip: Go through the fold, not near an edge, so the felt does not tear free.
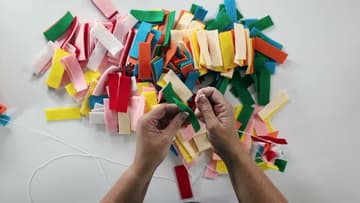
7. Keep Stringing Felt Pieces Onto the Thread
Keep pinching and stringing, grabbing colors at random from the pile. Every few inches, slide the pieces down so they pack tight together.
Tip: String several pieces on the needle, then pull them down the thread at once.
8. Tie Off the End of the Felt Garland
Once the last piece is on, pull the thread as tight as you can so the pieces sit snug. Push the needle back through that last felt piece.
Tip: A dab of fabric glue on the final knot makes it permanent.
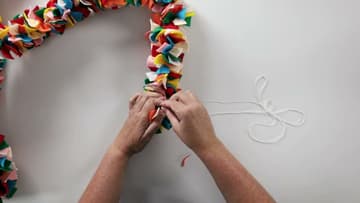
9. Trim or Leave a Hanging Tail on the Garland
Decide how you will hang it. To tie the garland to hooks or a headboard, leave a tail of thread at this end to match the one at the start.
Tip: Leave tails about 6 inches long. That is enough to tie a bow.
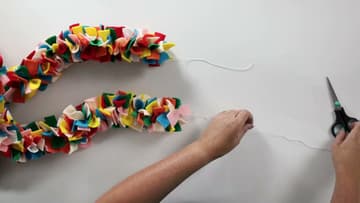
10. Measure the Finished Felt Garland
Lay the garland along a yardstick to see how long it is. Katie's measured 81 inches from 18 sheets of felt.
Tip: For a long garland, measure in sections and add them up.