How to Make a Hypertufa Planter

CraftsMedium14:008 stepsBrowse more →
Also in:Gardening

By CraftingStepByStepPublished

Based on a video by Irene's DIY Addiction .

Hypertufa is a lightweight, porous version of concrete that looks like weathered stone once it ages. It costs a fraction of a real stone trough and you can shape it into any container you have lying around. This build comes from Irene's DIY Addiction, whose recipe held up through a Canadian winter that hit -22 F.

The mix is simple: two parts Portland cement, one part peat moss, and one part vermiculite, plus a handful of reinforcing fibers. You pack it into greased plastic bowls or tubs, let it cure, then brush and drill it into a finished planter. If you like this kind of casting project, take a look at our guide on how to make a concrete planter for a smoother, modern finish.

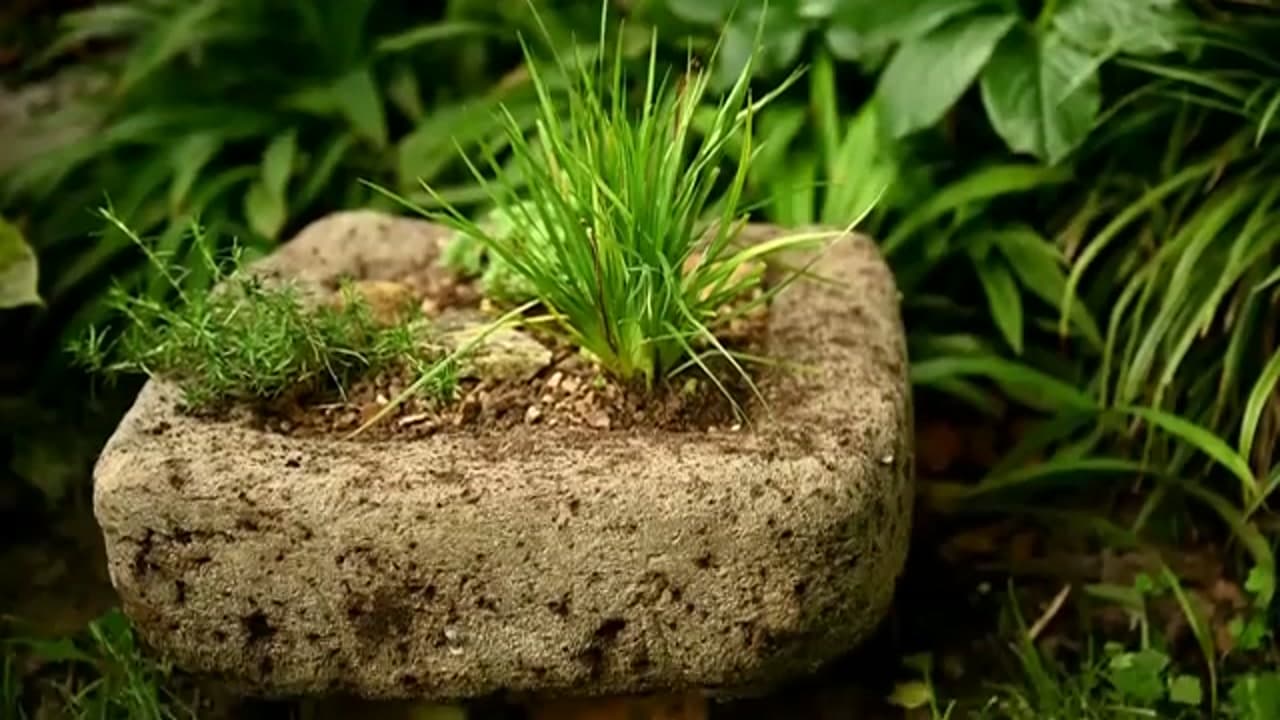
Once your trough has cured and leached, it is ready to plant. Grasses, sedums, and alpines all love the gritty, free-draining feel of hypertufa. Pair it with our succulent terrarium guide if you want a second low-water container to sit beside it.

Step-by-Step Guide

1

Step 1: Measure the Dry Mix

2:50
Step 1: Step 1: Measure the Dry Mix

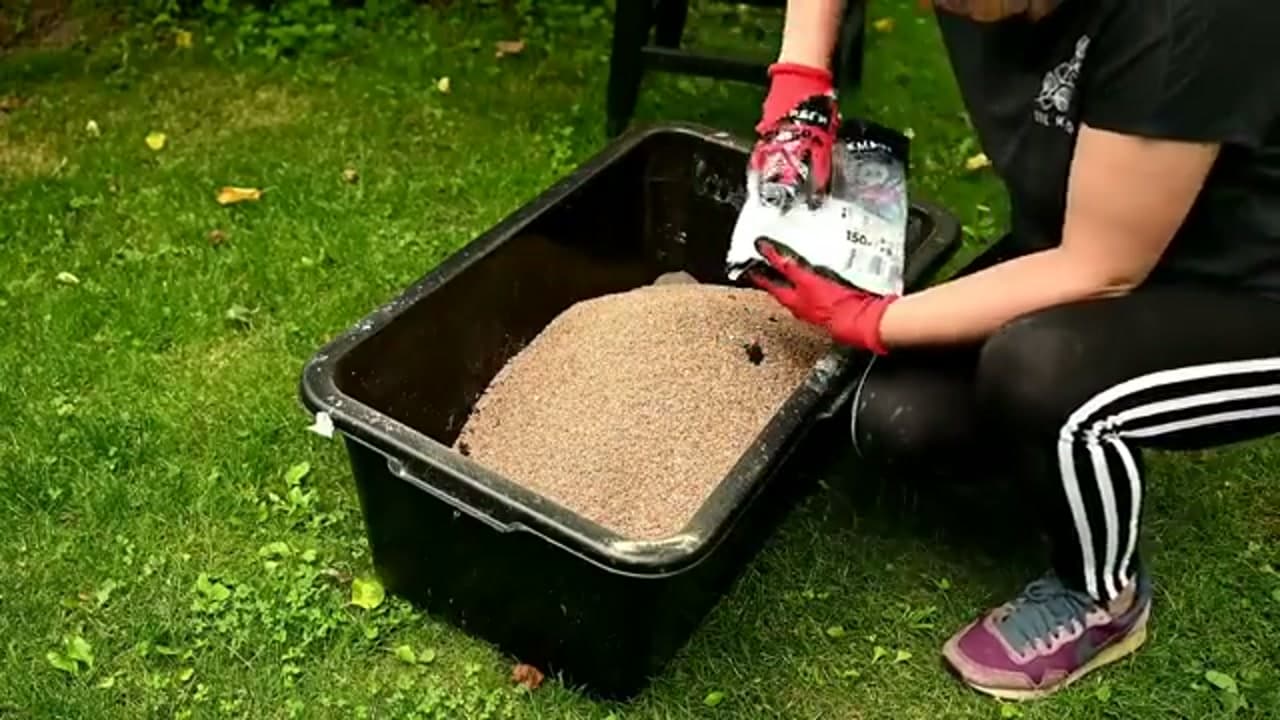
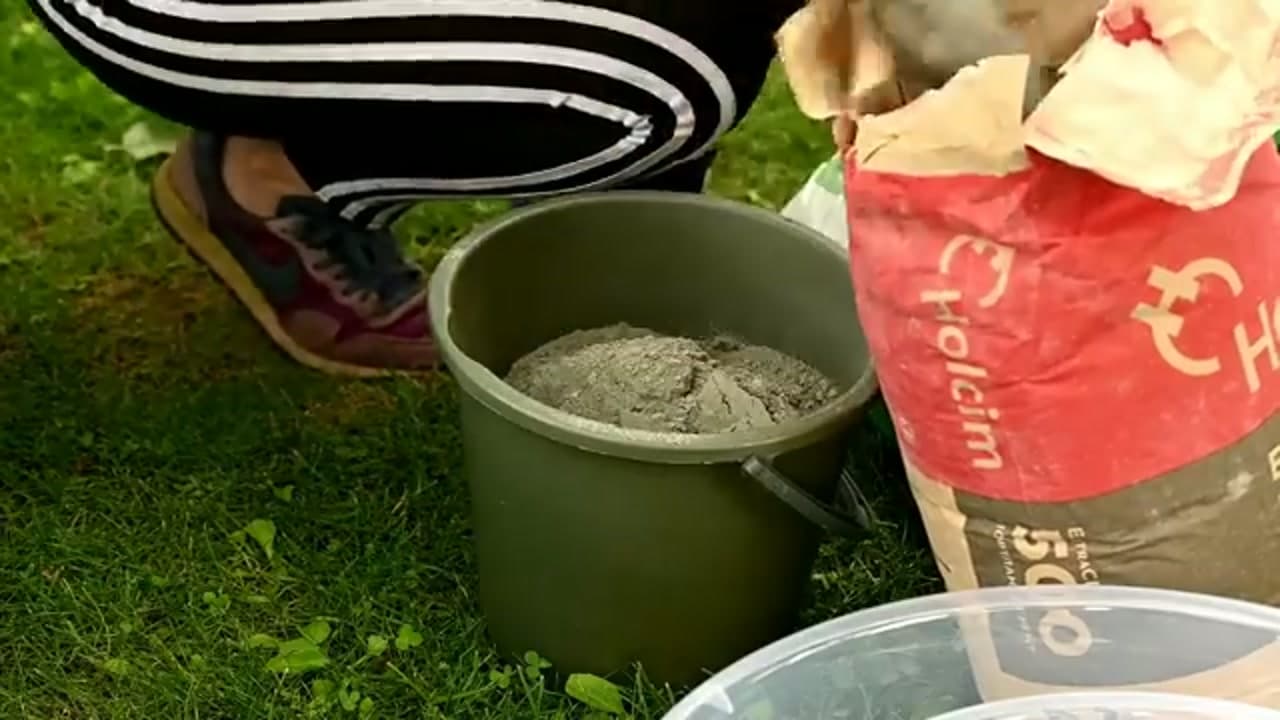
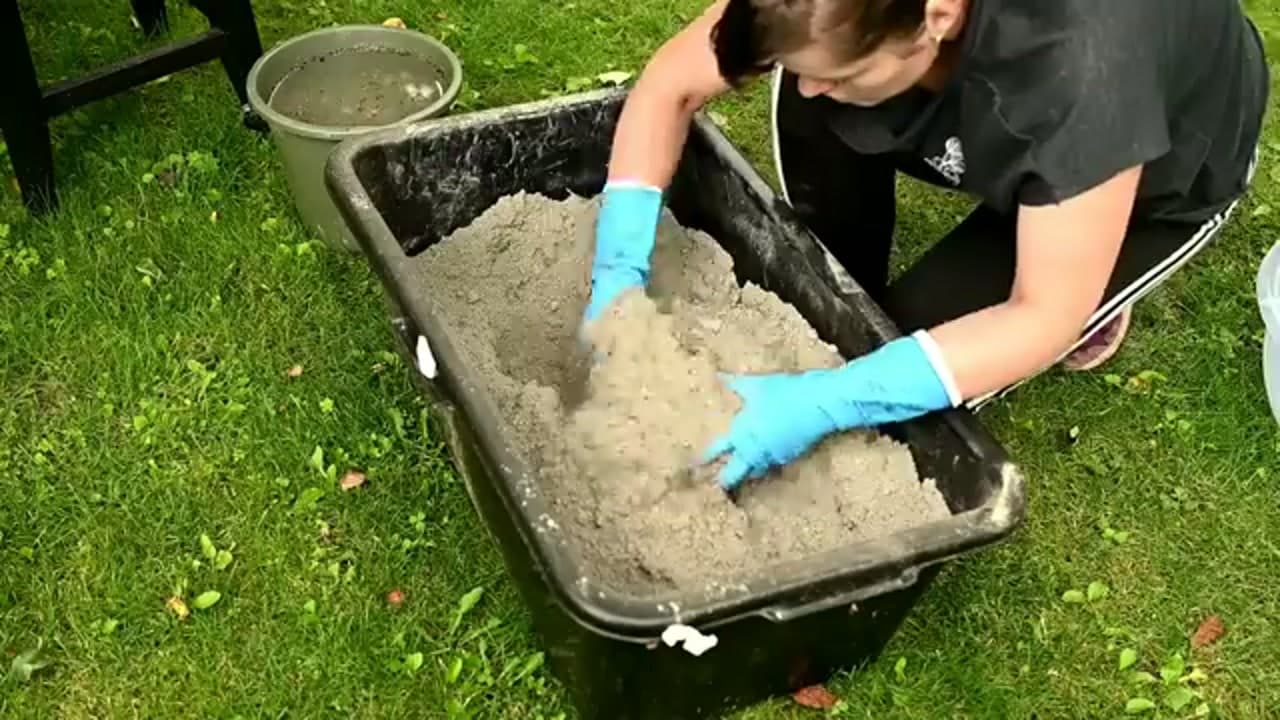
Start with your dry ingredients in a large tub. The recipe is two parts Portland cement, one part peat moss, and one part vermiculite, plus a handful of reinforcing fibers. Add the vermiculite and peat first, then the cement. Break up any clumps of peat with your gloved hands so everything blends evenly. A dust mask matters here since dry cement and peat both throw fine dust.

Tip

Vermiculite keeps the planter light and frost-tolerant. Perlite works too if that is what your garden center stocks.
2

Step 2: Add the Portland Cement

1:30
Step 2: Step 2: Add the Portland Cement

Cement is what binds the whole planter, so measure it carefully against the peat and vermiculite. Two scoops of cement to one scoop each of the others gives you a strong wall that still ages to a soft stone finish. Pour it into the tub with the rest of the dry mix. Keep your ratios consistent scoop to scoop rather than by weight, since the peat and vermiculite are so much lighter.

Tip

Buy a fresh bag of cement. Cement that has sat in a damp garage picks up moisture and sets weak.

3

Step 3: Add Water and Mix by Hand

3:30
Step 3: Step 3: Add Water and Mix by Hand

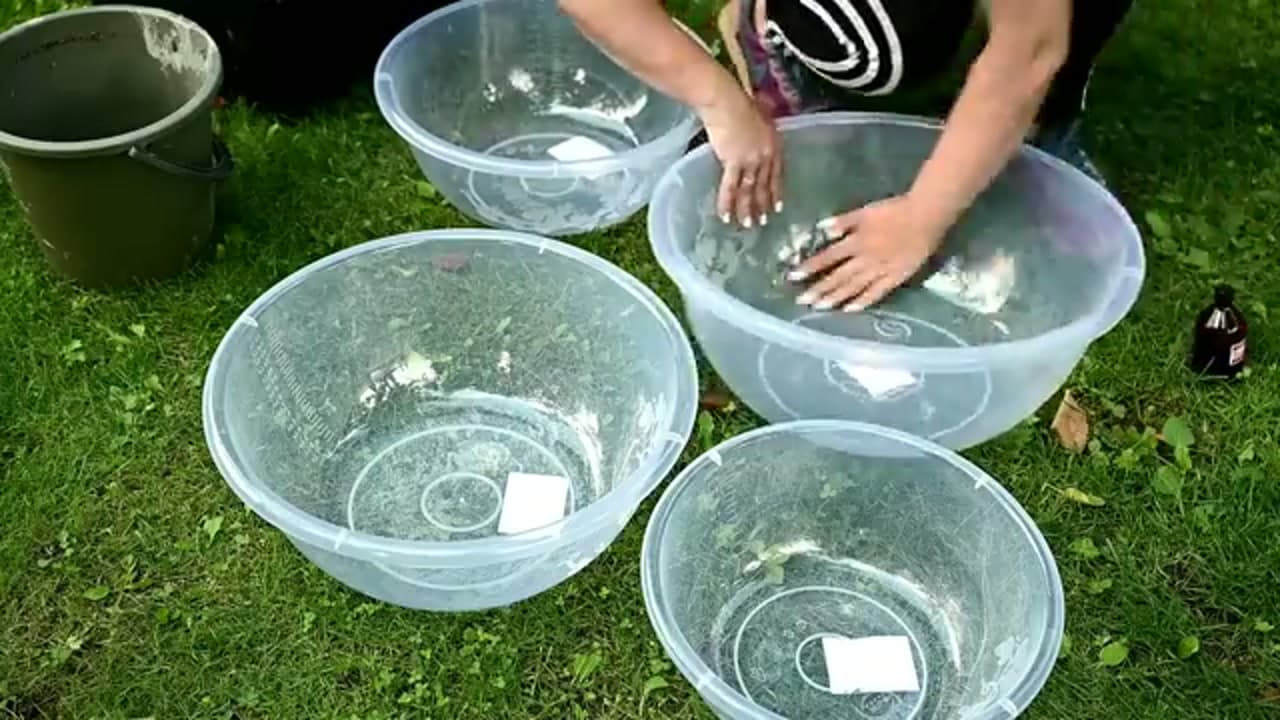
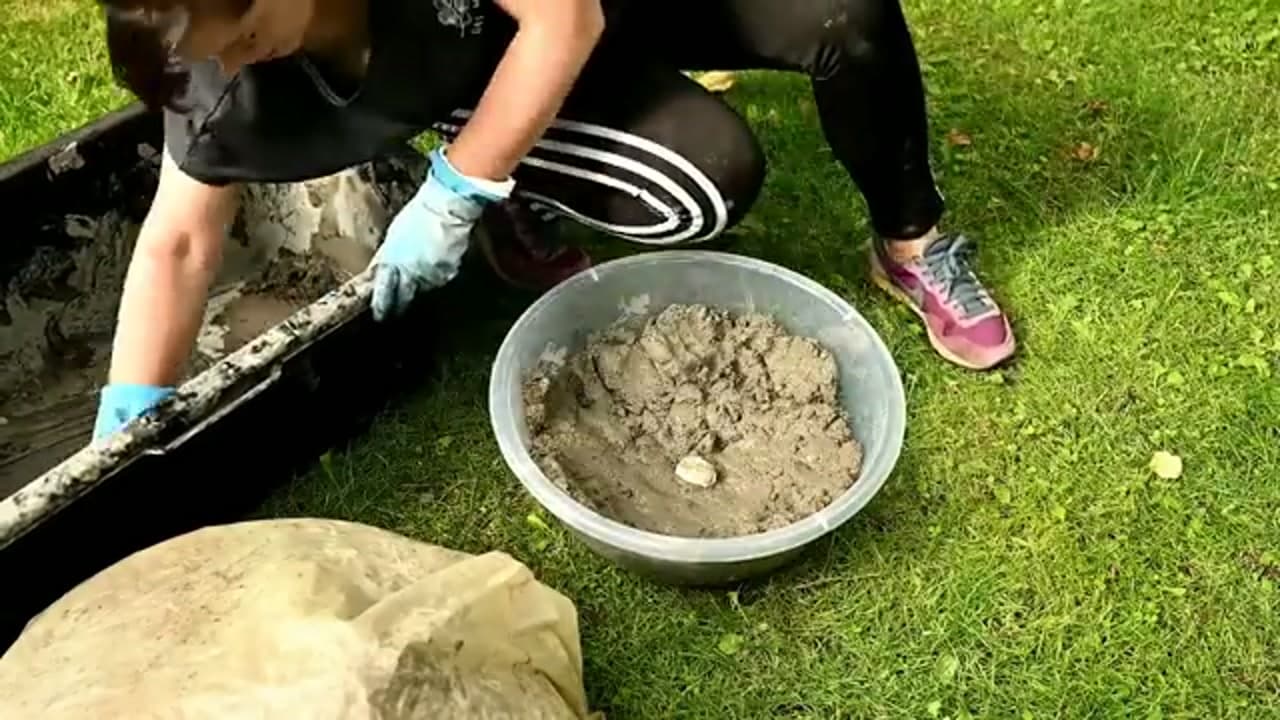
Pour in water a little at a time and work it through with your hands. You are aiming for a thick, moldable texture, closer to wet clay than to pourable concrete. Squeeze a handful and it should hold its shape without water dripping out. If it slumps or runs, add a scoop of dry mix. Too little water and it will crumble instead of packing, so add slowly and keep testing.

Tip

Wear thick rubber gloves. Wet cement is caustic and will dry out and crack bare skin fast.

4

Step 4: Prepare Your Molds

4:20
Step 4: Step 4: Prepare Your Molds

Almost any container works as a mold. Plastic mixing bowls, storage tubs, and cardboard boxes all give you a shape to pack against. Wipe the inside with a thin coat of cooking oil or grease so the cured planter releases cleanly later. If you want a bowl shape, use a rounded bowl. For a rectangular trough, a plastic storage box does the job.

Tip

Flexible plastic molds pop off far more easily than rigid ones. A little give lets you flex the mold away from the cured piece.

5

Step 5: Pack the Mix Into the Mold

5:10
Step 5: Step 5: Pack the Mix Into the Mold

Press the mix firmly against the mold, building up walls about an inch thick and a solid base. Push out air pockets as you go, because trapped air turns into weak spots and holes. Work from the bottom up and keep the wall thickness even all the way around. A thicker base helps the planter sit steady once it is full of soil and plants.

Tip

Keep the rim a little thicker than the walls. Rims take the most knocks and chip first.

6

Step 6: Cure and Unmold

7:40
Step 6: Step 6: Cure and Unmold

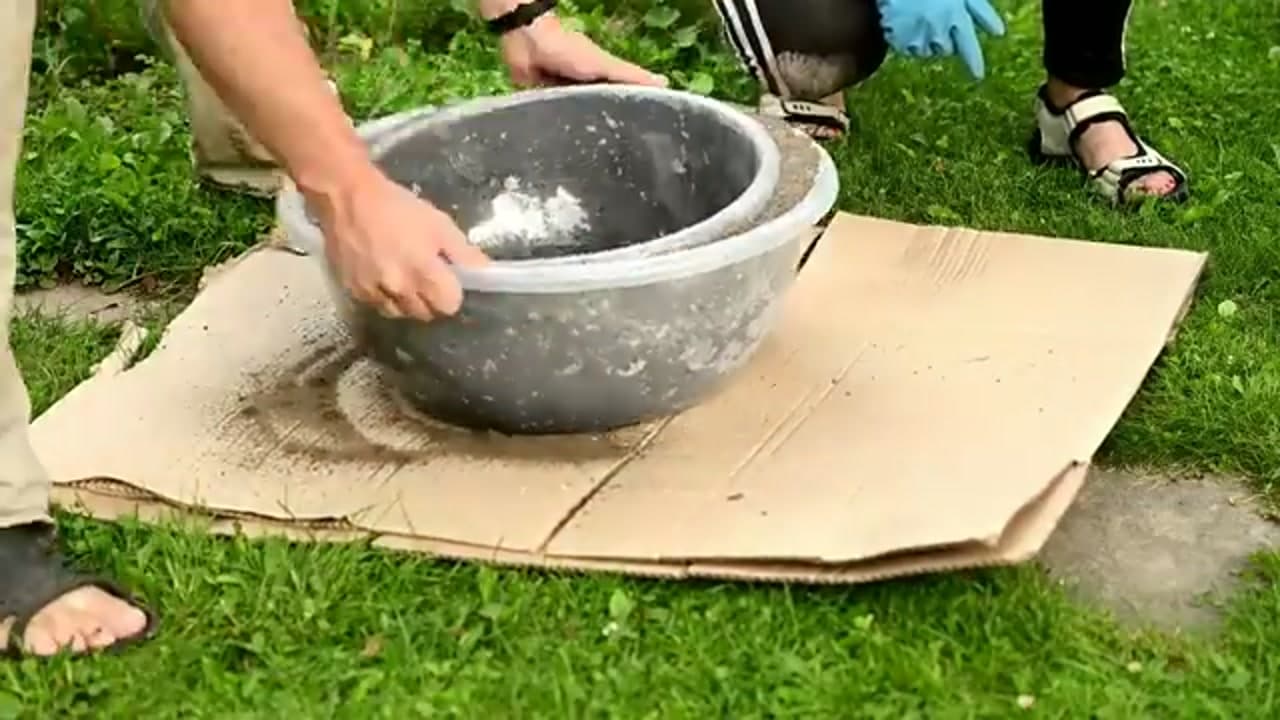
Cover the piece loosely and let it cure for a day or two before you touch it. Slow curing under plastic makes the planter stronger than letting it dry fast in the sun. Once it holds firm, flex the mold and ease the planter out. It is still green at this stage, so support the whole thing and set it down gently on cardboard.

Tip

If the surface still feels soft, give it another day. Rushing the unmold is how corners break off.

7

Step 7: Brush the Surface and Drill Drainage

8:40
Step 7: Step 7: Brush the Surface and Drill Drainage

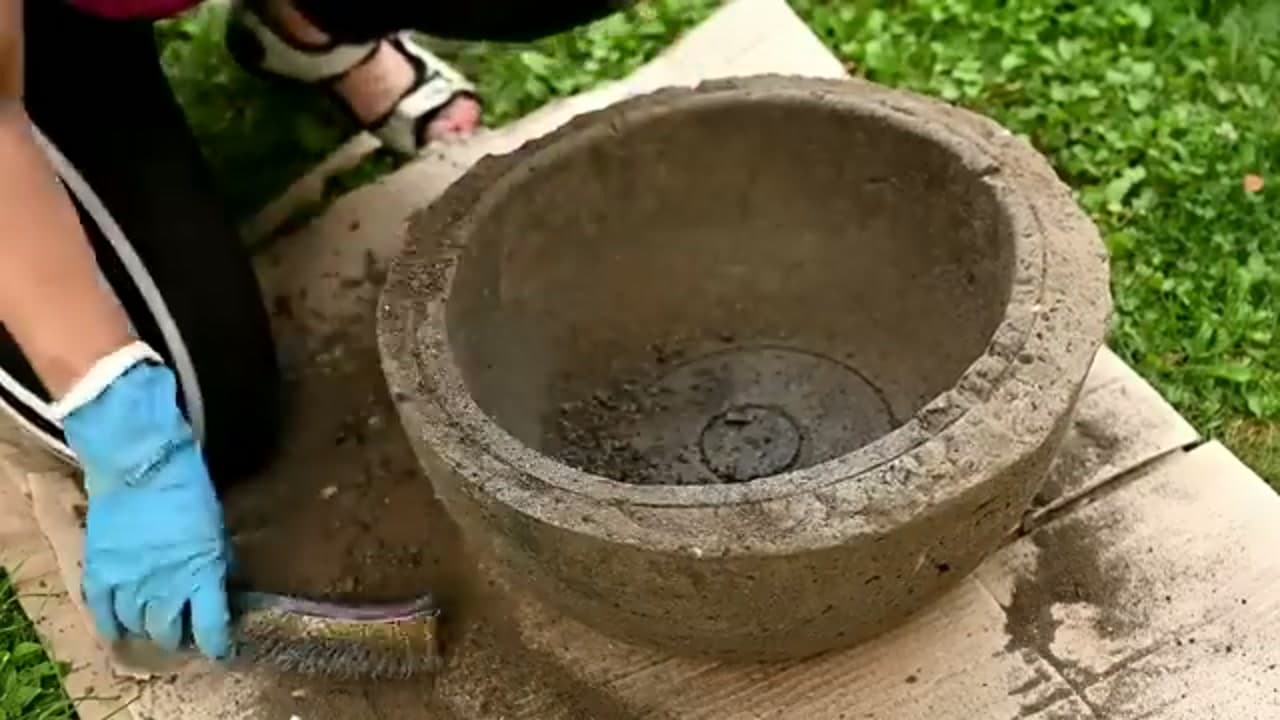
Now you give it character. Run a wire brush over the surface to knock off sharp edges and expose the porous texture that reads as aged stone. Brush harder in spots for a more weathered look. Then drill a drainage hole through the base with a masonry bit so water can escape. Without drainage, roots sit in water and rot, so do not skip the hole.

Tip

Brush while the planter is still slightly green. Fully cured hypertufa is much harder to shape.

8

Step 8: Leach, Then Plant It Up

13:20
Step 8: Step 8: Leach, Then Plant It Up

Fresh hypertufa is high in lime, which can harm plants, so rinse and soak the planter several times over the next couple of weeks to leach it out. Once the water runs clear, fill it with a gritty, free-draining mix and plant it. Sedums, ornamental grasses, and alpines all thrive in the porous walls. Set it into the garden and it will start to grow moss and soften into the landscape.

Tip

A splash of buttermilk or yogurt brushed on the outside speeds up the mossy patina if you want that aged look sooner.

Products Used

☐ The Checklist

How to Make a Hypertufa Planter

Tools
6
Materials
6
Steps
8
Video
14 min

Your Guide

Irene's DIY Addiction

As an Amazon Associate we earn from qualifying purchases. Links on this page may be affiliate links - clicking them and buying doesn't change your price, but helps support ShowMeStepByStep.

Tags

Sunday How-To

New crafts tutorials, every Sunday

One short email with the week's best step-by-step guides. Free, no spam, unsubscribe anytime.

Did this work for you?

What's next

Related collections

Curated theme pages that include this tutorial.

Weekly Digest

Liked this crafts tutorial?

Pick the categories you want to hear about. Weekly digest of new step-by-step tutorials. No spam, easy unsubscribe.

Send me tutorials about

We only email about new tutorials. Easy unsubscribe anytime.