How to Wind a Bobbin
Source: Vintage Coach Restoration | Jann Newton • Full tutorial: www.craftingstepbystep.com/sewing/how-to-wind-a-bobbin
- Difficulty
- Easy
- Hands-on time
- About 10 minutes

Tools
- sewing machine
- scissors
Materials
- thread spool
- empty bobbin
Steps
1. Put the Spool on the Pin
Slide the thread spool onto the spool pin and fit the cap over the end. Snug, not tight.
Tip: Most machines take the cap flat side out against the spool. Check which way round yours sits if the thread keeps catching.
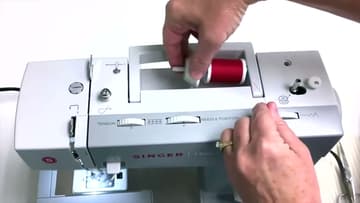
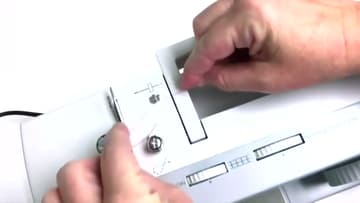
2. Run the Thread to the First Guide
Take the thread across the top of the machine to the first metal thread guide.
Tip: Almost every machine has the bobbin thread path printed or embossed on the top casing. It is worth following yours rather than guessing.
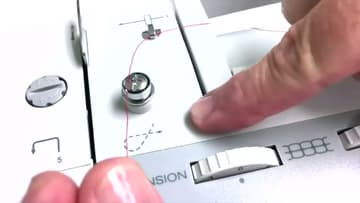
3. Around the Bobbin Tension Disc
Bring the thread around the front of the bobbin tension disc, going clockwise, so it seats properly between the plates. This is the step people skip, and it is the one that matters.
Tip: If the thread is not properly down between the discs it will simply slip past. Give it a tug and watch that the disc holds it.
4. Thread the Empty Bobbin
Take the tail up through the small hole in the top of the empty bobbin, from the inside out. Use the bobbins that came with your machine.
Tip: Plastic and metal bobbins are not swappable either, even at the same size. Match what the manual specifies.
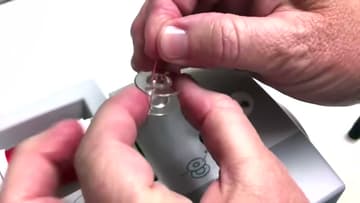
5. Seat the Bobbin on the Spindle
Drop the bobbin onto the winder spindle and push it all the way down until it clicks home.
Tip: If it will not seat, check the little notch inside the bobbin lines up with the pin on the spindle.
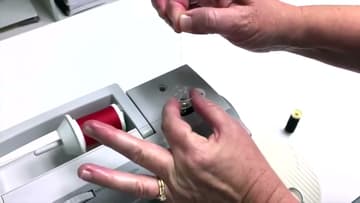
6. Push the Spindle Across
Slide the spindle to the right until it engages. With the spindle over, the motor drives only the winder.
Tip: Many machines will not wind at all until the spindle clicks across, and some disengage the handwheel too.
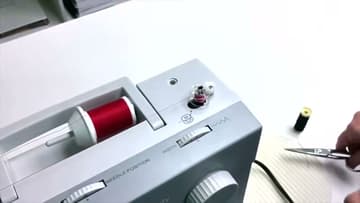
7. Hold the Tail and Wind
Hold on to the thread tail and press the foot pedal. Keeping hold of the tail for the first few turns is what anchors the thread to the bobbin.
Tip: Start slowly. A full-speed start throws the tail loose before it has wrapped.
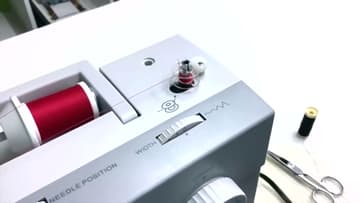
8. Trim the Tail and Fill It
After a few wraps, stop and snip off the loose tail sticking out of the top, then carry on winding until the bobbin is as full as you want it. When it is done, slide the spindle back to the left and cut the thread.
Tip: Do not overfill. A bobbin wound past the edge of its rim drags in the case and throws your tension out.
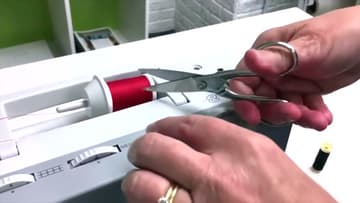
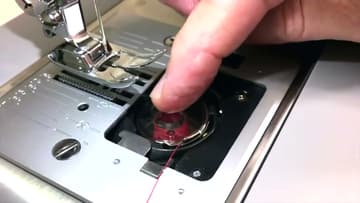
9. Open the Bobbin Case
Slide the little lever and pop the cover plate off the front of the machine. This one is a drop-in bobbin, which is the most common arrangement now.
Tip: Keep the cover plate somewhere it will not get knocked to the floor. They are clear plastic and easy to lose.
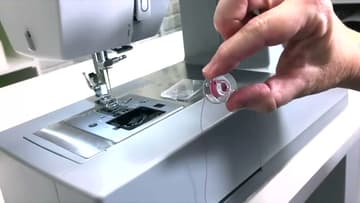
10. Drop It In and Hook the Thread
Sit the bobbin in the case, then take the tail and pull it under the little metal bar and along the slot. Which way the bobbin faces matters.
Tip: Give the tail a gentle pull once it is seated. It should feed with a light, even resistance rather than running free.