How to Sew an Apron From One Yard of Fabric
Source: Melanie Ham • Full tutorial: www.craftingstepbystep.com/sewing/how-to-sew-an-apron
- Difficulty
- Easy
- Hands-on time
- About 2 hours
- Cost
- About $10 to $18
- Makes
- 1 apron

Tools
- sewing machine
- rotary cutter
- cutting mat
- quilting ruler
- fabric scissors
- pins
- iron and ironing board
- point turner or chopstick
Materials
- 1 yard quilting cotton, 42-44 inches wide
- coordinating thread
Steps
1. Fold the Fabric and Cut the Apron Body
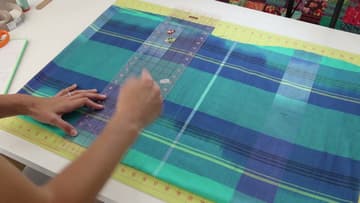
You need one yard of 42 to 44 inch wide cotton. Lay it out with the selvage edges at the sides, then fold one selvage edge in so the folded piece measures about 13 1/2 inches.
Tip: Line the fold up with a line on your mat so every cut is a true 90 degrees.
2. Cut the Pocket and the Slanted Sides of the Apron
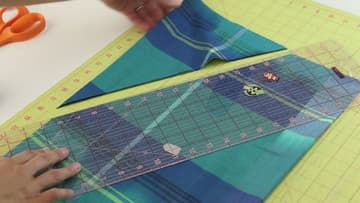
Keep the body folded and cut 8 inches off the bottom. That strip becomes the pocket.
Tip: Hold the body up to you before cutting. Move the pins if you are taller or shorter.
3. Cut Strips for the Apron Ties and Neck Strap
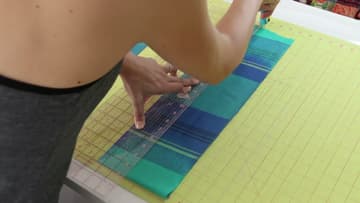
From the leftover fabric, cut four strips 3 inches wide for the waist ties and two strips 2 1/2 inches wide for the neck strap. Trim the neck strips to 24 inches.
Tip: Cut the strips across the fabric with the ruler square to the fold for straight edges.
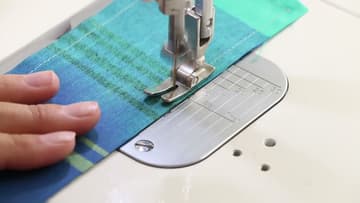
4. Sew the Apron Straps Right Sides Together
Take the stacked strips to the machine. Sew all the way around each one with a quarter inch seam, leaving a gap of a few inches on one long side so you can turn it.
Tip: Backstitch at both sides of the gap so it does not open while you turn the strap.
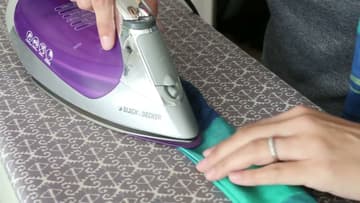
5. Turn and Press the Apron Straps
Turn each strap right side out through the gap. Push the corners out with a point turner or a chopstick.
Tip: Roll the seam between your fingers before pressing so it sits right on the edge.
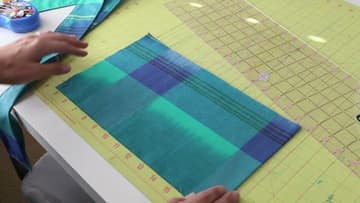
6. Sew and Turn the Apron Pocket
Fold the 8 inch pocket strip in half with right sides together. Sew around the open sides with a quarter inch seam, leaving an opening at the bottom.
Tip: Press the opening's raw edges inward now. They get caught when the pocket is sewn on.
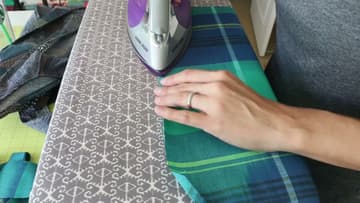
7. Press a Double Folded Hem Around the Apron
Lay the apron body wrong side up on the ironing board. Fold the top edge over a quarter inch and press.
Tip: A small hem gauge or a ruler helps keep every fold the same width.
8. Pin the Apron Straps Into the Hem
Pin one end of the neck strap into the top corner, lined up with the hem so it gets stitched in the same pass. Leave the other end free for now so you can adjust the fit later.
Tip: Point the straps in toward the apron while you sew so they stay out of the needle's way.
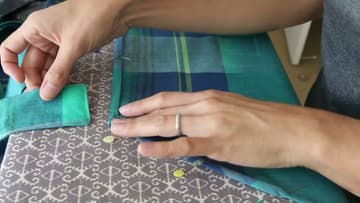
9. Stitch the Apron Hem Close to the Fold
Sew around the whole apron close to the inner folded edge of the hem. The neck strap and both ties get stitched in as you go.
Tip: Leftover strap tail? Leave it if it is short. Trim and finish it if it is long.
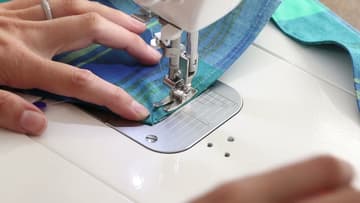
10. Topstitch the Pocket Onto the Apron
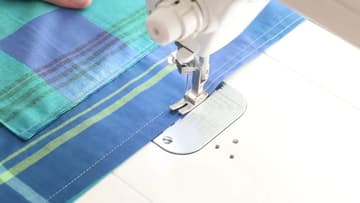
Try the apron on to decide where the pocket should sit, then lay it flat and pin the pocket in place. Topstitch down one side, across the bottom and up the other side, close to the edge, leaving the top open.
Tip: Backstitch hard at both top corners. That is where pockets tear first.