How to Make a Scrapbook Pocket Page From One Sheet of Paper

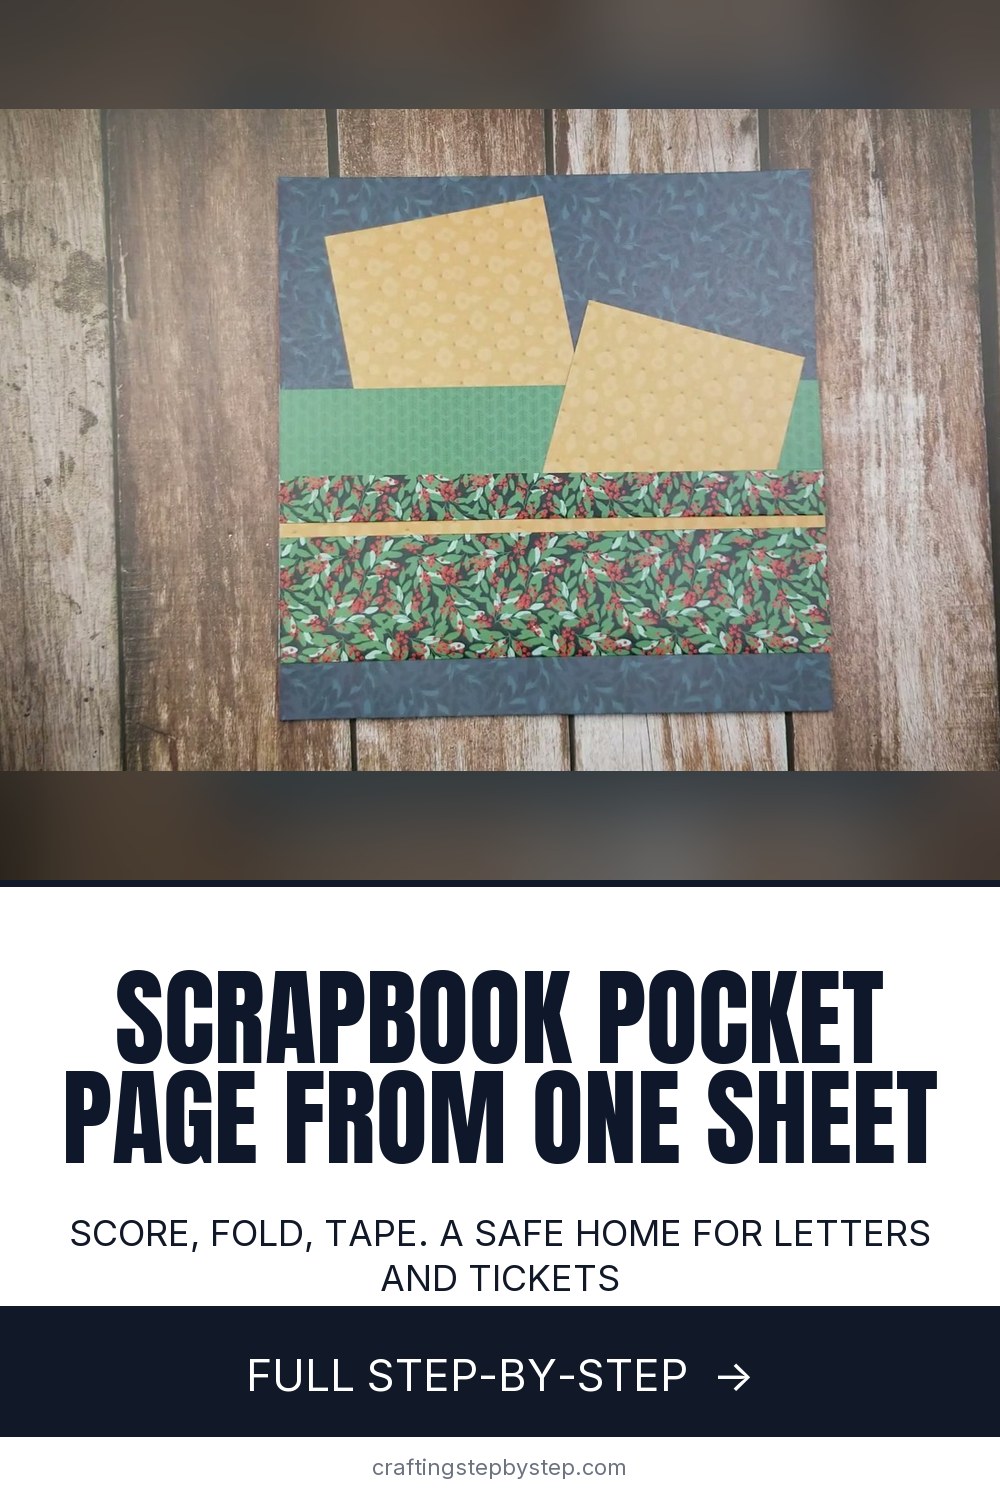
The finished result: How to Make a Scrapbook Pocket Page From One Sheet of Paper
  • Difficulty: Easy
  • About 15 minutes
  • 10 steps

You tapped Save

Save this project for later

We'll email you a link, no password.

How to Make a Scrapbook Pocket Page From One Sheet of Paper

  • Your saved projects in one list
  • Your ticked steps on any device

Check your inbox for an email from us. Not there? Look in your spam folder.

Print

Steps written out by Crafting Step by Step from Scrap With Ash's video (opens YouTube) (11:57). Published .

Also in:Paper Crafts

A scrapbook pocket page gives your loose keepsakes a safe home. Ticket stubs, postcards, brochures, certificates and kids' letters slide into the pocket and come back out whenever you want to read them. Ashley Roesch of Scrap With Ash shows how to make one from a single 12x12 sheet of patterned paper. You score three lines, fold, tape and stick it to a page. No cutting at all.

How to make a scrapbook pocket page: the short version

  • Score a 12x12 sheet at 6, 2 and 1 inch.
  • Fold on the lines so the 6 inch section becomes the pocket front.
  • Fold the last two sections into a thick reinforced cuff.
  • Tape the side edges and the cuff with permanent adhesive.
  • Stick the pocket to a background page, sides and bottom.

Pick paper that looks good on both sides

The fold shows the back of the paper on the cuff and the inside of the pocket. That is why double sided designer paper works better than plain cardstock here. Decide which pattern you want on the front before you fold. A busy print on the front and a quieter one on the cuff keeps the page from looking cluttered.

No scoring blade? No problem

A scoring blade makes the lines quick and even, but you can do this without one. Measure with a ruler, mark each line in pencil at both edges, and run a bone folder or an empty ballpoint pen along a ruler to make the crease. Go slow and firm. Pressing hard and fast can tear the paper edge.

Use permanent adhesive

Repositionable tape lets go once the pocket gets used. A permanent tape runner holds it together through years of pulling papers in and out. Be generous. Run it along both side edges, under the cuff, and around the back when you mount it.

Ideas for what goes inside

  • Letters to Santa, and the replies.
  • Ticket stubs, maps and park brochures from a family trip.
  • Report cards, certificates and award ribbons.
  • Handmade cards from grandchildren that open out.

Ways to change it up

Leave the top of the pocket unglued when you mount it and you get a double pocket, one in front and one behind. Tuck a strip of coordinating paper under the cuff before you tape it for a pop of color, or cover the seam with a sticker border. For a fancier page, cut two large shapes such as hexagons, use one as the backing and trim the other into the pocket.

Common problems

  • Paper tore on the score line. Too much pressure too fast. Make two lighter passes.
  • The pocket gaps open. Add more permanent tape to the side edges.
  • Things slide out the bottom. Tape the bottom edge when you mount it.
  • The folded paper curls. Press it under a stack of heavy books for an hour before you tape it.

Keep scrapbooking

New to albums? Start with how to scrapbook. Give the pocket edges an aged look with how to distress paper edges. Pocket pages also suit a junk journal or a mini scrapbook album.

Free printable

Print the steps and supply list for this project

One page you can take to the table. Free with a free account, no password.

Get the free printable

What you'll need

Free, for this project

Get this checklist by email

  • All 6 tools and materials, with tick boxes
  • A link to print all 10 steps on paper, to keep by you while you craft

No password. The whole tutorial stays free on this page.

Quick answer

Make a scrapbook pocket page from one 12x12 sheet: score at 6, 2 and 1 inch, fold a reinforced cuff and tape it down. An easy project: about 15 minutes. Materials cost about $1 to $3. You need 6 things, including 12x12 double sided patterned paper, 12x12 background cardstock or paper and permanent tape runner. The 10 steps start with score the Scrapbook Paper at the 6 Inch Line and score the Scrapbook Paper Again at 2 and 1 Inch.

Step-by-step guide

10 steps, about 12 minutes. Tap a picture to jump to that step. Your progress saves automatically.

Tick each step off as you go.

  1. Step 1: Score the Scrapbook Paper at the 6 Inch Line

    Watch this step · 2:20

    Swap the cutting blade on your paper trimmer for the scoring blade. You will not cut anything for this project. Pick a 12x12 sheet of double sided patterned paper and line it up at the 6 inch mark. Run the scoring blade down the track with firm, steady pressure. Go over it once or twice, but do not rush. Fast and hard can rip the paper edge.

    Tip:

    No scoring blade? Use a ruler and a bone folder along a pencil line.

    Back to all steps

  2. Step 2: Score the Scrapbook Paper Again at 2 and 1 Inch

    Watch this step · 2:58

    Slide the paper down the trimmer and score a second line at the 2 inch mark. Then move it once more and score a third line at 1 inch. You now have three score lines at 6, 2 and 1 inch. Set the trimmer aside. These three lines are all you need to build the whole pocket, and they keep every fold straight and even.

    Tip:

    Measure all three lines from the same edge of the paper.

    Back to all steps

  3. Step 3: Crease the Scrapbook Paper Along Each Score Line

    Watch this step · 3:25

    Pick up the paper and bend it along each score line to make a crisp fold. It does not matter which direction you fold yet. The point is to train the paper so it folds cleanly in the next step. Run your fingernail or a bone folder along each crease to set it flat.

    Tip:

    A sharp crease now means a neat, flat pocket later.

    Back to all steps

  4. Step 4: Fold the 6 Inch Section Up to Form the Pocket Front

    Watch this step · 4:12

    Decide which side of your paper you want to show on the front of the pocket. Ashley wanted the Christmas icon print to stand out, so she folded the 6 inch section up to put the plaid inside. Flip that big section up along the first fold. The patterned side facing you is now the front of your scrapbook pocket.

    Tip:

    Hold a few keepsakes up to it to check the size before you go on.

    Back to all steps

  5. Step 5: Fold the Reinforced Cuff Along the Top of the Pocket

    Watch this step · 4:40

    Find the next fold and flip that section down, then flip the last 1 inch section back up. This double fold builds a thick cuff along the top edge of the pocket. The extra layers stop the paper from tearing when you slide papers in and pull them out. Press the cuff flat with your hand along its whole length.

    Tip:

    Line up the ends of the cuff with the pocket sides before you crease it.

    Back to all steps

  6. Step 6: Tape the Side Edges of the Scrapbook Pocket

    Watch this step · 5:50

    Run a permanent tape runner along both side edges so the front and back of the pocket stick together. The bottom edge is already closed by the fold. Keep the top edge open, since that is where your keepsakes go in. Use regular permanent adhesive, not repositionable. It is what holds the pocket together over years of use.

    Tip:

    Be generous with the tape. More is better here.

    Back to all steps

  7. Step 7: Secure the Reinforced Cuff on the Scrapbook Pocket

    Watch this step · 6:40

    Add a line of tape runner under the 1 inch flap and press it down onto the pocket front. Smooth it from one end to the other so there are no bubbles. If you want a strip of contrast color peeking out, slip a narrow piece of coordinating paper under the flap before you press it down.

    Tip:

    Tape the cuff ends too, so they do not lift at the corners.

    Back to all steps

  8. Step 8: Add a Sticker Border Along the Scrapbook Pocket Seam

    Watch this step · 7:36

    Lay a sticker border along the seam where the cuff meets the pocket front. It hides the edge and adds definition. Ashley used two scalloped borders from the same collection as her paper so it all matched, and doubled them up to make the edge feel solid. Press each border down firmly from end to end.

    Tip:

    Washi tape or a thin paper strip works too.

    Back to all steps

  9. Step 9: Tape the Pocket to the Scrapbook Background Page

    Watch this step · 8:50

    Choose a 12x12 background page and decide where the pocket sits. Ashley left about an inch of margin at the bottom. Run tape runner down both sides and along the bottom of the pocket back, then press it onto the page. You can tape the top as well. Leave it open and you get a second pocket behind the first.

    Tip:

    Tape the bottom edge so nothing slips out underneath.

    Back to all steps

  10. Step 10: Fill the Scrapbook Pocket Page With Keepsakes

    Watch this step · 9:50

    Slide your memorabilia into the pocket. Ashley's second sample uses a holly print pocket on a navy page with two gold cards tucked in. Her first page will hold her children's letters to Santa and the replies. Anything you want to pull out and read again belongs here: brochures, certificates, cards and notes.

    Tip:

    Write the date on the back of each item before it goes in.

    Back to all steps

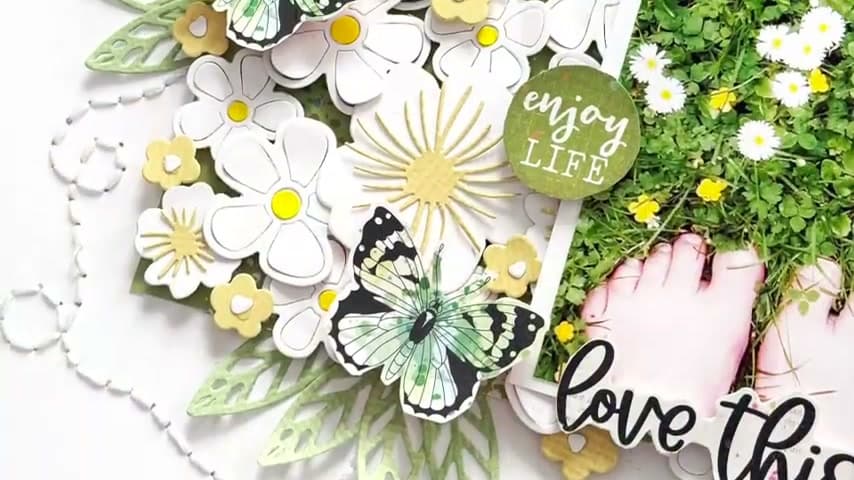
How to Make a Flower Meadow Scrapbook Layout

Keep going

How to Make a Flower Meadow Scrapbook Layout

Keep going with scrapbooking

More on this topic, picked for this scrapbook pocket page from one sheet of paper.

You reached the last step

Save this project to come back to it

Your ticked steps, the free printable and your other saved makes, together in My Projects. Free, no password.

You tapped Save

Save this project for later

We'll email you a link, no password.

How to Make a Scrapbook Pocket Page From One Sheet of Paper

  • Your saved projects in one list
  • Your ticked steps on any device

Check your inbox for an email from us. Not there? Look in your spam folder.

Free printable

Printable sheet and shopping list for this project

The bonus is hidden until you sign up.

Free with a free account, no password. Every step above stays open to everyone.

Products Used

The Checklist

How to Make a Scrapbook Pocket Page From One Sheet of Paper

Tools
2
Materials
4
Steps
10
Video
12 min

Tools we recommend

As an Amazon Associate we earn from qualifying purchases. Links on this page may be affiliate links - clicking them and buying doesn't change your price, but helps support Crafting Step by Step.

Tags

The Crafter's Weekly

New scrapbooking tutorials, every Sunday

One short email with the week's best step-by-step guides. Free, no spam, unsubscribe anytime.

Did this work for you?

What's next

Related collections

Curated theme pages that include this tutorial.

Similar tutorials

Hand-picked next reads based on the one you just finished.

Liked this scrapbooking tutorial?

Pick the crafts you want to hear about. One email every Sunday with new step-by-step tutorials. No spam, easy to unsubscribe.

Get more like this in your inbox

Weekly digest. Pick the categories you want. Unsubscribe anytime.

Send me tutorials about

We only email about new tutorials. Easy unsubscribe anytime.