How to Make a Junk Journal: Step-by-Step Beginner Guide

The finished result: How to Make a Junk Journal: Step-by-Step Beginner Guide
  • Difficulty: Easy
  • About 1 hour
  • 9 steps

You tapped Save

Save this project for later

We'll email you a link, no password.

How to Make a Junk Journal: Step-by-Step Beginner Guide

  • Your saved projects in one list
  • Your ticked steps on any device

Check your inbox for an email from us. Not there? Look in your spam folder.

Print

Steps written out by Crafting Step by Step from joie de fi's video (opens YouTube) (12:14). Published .

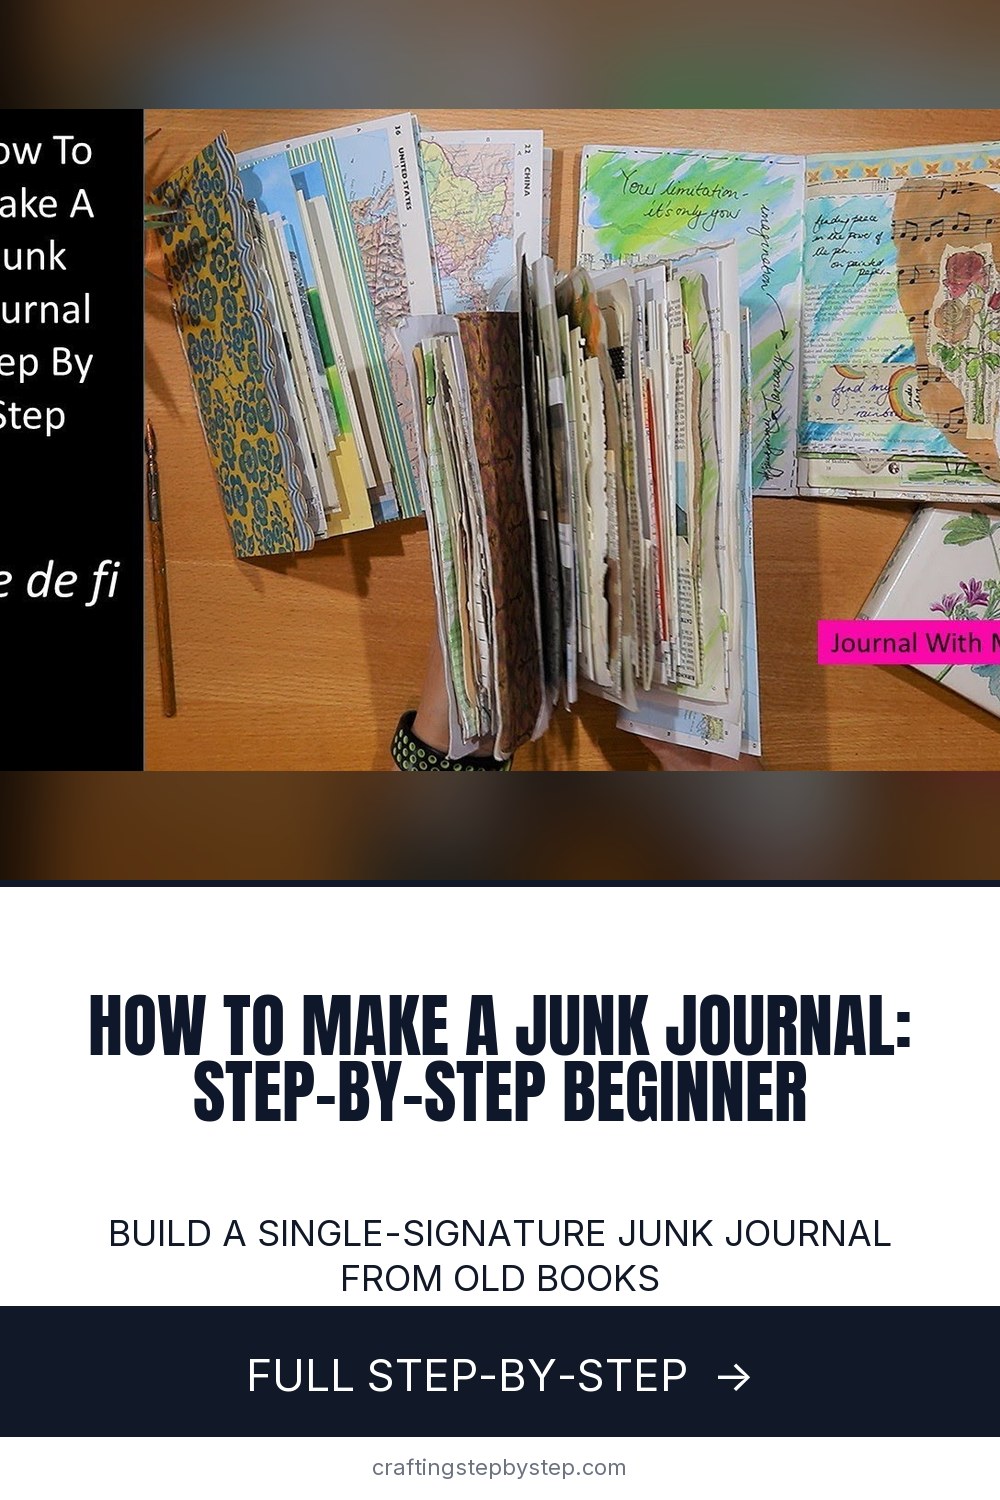
Junk journaling is the craft of making personal, layered journals from old book pages, scrap paper, ephemera, and anything else you can rescue from the recycling bin. The result is something that feels handmade and personal in a way no store-bought notebook can match.

This walkthrough from joie de fi shows the complete process for a single-signature junk journal in nine clear steps. Use whatever paper stash you have on hand. The whole project takes an hour or two and costs almost nothing if you're upcycling.

Free printable

Print the steps and supply list for this project

One page you can take to the table. Free with a free account, no password.

Get the free printable

What you'll need

Free, for this project

Get this checklist by email

  • All 13 tools and materials, with tick boxes
  • A link to print all 9 steps on paper, to keep by you while you craft

No password. The whole tutorial stays free on this page.

Quick answer

Build a single-signature junk journal from old books, scrapbook paper, and string. An easy project: about 1 hour. Materials cost about $10 to $20. You need 13 things, including Old book pages, Scrapbook paper and 12x12 cardstock. The 9 steps: gather Pages and Papers, pick a Cover That Folds Into a Pocket, trim Pages to Size, add Decorative Details, order the Pages for Contrast, mark Three Binding Holes, pierce the Holes, sew the Figure-Eight Stitch and tighten and Tie Off.

Step-by-step guide

9 steps, about 12 minutes. Tap a picture to jump to that step. Your progress saves automatically.

Tick each step off as you go.

  1. Step 1: Gather Pages and Papers

    Watch this step · 1:15
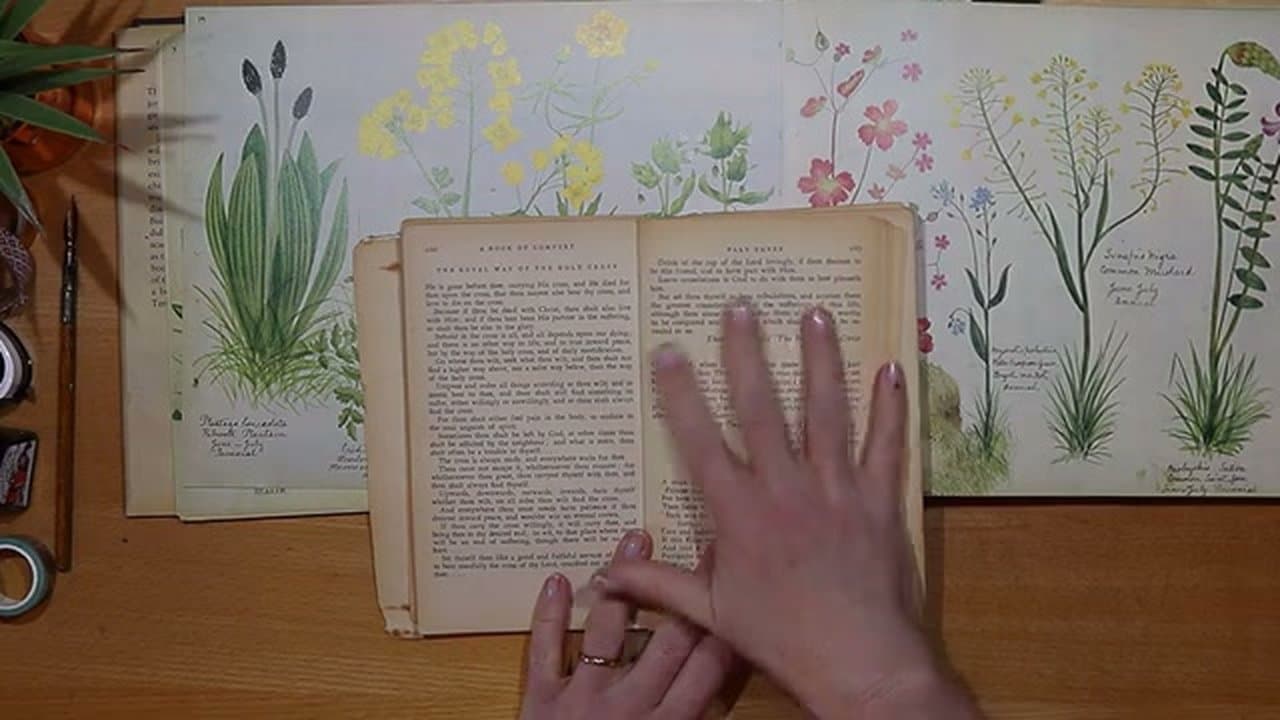
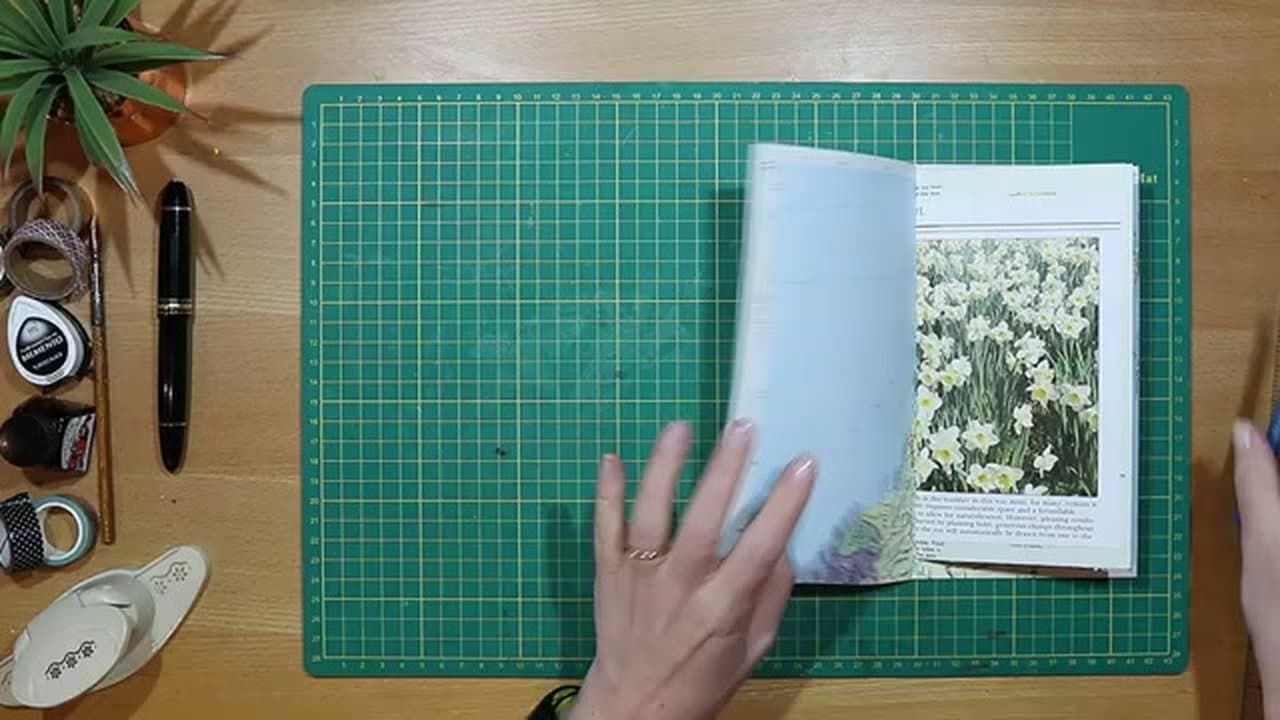
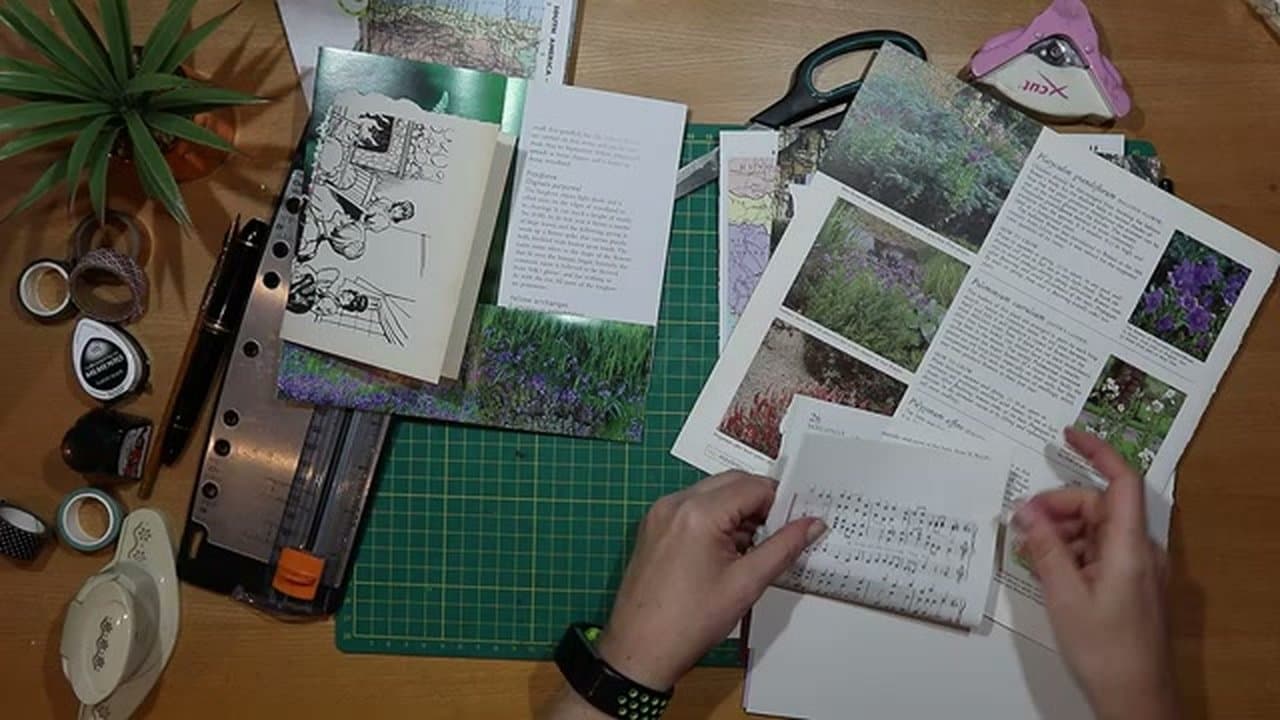
    Pull pages from old books, vintage ephemera, scrapbook paper, anything in your stash with character. Mix smooth pages with textured ones, plain with patterned, classic with whimsical.

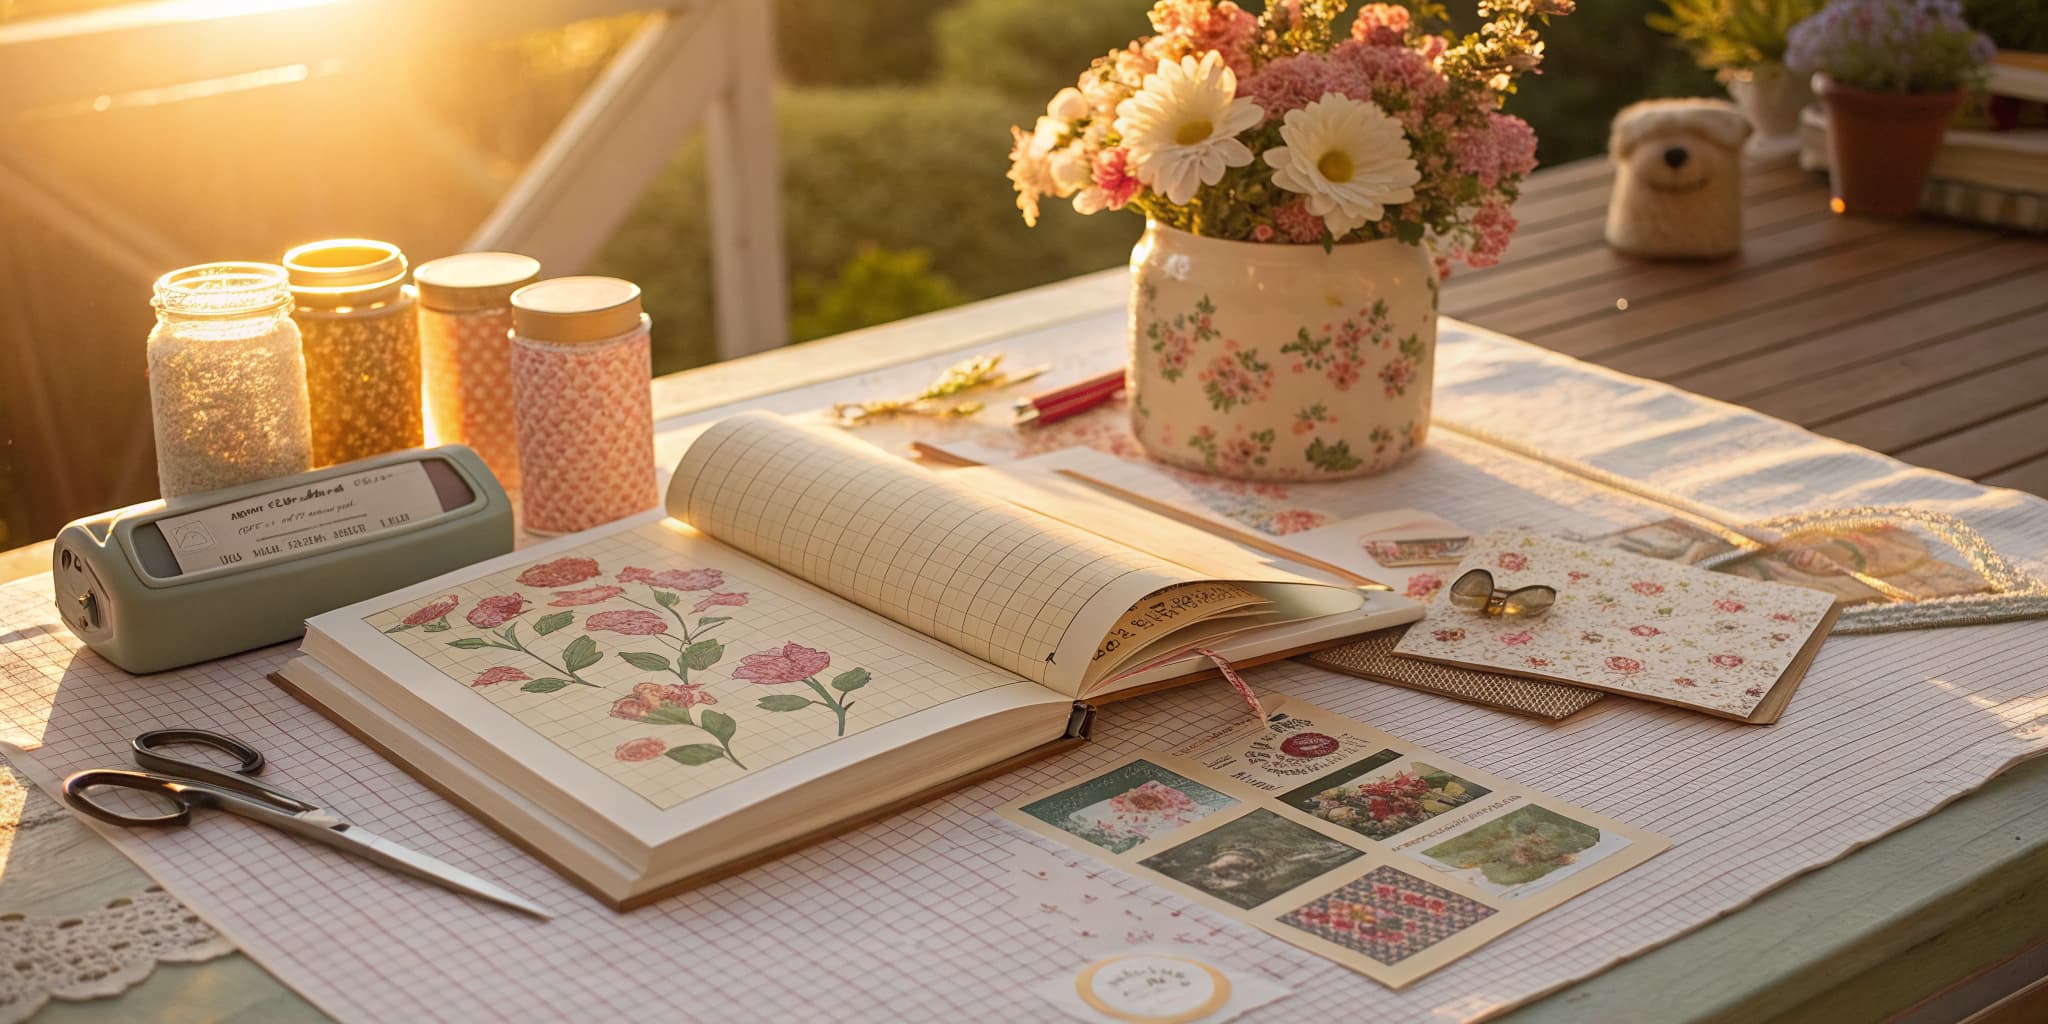
    Look for variety in weight, color, and feel. Botanical illustrations, sheet music, atlas pages, letterpress text, and graph paper all work. The mismatch is the whole point. About 10-12 sheets is plenty for one signature.

    Tip:

    Charity shops, library book sales, and car boot sales are great cheap sources for older books that won't break your heart to cut up.

    Back to all steps

  2. Step 2: Pick a Cover That Folds Into a Pocket

    Watch this step · 4:30

    For the cover, use a piece of 12 by 12 cardstock or any sturdy decorative paper. Double-sided paper looks great because the pattern shows on both faces.

    If your cover sheet is a little too long, fold the excess inward instead of cutting it off. That extra fold becomes a built-in inside pocket where you can tuck cards, tags, or letters later.

    Back to all steps

  3. Step 3: Trim Pages to Size

    Watch this step · 5:40

    Decide on a finished size first. A traveler's notebook size of 11.5 by 21 cm (about 4.5 by 8 inches) is a classic choice; the inside pages then trim to roughly 10 by 19 cm so they fit inside the cover when folded.

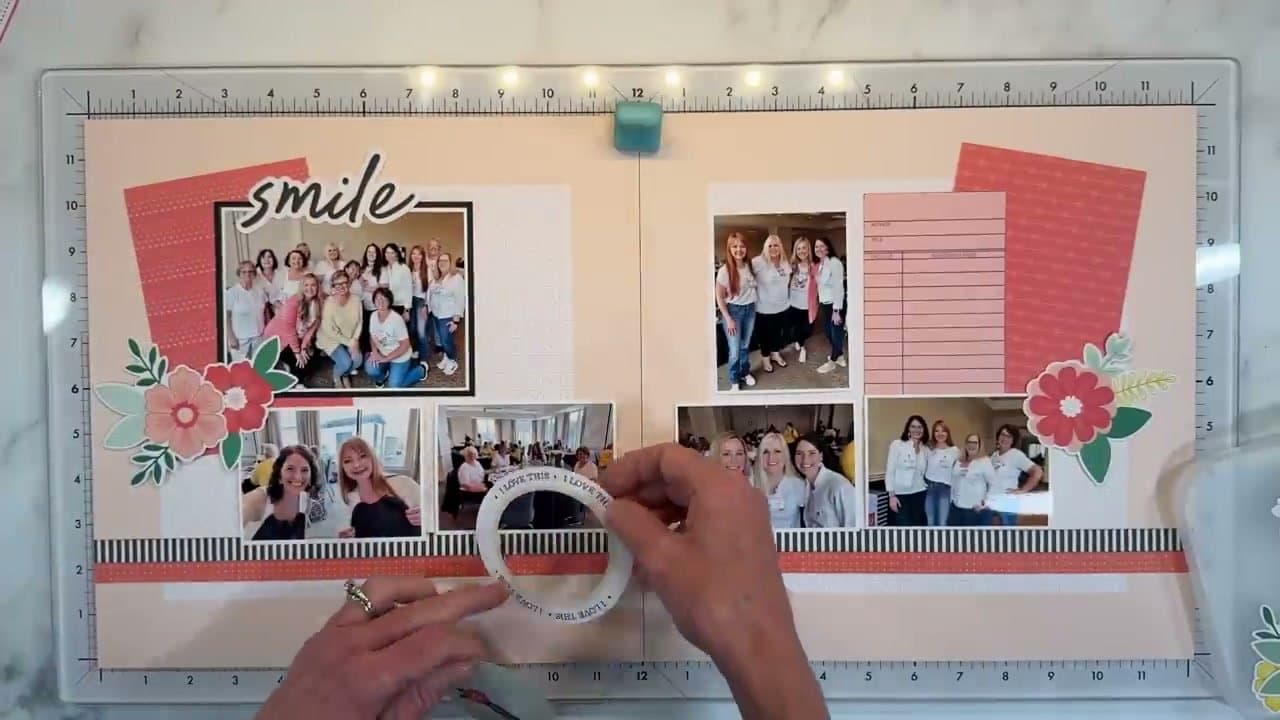
    Run each sheet through a paper trimmer (or use scissors and a ruler) until the whole stack matches. A cutting mat helps you check sizes as you go.

    Back to all steps

  4. Step 4: Add Decorative Details

    Watch this step · 7:20

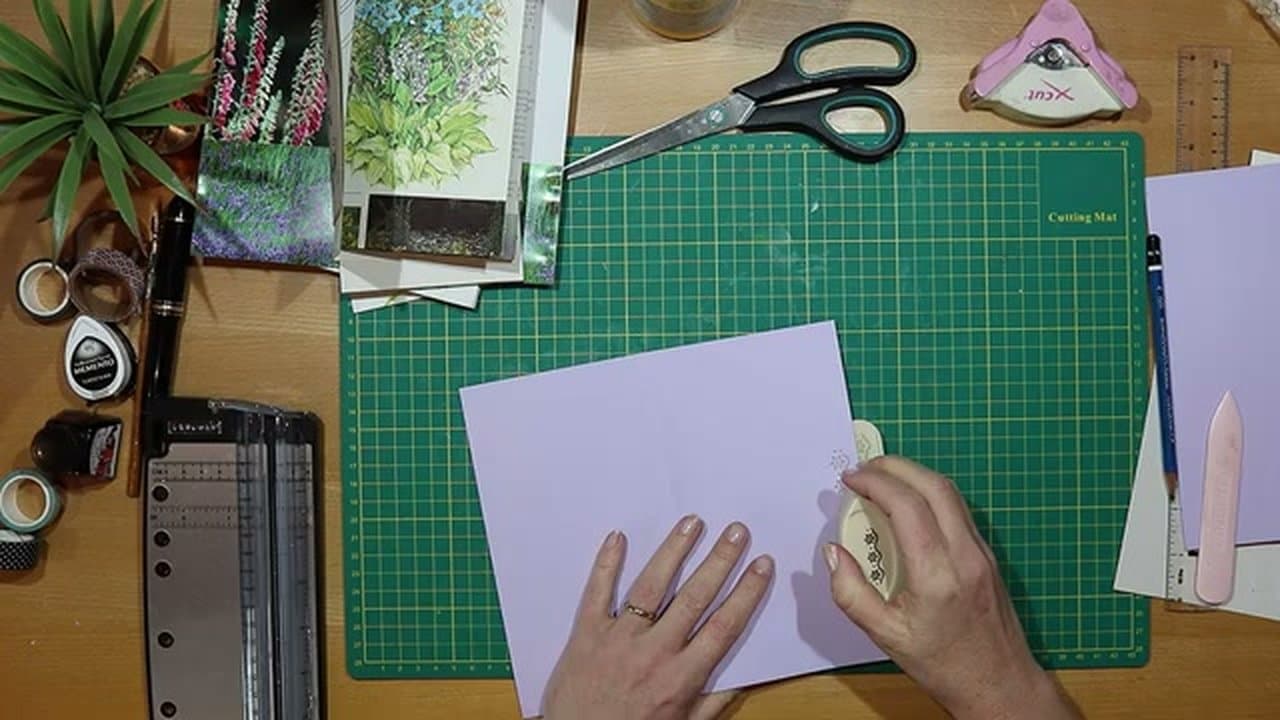
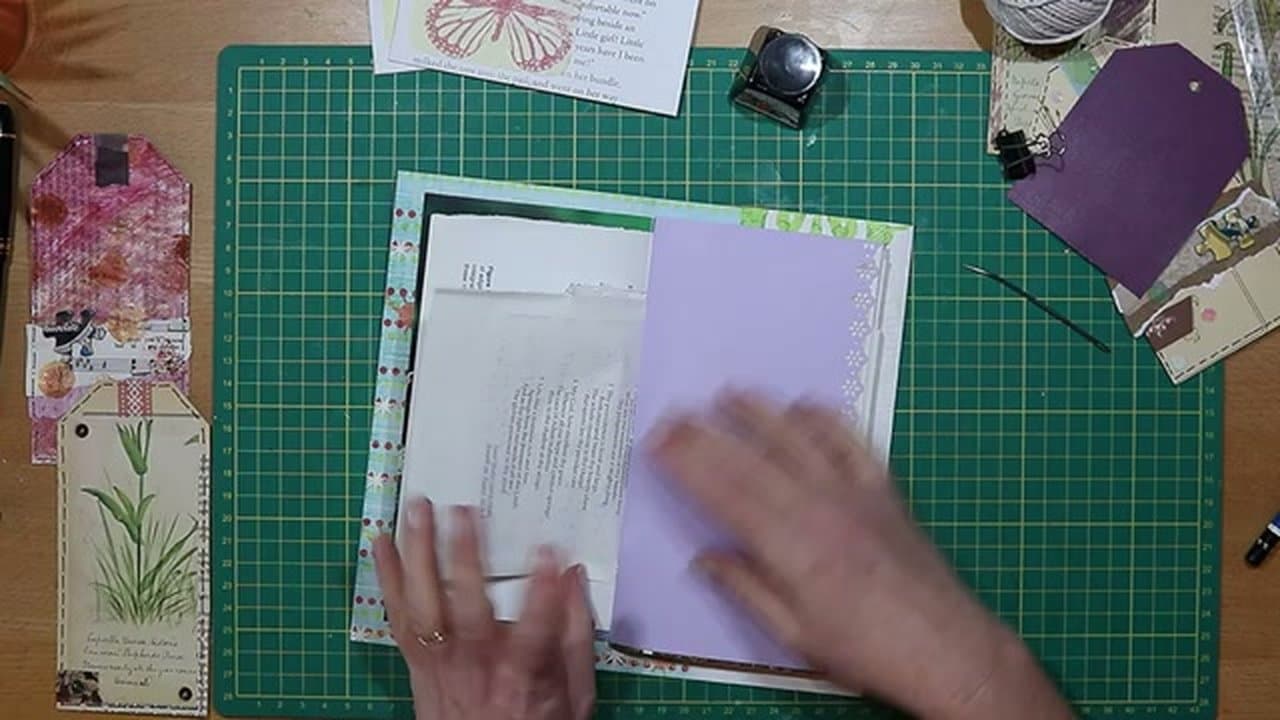
    If a page feels plain or slightly oversized, dress it up. Run a decorative hole punch along one edge for a lacy border, fold an overlong sheet inward to form an interior pocket, or tear an edge for a deckled vintage look.

    Small touches like this give the finished journal personality without much effort, and they let you handle awkward sizes without trimming away the paper you wanted to keep.

    Back to all steps

  5. Step 5: Order the Pages for Contrast

    Watch this step · 8:45

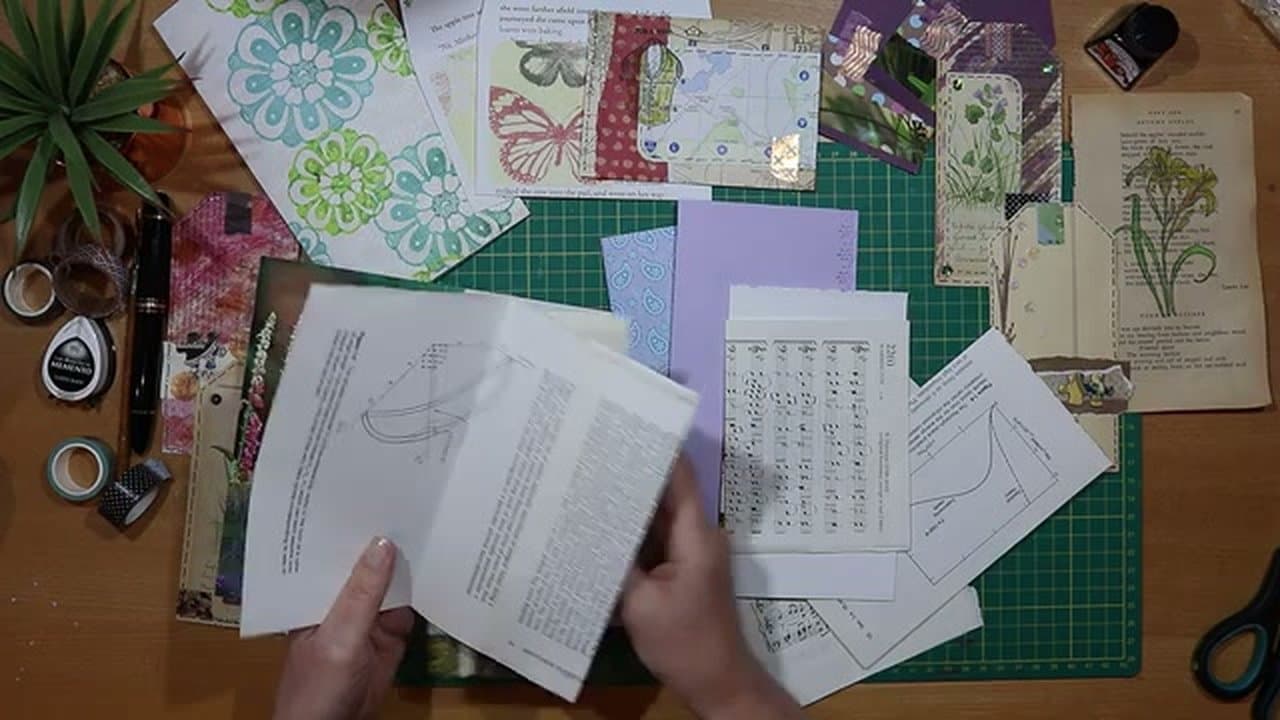
    Spread the trimmed pages out and decide on the running order. The goal is contrast: light next to busy, smooth next to textured, image-heavy next to mostly text.

    Putting two patterned pages back to back tends to look muddy, so alternate. The middle two pages of the signature read as a feature spread when the journal is open, so save your most striking page for that center.

    Back to all steps

  6. Step 6: Mark Three Binding Holes

    Watch this step · 9:35

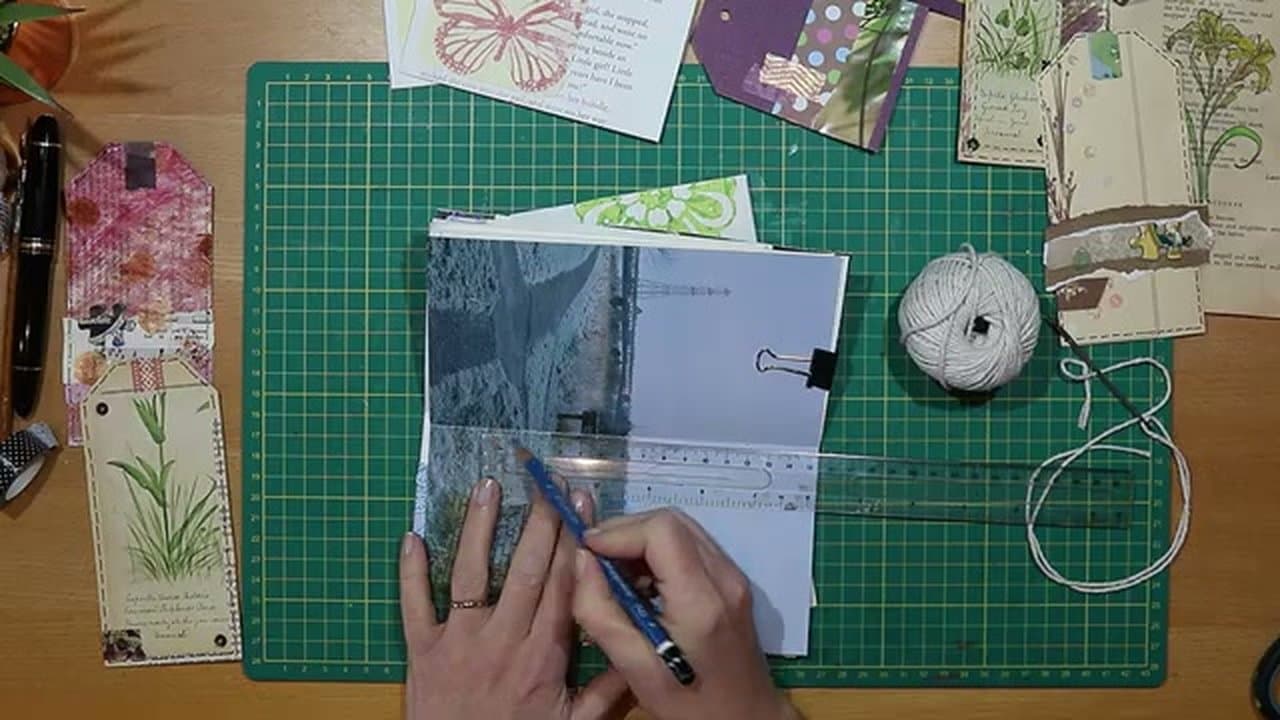
    Fold the page stack in half along the spine and clip it with a bulldog clip so nothing shifts. With a ruler and pencil, mark three points on the fold: one in the exact center, plus one 6 cm above and one 6 cm below it.

    Mark the same three points on the cover's spine line so the holes line up when you stitch. Three points is plenty for a single-signature journal.

    Back to all steps

  7. Step 7: Pierce the Holes

    Watch this step · 10:20

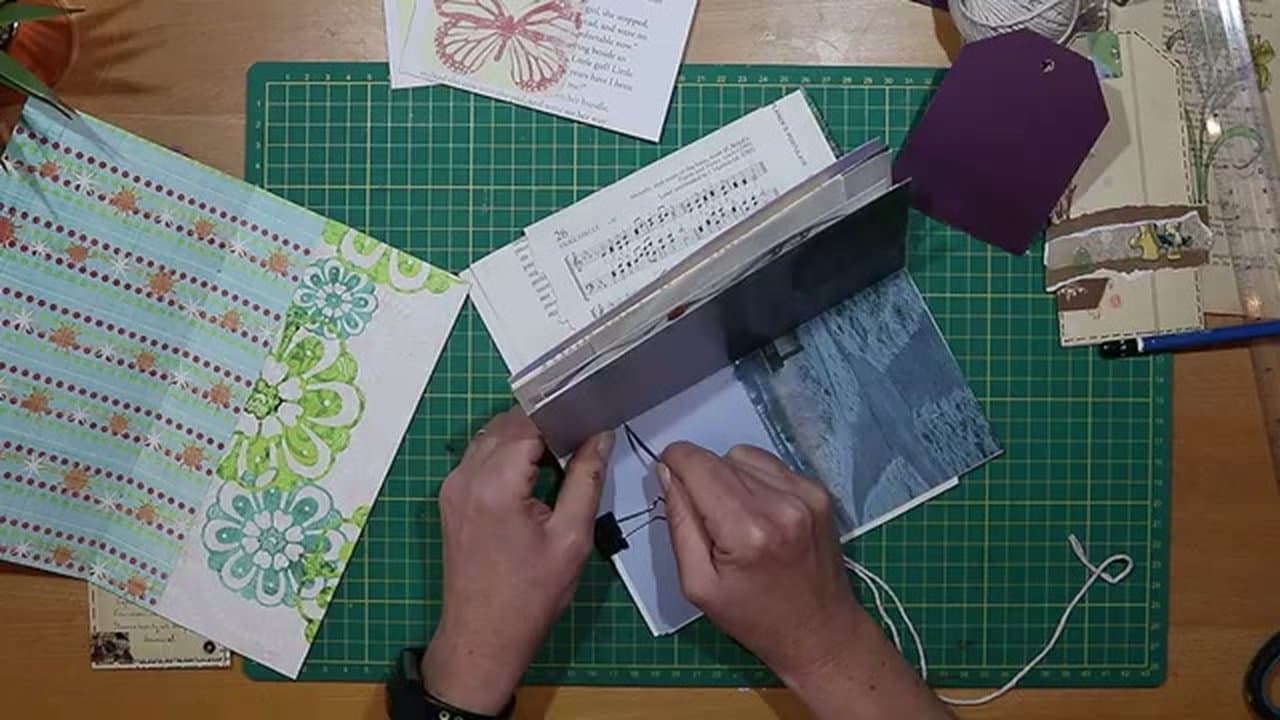
    Push a sewing needle through each marked point. The signature pages are easy; the cover is a little stiffer but still gives way with steady pressure.

    Keep the bulldog clip on while you pierce so the layers don't drift. With three clean holes through both signature and cover, you're ready to bind.

    Back to all steps

  8. Step 8: Sew the Figure-Eight Stitch

    Watch this step · 11:00

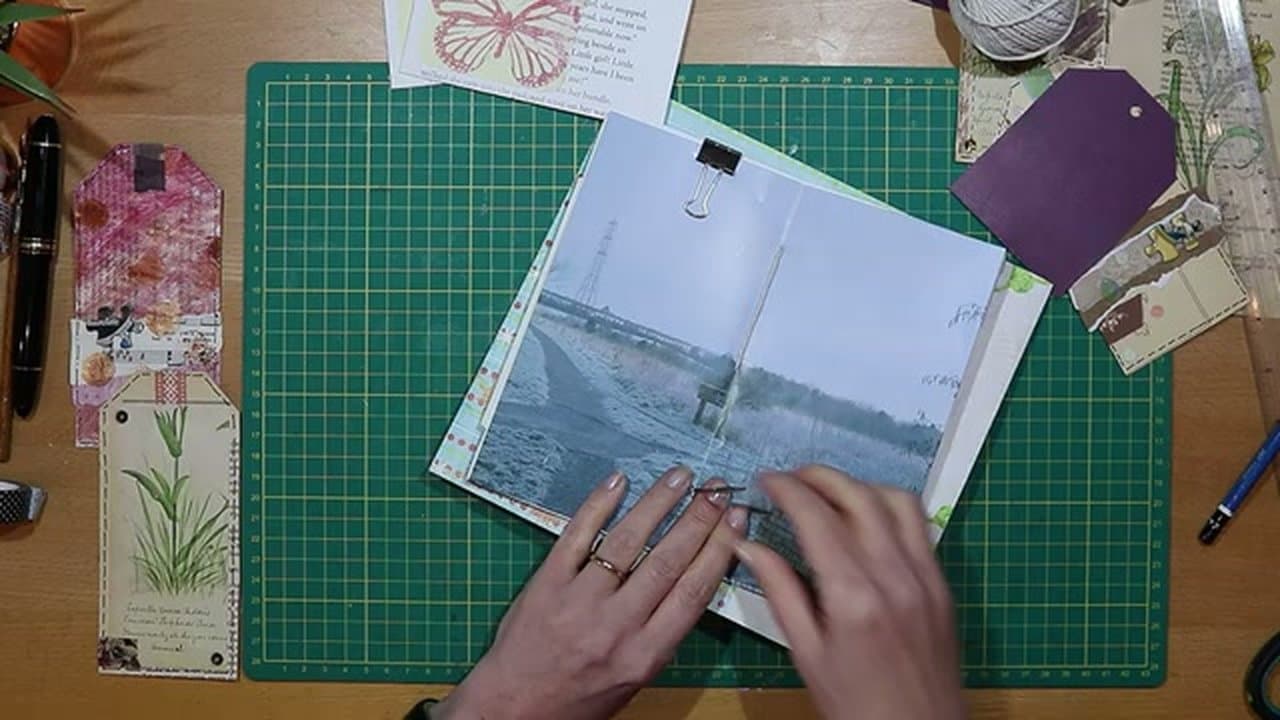
    Cut a length of cotton string about three times the depth of the spine. Thread your needle. Start from the outside of the cover, push through the top hole into the inside of the signature, then back out through the center hole.

    From the outside, push through the bottom hole. Finally come back out through the center hole. The string traces a figure-eight pattern that holds everything together. Keep it loose for now.

    Back to all steps

  9. Step 9: Tighten and Tie Off

    Watch this step · 11:40

    Now pull the string tight. Make sure the long center stitch sits flat on the spine and the figure-eight has snugged up evenly.

    Tie the two ends together with a knot or finish with a bow on the spine. Trim the tails or leave them long for character. That's it - one finished single-signature junk journal, ready to fill with collage, photos, and ephemera.

    Back to all steps

How to Fussy Cut Patterned Paper

Keep going

How to Fussy Cut Patterned Paper

Keep going with scrapbooking

More on this topic, picked for this junk journal.

You reached the last step

Save this project to come back to it

Your ticked steps, the free printable and your other saved makes, together in My Projects. Free, no password.

You tapped Save

Save this project for later

We'll email you a link, no password.

How to Make a Junk Journal: Step-by-Step Beginner Guide

  • Your saved projects in one list
  • Your ticked steps on any device

Check your inbox for an email from us. Not there? Look in your spam folder.

Free printable

Printable sheet and shopping list for this project

The bonus is hidden until you sign up.

Free with a free account, no password. Every step above stays open to everyone.

Products Used

The Checklist

How to Make a Junk Journal: Step-by-Step Beginner Guide

Tools
8
Materials
5
Steps
9
Video
12 min

Tools we recommend

As an Amazon Associate we earn from qualifying purchases. Links on this page may be affiliate links - clicking them and buying doesn't change your price, but helps support Crafting Step by Step.

Tags

The Crafter's Weekly

New scrapbooking tutorials, every Sunday

One short email with the week's best step-by-step guides. Free, no spam, unsubscribe anytime.

Test your knowledge

Did the lesson stick? Start with this one.

5 questions covering what you just read. No signup, no score saved, and you can stop after this one.

Question 1 of 5

How many sheets is enough for a single-signature journal?

Quick reference

Key takeaways from How to Make a Junk Journal: Step-by-Step Beginner Guide

5 questions, answers, and one-line explanations. Tap to expand.

  1. 1.How many sheets is enough for a single-signature journal?

    Answer: About 10 to 12 sheets

    10-12 sheets = a comfortable signature thickness for hand-binding without straining the binding holes.

  2. 2.How many binding holes do you typically pierce on a single signature?

    Answer: THREE - one center, plus one 6cm above and 6cm below

    Three holes is plenty for a single signature. The figure-eight stitch uses all three to hold the whole stack together.

  3. 3.What's the FIGURE-EIGHT stitch for binding?

    Answer: Push through top hole from outside, out center hole inside, in bottom hole from outside, out center hole - the string traces a figure-8 and holds everything

    The figure-eight uses one strand to bind a 3-hole signature. The crossover at the center hole is what locks the tension.

  4. 4.What's a key principle for ordering pages in the signature?

    Answer: CONTRAST - light next to busy, smooth next to textured, image-heavy next to text-heavy (two patterned back-to-back looks muddy)

    Contrast prevents visual fatigue. Mixed textures and weights also let you tuck small items in 'pocket' spreads naturally.

  5. 5.Best cover material for a junk journal?

    Answer: 12x12 CARDSTOCK or sturdy decorative paper (double-sided patterns are even better)

    Cardstock has the weight to protect the inner pages without being too stiff to fold. Double-sided patterns show on both faces.

Did this work for you?

What's next

Related collections

Curated theme pages that include this tutorial.

Similar tutorials

Hand-picked next reads based on the one you just finished.

Liked this scrapbooking tutorial?

Pick the crafts you want to hear about. One email every Sunday with new step-by-step tutorials. No spam, easy to unsubscribe.

Get more like this in your inbox

Weekly digest. Pick the categories you want. Unsubscribe anytime.

Send me tutorials about

We only email about new tutorials. Easy unsubscribe anytime.