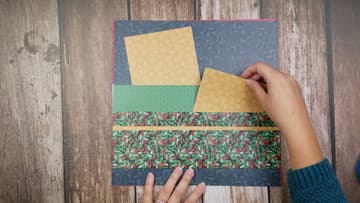
How to Make a Scrapbook Pocket Page From One Sheet of Paper
Source: Scrap With Ash • Full tutorial: www.craftingstepbystep.com/scrapbooking/how-to-make-a-scrapbook-pocket-page
- Difficulty
- Easy
- Hands-on time
- About 15 minutes
- Cost
- About $1 to $3
- Makes
- 1 pocket page

Tools
- 12 inch paper trimmer with scoring blade (or ruler and bone folder)
- bone folder
Materials
- 12x12 double sided patterned paper
- 12x12 background cardstock or paper
- permanent tape runner
- sticker border or washi tape (optional)
Steps
1. Score the Scrapbook Paper at the 6 Inch Line
Swap the cutting blade on your paper trimmer for the scoring blade. You will not cut anything for this project.
Tip: No scoring blade? Use a ruler and a bone folder along a pencil line.
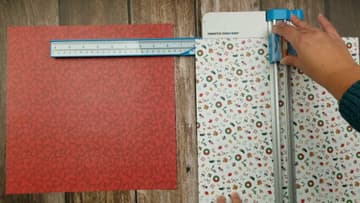
2. Score the Scrapbook Paper Again at 2 and 1 Inch
Slide the paper down the trimmer and score a second line at the 2 inch mark. Then move it once more and score a third line at 1 inch.
Tip: Measure all three lines from the same edge of the paper.
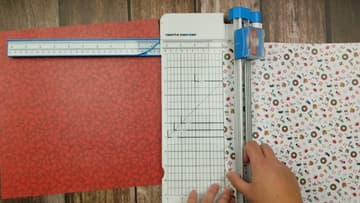
3. Crease the Scrapbook Paper Along Each Score Line
Pick up the paper and bend it along each score line to make a crisp fold. It does not matter which direction you fold yet.
Tip: A sharp crease now means a neat, flat pocket later.
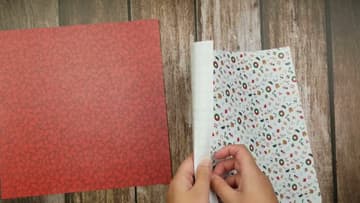
4. Fold the 6 Inch Section Up to Form the Pocket Front
Decide which side of your paper you want to show on the front of the pocket. Ashley wanted the Christmas icon print to stand out, so she folded the 6 inch section up to put the plaid inside.
Tip: Hold a few keepsakes up to it to check the size before you go on.
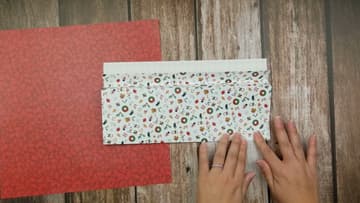
5. Fold the Reinforced Cuff Along the Top of the Pocket
Find the next fold and flip that section down, then flip the last 1 inch section back up. This double fold builds a thick cuff along the top edge of the pocket.
Tip: Line up the ends of the cuff with the pocket sides before you crease it.
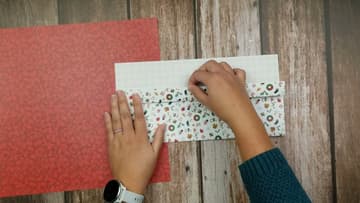
6. Tape the Side Edges of the Scrapbook Pocket
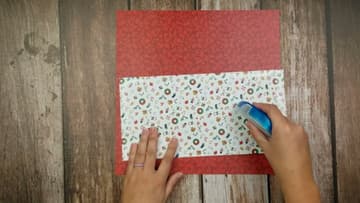
Run a permanent tape runner along both side edges so the front and back of the pocket stick together. The bottom edge is already closed by the fold.
Tip: Be generous with the tape. More is better here.
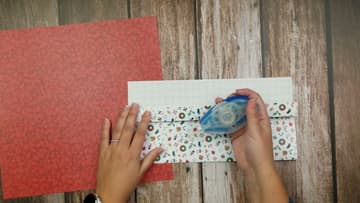
7. Secure the Reinforced Cuff on the Scrapbook Pocket
Add a line of tape runner under the 1 inch flap and press it down onto the pocket front. Smooth it from one end to the other so there are no bubbles.
Tip: Tape the cuff ends too, so they do not lift at the corners.
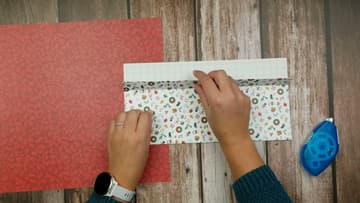
8. Add a Sticker Border Along the Scrapbook Pocket Seam
Lay a sticker border along the seam where the cuff meets the pocket front. It hides the edge and adds definition.
Tip: Washi tape or a thin paper strip works too.
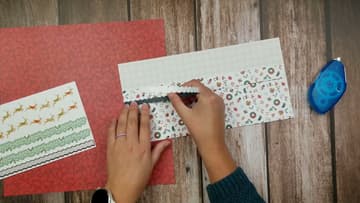
9. Tape the Pocket to the Scrapbook Background Page
Choose a 12x12 background page and decide where the pocket sits. Ashley left about an inch of margin at the bottom.
Tip: Tape the bottom edge so nothing slips out underneath.
10. Fill the Scrapbook Pocket Page With Keepsakes
Slide your memorabilia into the pocket. Ashley's second sample uses a holly print pocket on a navy page with two gold cards tucked in.
Tip: Write the date on the back of each item before it goes in.