How to Make a Mini Scrapbook Album

Based on a video by Lyric Lover Crafts

Opens their YouTube channel

Steps written out by Crafting Step by Step · Published

Watch the original video (opens YouTube)
The finished result: How to Make a Mini Scrapbook Album
Also in:Paper Crafts

A mini album is a small handmade book for a handful of photos: a trip, a birthday, a season with the grandkids. Amber from Lyric Lover Crafts builds this one from six sheets of 12x12 patterned paper, two of each of three prints, with no binding machine and no chipboard. Fold, cut, glue, and you have a sturdy album about 5 by 6 inches with pockets built into the folds.

It takes about an hour, and most of that is waiting for glue.

Choosing paper for a mini scrapbook album

Pick three prints that go together: one busy pattern, one dark, one soft floral. Amber uses open stock paper that is heavier than printer paper but thinner than cardstock, which folds crisply without cracking. Single sided paper is fine because the backs are glued together and never show. Avoid heavy cardstock for the pages. It cracks at the folds and makes the album too thick to close.

How the six sheet mini album works

Each pair of sheets is joined into one long strip, folded into a small booklet, and glued so every page is double thickness. That gives you three little books. Glue the three together at the spines and wrap a strip of paper around the outside to cover the join. The folds that stay open at the top become pockets for tags and journaling cards.

Wet glue or tape runner?

Use a tape runner for the first join between sheets, because it is clean and instant. Use liquid glue to stick the folded pages and the three books together. Wet glue gives you a few seconds to slide the spines into line before it grabs. Go easy on it. Too much glue makes thin paper ripple as it dries.

Decorating your mini album

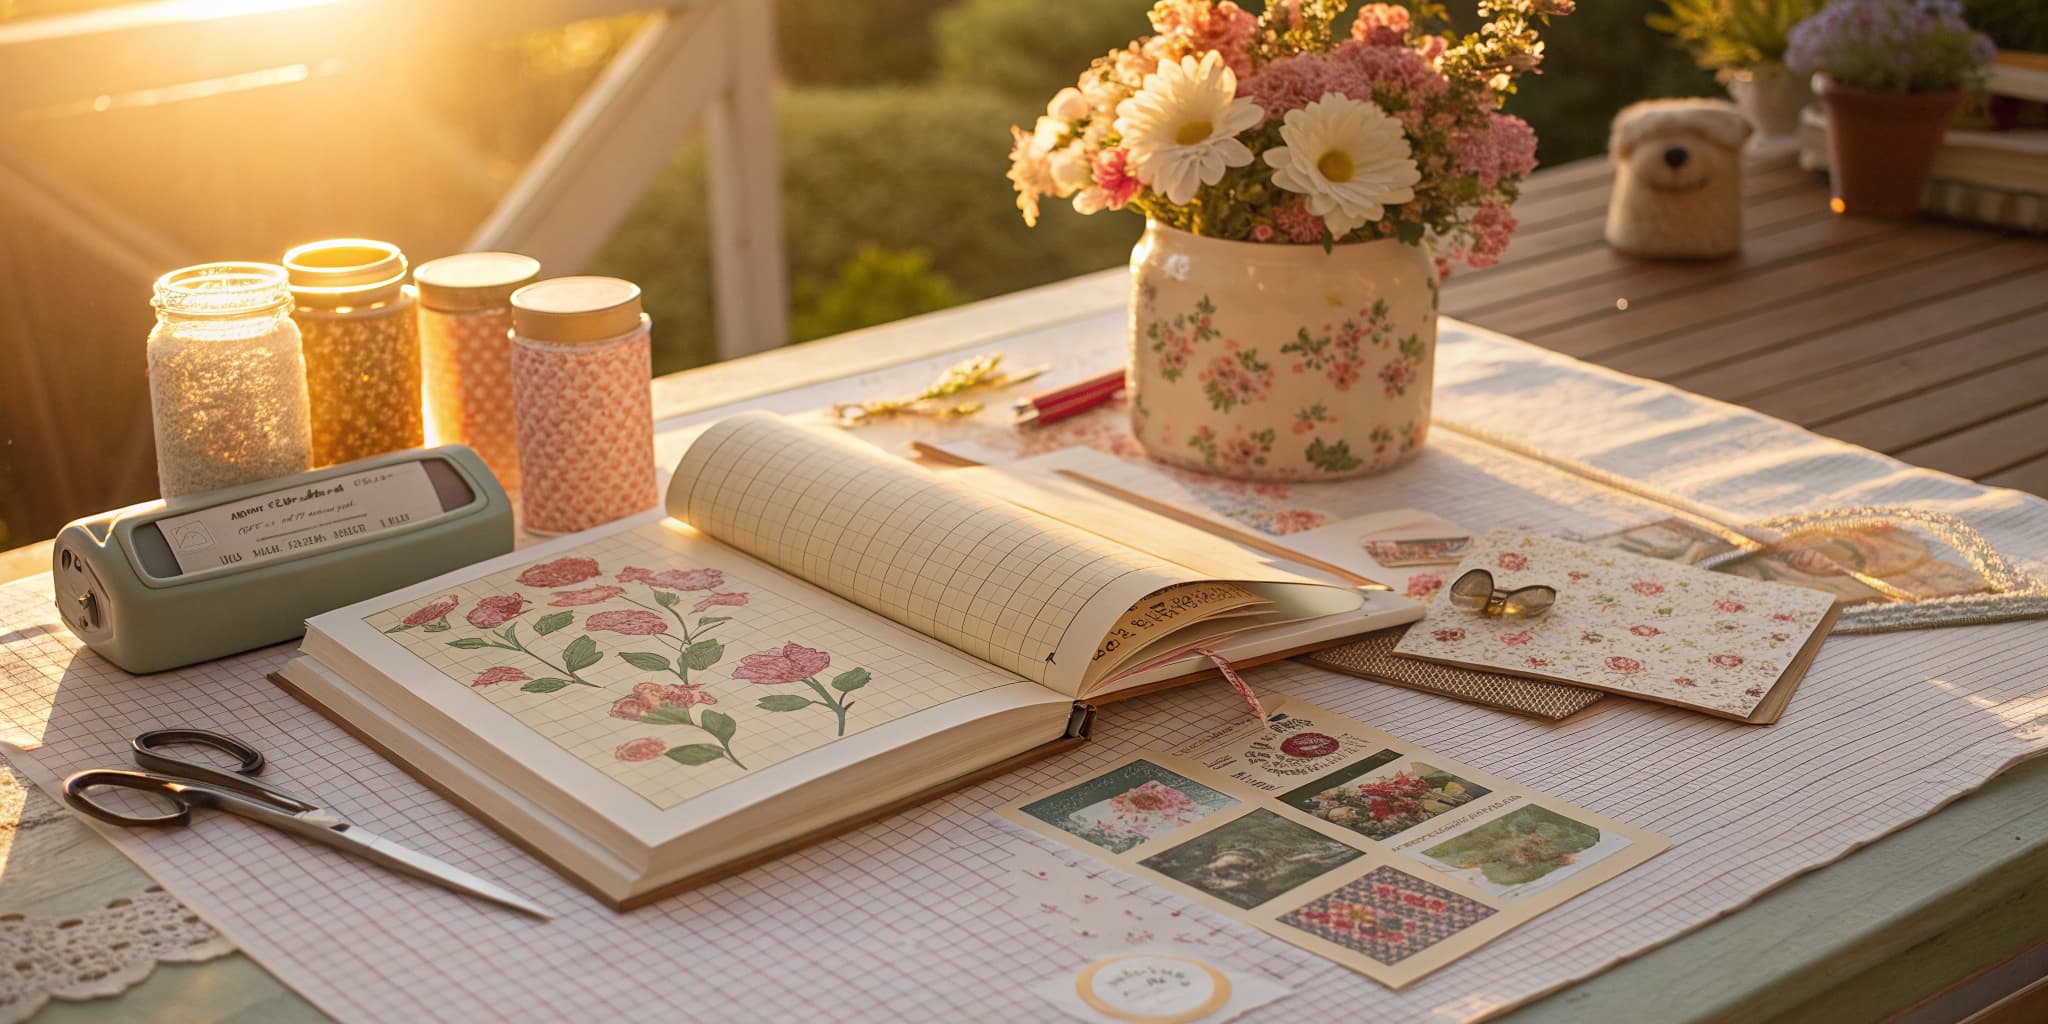
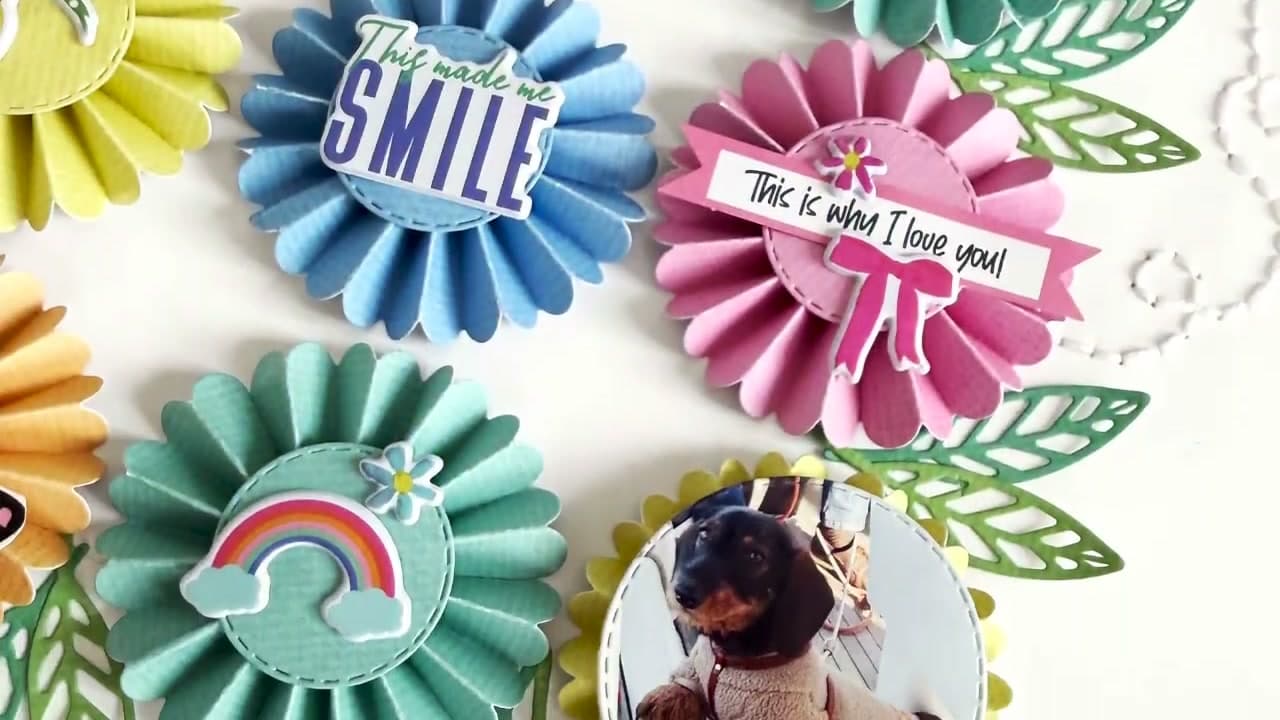
Keep the scraps from trimming. They make the spine strip, photo mats and tags. A die cut wreath and a sticker on a white mat makes a simple cover. Tie the album closed with seam binding or ribbon. Leave most pages plain so there is room for photos, and tuck journaling cards into the pockets.

Making it bigger or smaller

Joining two sheets is what gives this album its 5 by 6 inch size. Fold a single 12x12 sheet the same way and you get a slim album, about 3 by 6 inches. An 8.5 by 11 sheet makes a tiny one that fits inside a greeting card. Use more pairs of sheets for a thicker book.

Gift ideas

A mini album makes a thoughtful present: a grandparent brag book, a first day of school keepsake, or a thank you for a teacher filled with class photos. Make the album ahead and add the photos later.

Common mistakes

  • Uneven first fold. If the long strip is folded off center, every page ends up crooked.
  • Skipping the bone folder. Soft folds make the book spring open.
  • Gluing the whole spine strip. Glue only its edges so the album still bends.
  • Stacking before the glue dries. Let each little book sit flat under a heavy book.

More scrapbooking projects

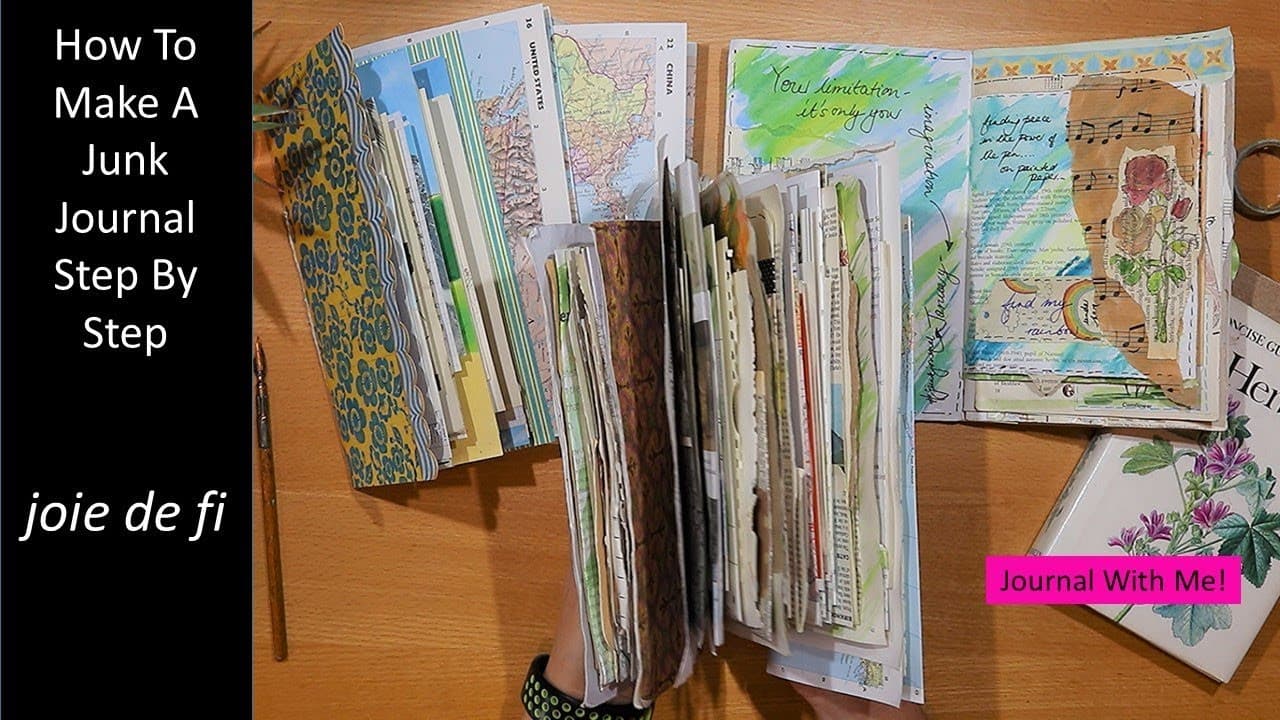
New to scrapbooking? Start with how to scrapbook. If you like book making, a junk journal uses the same folding and gluing. For a full page design, try a flower meadow scrapbook layout. And for pocket inserts, make small paper envelopes to slip into the folds.

What you'll need

Step-by-step guide

10 steps, about 18 minutes. Tap a picture to jump to that step. Your progress saves automatically.

Tick each step off as you go.

  1. Step 1: Pick Six Sheets of 12x12 Patterned Paper for the Mini Album

    Watch this step · 1:10

    Gather six sheets of 12x12 scrapbook paper: two of each of three patterns. Amber picked open stock paper that is a little heavier than copy paper but not cardstock, so it folds cleanly. Choose prints that look good together, because every page of the album will show one of them. You only need one patterned side.

    Tip:

    Lay the three prints side by side before you start. Decide which will be the cover.

    Back to all steps

  2. Step 2: Trim One Sheet of Each Pattern to 8.5 x 12 Inches

    Watch this step · 1:40

    Leave one sheet of each pair at full 12 by 12. Cut the other down to 8.5 by 12 inches on a paper trimmer. Do the same for all three patterns, so you have three full sheets and three narrower ones. Keep the leftover strips. They come in handy for the spine and decorating at the end.

    Tip:

    Measure from the same edge on every sheet so the pages line up later.

    Back to all steps

  3. Step 3: Run Adhesive Along a Half Inch Edge to Join the Mini Album Pages

    Watch this step · 2:32

    Flip the 12x12 sheet face down. Run adhesive along a half inch strip at one edge. A quarter inch tape gun needs two passes. Lay the 8.5 inch piece face down over that half inch so the two overlap, making one long sheet. Wipe off any excess. Repeat with the other two pairs to get three long strips.

    Tip:

    Use the grid on your cutting mat as a guide for the half inch overlap.

    Back to all steps

  4. Step 4: Fold the Long Mini Album Strip in Half Lengthwise

    Watch this step · 3:25

    Take one long strip, patterned side out, and fold it in half along its length. Line up the edges carefully before you crease, because an off-center fold makes every page crooked. Run a bone folder along the fold to set a sharp crease. Thinner paper folds especially neatly here, which is one reason Amber chose it.

    Tip:

    Pinch the two ends together first, then smooth toward the middle.

    Back to all steps

  5. Step 5: Fold the Mini Album Strip in Half and Back Into a W

    Watch this step · 3:45

    Fold the strip in half the other way, so the short ends meet, and crease. Then fold each end back toward the center fold so the strip forms a W or M shape when you look at it from the side. Crease every fold well with the bone folder. Now unfold it so you can see four panels.

    Tip:

    Press each fold under the bone folder twice. Crisp folds keep the book closed.

    Back to all steps

  6. Step 6: Cut the Fold to Open the Two Middle Mini Album Panels

    Watch this step · 4:56

    The two middle panels need an opening at the top. Open the sheet and fold it in half the other way so the center fold line sits on the edge. Cut along that fold through the two middle panels only, stopping at the outer panels. Then open it back up and refold it lengthwise.

    Tip:

    If that feels fiddly, snip a short slit at the top of the middle fold with the paper folded flat.

    Back to all steps

  7. Step 7: Push the Panels Together to Form a Little Book

    Watch this step · 6:22

    Hold the folded strip with the cut at the top. Separate the cut edges and push the two middle sections toward each other, so the panels pop out into a cross shape. Bring the last panel around to close it into a little book. Crease everything down with the bone folder. You now have a small booklet.

    Tip:

    If a page sticks out past the others, re-crease the fold rather than trimming.

    Back to all steps

  8. Step 8: Glue the Mini Album Panels With Wet Glue

    Watch this step · 7:25

    Open the booklet flat with the plain side up. Add liquid glue along the edges of each panel and a little in the middle. Use wet glue so you have time to straighten the pages. Fold it back into the little book and press. Turn each page and run the bone folder over it so every edge is stuck down.

    Tip:

    Do not use too much glue. Thin paper warps if it gets soaked.

    Back to all steps

  9. Step 9: Glue the Three Little Books Together at the Spines

    Watch this step · 9:35

    Make all three little books the same way, then decide the order. Add wet glue to the back of the first book, edges first, then a little in the middle. Press the second book onto it with the spines exactly lined up. Repeat for the third book. Let the stack dry for a few minutes.

    Tip:

    Stand the album on its spine on the table to check the books are level.

    Back to all steps

  10. Step 10: Wrap a Spine Strip Around the Mini Scrapbook Album

    Watch this step · 11:00

    Cut a leftover dark strip to about 6 by 1 inches. Stick it along the front edge of the album with a thin line of adhesive, then fold it around the spine to the back. Glue only its outer edge so the spine can still flex. Burnish it with the bone folder, then decorate the cover and tie it closed with seam binding.

    Tip:

    Leave the middle of the spine strip unglued, or the album gets too stiff to open.

    Back to all steps

Keep going

How to Start a Bullet Journal: A Beginner's Guide

Products Used

The Checklist

How to Make a Mini Scrapbook Album

Tools
4
Materials
5
Steps
10
Video
18 min

Tools we recommend

As an Amazon Associate we earn from qualifying purchases. Links on this page may be affiliate links - clicking them and buying doesn't change your price, but helps support Crafting Step by Step.

Tags

The Crafter's Weekly

New scrapbooking tutorials, every Sunday

One short email with the week's best step-by-step guides. Free, no spam, unsubscribe anytime.

Did this work for you?

What's next

Related collections

Curated theme pages that include this tutorial.

Similar tutorials

Hand-picked next reads based on the one you just finished.

Liked this scrapbooking tutorial?

Pick the crafts you want to hear about. One email every Sunday with new step-by-step tutorials. No spam, easy to unsubscribe.

Get more like this in your inbox

Weekly digest. Pick the categories you want. Unsubscribe anytime.

Send me tutorials about

We only email about new tutorials. Easy unsubscribe anytime.