How to Make a Paper Rosette Scrapbook Layout
Source: Hip Kit Club • Full tutorial: www.craftingstepbystep.com/scrapbooking/how-to-make-a-paper-rosette-scrapbook-layout
- Difficulty
- Medium
- Hands-on time
- About 1 hour 30 minutes
- Cost
- About $10 to $20
- Makes
- 1 scrapbook layout with 2 photos

Tools
- Die-cutting machine
- Concertina rosette metal die
- Nested circle die set
- Blooms and leaves metal die set
- Bone folder
- Small sharp scissors
- Piercing tool
- Sewing needle
Materials
- Cardstock in five colours
- Green cardstock
- 12x12 pink cardstock base
- Patterned paper
- Liquid glue
- Adhesive runner
- Thread
- Puffy stickers and word tags
- Two photos
Steps
1. Pull the Kit and the Three Dies
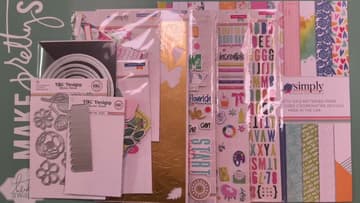
Anke works from the May 2026 Hip Kits and leans on three metal dies: the concertina rosette die that cuts the pleated strips, a nested circle die for the caps and photo mounts, and a blooms and leaves die for the greenery. The circle die is the one people underestimate.
Tip: Any concertina or rosette die works. Check the strip length first, because a shorter die may need four passes per rosette instead of three.
2. Cut Three Strips per Rosette
Run the rosette die three times for each flower, working through yellow, orange, pink, light blue and dark blue cardstock. What comes off the plate is a flat strip with a scalloped edge and the fold lines already pressed in.
Tip: Cut the circle caps at the same time, two per rosette. Swapping dies eighteen times is what makes this project feel long.
3. Fold the Accordion and Close the Ring
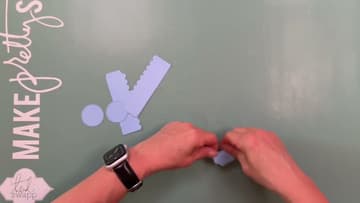
Concertina each strip along its score lines, alternating the direction of every fold, then glue the three strips end to end and bring them round into a ring. Fold the full length of all three strips before you glue anything.
Tip: Run a bone folder along each crease. Fingernail folds soften over a few days and the rosette loses its crispness.
4. Cap Both Faces With a Circle
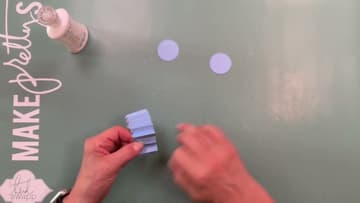
Cut circles from the same cardstock with the nested circle die and glue one to the front of the rosette and one to the back. The back circle is structural.
Tip: Press the rosette flat under a book while the back circle dries. It sets the disc shape and stops the pleats lifting.
5. Lay the Grid Out Dry
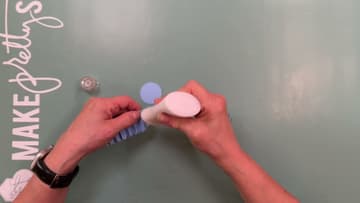
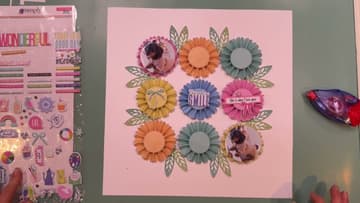
Set all nine rosettes on the base in a three by three grid before any glue comes out, then shuffle them until no two of the same colour touch, including diagonally. Grids expose colour repeats in a way a scattered arrangement never does.
Tip: Decide now which two rosettes carry photos. Anke puts hers on opposite corners, which keeps the eye moving diagonally across the grid.
6. Tuck Leaves Into the Gaps
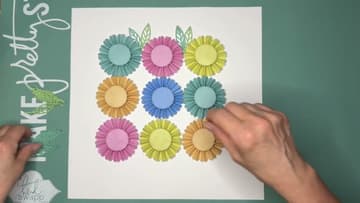
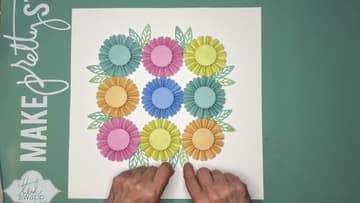
Die-cut leaves from light and dark green cardstock and slide them into the diamond-shaped gaps where four rosettes meet, letting the tips poke out past the edges. Two greens rather than one is what stops the leaves reading as a flat filler layer.
Tip: Let a few leaves break past the outer edge of the grid. A grid that stops dead at its own boundary looks pasted on.
7. Mount the Photos as Rosette Centres
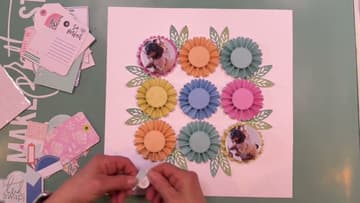
Crop two photos into circles the same size as the front caps and mount them on two rosettes set diagonally opposite each other. Matching the photo to the cap size is the trick.
Tip: Print photos slightly oversized and crop with the die itself. Cutting to a traced circle by hand almost never lands centred.
8. Fill the Remaining Centres
Treat each of the seven plain caps as its own small frame. Anke adds a word die card, journaling tags and puffy stickers from the May and March embellishment kits.
Tip: Puffy stickers sit best here. Flat stickers disappear against the pleats unless you back them on cardstock first.
9. Add the Butterflies
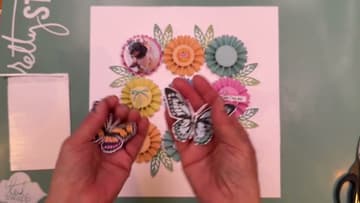
Fussy cut two butterflies from patterned paper and set them across the rosettes, one near the top and one lower down on the opposite side. Bend the wings up slightly along the body before gluing so only the centre touches the page.
Tip: Glue only the body. Leaving the wings loose is what gives the butterfly its shadow.
10. Stitch the Trails and Finish
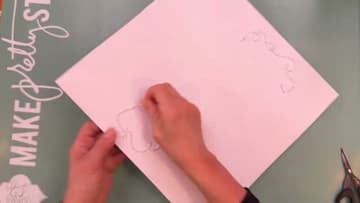
Pierce a looping line of holes across the bare cardstock and hand stitch along it to make a flight trail behind each butterfly, then scatter puffy dot stickers to close the page out. The stitching earns its place here.
Tip: Pencil the curve first and pierce on a foam mat. Holes in a finished layout are not something you can undo.