How to Mix Epoxy Resin (Beginner's Step-by-Step)

Resin ArtMedium13:108 stepsBrowse more →
Also in:Other Crafts

By CraftingStepByStepPublished

Based on a video by LET'S RESIN.

Epoxy resin is two bottles - a Part A and a Part B - that don't do anything on their own. Pour them together at the wrong ratio or stir them the wrong way and you get a tacky, half-cured mess that won't release from the mold. Get the mix right and you get a glassy, crystal-clear casting that holds shape for years.

This walkthrough is the LET'S RESIN brand tutorial - the same brand that runs the 1:1 starter kits most beginners pick up. The technique works for any 1:1 by volume general-purpose resin, not just theirs. The key moves are simple: measure by volume not weight, stir slow in one direction, and never tint beyond 6% of total volume.

Plan on about 20 minutes of active work plus 8-16 hours of cure time. The mixed resin has a working window of roughly 30-40 minutes before it starts to thicken in the cup, so have your mold and your colorants ready before you crack the bottles.

Once you've got mixing down, the rest is just pouring: see how to make resin coasters, how to make resin keychains, or how to seal flowers in resin. For thin clear top-coats and small details, UV resin cures in minutes under a lamp instead.

Step-by-Step Guide

1

Lay Out Your Supplies and Suit Up

0:30
Step 1: Lay Out Your Supplies and Suit Up

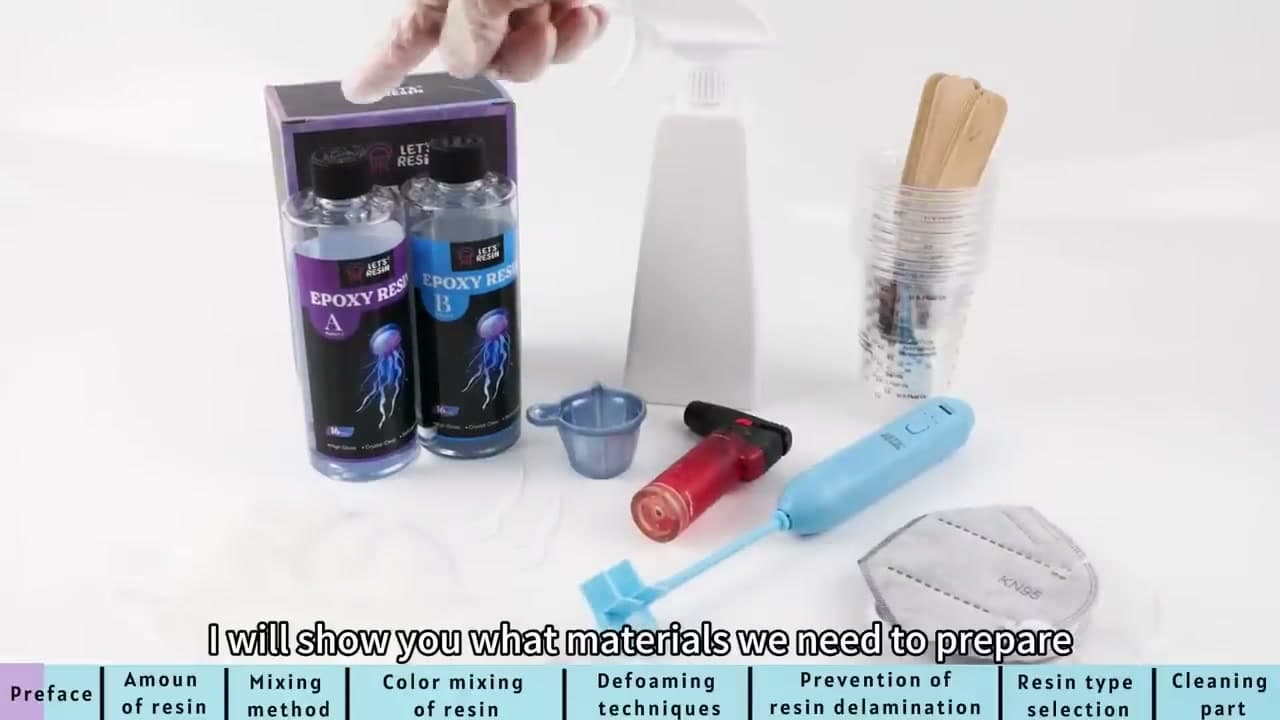
Before you open a single bottle, get everything within arm's reach. Mixed resin has a 30 to 40 minute working window and you don't want to be hunting for stir sticks halfway through. Lay out a graduated measuring cup, a stack of wooden stir sticks (or an electric resin mixer if you're working with larger volumes), nitrile gloves, a respirator mask, a small butane torch or lighter, and your silicone mold.

Cover your work surface with a silicone mat or wax paper. Resin will not come off bare wood or fabric once it cures - it just sits there. Put the gloves and mask on now, not after the bottles are open. The Part A and Part B vapors are mild but you don't want them in your sinuses for the next half hour.

Tip

Work in a room you can ventilate - cracked window or running fan. Resin isn't acutely toxic but it does outgas while it cures and you don't want to sleep in that air.
2

Measure How Much Resin You Need

1:15
Step 2: Measure How Much Resin You Need

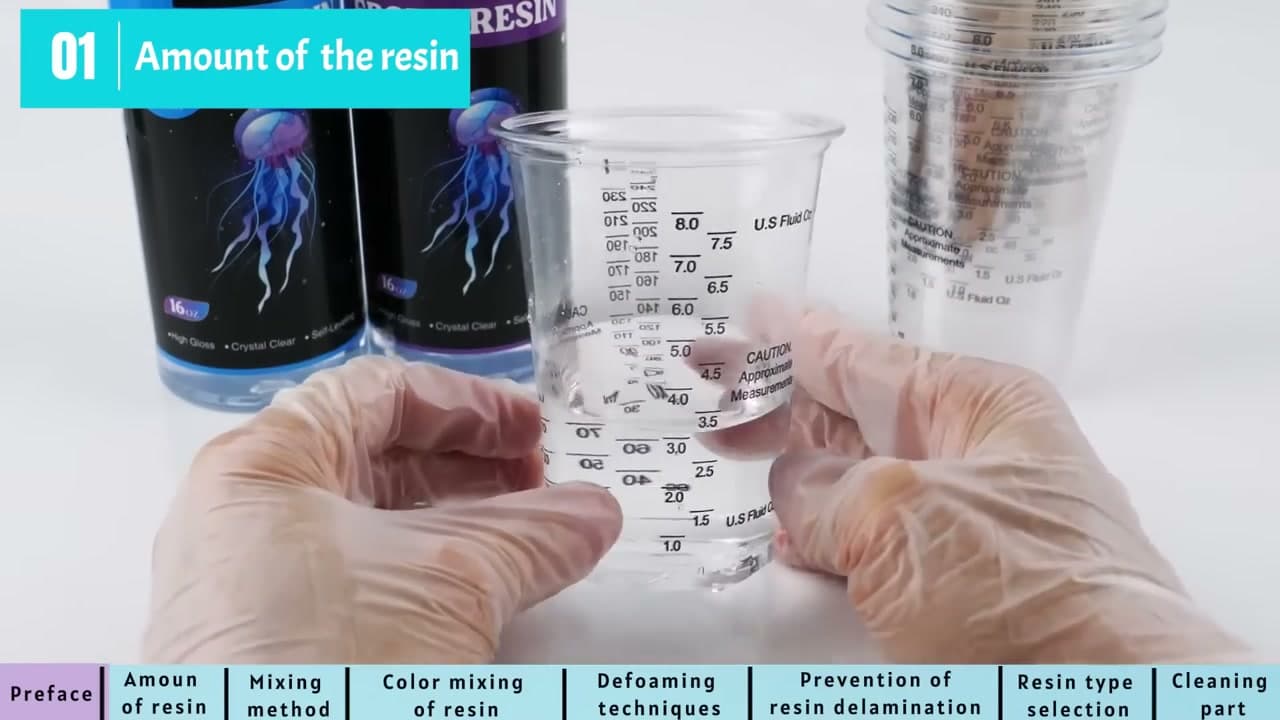
Mixing too much resin is the most common rookie mistake. The reaction generates heat as it cures, and a cup with too much volume can flash-cure - reach 150 degrees, foam up, and ruin the cup, mold, and table.

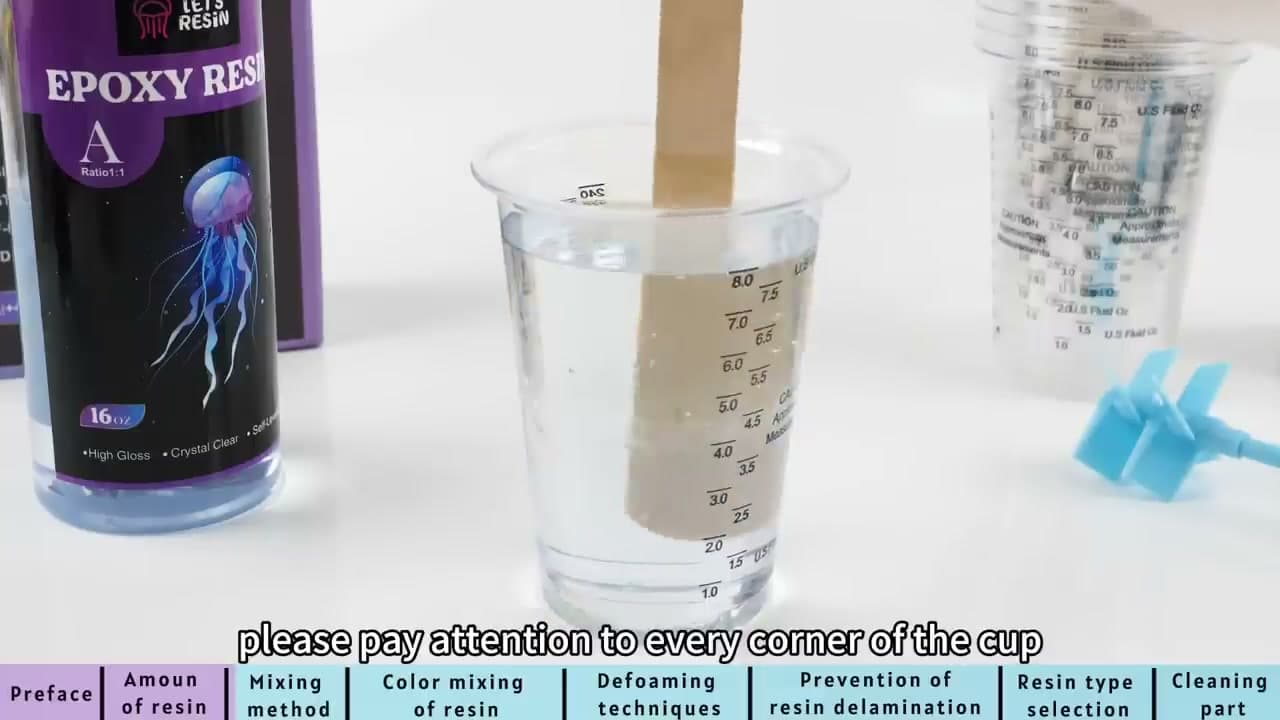
Look at the mold first. Most molds have a fluid-ounce or milliliter capacity stamped on the bottom. If yours doesn't, fill the mold with water, pour the water into your graduated measuring cup, and note the volume. Cap the bottles at 8 ounces total per batch. If your mold needs more, split it across two cups instead of mixing one giant pour - the smaller cups stay cooler and give you a longer working window.

Tip

Always measure by volume, not by weight. Part A and Part B have slightly different densities, so a kitchen scale will give you a ratio that's off by 3 to 5 percent - enough to cause sticky surfaces or soft cures.

3

Pour Equal Parts A and B

2:30
Step 3: Pour Equal Parts A and B

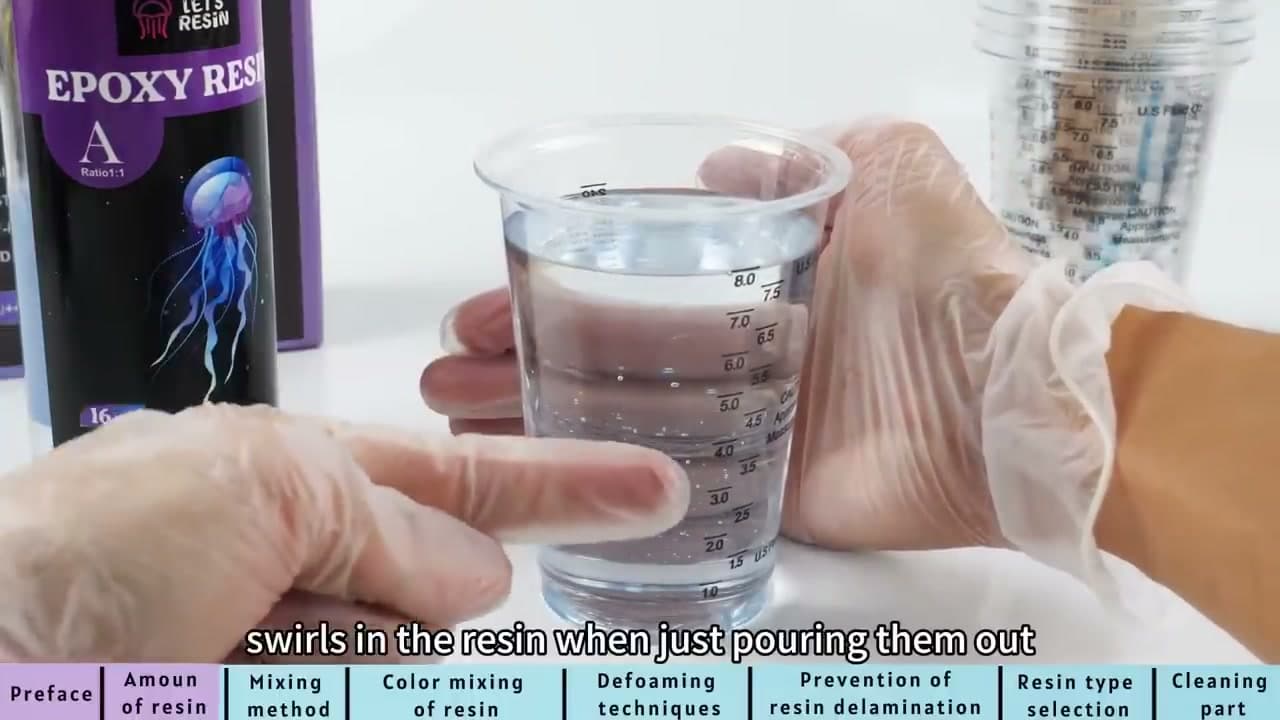
Open Part A first - press down on the cap and turn counter-clockwise to release the child-safe lock, then pull out the inner stopper. Pour to the volume you measured in step 2. Then do the same with Part B, pouring to exactly the same line. The ratio is 1:1 by volume - this is the part you cannot get wrong. A 60/40 mix won't cure. A 55/45 mix will cure soft and bend later.

You'll see cloudy silky swirls in the cup as the two parts touch. That's the density difference between A and B, not contamination. The swirls disappear as you stir. The bottles in this video are 16 oz Part A and 16 oz Part B - keep them paired. Don't mix Part A from one kit with Part B from another, even from the same brand - batch densities drift slightly and you'll see seam lines if you later pour another layer.

Tip

Wipe a drop off the pour spout with a tissue before recapping. A dried-on bead of resin makes the cap stick the next time you open it.

4

Stir Slow in One Direction

2:45
Step 4: Stir Slow in One Direction

Take a wooden stir stick and move it through the resin in slow circles, always in the same direction. Drag the stick along the bottom of the cup and around the inner wall - if you only stir the middle, the unmixed resin on the wall will leave soft, tacky streaks in the cured piece.

Aim for about 1 to 2 minutes of mixing. The silky swirls fade gradually. When the cup looks completely clear and you can see the bottom of the cup through the resin without any wisps, it's mixed. Reversing direction or whipping fast will fold air into the resin and you'll spend the next 10 minutes chasing bubbles.

Tip

Wipe the stir stick on a clean tissue when you're done - the stick is reusable for the next batch as long as you don't let cured resin build up on it.

5

Use an Electric Mixer for Bigger Batches

3:15
Step 5: Use an Electric Mixer for Bigger Batches

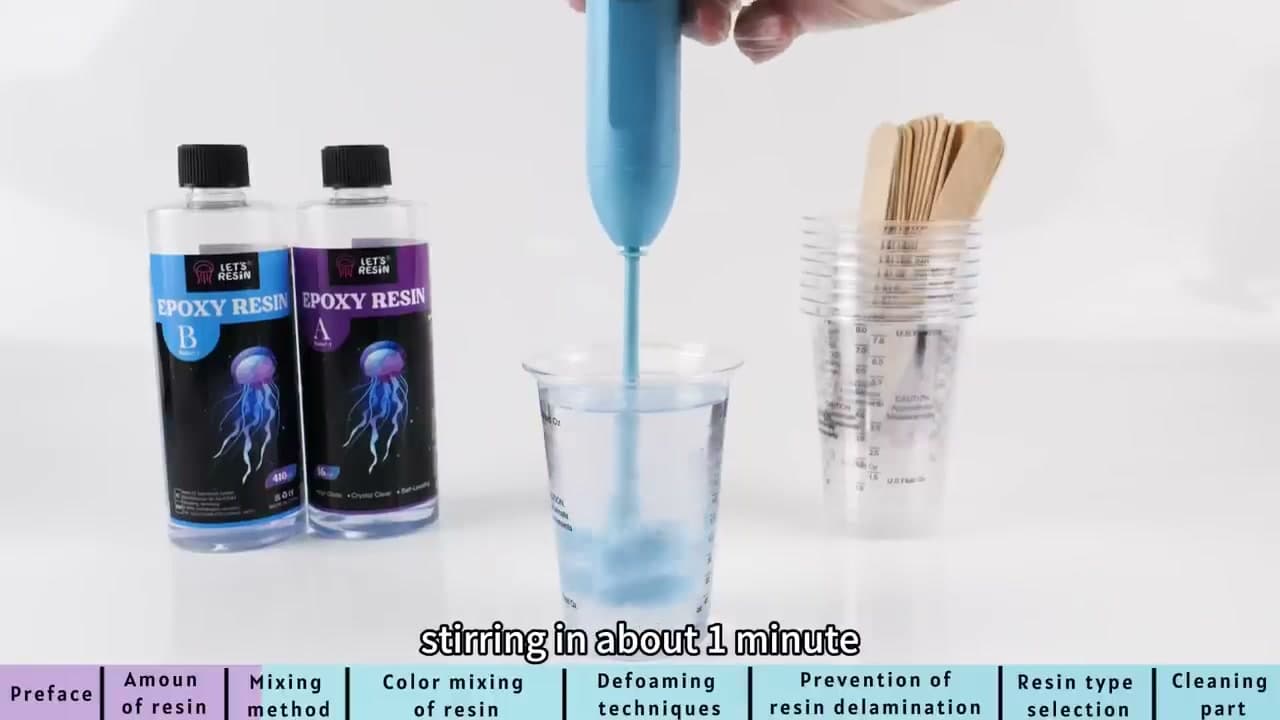
For pours over 6 ounces or anything you're tinting heavily, a battery-powered resin mixer saves time and folds in far fewer bubbles than a hand-stirred cup. Lower the paddle into the resin before you switch it on - turning it on in the air will splatter resin across the room. Run it at the lowest speed for about a minute, moving the paddle in small circles to reach the walls of the cup.

The paddle wipes clean with a tissue after each batch. Don't let it run dry - cured resin on the paddle is a pain to chip off. If you don't have an electric mixer yet, a wooden stick still works for any pour under 6 ounces; the mixer's main payoff is the bubble count on larger volumes.

Tip

Skip the electric mixer if your batch is under 4 ounces. The paddle doesn't have enough resin around it to mix evenly and you'll end up with whipped foam.

6

Tint with Dye, Mica, or Glitter

4:55
Step 6: Tint with Dye, Mica, or Glitter

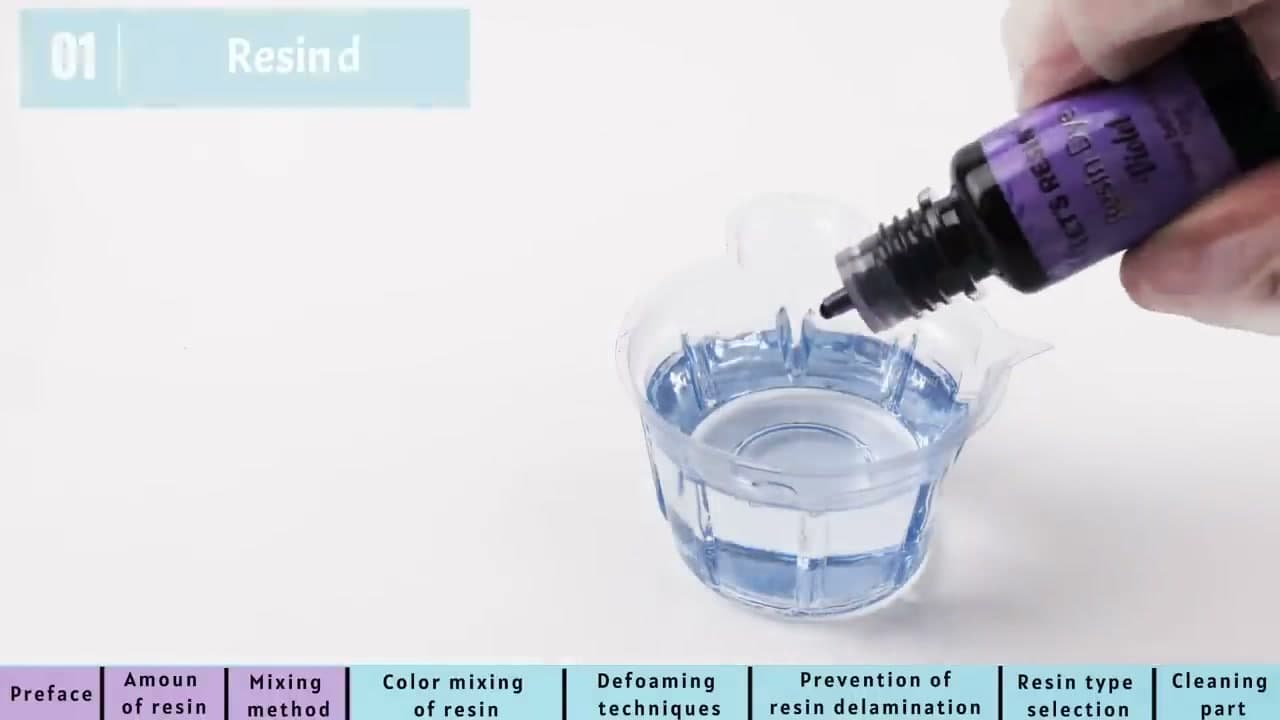
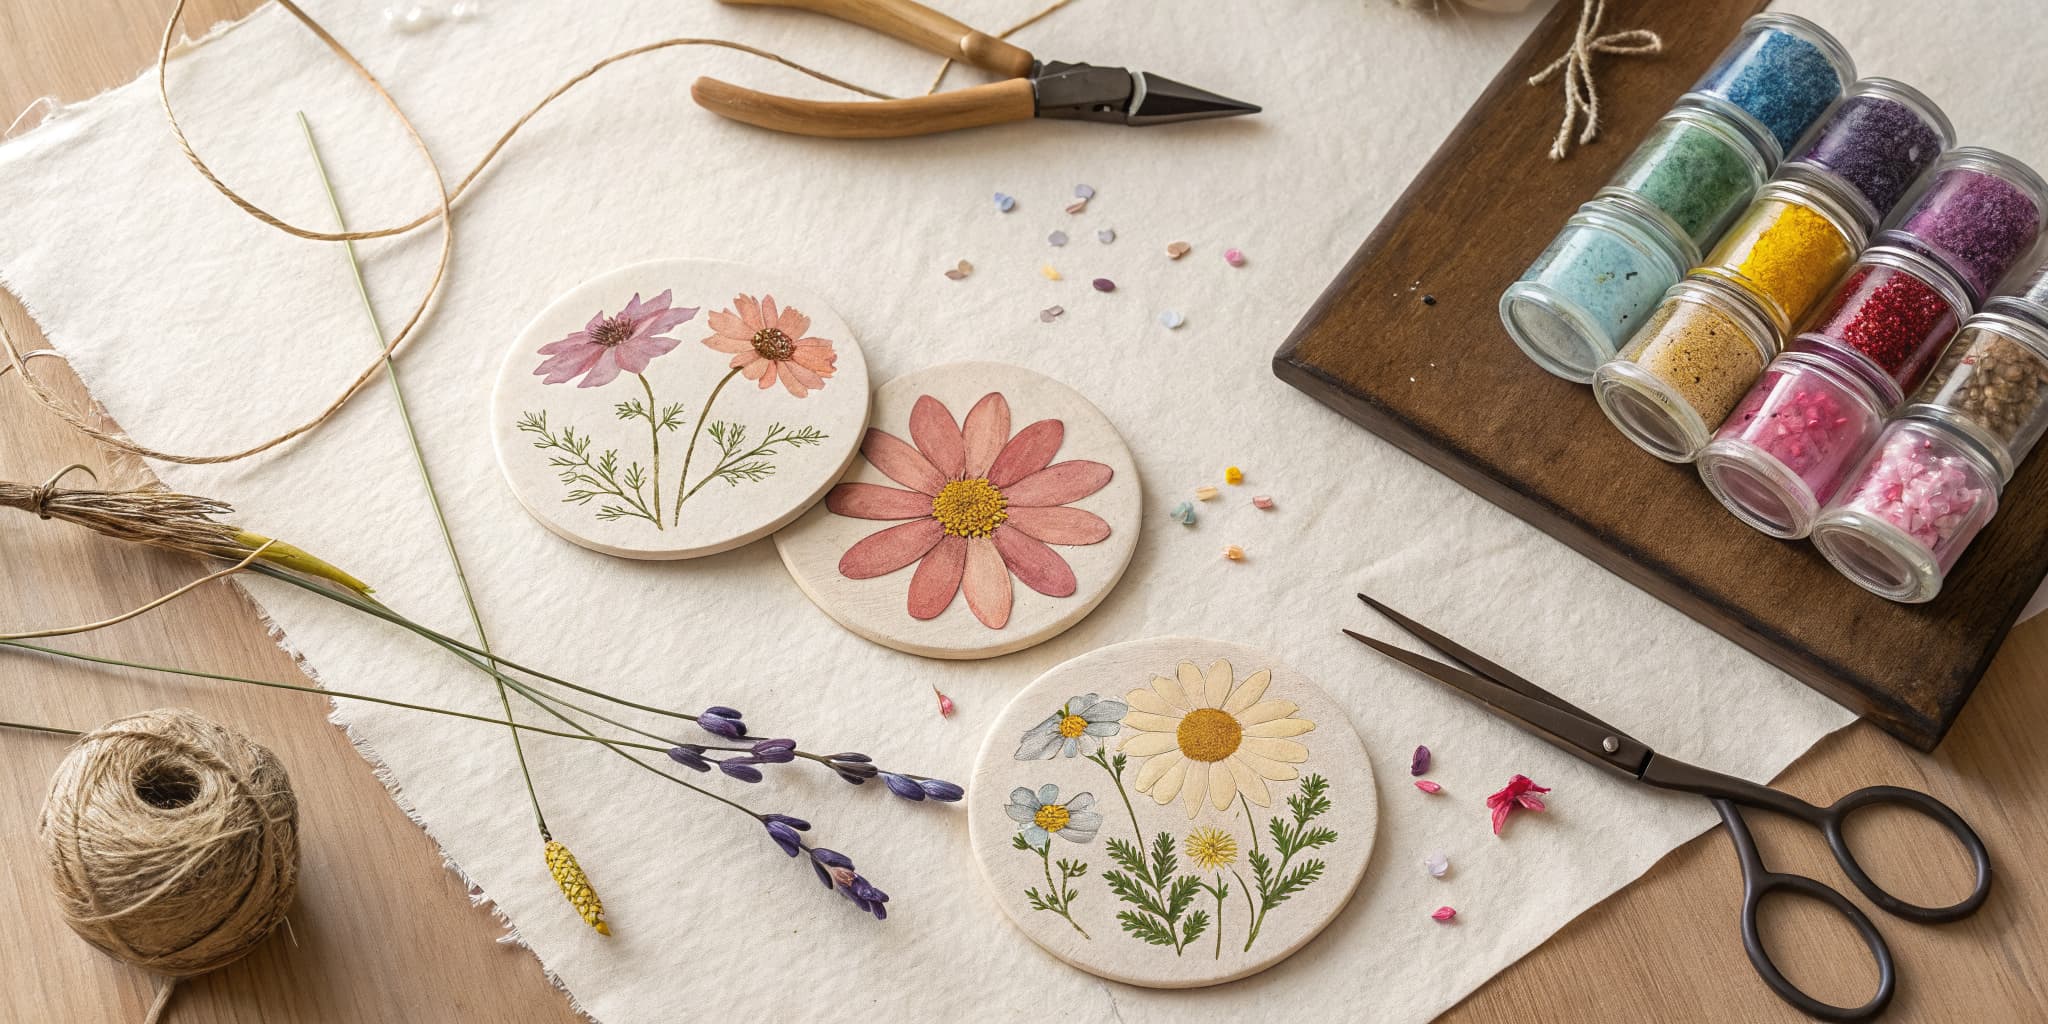
If you want color, add it now - after mixing Part A and B, before pouring. Resin dye (translucent or opaque) gives you solid color. Mica powder adds shimmer for tabletops and jewelry. Glitter or chunky glitter floats through the resin for sparkle. Alcohol ink creates the wispy bloom effect popular in geode-style pieces.

The hard limit is 6% of total resin volume - any more and the resin won't cure. For an 8 oz pour, that's roughly half a teaspoon of pigment, maximum. Stir the colorant in with the wooden stick (don't switch back to the electric mixer or you'll foam the now-thicker mixture). Pigment powders need 30 seconds of stirring to fully dissolve.

Tip

Chunky glitter sinks at room temperature. Warm the mixed resin to about 110 degrees with a warm water bath before adding it - the thicker resin holds the glitter in suspension as it cures.

7

Pour in Layers and Defoam

8:30
Step 7: Pour in Layers and Defoam

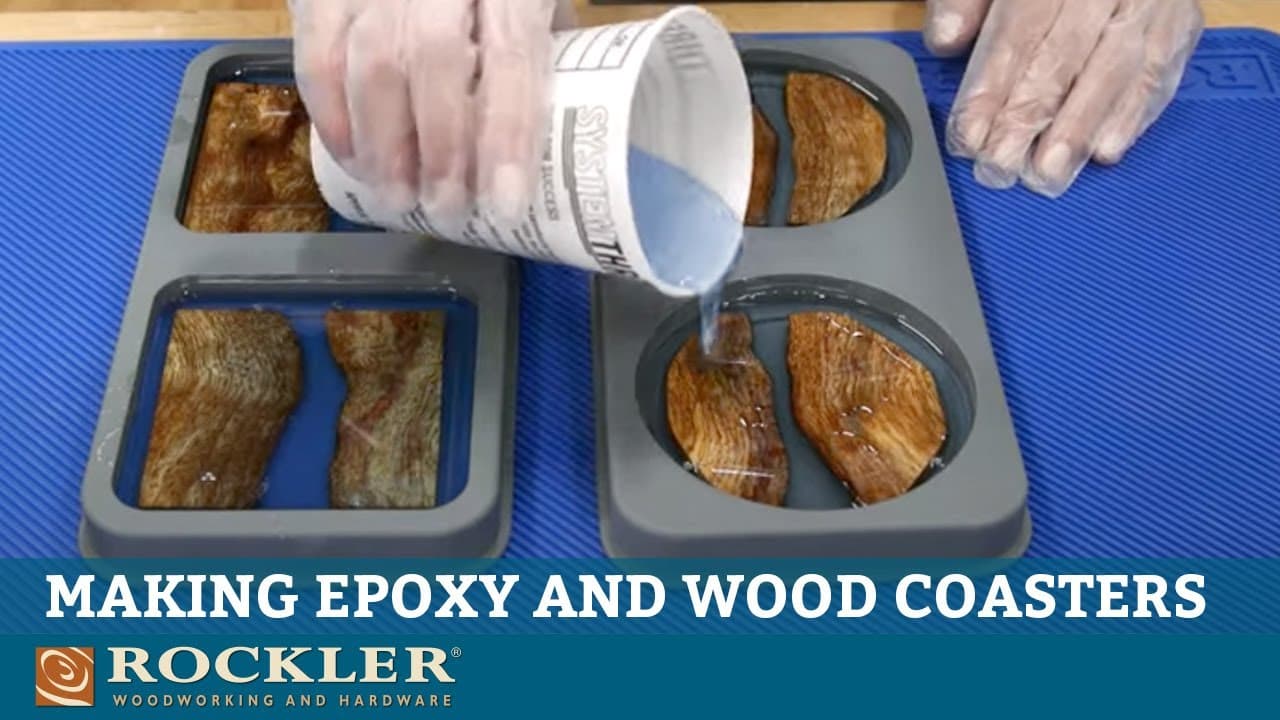
Pour a thin layer of resin into the mold first - just enough to cover the bottom - and gently shake or tilt the mold so the resin flows into every corner and detail. This pre-coats the mold and pushes air out of small crevices before you commit the rest of the pour. Then top off the mold to your target volume.

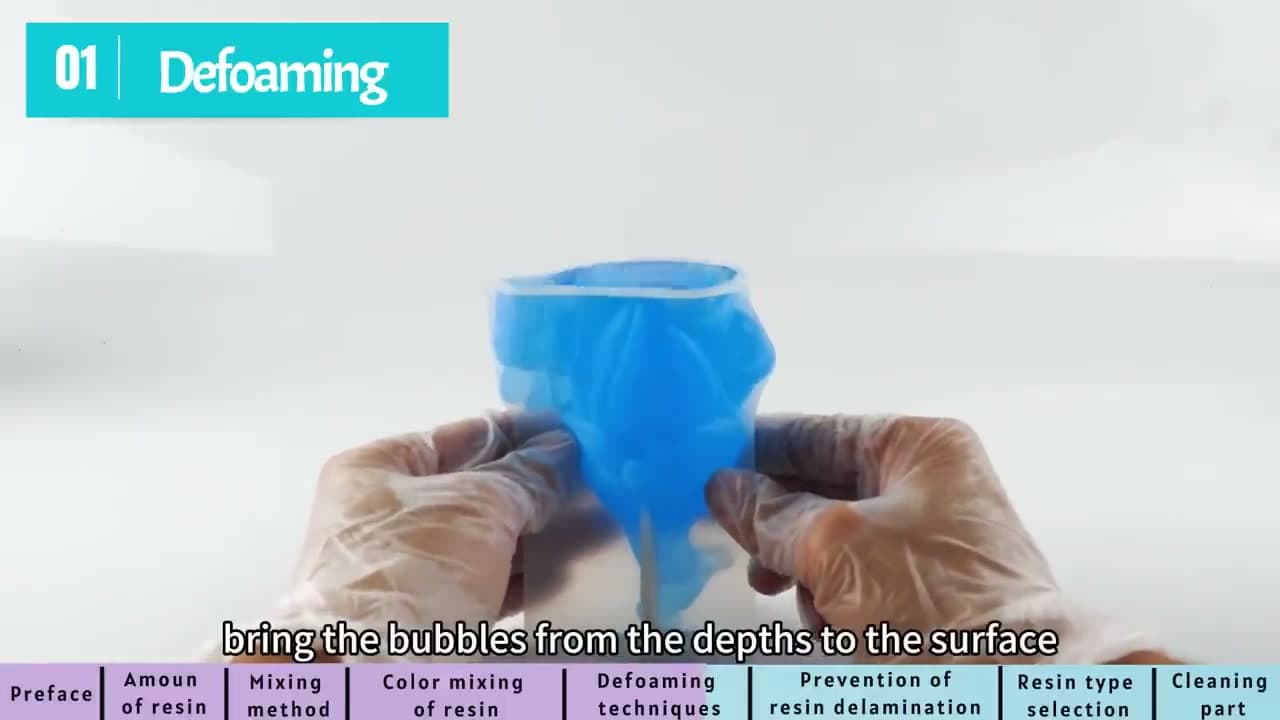
Once it's full, tap the mold a few times on the table to bring trapped bubbles up to the surface. Surface bubbles will mostly defoam on their own within 2 minutes. For stubborn ones, pass a butane torch or lighter 5 to 6 cm above the surface in quick sweeps - the brief heat pops the bubbles. Don't linger; held in one spot the flame can scorch the resin or melt the mold.

Tip

For deep molds (anything over 1 inch thick) pour in two layers, waiting 2-3 hours between pours. One thick pour can flash-cure in the middle and leave the surface tacky.

8

Cure 8-16 Hours and Demold

9:05
Step 8: Cure 8-16 Hours and Demold

Cover the mold loosely with a box or upside-down container to keep dust off, and leave it on a flat, level surface for the cure. A 5-8 mm pour cures in 6-8 hours and fully hardens at 12-16. A 20 mm pour cures in 4-6 hours and fully hardens at 8-12. Touch the surface gently after the first window - it should be hard and not tacky.

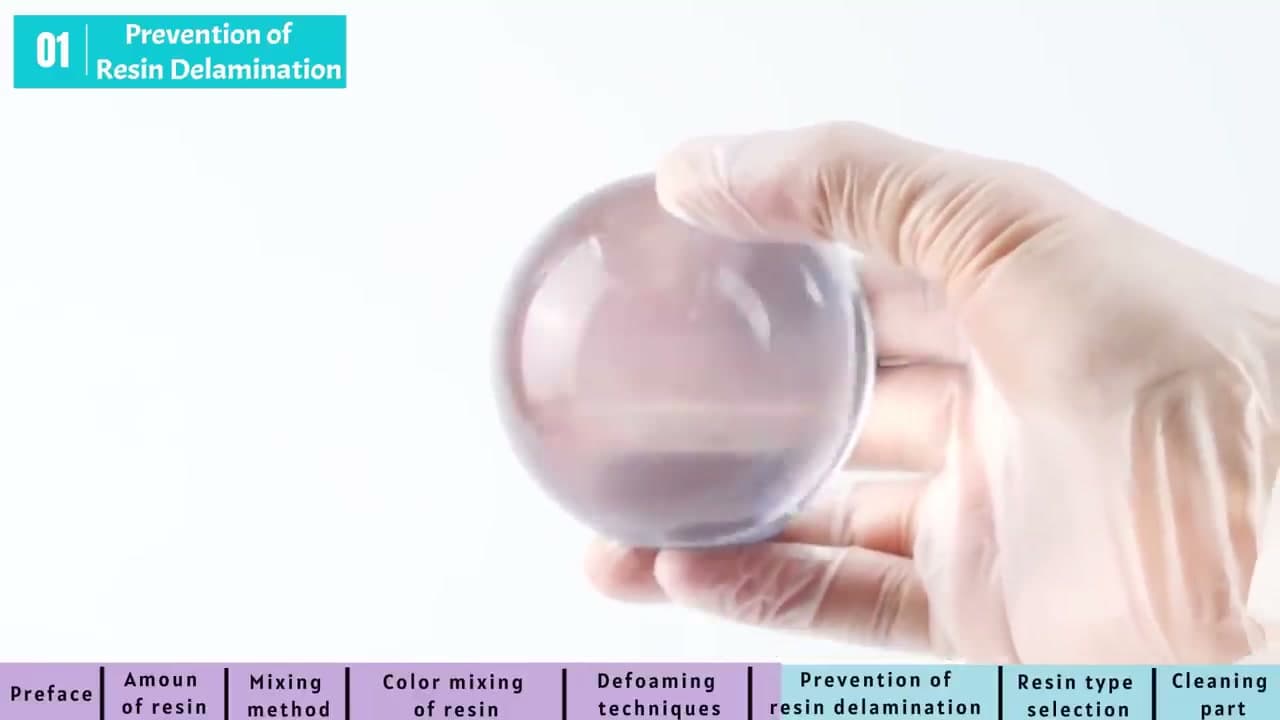
When the piece is fully cured, flex the silicone mold to pop it out. The cured resin should be glassy and clear with no bubbles, no haze, and no soft spots. If it's still sticky, the ratio was off (re-pour the next one more carefully) or you didn't stir long enough. If it cured cloudy, the room was too humid - aim for under 60% humidity next time.

Tip

For pieces you'll display - phone stands, wine racks, anything load-bearing - use tabletop resin instead of general-purpose. It's harder and won't dent under sustained weight.

Products Used

☐ The Checklist

How to Mix Epoxy Resin (Beginner's Step-by-Step)

Tools
6
Materials
7
Steps
8
Video
13 min

Your Guide

LET'S RESIN

As an Amazon Associate we earn from qualifying purchases. Links on this page may be affiliate links - clicking them and buying doesn't change your price, but helps support ShowMeStepByStep.

Tags

What's next

Related collections

Curated theme pages that include this tutorial.

Weekly Digest

Liked this resin art tutorial?

Pick the categories you want to hear about. Weekly digest of new step-by-step tutorials. No spam, easy unsubscribe.

Send me tutorials about

We only email about new tutorials. Easy unsubscribe anytime.