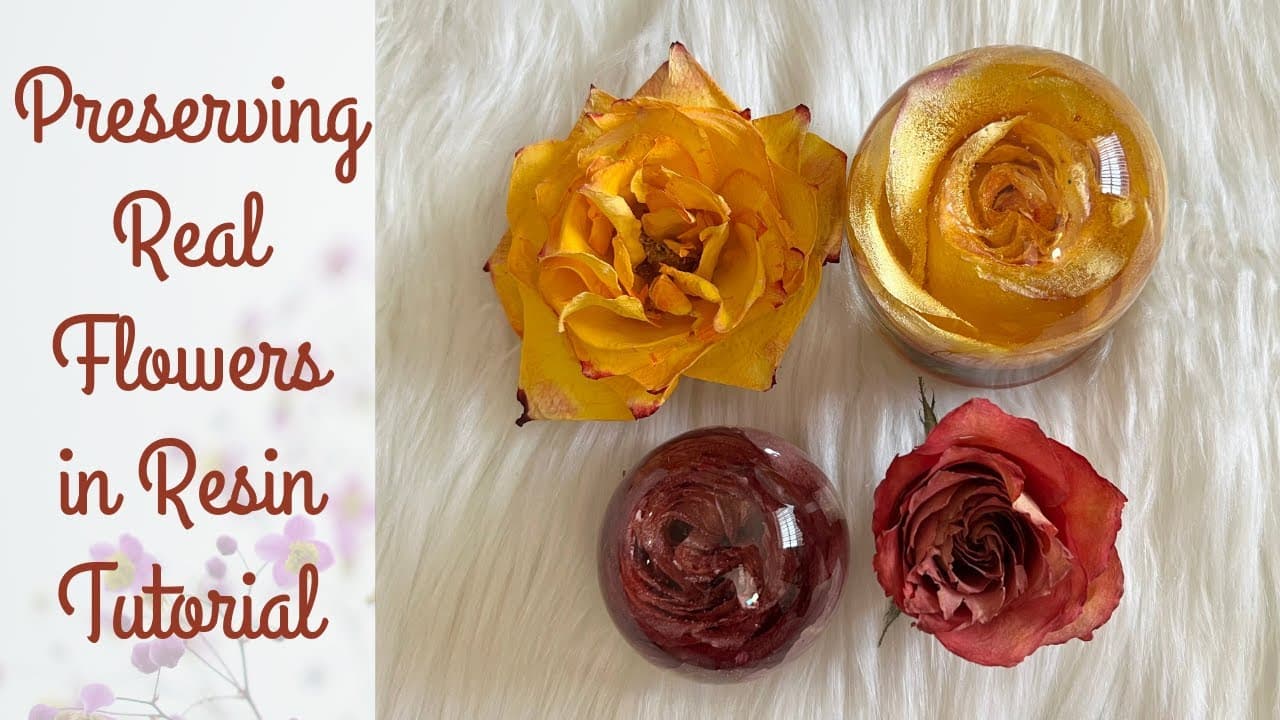
UV resin is a liquid polymer that stays runny until you put it under an ultraviolet light, and then it cures into a hard, glassy plastic in a few minutes. That speed is what makes it so beginner-friendly. You don't need to mix two parts, you don't need to wait 24 hours, and you don't need a dedicated workspace. A small bottle, a UV lamp, and a few molds or bezels are enough to get you started.
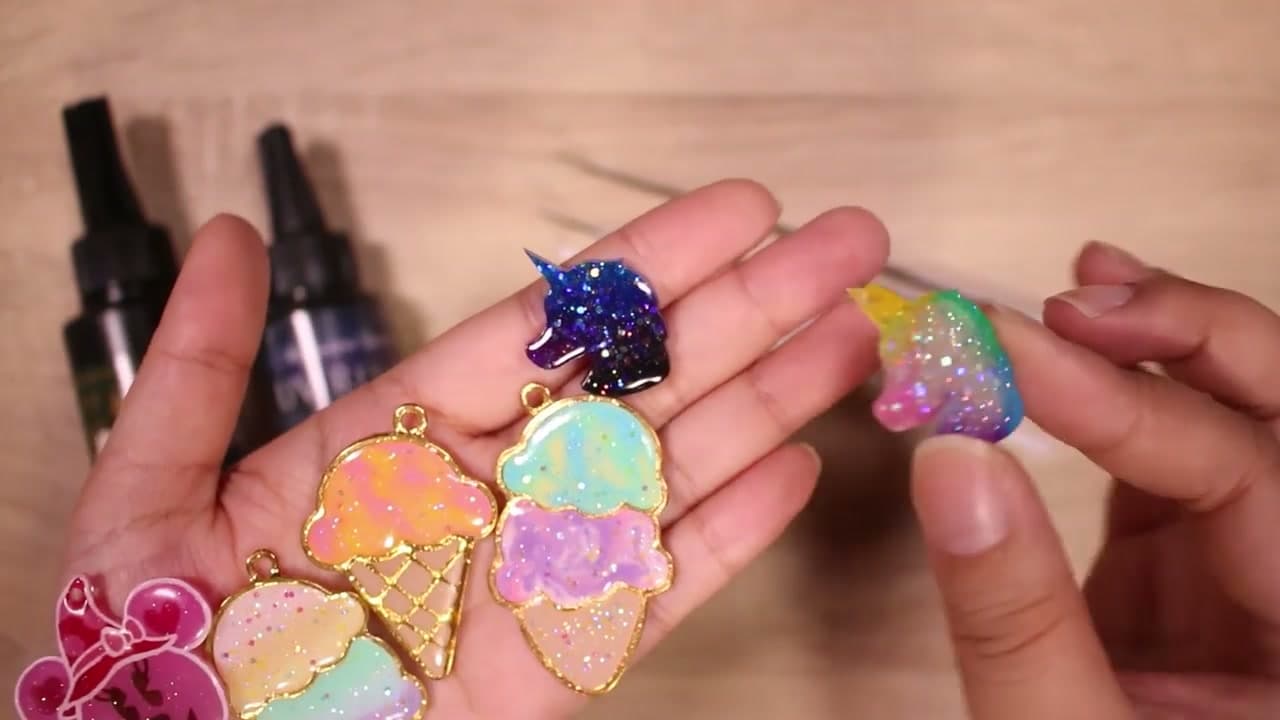
Most crafters reach for UV resin to make small things you can wear or hang: pendants, earrings, keychain charms, phone-strap minis, and shrink-plastic toppers. You can pour it clear for a glass-like finish, color it with liquid pigments or mica powders, embed glitter and stickers and dried flowers, or use it as a glossy top coat over a flat piece.
The seven steps below follow Abby from Lorien's Craft Box as she walks through everything a first-time resin crafter needs to know: which brands she trusts, how to fill open and closed bezels, how to color a small batch, how to use silicone molds, and how to get a proper hard cure under a UV lamp.
UV resin vs two-part epoxy
UV resin wins on anything small and thin. Charms, bezels, earrings and ornament toppers cure in minutes, so you can make a dozen December gifts in an evening. It also works as a glossy dome coat over a finished piece.
Epoxy wins on volume. A coaster, tray or thick paperweight is too deep for UV light to reach the bottom, and a bottle of UV resin that size costs a fortune. For those, mix a two-part epoxy and give it the full day.
Lamps and curing times
UV light only penetrates a few millimetres. Pour in layers of about 3 mm or less and cure each one before adding the next. A deep single pour cures on top and stays liquid underneath.
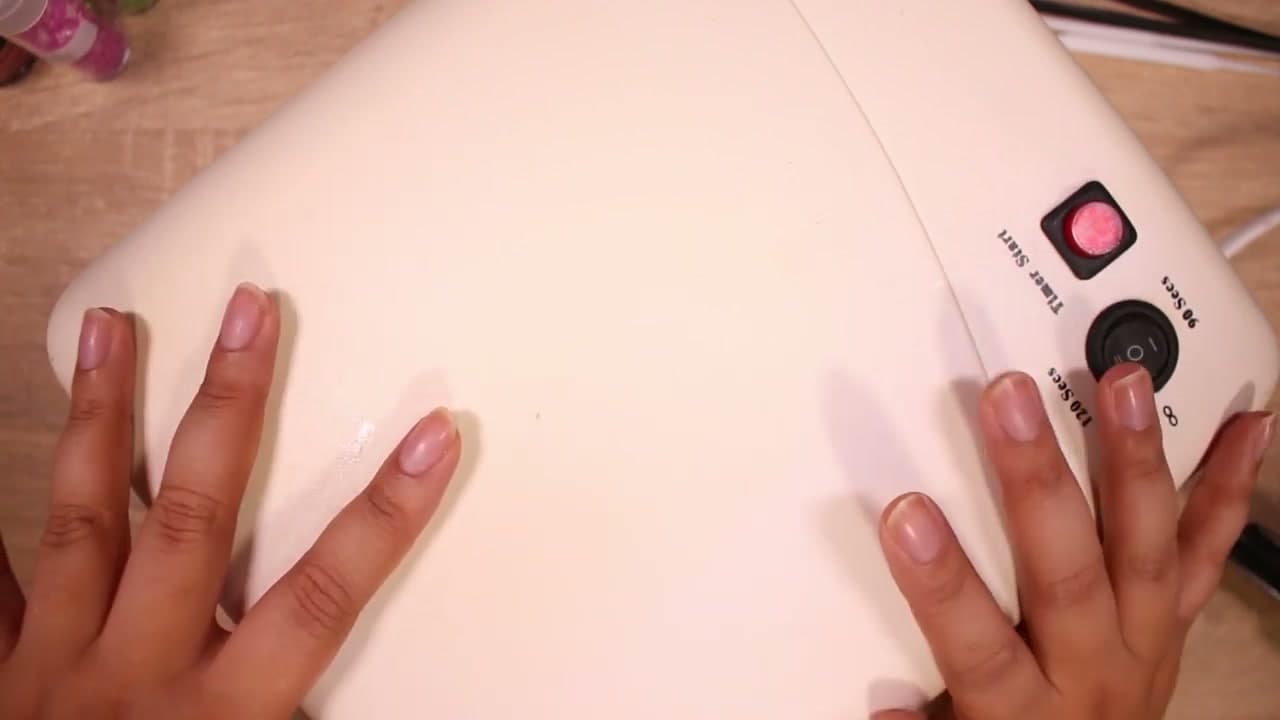
- UV/LED combo lamps (the 36-watt nail type) cure most craft resins in 2 to 5 minutes.
- Pure LED lamps may not match your resin's wavelength. Check the bottle for 365-405 nm.
- Cure both sides. Flip the piece after demolding and give the back another round, because the mold blocks light.
Bubbles and tacky surfaces
These two cause most of the complaints. Bubbles come from squeezing too fast and from cold resin, so warm the bottle in a mug of warm water for five minutes before you pour. Let the filled piece sit for a minute and the bubbles rise on their own. A toothpick lifts the stubborn ones.
A tacky top usually means an undercure: a weak lamp, a layer that was too thick, or too much pigment blocking the light. Put it back under the lamp first. If it stays sticky, these sticky resin fixes cover the rescue options.
Molds and bezels that work
Shiny silicone molds give shiny pieces. Matte molds give a frosted finish that needs a top coat. Shallow cavities under 1 cm deep cure best. Using resin molds goes deeper on prep and release, and you can make your own silicone mold for a custom shape. Bezels are the easiest start, and resin earrings are a natural first project.
Safety
Wear nitrile gloves every time. Skin sensitisation is real and permanent: some people handle uncured resin bare-handed for months, then start reacting to every contact. Work with a window open or a fan pulling air away from you, and don't look straight into the lamp. Wipe spills with a paper towel before they cure and never pour liquid resin down the sink.
Troubleshooting
- Sticky after curing: thinner layers, a stronger lamp, or less colorant.
- Yellowing: overcuring, cheap resin, or sunlight over time. Store pieces out of direct sun.
- Cracking or warping: a thick layer heats up as it cures. Cure in short bursts and let it cool between them.
- Cloudy: moisture or a matte mold. Keep water out and add a clear top coat.