How to Seal Flowers in Resin: Preserved Rose Sphere Tutorial

Resin ArtMedium6:127 stepsBrowse more →

By CraftingStepByStepPublished Updated

Based on a video by EllafulDeco.

A rose sealed in clear resin is the kind of keepsake you keep on a shelf for years. The petals stay vivid, the shape holds, and the curve of a sphere mold magnifies every layer of the bloom. This tutorial walks you through the whole cast, from dried flower to demolded sphere, using a deep-pour epoxy and a silicone mold.

The technique covers the two parts that trip people up: getting air out of dried petals before they release bubbles into the cure, and keeping the rose from floating to the top of the pour. Both have simple fixes once you know them.

Already preserved your flowers another way? Pair this with our companion tutorials on how to press flowers and how to dry flowers - dried roses from those guides drop straight into this resin cast. Press them flat for a dome, air-dry them whole for a sphere.

Credit to EllafulDeco for the original walkthrough. Her bubble-control method using a brush-coat of resin before the pour is the trick that makes the cast look clean from every angle.

Step-by-Step Guide

1

Gather Your Molds, Resin, and Dried Flowers

0:30
Step 1: Gather Your Molds, Resin, and Dried Flowers

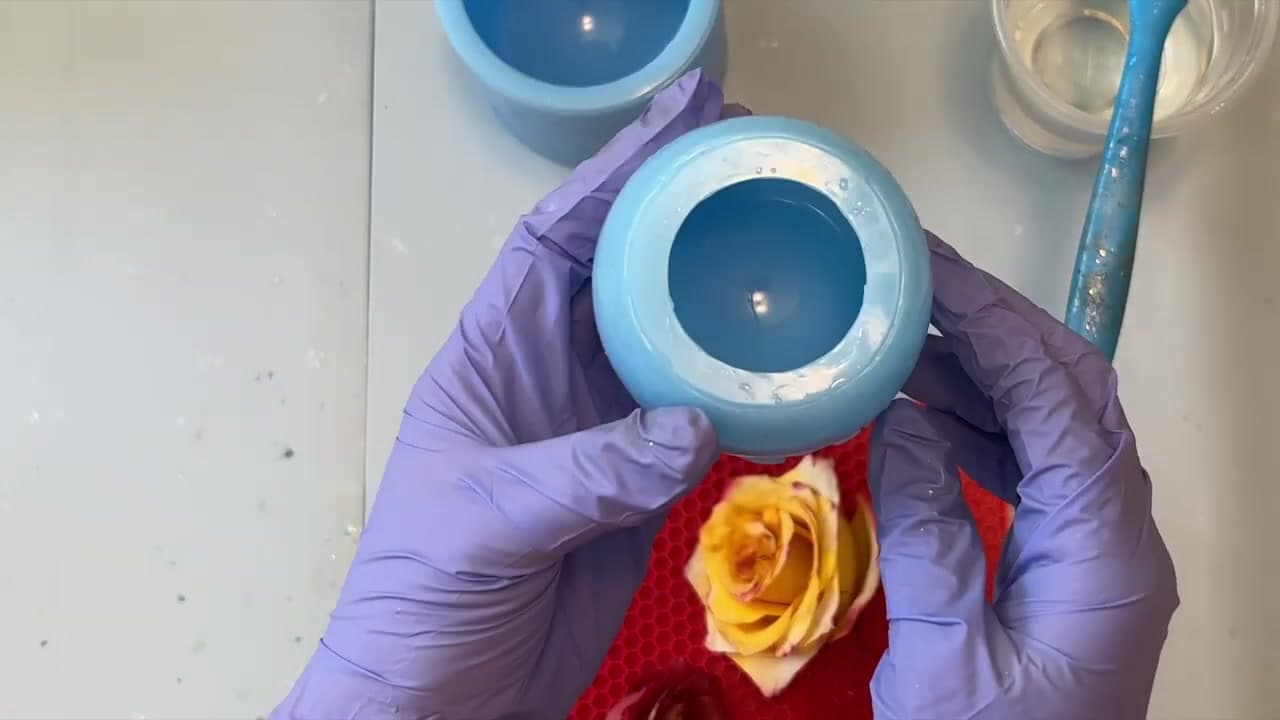
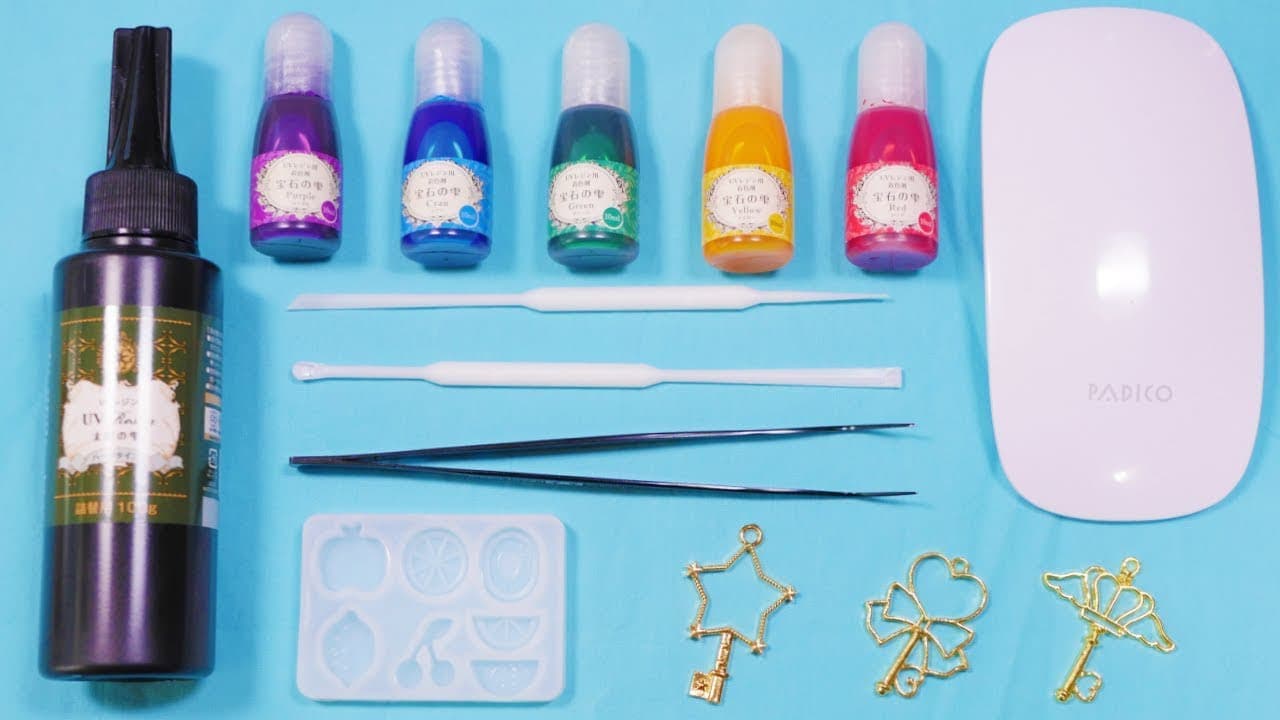
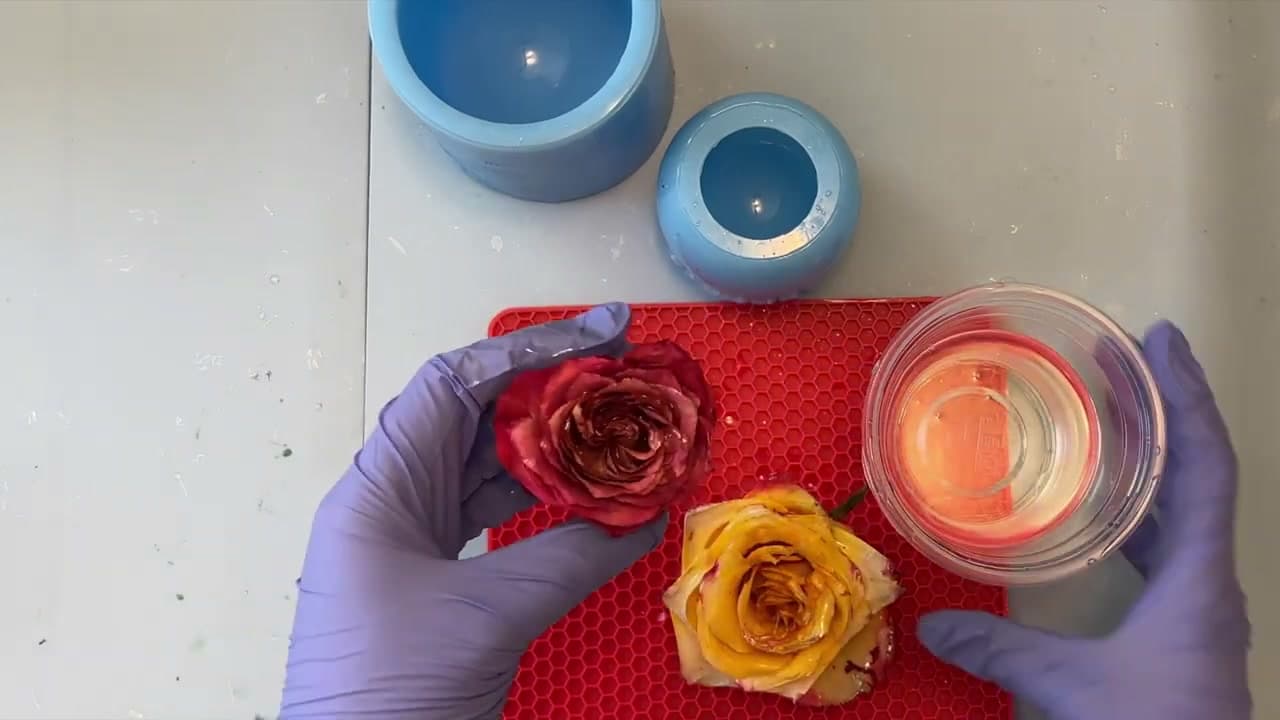
You need two silicone molds. EllafulDeco uses a 3-inch dome and a 2-inch sphere from AAJ Molds, but any deep-cast silicone mold works. Pair them with a deep-pour casting epoxy like TotalBoat ThickSet Fathom and your dried roses.

Pick a small rose for the sphere so it fits with room to spare on every side. A larger bloom can go in the dome since the dome has a flat back. Have a stir stick, gloves, parchment paper, and a heat gun ready before you crack open the resin.

Tip

Dried flowers work better than fresh. Fresh petals trap moisture that will fog the cure. Check our drying tutorial if you need to prep a flower first.
2

Mix the Epoxy and Let the Bubbles Rise

1:05
Step 2: Mix the Epoxy and Let the Bubbles Rise

TotalBoat ThickSet Fathom is a 2:1 epoxy by volume. Combine the resin and hardener in those exact proportions and stir slowly for about three minutes. Scrape the sides and bottom of the cup so nothing stays unmixed.

Then walk away for two to three hours. The resin thickens slightly and the trapped bubbles rise to the surface on their own. A short rest before the pour is the difference between a clear cast and one full of pinhead bubbles.

Tip

Stir slowly. Whipping the mixture folds new bubbles into the resin and you lose the whole point of the rest.

3

Coat Each Flower in Resin First

1:30
Step 3: Coat Each Flower in Resin First

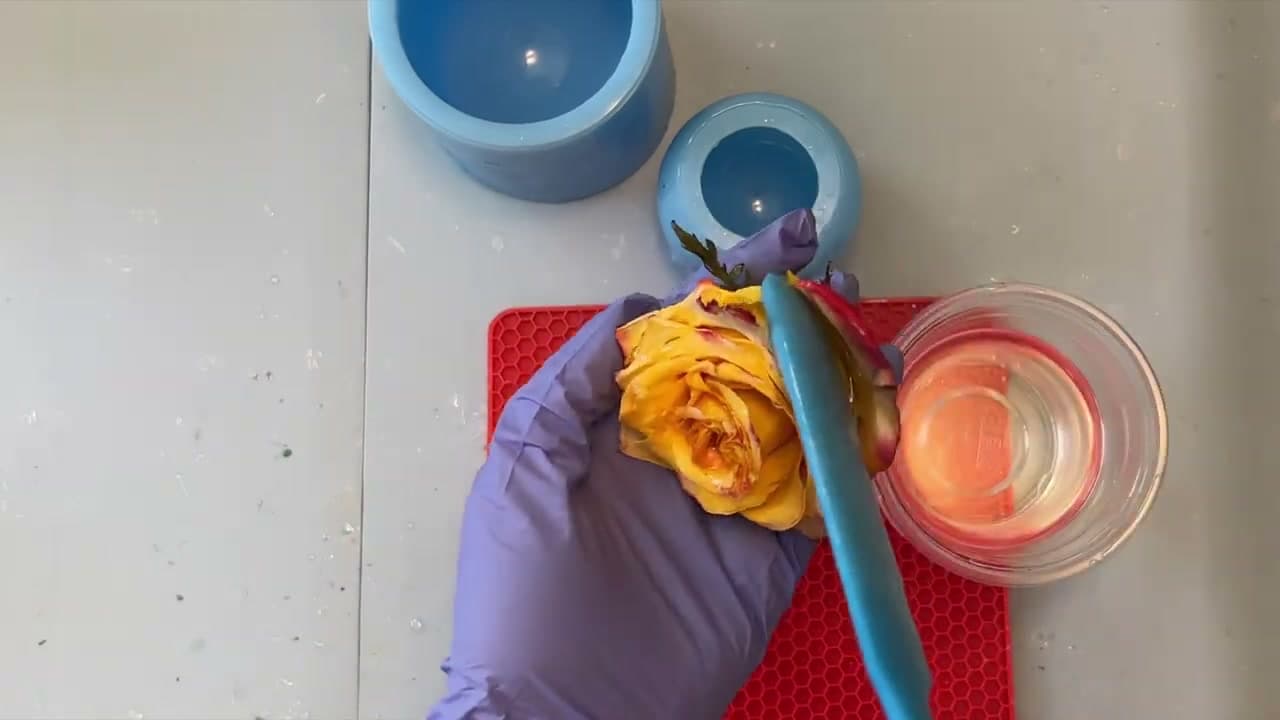
Before anything goes in the mold, paint a thin layer of resin onto every petal with a small brush. Dried flowers hold a surprising amount of air, and that air will release as bubbles right in the middle of your finished piece if you skip this.

Coating the petals first seals those pockets. Work the brush into the tight spots near the center of the rose where bubbles love to hide. Dipping the flower in resin also works, but brushing keeps stray bubbles out of your main pour cup.

Tip

A cheap craft brush is fine. The resin will ruin it, so don't use anything you want back.

4

Pour the First Layer and Set the Rose

2:25
Step 4: Pour the First Layer and Set the Rose

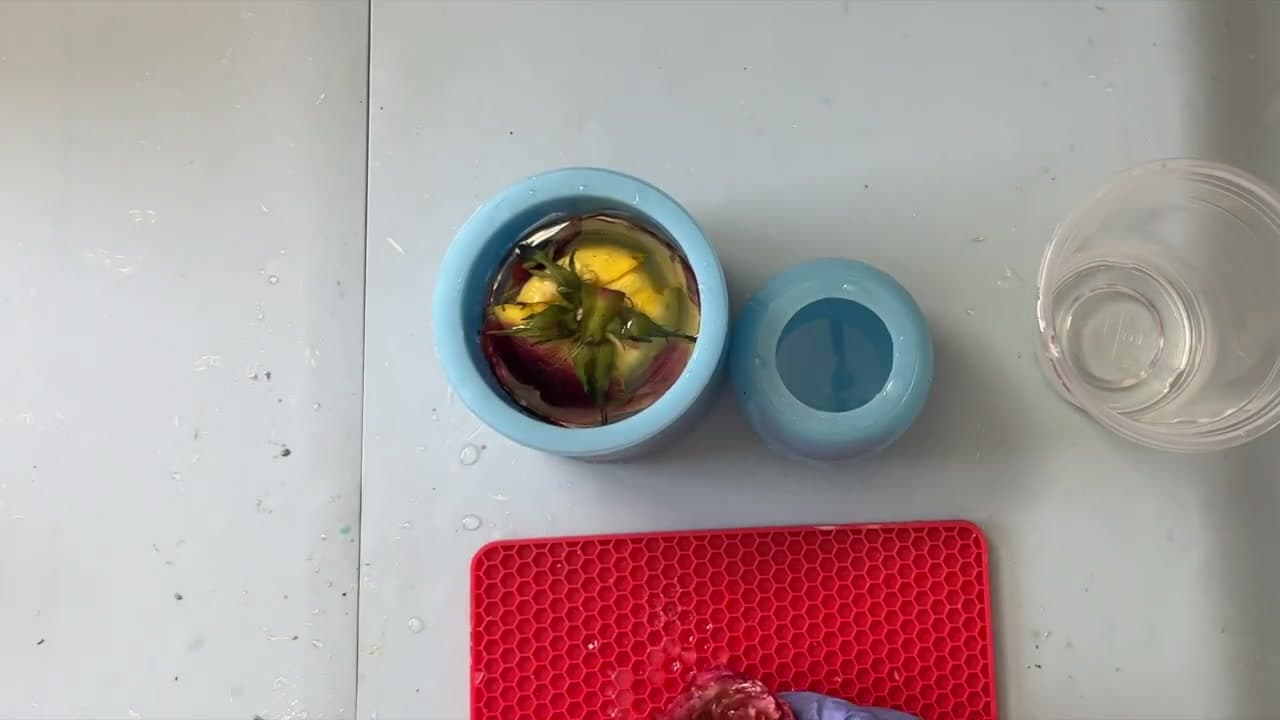
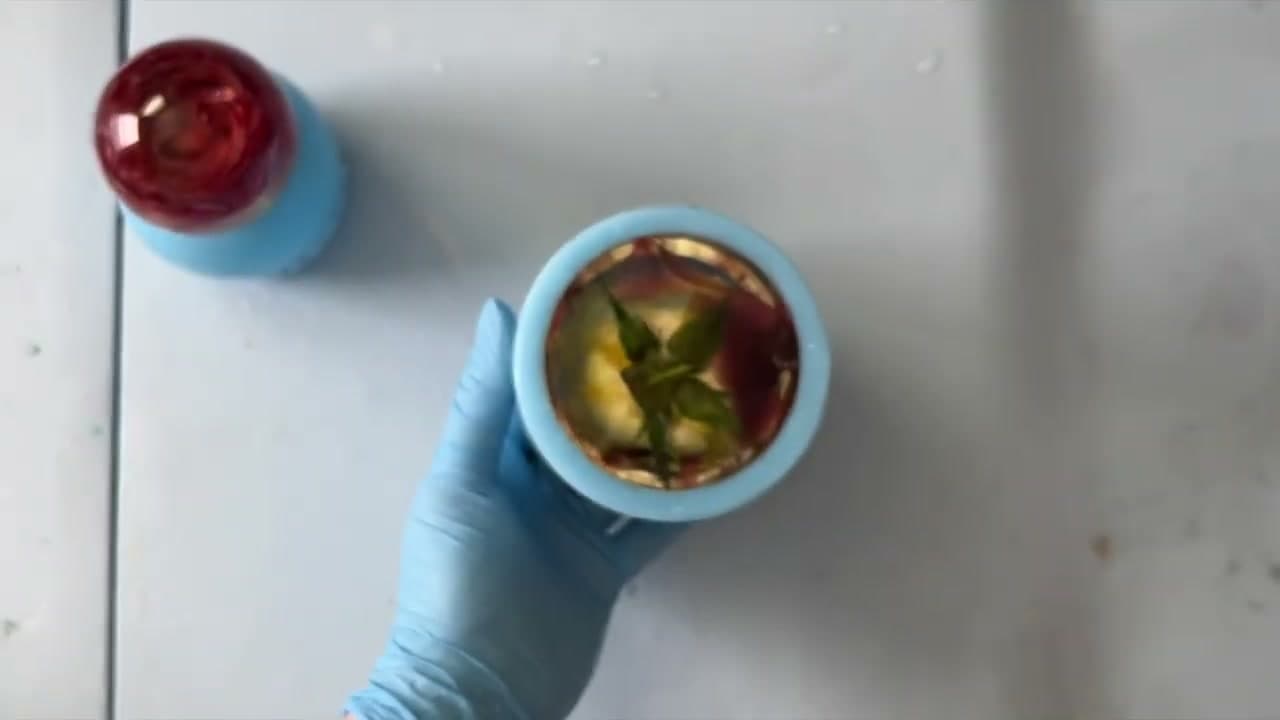
Pour resin close to the mold wall to keep bubbles down. Fill about a third of the way for the first layer. Lower the coated rose in gently so petals don't snap off when they hit the resin.

Break off any stem bits poking above the rim of the mold. Roses float, so position the bloom where you want it and plan to weight it down in the next step. Hit any surface bubbles with the heat gun in short passes - hold it too long and the silicone mold can warp.

Tip

Remember the cast is upside down in the mold. The bottom of your pour is the top of the finished sphere, so place the rose face-down.

5

Top Off the Resin and Use the Parchment Trick

3:20
Step 5: Top Off the Resin and Use the Parchment Trick

Fill the mold with more resin until you're about half an inch from the top. Move the rose around with a stick to release any bubbles trapped underneath, then hit the surface with the heat gun one more time.

Lay a piece of parchment paper flat across the top of the mold and rest a small weight on it. The parchment stops the flower from floating up while the resin cures. It also blocks dust from settling on what will become the visible side of your piece.

Tip

Resin won't stick to parchment, so peel-off later is clean. Wax paper works too in a pinch.

Products used in this step

6

Add the Final Layer After 24 Hours

4:00
Step 6: Add the Final Layer After 24 Hours

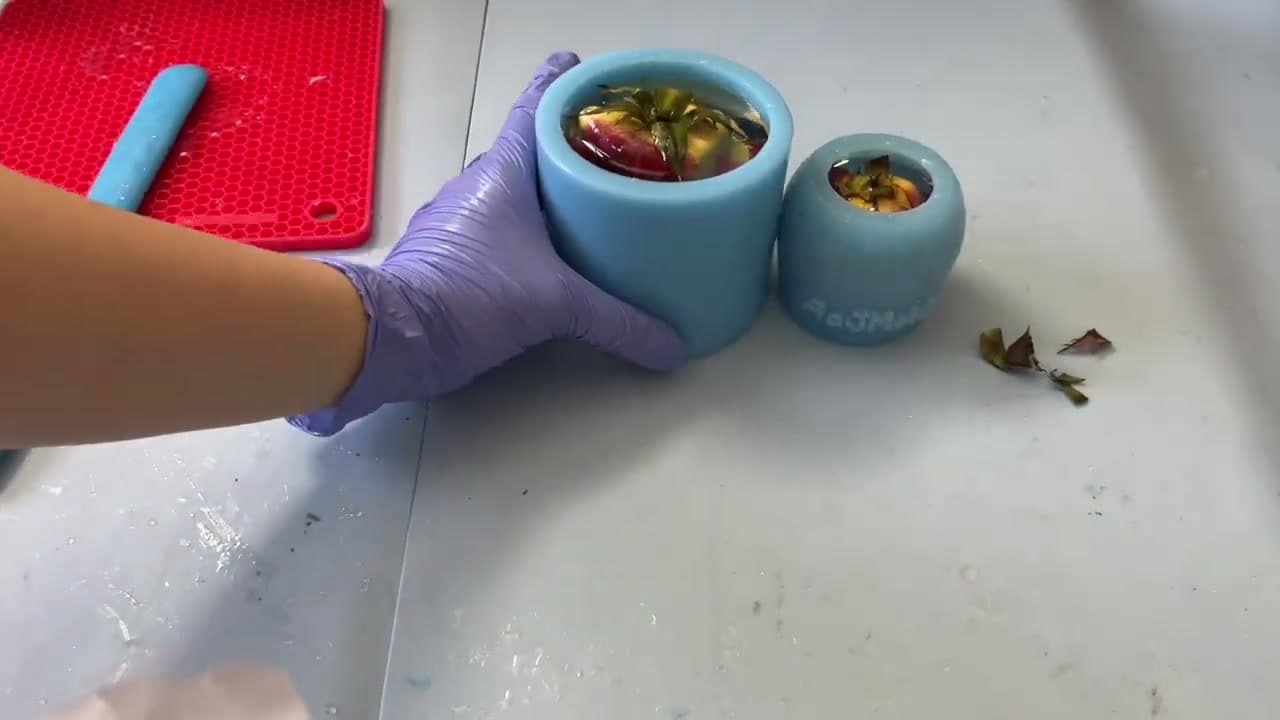
Come back about 24 hours later. The first pour will be tacky but firm enough to hold the flower in place. Peel the parchment off cleanly - the resin won't stick to it.

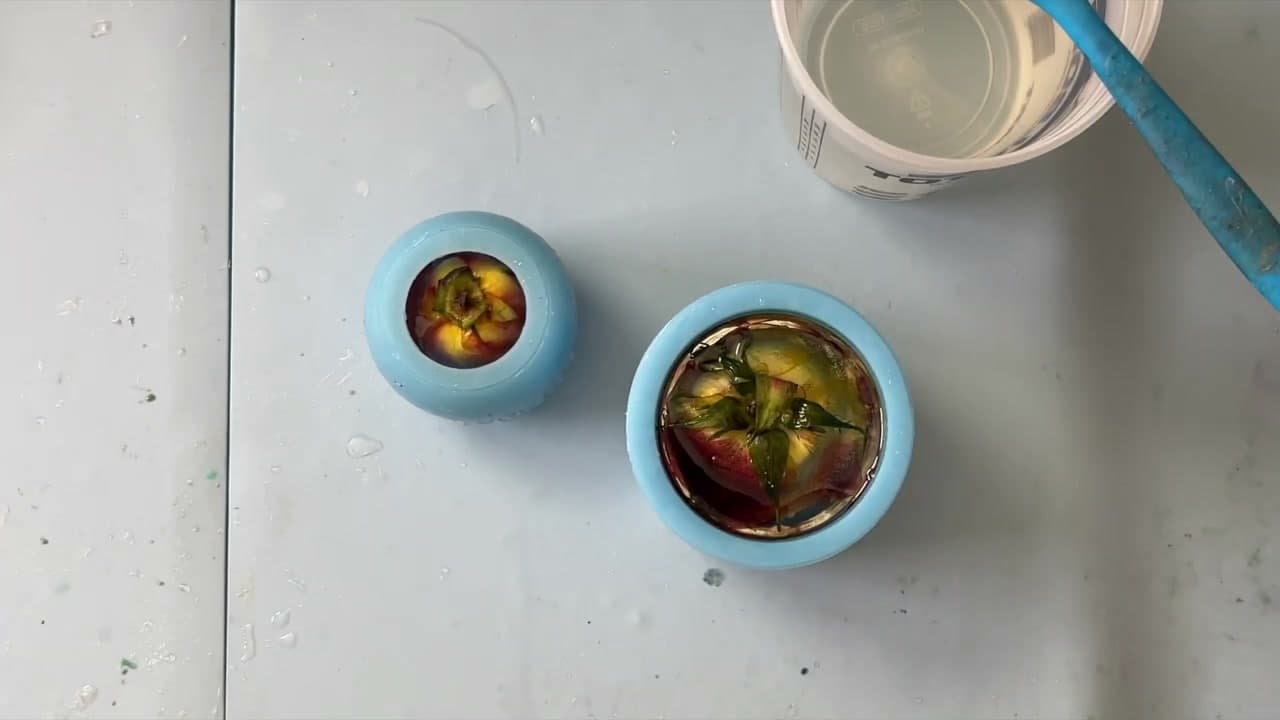
Pour fresh resin all the way to the top of the mold for the final layer. No parchment needed this time because the flower is locked in place by the first cure. Let the whole thing sit undisturbed for two more days so the cast fully hardens through the center.

Tip

Keep the curing piece away from dust, pets, and temperature swings. A closed box on a flat shelf works well.

Products used in this step

7

Demold the Finished Sphere and Dome

5:08
Step 7: Demold the Finished Sphere and Dome

Wipe off any drips around the top edge so they don't scratch the inside of the mold on the way out. Flex the silicone gently and push the piece straight up from the bottom.

The sphere takes a little wiggling because of its shape - work it slowly so you don't tear the mold. The dome slides out with much less effort. Hold the finished piece up to a window. The curve of the sphere magnifies the rose inside and shows off the clarity of the cure.

Tip

Handmade silicone molds are delicate. Don't yank, don't cut, and don't twist. Push straight up from the closed end.

Products used in this step

Products Used

☐ The Checklist

How to Seal Flowers in Resin: Preserved Rose Sphere Tutorial

Tools
8
Materials
4
Steps
7
Video
6 min

Your Guide

EllafulDeco

As an Amazon Associate we earn from qualifying purchases. Links on this page may be affiliate links - clicking them and buying doesn't change your price, but helps support ShowMeStepByStep.

Tags

What's next

Related collections

Curated theme pages that include this tutorial.

Weekly Digest

Liked this resin art tutorial?

Pick the categories you want to hear about. Weekly digest of new step-by-step tutorials. No spam, easy unsubscribe.

Send me tutorials about

We only email about new tutorials. Easy unsubscribe anytime.