How to Make Resin Keychains (Beginner Mod Podge Resin)

Resin ArtEasy18:256 steps
Also in:Crafts

By CraftingStepByStepPublished Updated

Based on a video by Plaid Crafts.

Resin keychains are the easiest beginner project for two-part epoxy resin. Equal parts resin and hardener, three minutes of stirring, drop in glitter or beads or alphabet letters, pour into a silicone mold, torch the bubbles, wait 24 hours. Pop out and install hardware.

Kathy Filion from Make It With Mod Podge demonstrates with the new Mod Podge Resin two-part kit. Eight or sixteen ounce sizes work, and standard silicone keychain molds from any craft store cost a few dollars and last forever.

Safety note: wear nitrile gloves and a respirator while you mix and pour. Once cured, resin is inert and totally safe to handle, but the uncured liquid stage is what you want to avoid getting on your skin or breathing.

Step-by-Step Guide

1

Set Up Your Workspace and Lay Out Supplies

3:20
Step 1: Set Up Your Workspace and Lay Out Supplies

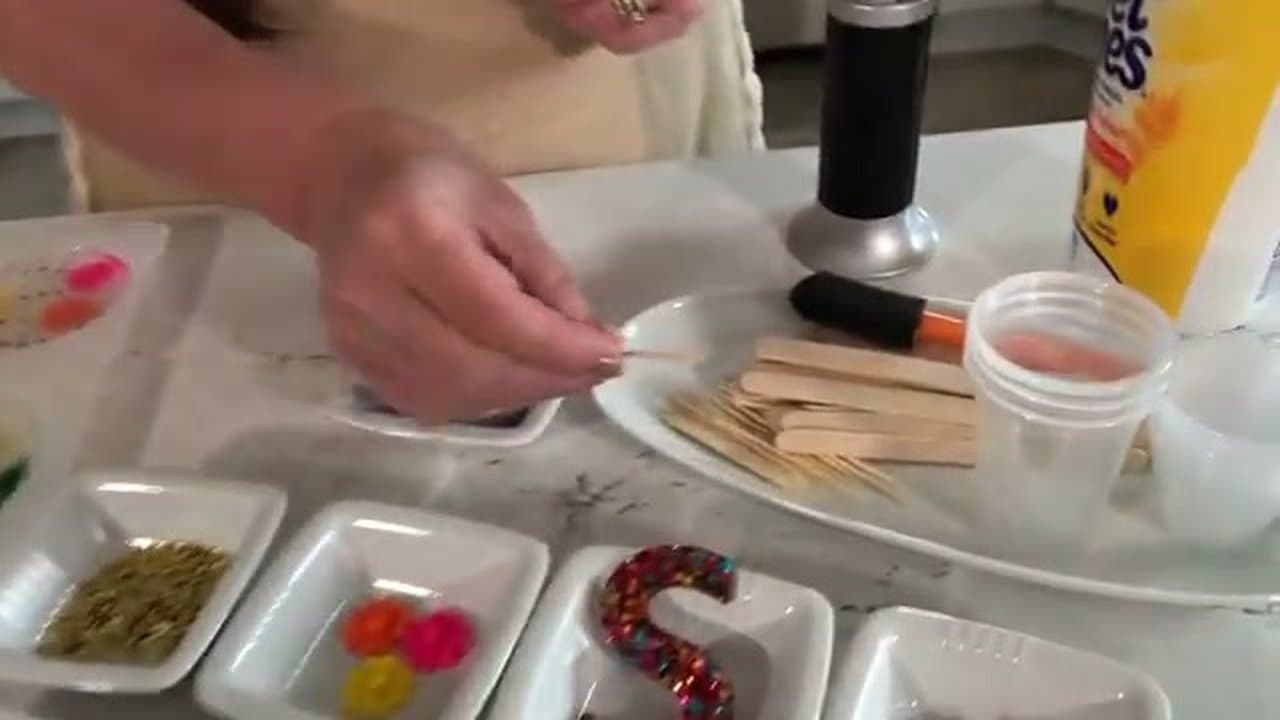
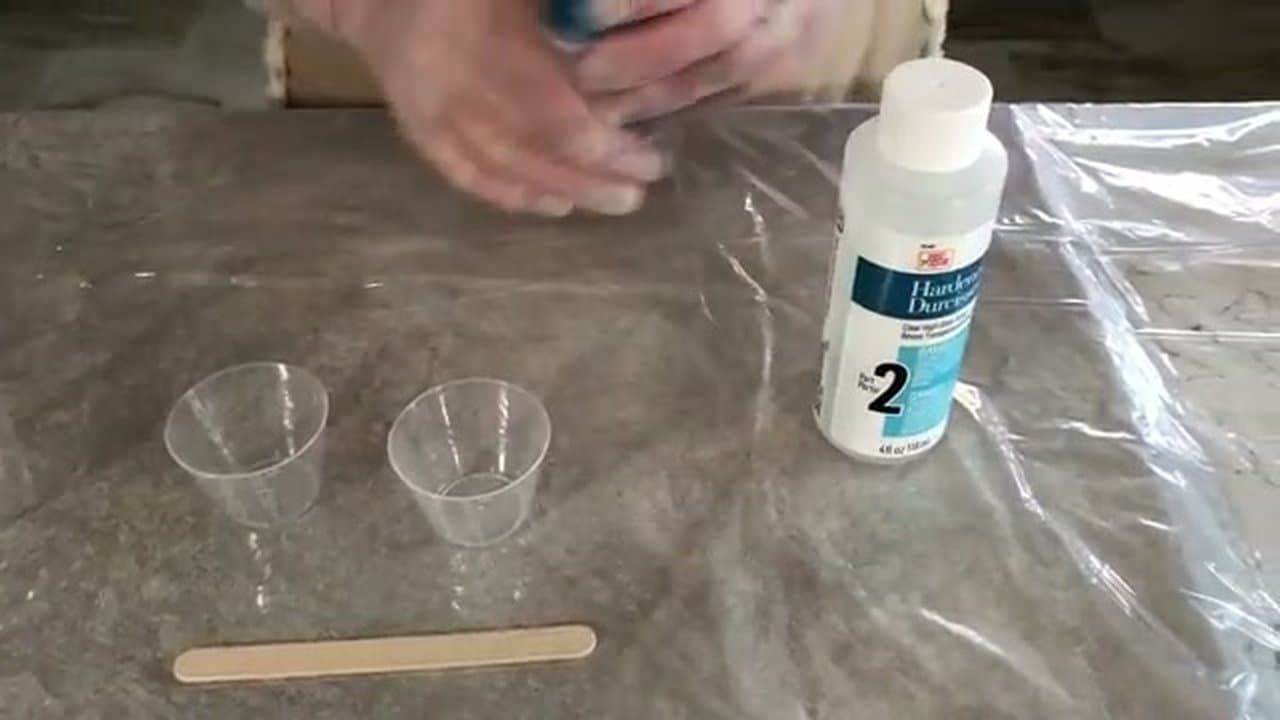
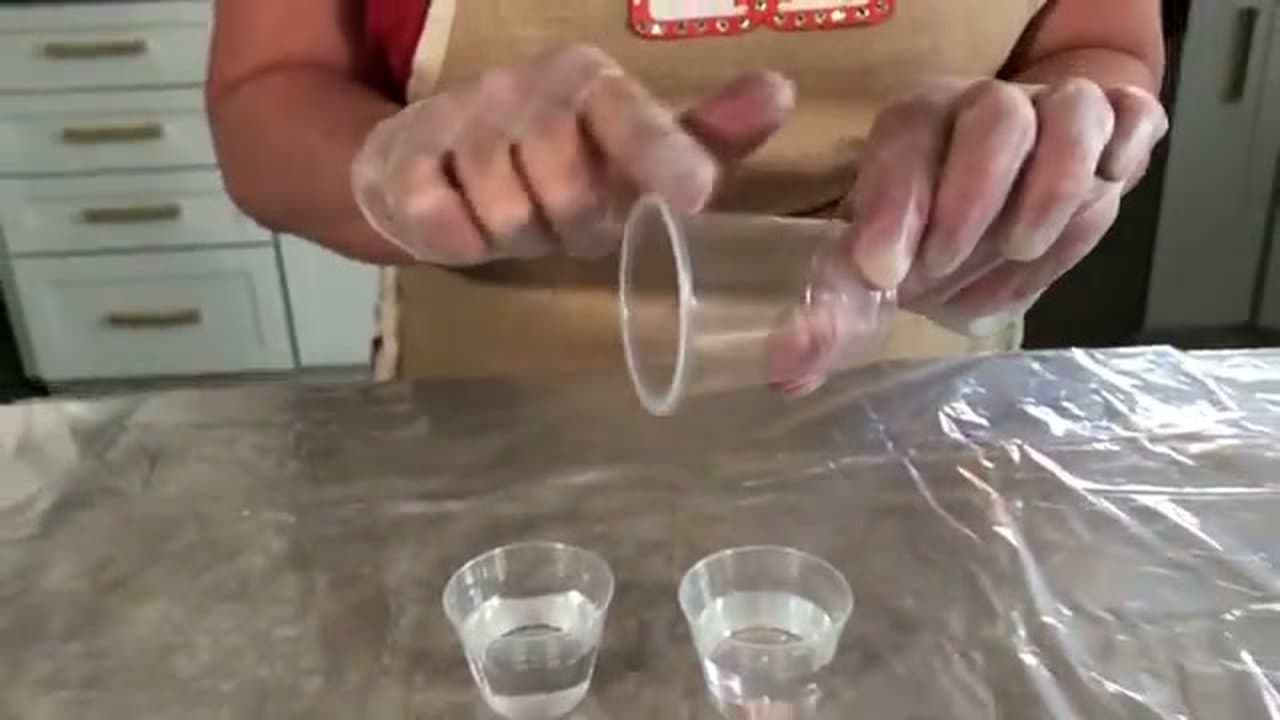
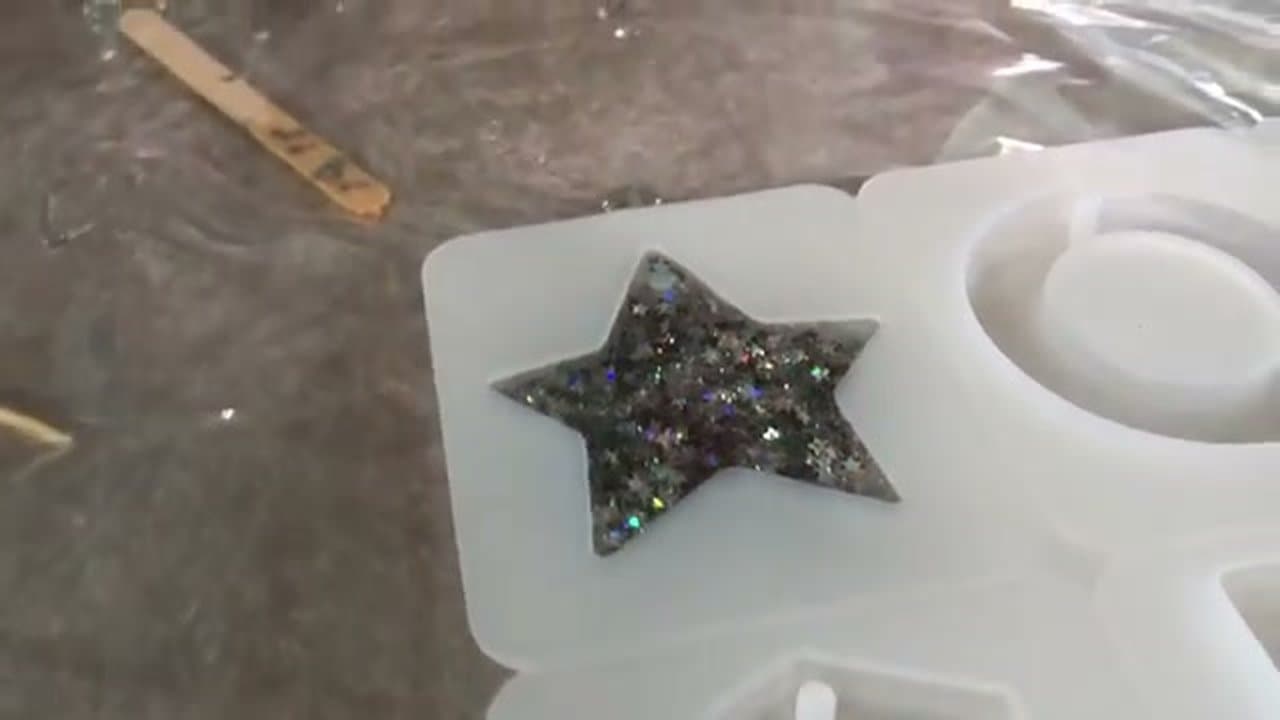
Cover your work surface with plastic wrap, wax paper, or a tile - resin drips are nearly impossible to clean off raw counters. Put on nitrile gloves and a respirator before opening the bottles. The cured resin is harmless, but the uncured stage is what you want to keep off your skin and out of your lungs.

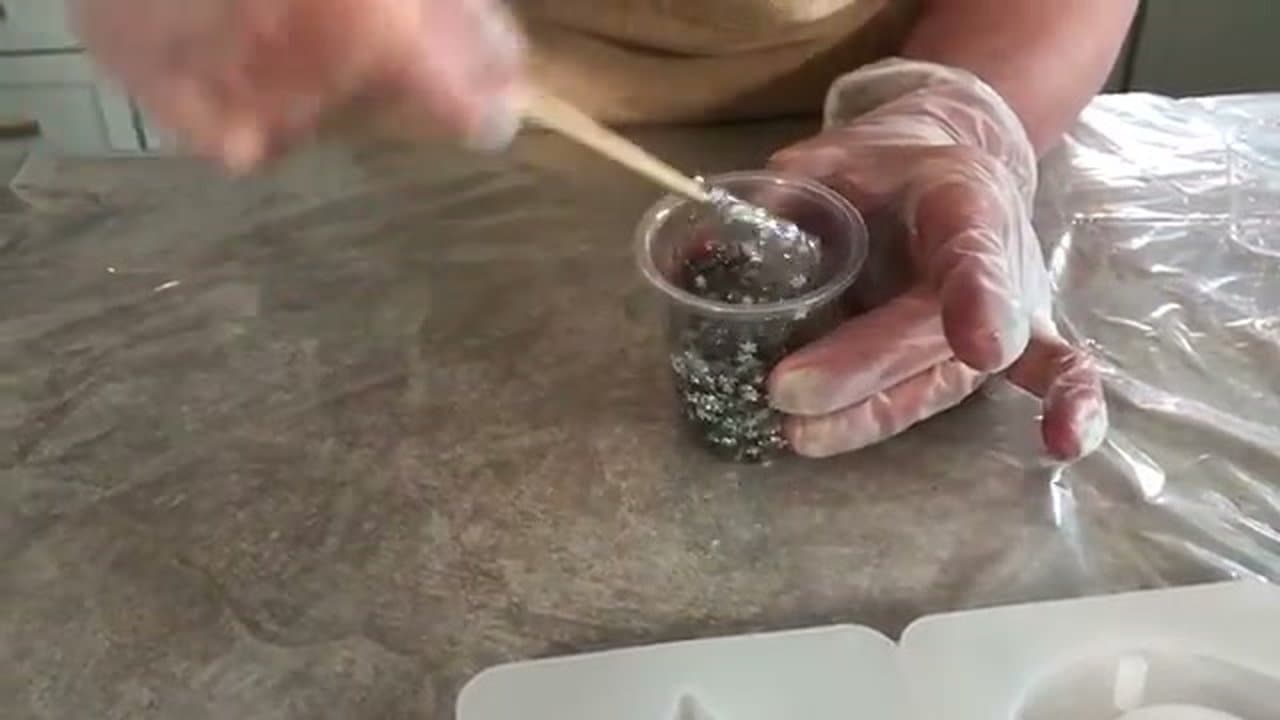
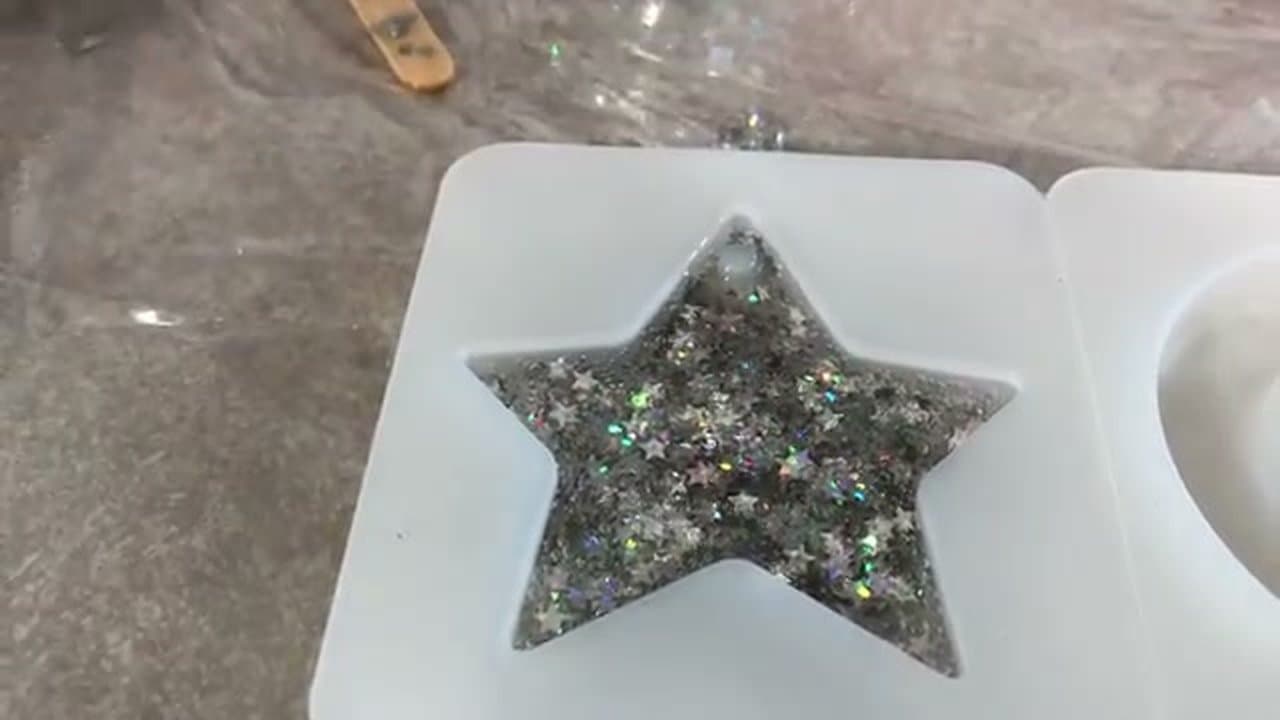
Lay out everything you'll need: the two-part resin kit, smooth-walled milliliter cups, popsicle sticks for stirring, toothpicks for nudging glitter, butane torch, foam brush, baby wipes for cleanup, and your silicone keychain mold.

Tip

Use a cheap dollar-store kitchen timer rather than your phone - you'll have resin on your gloves and won't want to touch your phone screen.

2

Measure Equal Parts Resin and Hardener

5:55
Step 2: Measure Equal Parts Resin and Hardener

Two-part resin needs equal volumes of part 1 (resin) and part 2 (hardener). Measure each separately into smooth-walled plastic milliliter cups. Kathy uses 15 ml of each - small batches go further than you'd think because resin keychains use very little.

Don't use wax-lined paper cups - the wax dissolves into the resin and ruins the cure. Smooth plastic measuring cups work and are reusable if you wipe them clean before the resin sets.

Tip

Mod Podge Resin uses a 1:1 ratio. Other resin brands sometimes use 2:1 or 3:1 - always check the label, because mixing wrong ratios is the most common reason resin doesn't cure.

3

Combine and Stir Gently for 3 Minutes

6:50
Step 3: Combine and Stir Gently for 3 Minutes

Pour both parts into one fresh smooth-walled cup. Scrape every drop off the original cups - leftover unmixed parts cause sticky spots in the cure.

Stir gently for a full three minutes. Watch your stirring direction and don't whip air into the mixture. The combined resin will look milky and cloudy at first - that's normal. Keep stirring until it goes clear. Scrape down the sides and bottom every minute so all of the resin gets fully mixed.

Tip

Once the resin is fully clear, you have about 20-30 minutes of working time before it starts to thicken. Don't try to mix more than you can pour in that window.

4

Torch the Bubbles and Add Glitter

9:15
Step 4: Torch the Bubbles and Add Glitter

Pass a butane torch over the surface of the mixed resin briefly - just a quick zap is enough to pop the air bubbles trapped during stirring. Set the torch on its lowest setting; you don't want to scorch the resin.

Stir in your glitter, gems, dried flowers, or alphabet beads. Don't stir too aggressively - that adds new bubbles. Just fold them in gently. The amount of glitter is taste; more for full coverage, less for a hint of sparkle.

Tip

If you're embedding letter beads or larger pieces, drop them into the mold first and pour the clear resin over them rather than mixing them into the resin cup.

5

Pour Into the Silicone Mold

10:05
Step 5: Pour Into the Silicone Mold

Pour the glittered resin slowly into the silicone keychain mold. Stay just below the fill line marked on the mold - if you go over, the keychain will have a thick back lip you'll have to sand off later.

Use a toothpick to push glitter or embeds into the corners of the design and to free any trapped bubbles. The glitter naturally floats and shifts as the resin starts to set, so position pieces a couple of times during the first ten minutes.

Tip

Silicone molds don't need a release agent. If you're using a non-silicone mold, spray it with a mold release first or the resin will lock to the surface.

6

Torch Again and Cure for 24 Hours

10:35
Step 6: Torch Again and Cure for 24 Hours

Pass the torch over the filled mold one more time to pop new bubbles that rose during pouring. Sometimes a second pass is needed a few minutes later as more bubbles surface.

Move the mold to a flat, dust-free space and leave it for a full 24 hours. Don't tilt or move it during the cure - any disturbance leaves marks in the surface. Once cured, flex the silicone gently to pop the keychain out, then drill or thread the keychain hardware through the molded loop.

Tip

If the back of the cured keychain has a matte finish from the silicone mold, brush a thin layer of fresh resin over it and torch + cure again. That gives both sides a glossy finish.

Products Used

☐ The Checklist

How to Make Resin Keychains (Beginner Mod Podge Resin)

Tools
8
Materials
4
Steps
6
Video
18 min

Your Guide

Plaid Crafts

As an Amazon Associate we earn from qualifying purchases. Links on this page may be affiliate links - clicking them and buying doesn't change your price, but helps support ShowMeStepByStep.

Tags

Related Tutorials