How to Score and Slip Clay to Join Pieces
Source: The Pottery Wheel • Full tutorial: www.craftingstepbystep.com/pottery/how-to-score-and-slip-clay
- Difficulty
- Easy
- Hands-on time
- About 30 minutes
- Wait time
- 24 hours

Tools
- serrated metal rib
- needle tool
- paint brush for slip
- roller guides
- stylus or modeling tool
- chamois
- lidded tub for slip
Materials
- leather hard clay
- clay slip made from the same clay
Steps
1. Mark Where to Score the Clay With a Roller Guide
Plan the join before you cut anything. The slabs in the video are leather hard and 6 mm thick, rolled between 6 mm roller guides.
Tip: No guides? Stand the wall slab in place and trace around its foot instead.
2. Score the Clay Slab Edge With a Serrated Rib
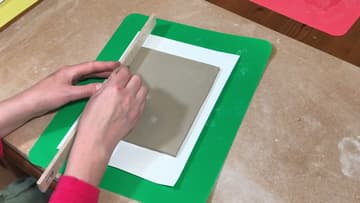
Drag a serrated metal rib along the marked strip, pressing enough to leave clear grooves. The teeth cut many even lines in one pass, so you can score a long edge quickly.
Tip: Score a little deeper on firm leather hard clay than on soft clay.
3. Cross Hatch the Scored Clay With a Needle Tool
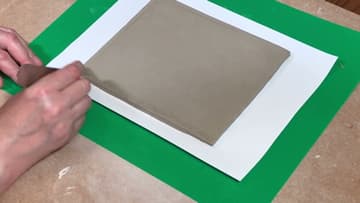
Using a needle tool instead? Score one way along the strip, then score across those lines the other way.
Tip: A plain kitchen fork makes a decent scoring tool if you have nothing else.
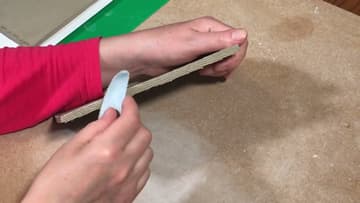
4. Score the Bottom Edge of the Clay Wall Slab
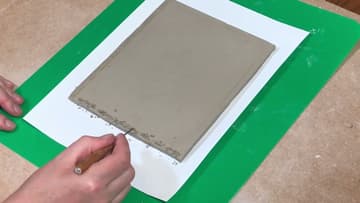
Pick up the wall slab and hold it on its side. Score along the whole edge that will sit on the base, using the same serrated rib.
Tip: Support the slab along its length so the thin edge does not crack while you score.
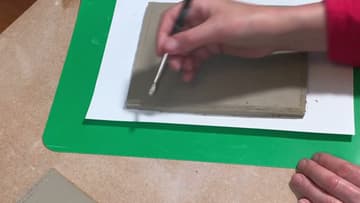
5. Paint Clay Slip Onto the Scored Base
Load a brush with slip and paint it into the scored strip on the base. Work it into the grooves, not only over the top.
Tip: Stir the slip before each use. It settles and the top turns watery.
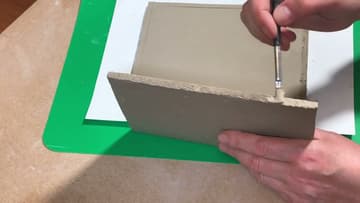
6. Paint Slip Onto the Scored Edge of the Clay Wall
Now slip the wall's scored edge the same way. Plan ahead and prepare each pair of surfaces right before you join them, so neither dries out.
Tip: A firm, cheap paint brush works fine. Keep it only for slip.
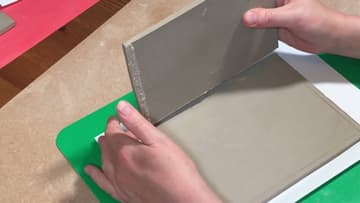
7. Press the Clay Wall Onto the Slipped Base Join
Set the wall upright on the slipped line and check it sits where you marked. Once it is lined up, press down with gentle but firm pressure so the two scored surfaces lock together.
Tip: A little slip squeezing out along the seam is a good sign. Leave it for now.
8. Press a Reinforcing Clay Coil Into the Inside Join
Score along the inside corner where the wall meets the base and add a little slip. Roll a thin, soft coil of the same clay and press it into the corner, supporting the wall from the other side.
Tip: Soft clay joins may not need a coil. Hard leather hard slabs almost always do.
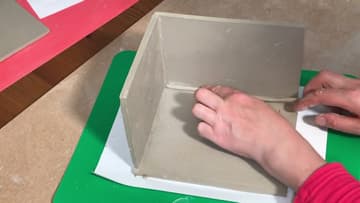
9. Score and Slip the Mug Where the Clay Handle Attaches
The same method attaches a handle. Hold the handle against the mug and mark both ends with a needle tool.
Tip: Let a fresh pulled handle firm up to soft leather hard before you attach it.
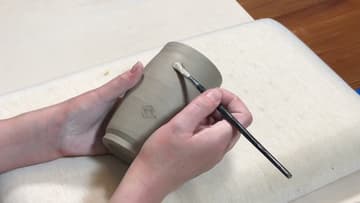
10. Press the Slipped Clay Handle Onto the Mug
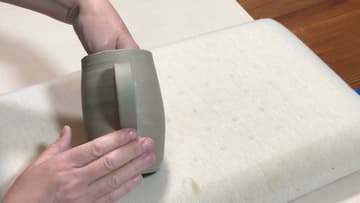
Line the handle up and press each end firmly onto its slipped patch. Put one hand inside the mug to brace the wall, so the pressure does not dent or warp the shape.
Tip: Check the handle is straight from above and from the side before the slip sets.