How to Make a Slab Mug - Hand-Built Pottery Mug, No Wheel

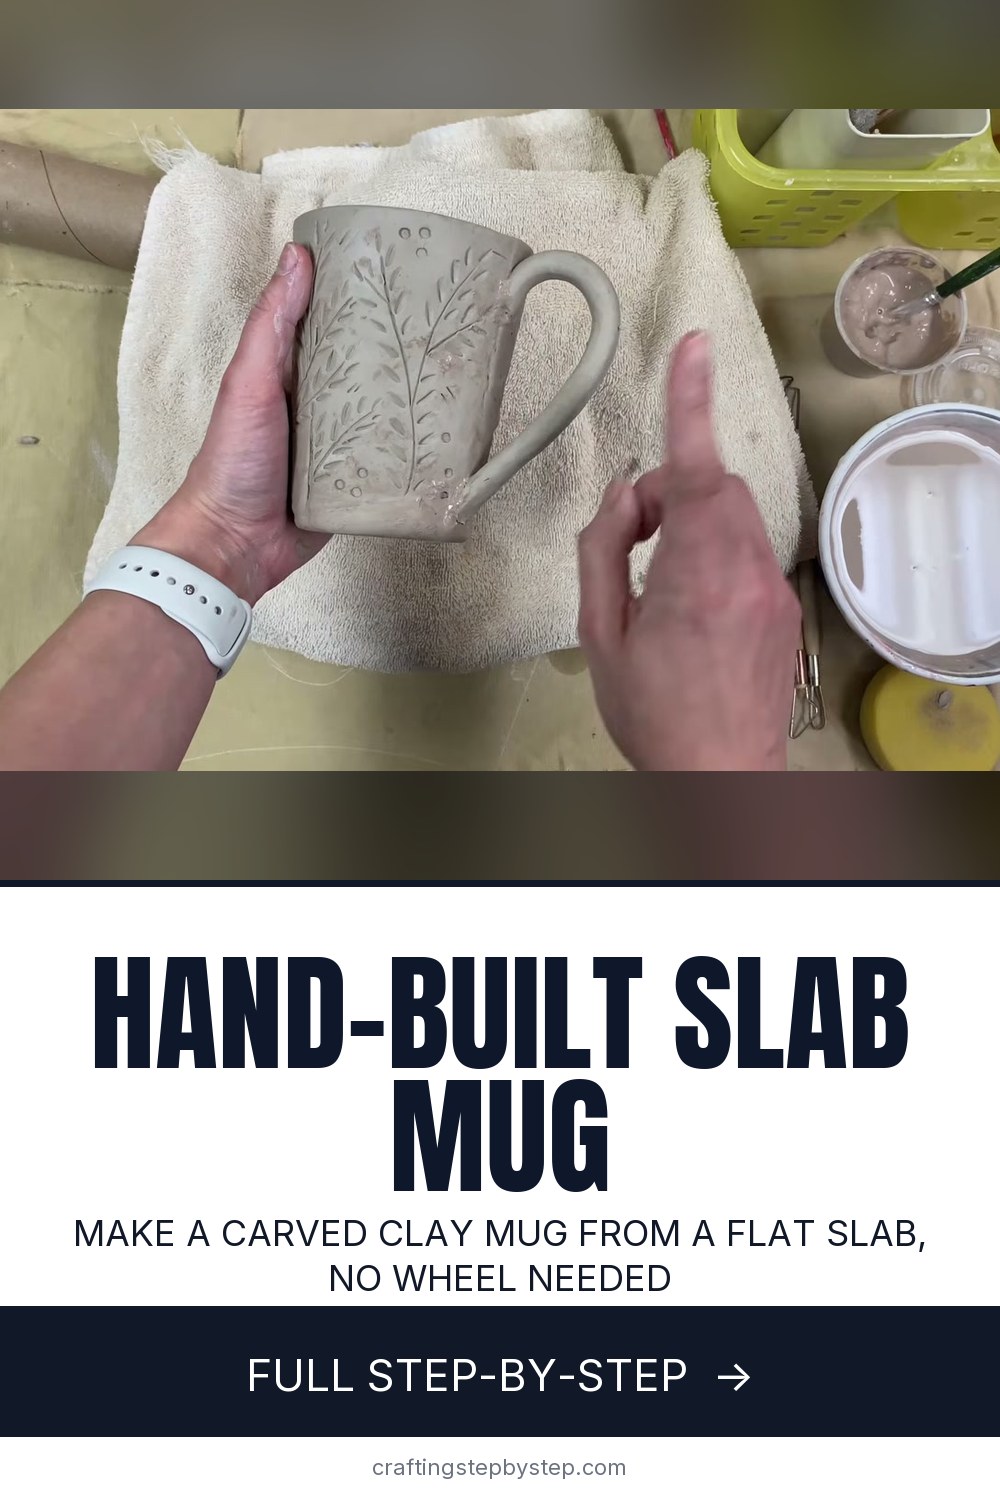
The finished result: How to Make a Slab Mug - Hand-Built Pottery Mug, No Wheel
  • Difficulty: Medium
  • About 2 hours
  • 10 steps

You tapped Save

Save this project for later

We'll email you a link, no password.

How to Make a Slab Mug - Hand-Built Pottery Mug, No Wheel

  • Your saved projects in one list
  • Your ticked steps on any device

Check your inbox for an email from us. Not there? Look in your spam folder.

Print

Steps written out by Crafting Step by Step from Rebekah Hower's video (opens YouTube) (12:56). Published .

A slab mug is the friendliest way to make a mug without a pottery wheel. You roll the clay flat, cut it from a paper template, carve a pattern while it is still flat, then roll it into a cylinder and add a base and a handle. Rebekah Hower walks through the whole build in this video, from smoothing the slab to the final clean up, with a leafy branch pattern carved into the side.

How to make a slab mug: the short version

  • Roll a slab about 1/4 inch thick and smooth both sides.
  • Trace a curved paper template and cut out the mug body.
  • Roll a coil and shape it into a handle.
  • Carve a texture into the flat slab.
  • Curl it into a cylinder, score and slip the seam.
  • Cut and attach a base, then attach the handle.
  • Dry slowly, then bisque fire, glaze and glaze fire.

Why the template is curved

A straight rectangle rolls into a straight tube. A template shaped like a section of a ring rolls into a cone that is wider at the top, which is the classic tapered mug shape. The more the arc curves, the more the mug flares. Make your template from card stock and save it, so your next mug comes out the same size.

Clay and timing

Use a smooth stoneware if you will fire at a studio. Timing matters more than anything else in slab work. Too wet and the slab sags when you roll it up. Too dry and it cracks at the seam. The sweet spot is soft leather-hard: it holds its shape but still bends. A hair dryer for a few seconds firms up a floppy slab. Fingerprints that stay deep mean it needs a little longer.

Slip and score in plain words

Clay only sticks to clay when both surfaces are roughed up and glued with slip, which is clay thinned with water to a creamy paste. Scratch both edges, brush slip on both, then press until the slip oozes out. Do this for the seam, the base and both handle joins. Skip it and the pieces crack apart in the kiln.

Drying the mug

Dry the finished mug slowly. Cover it loosely with plastic for the first day or two so the handle and body dry at the same rate, then uncover it until it is bone dry. A handle that dries faster than the mug is the most common reason it cracks off.

Firing and food safety

A mug needs a kiln. Most community studios and paint-your-own pottery shops will fire pieces for a small fee. Use a glaze labeled food safe on the inside and the rim. Air-dry clay looks similar but is not waterproof and must never hold a drink.

Common problems

  • Seam cracks while drying. Dry slowly under loose plastic and smooth the inside seam too.
  • Handle pops off. Score deeper, use more slip, and never lift the mug by the handle before firing.
  • Carving tears the clay. Wait until the slab firms up a bit and hold the tool at an angle.

More hand-building projects

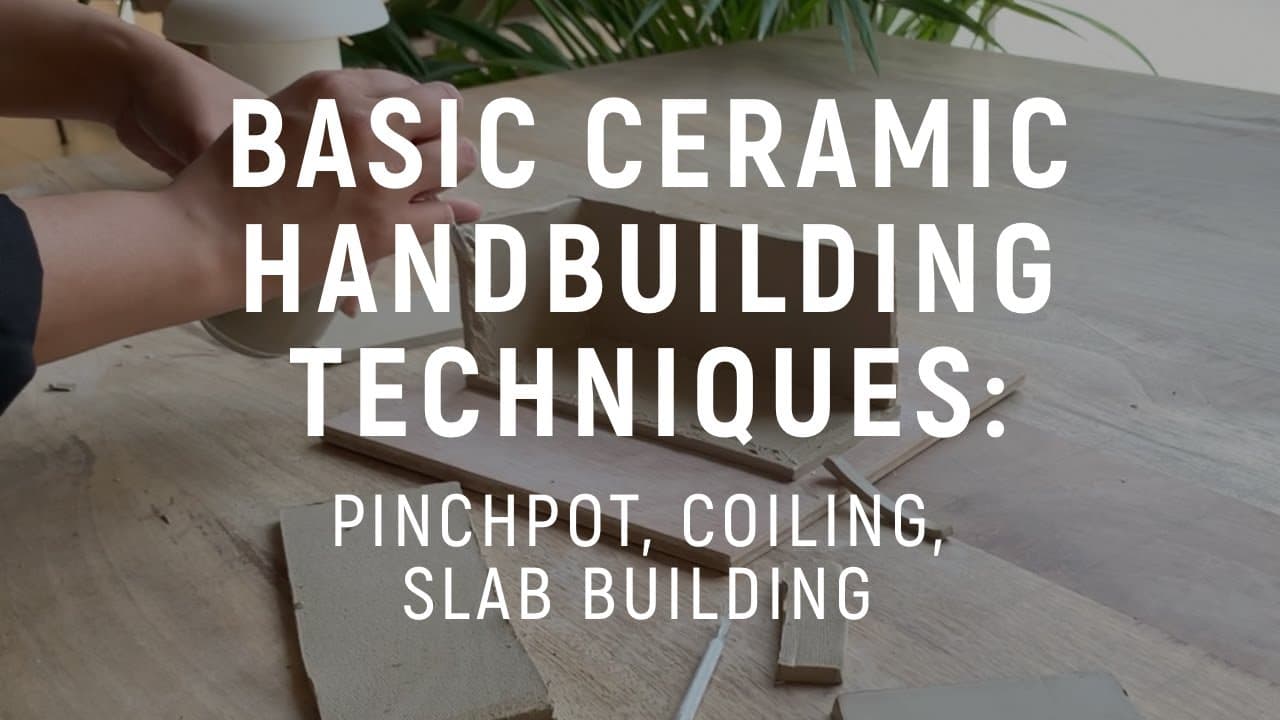
Start with a pinch pot or a coil pot, then try a slab pottery dish. Brush up on how to score and slip clay, or read the overview of hand-building pottery.

Free printable

Print the steps and supply list for this project

One page you can take to the table. Free with a free account, no password.

Get the free printable

What you'll need

Free, for this project

Get this checklist by email

  • All 12 tools and materials, with tick boxes
  • A link to print all 10 steps on paper, to keep by you while you craft

No password. The whole tutorial stays free on this page.

Quick answer

Make a slab mug by hand: trace a template, carve a pattern, roll it up, then slip and score the seam, base and handle. A medium project: about 2 hours. You need 12 things, including stoneware clay, clay slip and food safe glaze. The 10 steps start with smooth Both Sides of the Clay Slab, trace the Paper Mug Template Onto the Clay Slab, cut Out the Mug Body and Smooth Its Edges and roll a Clay Coil for the Mug Handle.

Step-by-step guide

10 steps, about 13 minutes. Tap a picture to jump to that step. Your progress saves automatically.

Tick each step off as you go.

  1. Step 1: Smooth Both Sides of the Clay Slab

    Watch this step · 0:22

    Start with a slab of clay rolled out evenly, about a quarter inch thick. Run a damp sponge or a wooden rib over the whole surface to wipe away the canvas texture. Flip it and do the other side. A smooth slab carves cleaner and shows fewer marks once the mug is glazed. Keep the sponge damp, not dripping.

    Tip:

    Too much water turns the surface to mud. Wring the sponge out well.

    Back to all steps

  2. Step 2: Trace the Paper Mug Template Onto the Clay Slab

    Watch this step · 0:42

    Lay your curved paper mug template along the edge of the slab, close to one side so you leave plenty of scrap clay. Trace all the way around it with a needle tool or the point of a wooden tool. Press lightly but keep the line continuous. Then lift the template off and set it aside for the next mug.

    Tip:

    Card stock templates last longer than printer paper.

    Back to all steps

  3. Step 3: Cut Out the Mug Body and Smooth Its Edges

    Watch this step · 1:14

    Cut along the traced line with a pottery knife or needle tool, holding the blade straight up. Peel away the extra clay and keep it under plastic, because the base and handle come from it. Dip a finger or sponge in water and run it along every edge, top and bottom, so nothing is sharp once it dries.

    Tip:

    Smooth both faces of each edge. The rim is what your lips touch.

    Back to all steps

  4. Step 4: Roll a Clay Coil for the Mug Handle

    Watch this step · 1:44

    Squeeze a piece of the scrap into a log. Wet your hands slightly so they glisten. Roll the clay on the table, moving your hands outward as you go, with light even pressure so the coil stays round and smooth. Measure it against the height of your mug body to make sure it is long enough to fit your fingers.

    Tip:

    Pressing hard makes the coil flat and lumpy. Let the weight of your hands do it.

    Back to all steps

  5. Step 5: Shape the Clay Coil Into a Mug Handle

    Watch this step · 2:20

    Bend the coil into the handle shape you want. It should look like a candy cane or an ear. Cut both ends at an angle with the needle tool so they sit flush against the curved side of the mug. Set the handle aside gently so it firms up without losing its shape while you work on the body.

    Tip:

    Check that three or four fingers fit through the curve before it firms up.

    Back to all steps

  6. Step 6: Carve a Texture Into the Flat Mug Slab

    Watch this step · 4:02

    Test your tools on a scrap first. Wooden tools, loop tools and even the back of a paintbrush all leave different marks. Here, fine branch lines go on with a small wooden tool held at an angle so the grooves stay clean. Leaves are pressed in with a loop tool and pulled slightly. Dots from the tool's back end fill the gaps.

    Tip:

    Carve while it is flat. It is much harder once the mug is rolled up.

    Back to all steps

  7. Step 7: Curl the Carved Slab Into a Mug Cylinder

    Watch this step · 5:36

    If the slab is still floppy, firm it with a hair dryer for a few seconds. Lift it carefully from one end and curl it around until the two short edges meet and it looks like a cup. Set it on a soft towel so the carving does not flatten. Support it with your hand rather than squeezing it.

    Tip:

    A cardboard tube inside helps a soft slab hold its round shape.

    Back to all steps

  8. Step 8: Score and Slip the Mug Seam Together

    Watch this step · 6:02

    Scratch up both edges where the cylinder will join, using a wooden tool. Brush slip onto both scored edges. Press the edges together with a slight overlap, working inside and outside, until slip oozes from the seam. Then smooth the seam with a damp brush and sponge, and even out the rim.

    Tip:

    Ooze is the sign of a good join. No ooze means add more slip.

    Back to all steps

  9. Step 9: Attach a Clay Base to the Bottom of the Mug

    Watch this step · 9:12

    Stand the mug on the scrap slab and trace around the bottom. Cut the circle out and smooth its edge. Score the outer ring of the base and the bottom edge of the mug, then brush slip on both. Press them together and run your fingers all around until slip oozes. Flip it over and smooth the inside seam with a tool.

    Tip:

    Smooth the outer bottom edge well. A rough foot scratches tables after firing.

    Back to all steps

  10. Step 10: Attach the Handle to the Side of the Mug

    Watch this step · 11:12

    Hold the handle against the mug and mark where the top and bottom touch. Score those two spots and both handle ends, then add slip. Support the inside of the mug with one hand and press the handle on until slip oozes out. Check that it sits straight, clean the joins with a damp brush, and sign the bottom.

    Tip:

    Never lift the mug by its handle until after it has been fired.

    Back to all steps

How to Soften Polymer Clay (Conditioning Hard or Crumbly Clay)

Keep going

How to Soften Polymer Clay (Conditioning Hard or Crumbly Clay)

Keep going with pottery

More on this topic, picked for this slab mug.

You reached the last step

Save this project to come back to it

Your ticked steps, the free printable and your other saved makes, together in My Projects. Free, no password.

You tapped Save

Save this project for later

We'll email you a link, no password.

How to Make a Slab Mug - Hand-Built Pottery Mug, No Wheel

  • Your saved projects in one list
  • Your ticked steps on any device

Check your inbox for an email from us. Not there? Look in your spam folder.

Free printable

Printable sheet and shopping list for this project

The bonus is hidden until you sign up.

Free with a free account, no password. Every step above stays open to everyone.

Products Used

The Checklist

How to Make a Slab Mug - Hand-Built Pottery Mug, No Wheel

Tools
9
Materials
3
Steps
10
Video
13 min

Tools we recommend

As an Amazon Associate we earn from qualifying purchases. Links on this page may be affiliate links - clicking them and buying doesn't change your price, but helps support Crafting Step by Step.

Tags

The Crafter's Weekly

New pottery tutorials, every Sunday

One short email with the week's best step-by-step guides. Free, no spam, unsubscribe anytime.

Did this work for you?

What's next

Related collections

Curated theme pages that include this tutorial.

Similar tutorials

Hand-picked next reads based on the one you just finished.

Liked this pottery tutorial?

Pick the crafts you want to hear about. One email every Sunday with new step-by-step tutorials. No spam, easy to unsubscribe.

Get more like this in your inbox

Weekly digest. Pick the categories you want. Unsubscribe anytime.

Send me tutorials about

We only email about new tutorials. Easy unsubscribe anytime.