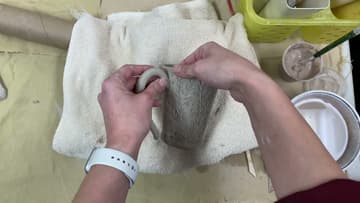
How to Make a Slab Mug - Hand-Built Pottery Mug, No Wheel
Source: Rebekah Hower • Full tutorial: www.craftingstepbystep.com/pottery/how-to-make-a-slab-mug
- Difficulty
- Medium
- Hands-on time
- About 2 hours
- Makes
- 1 mug

Tools
- rolling pin or slab roller
- needle tool
- pottery knife
- wooden carving tools
- loop tools
- sponge
- paintbrush
- hair dryer
- paper or card stock template
Materials
- stoneware clay
- clay slip
- food safe glaze
Steps
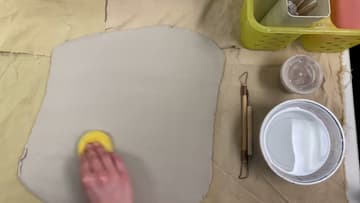
1. Smooth Both Sides of the Clay Slab
Start with a slab of clay rolled out evenly, about a quarter inch thick. Run a damp sponge or a wooden rib over the whole surface to wipe away the canvas texture.
Tip: Too much water turns the surface to mud. Wring the sponge out well.
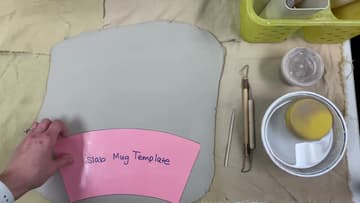
2. Trace the Paper Mug Template Onto the Clay Slab
Lay your curved paper mug template along the edge of the slab, close to one side so you leave plenty of scrap clay. Trace all the way around it with a needle tool or the point of a wooden tool.
Tip: Card stock templates last longer than printer paper.
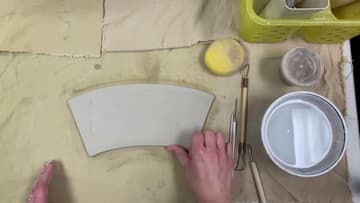
3. Cut Out the Mug Body and Smooth Its Edges
Cut along the traced line with a pottery knife or needle tool, holding the blade straight up. Peel away the extra clay and keep it under plastic, because the base and handle come from it.
Tip: Smooth both faces of each edge. The rim is what your lips touch.
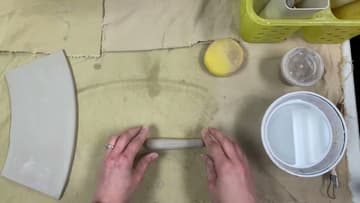
4. Roll a Clay Coil for the Mug Handle
Squeeze a piece of the scrap into a log. Wet your hands slightly so they glisten.
Tip: Pressing hard makes the coil flat and lumpy. Let the weight of your hands do it.
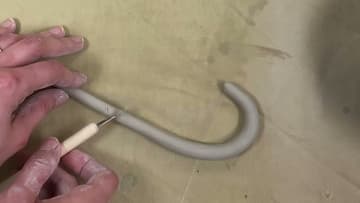
5. Shape the Clay Coil Into a Mug Handle
Bend the coil into the handle shape you want. It should look like a candy cane or an ear.
Tip: Check that three or four fingers fit through the curve before it firms up.
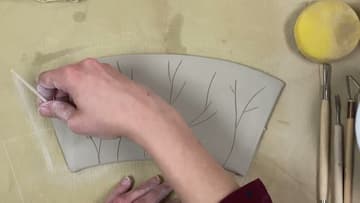
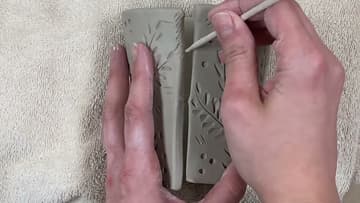
6. Carve a Texture Into the Flat Mug Slab
Test your tools on a scrap first. Wooden tools, loop tools and even the back of a paintbrush all leave different marks.
Tip: Carve while it is flat. It is much harder once the mug is rolled up.
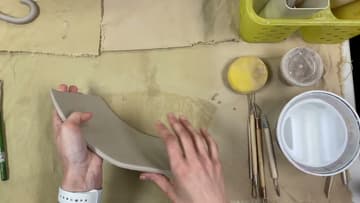
7. Curl the Carved Slab Into a Mug Cylinder
If the slab is still floppy, firm it with a hair dryer for a few seconds. Lift it carefully from one end and curl it around until the two short edges meet and it looks like a cup.
Tip: A cardboard tube inside helps a soft slab hold its round shape.
8. Score and Slip the Mug Seam Together
Scratch up both edges where the cylinder will join, using a wooden tool. Brush slip onto both scored edges.
Tip: Ooze is the sign of a good join. No ooze means add more slip.
9. Attach a Clay Base to the Bottom of the Mug
Stand the mug on the scrap slab and trace around the bottom. Cut the circle out and smooth its edge.
Tip: Smooth the outer bottom edge well. A rough foot scratches tables after firing.
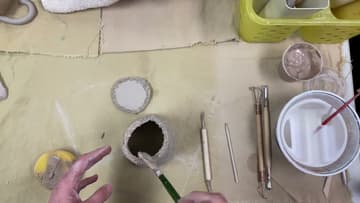
10. Attach the Handle to the Side of the Mug
Hold the handle against the mug and mark where the top and bottom touch. Score those two spots and both handle ends, then add slip.
Tip: Never lift the mug by its handle until after it has been fired.