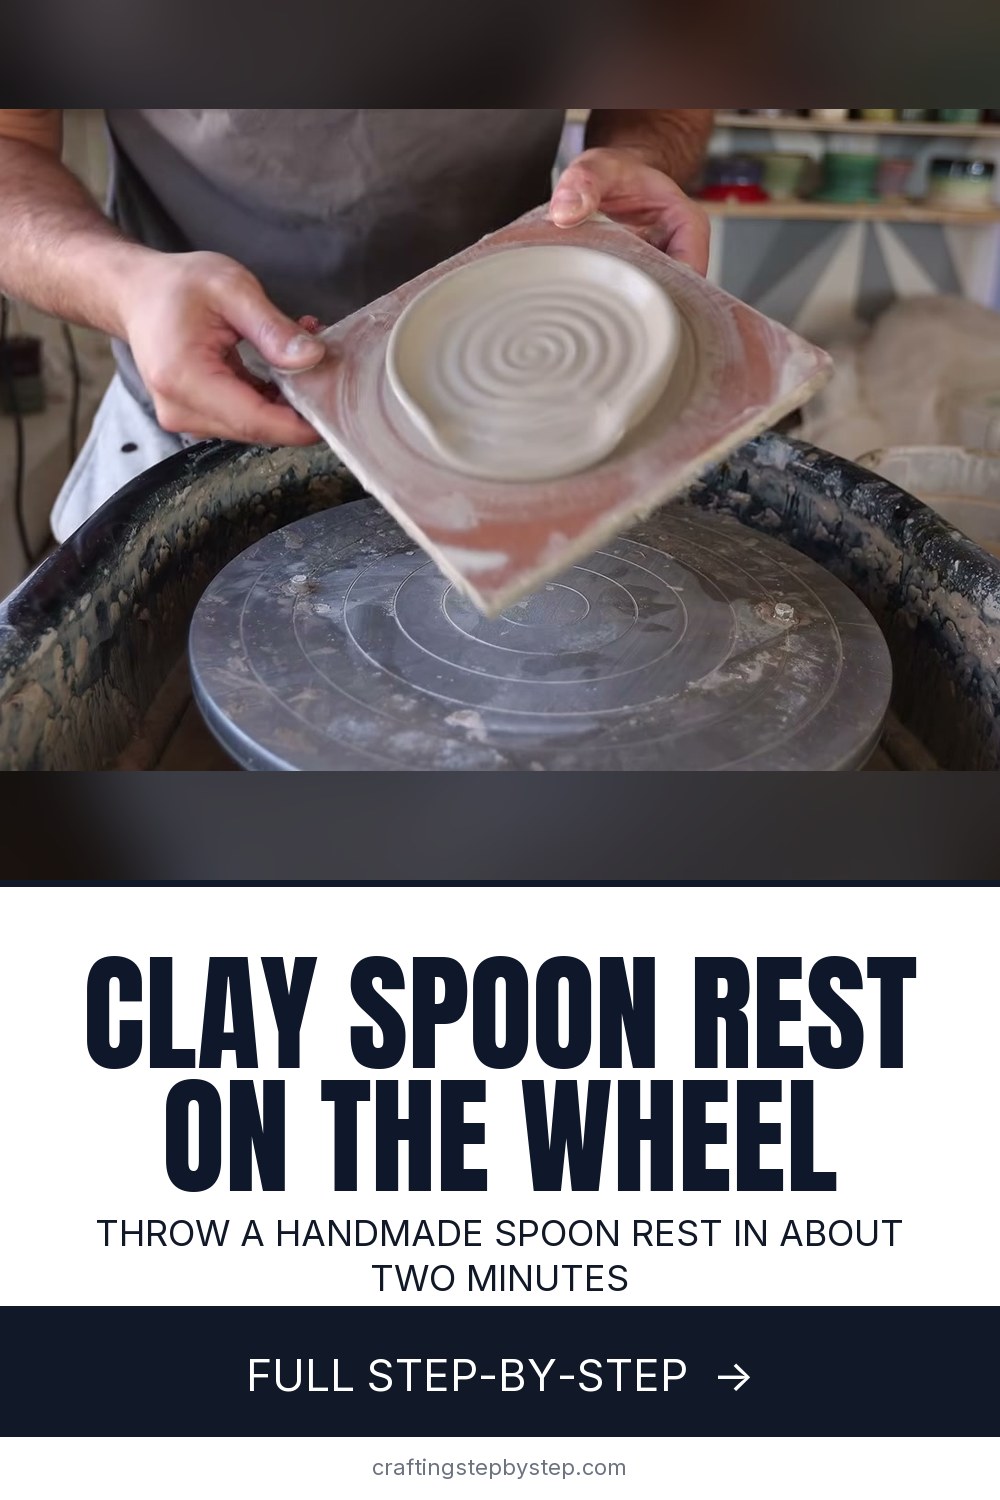
A clay spoon rest is one of the fastest things you can throw on a pottery wheel. It is a small, shallow dish with a low rim and one flat side where the spoon handle lies. Jon the Potter shows how he makes them in about two minutes each from half a pound of clay, then speeds through one in under thirty seconds. They make great gifts and a good first project once you can center.
How to make a clay spoon rest: the short version
- Weigh out about 8 ounces of clay per spoon rest.
- Center it on a bat, then press it flat with the edge of your hand.
- Pull the floor out and lift a low rim.
- Draw a spiral in the floor and press one side down flat.
- Dry it on the bat overnight, trim, bisque fire, glaze and fire again.
What you need
Stoneware clay (Jon uses buff stoneware), a kitchen scale, a pottery wheel, a few bats, a sponge and basic pottery tools. You also need glaze and access to a kiln. Many community studios and pottery classes fire student work for a small fee, so you do not need your own kiln.
Why throw on a bat
A spoon rest is wide and only half an inch to three quarters of an inch thick. If you cut it off the wheel head while wet, it warps or tears. Throwing on a bat lets you lift the whole thing off and leave it overnight. As it dries it shrinks and pops loose by itself, ready to trim the next day.
No wheel? Hand build one
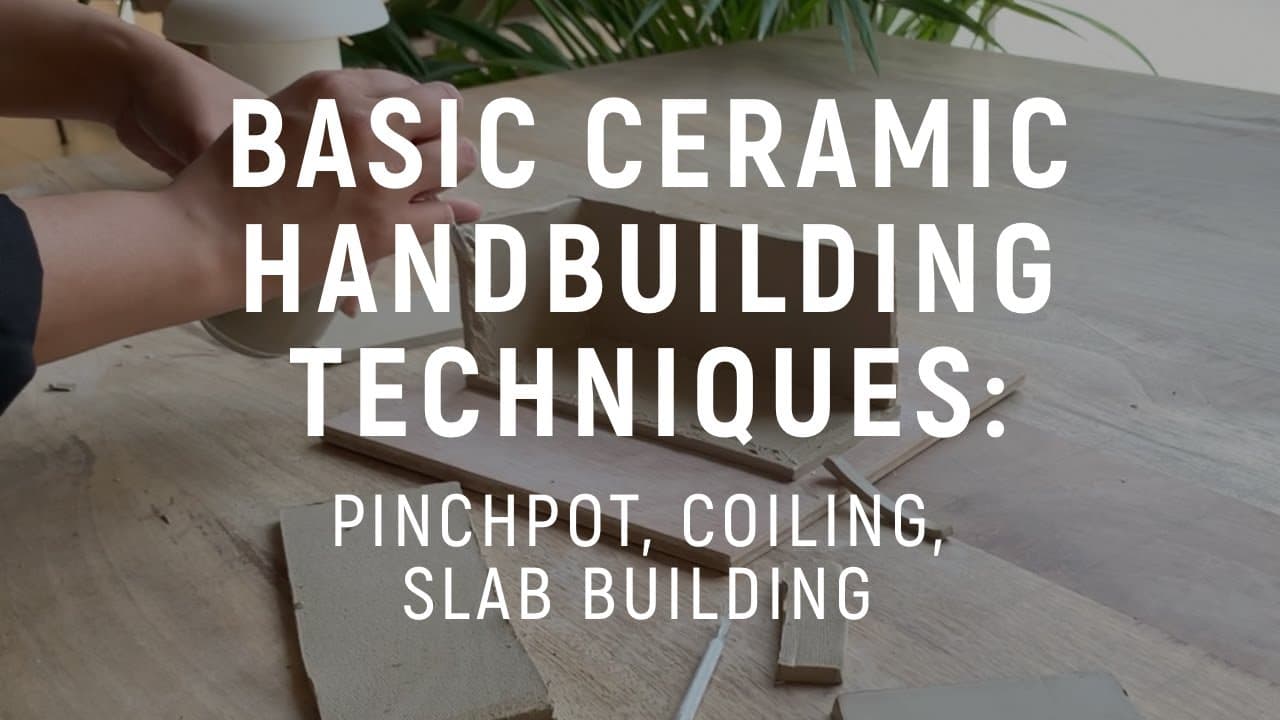
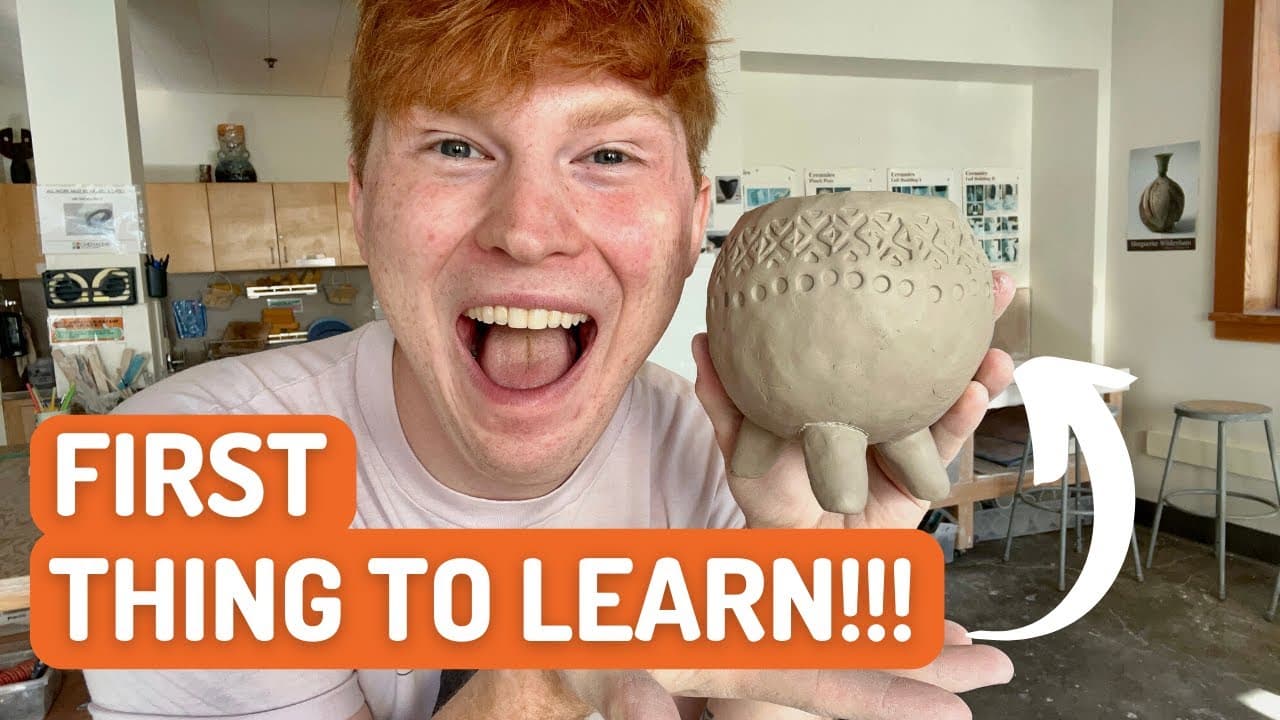
You can make a spoon rest without a wheel. Roll a slab about a quarter inch thick, cut an oval with a spoon shaped tab, then lift the edges over a soft support. Our guide to making a slab pottery dish covers the method. A large pinch pot pressed flat on one side also works. See how to hand build pottery for the basics.
Design ideas
- A spiral, like Jon's, which catches glaze and shows off two colors.
- Stamped leaves, initials or a short word in the floor.
- A wavy rim pinched with two fingers.
- A matched set of four in different glazes for a gift basket.
Drying, trimming and firing
Let each spoon rest firm up on its bat overnight until it is leather hard. Flip it over, trim a little clay off the bottom so it sits flat, and soften the edge with a damp sponge. Then let it dry fully for a few days before the first, or bisque, firing. Flat pieces dry fastest at the rim, so loose plastic over the top slows the edge down and keeps it from cracking.
Glazing a spoon rest
Jon keeps it simple with a two glaze dip. Dip one side of the bisqueware in the first glaze, then dip the other side in a second glaze so the two overlap in the middle. The overlap often makes a third color. Use a food safe glaze, since spoons go straight back into the pot.
Common problems
- Cracks in the floor. Compress the floor with a sponge or rib while it spins.
- Rim too thin. Leave a little extra clay at the edge before you pull it up.
- Spoon slides off. Make the flat side wider and lower.
Ready for something deeper? Try a clay bowl next.