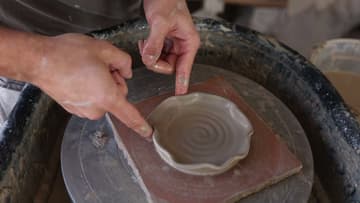
How to Make a Clay Spoon Rest
Source: Jonthepotter • Full tutorial: www.craftingstepbystep.com/pottery/how-to-make-a-clay-spoon-rest
- Difficulty
- Medium
- Hands-on time
- About 30 minutes
- Wait time
- 24 hours
- Cost
- About $2 to $8
- Makes
- 1 spoon rest

Tools
- pottery wheel
- bats
- kitchen scale
- sponge
- pottery tool set
- cut off wire
- kiln (or a studio firing service)
Materials
- about 8 oz stoneware clay per spoon rest
- food safe glaze
Steps
1. Weigh Half Pound Balls of Clay for Each Spoon Rest
Cut your clay into pieces of about half a pound, or 8 ounces, each. A kitchen scale keeps them the same size, so a set of spoon rests matches.
Tip: Cover the balls with plastic so they stay soft while you work.
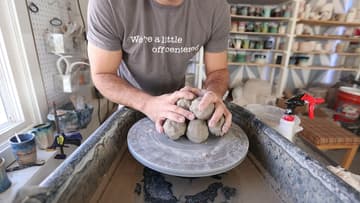
2. Throw the Clay Ball Onto the Center of a Bat
Attach a bat to your wheel head. This matters for spoon rests, since you will lift the whole bat off and let the piece dry on it.
Tip: Have several bats ready so you can make a batch in one sitting.
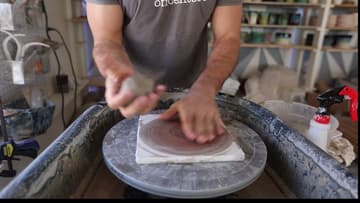
3. Cone the Clay Up and Down to Center It
Start the wheel spinning at a good speed and wet your hands. Squeeze the clay inward so it rises into a tall cone, then press it back down into a mound.
Tip: Brace your elbows on your legs or the splash pan for steady hands.
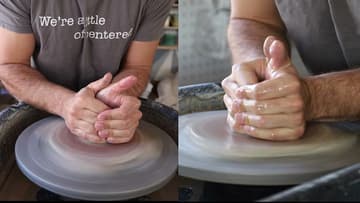
4. Press the Edge of Your Hand Into the Clay Mound
Hold one hand steady on the clay as a guide. Press the outer edge of your other hand, the pinky side, down into the center of the spinning mound.
Tip: Press slowly and keep your hand still; let the wheel do the work.
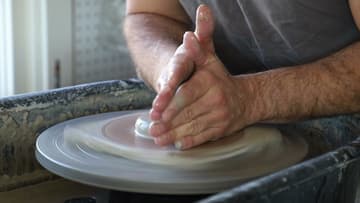
5. Pull the Spoon Rest Floor Out With a Finger
With the wheel still spinning, put a fingertip in the center and drag it outward to widen the flat floor. Stop when the dish looks about the size you want, leaving a small ridge of clay at the outer edge.
Tip: Run a damp sponge over the floor to compress it and prevent cracks.
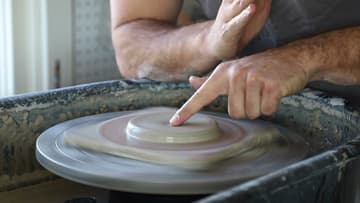
6. Lift a Low Rim Around the Spoon Rest
Pinch the ridge of clay at the edge between your fingers and gently pull it up into a low wall. Jon likes using a sponge for this because it holds more water, so the clay stays slick.
Tip: Keep the rim low; a tall wall makes it hard to set a spoon down.
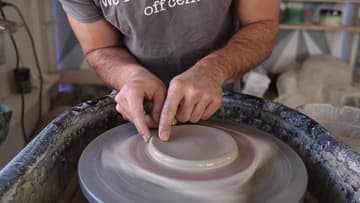
7. Draw a Spiral Into the Spoon Rest Floor
Now add any design you like. Jon puts a fingertip in the center of the spinning floor and slowly moves it outward to draw a spiral groove.
Tip: Move your finger at a steady pace for evenly spaced rings.
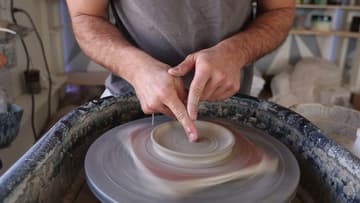
8. Press Down One Side to Make the Spoon Handle Rest
Stop the wheel. This step turns a little plate into a spoon rest.
Tip: Test the notch with a real wooden spoon before the clay firms up.
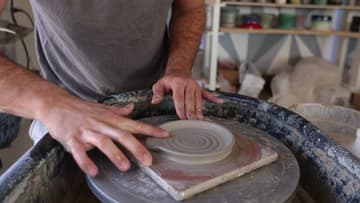
9. Leave the Clay Spoon Rest on the Bat to Dry
Lift the bat off the wheel with the spoon rest still on it. You can cut it free with a wire now, but Jon leaves it overnight.
Tip: Dry slowly under loose plastic so the thin edge does not crack.