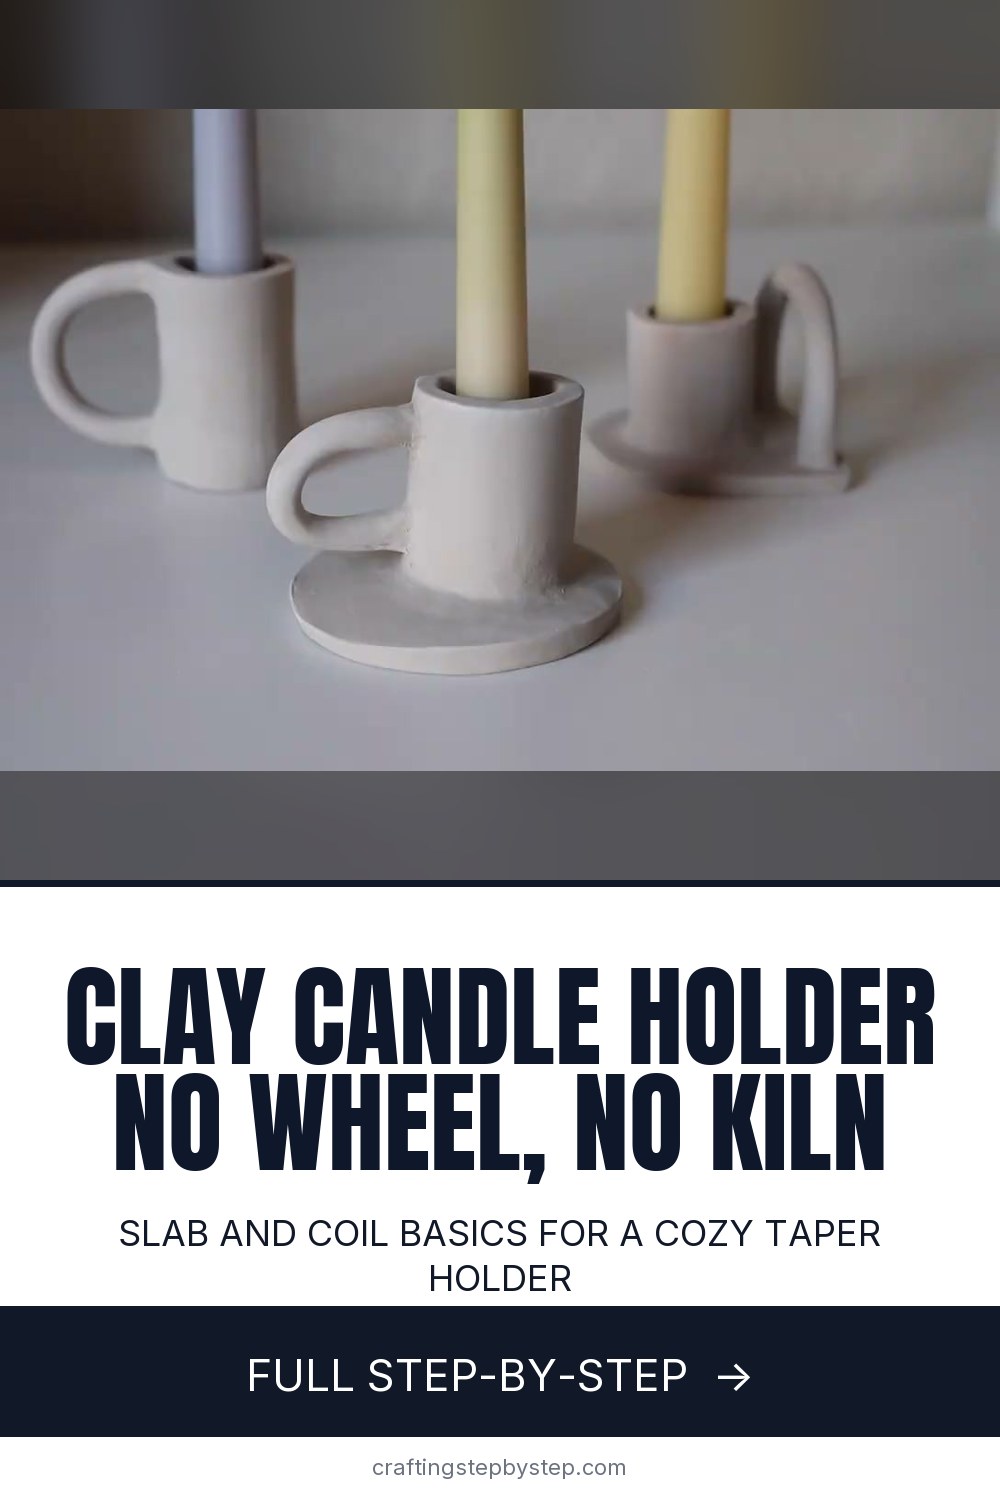
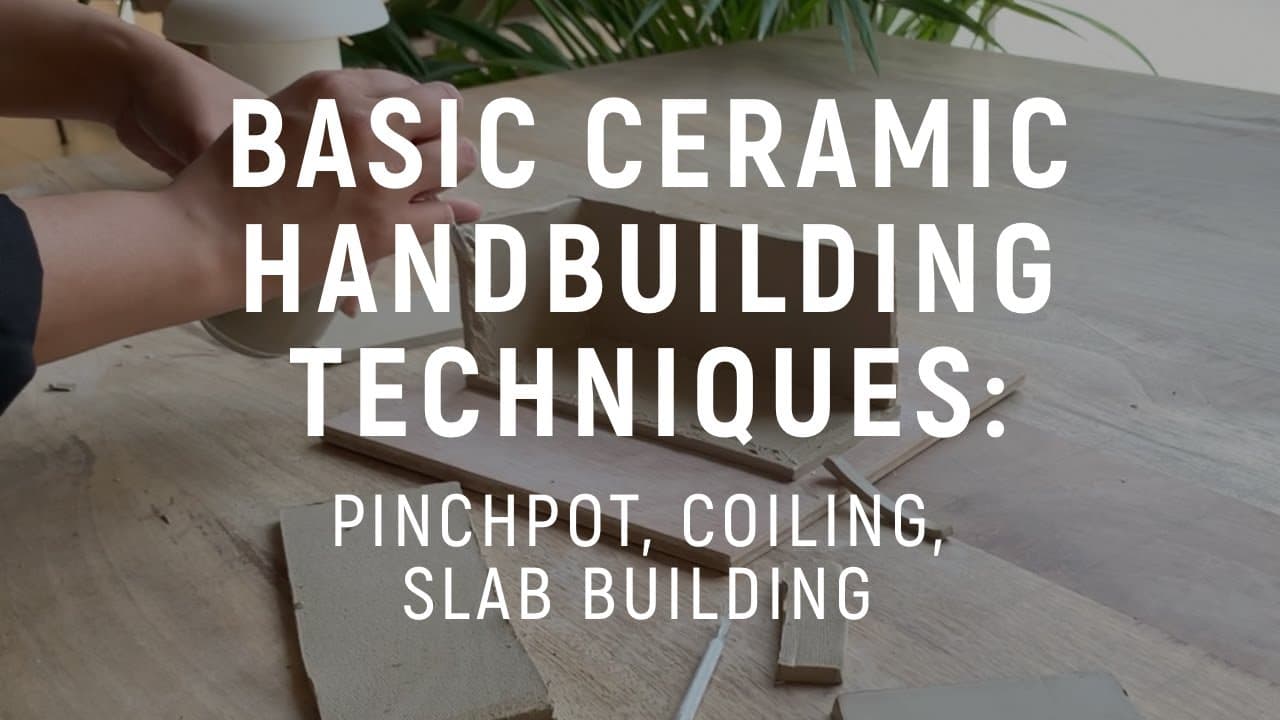
A small clay candle holder for a taper candle is one of the best first hand-building projects. It uses two basic skills, a slab and a coil, and finishes in an afternoon. This tutorial follows Montana from Crockd, who builds a little holder with a round base, a cup for the candle and a loop handle, using only a few wooden tools and a bowl of water.
How to make a clay candle holder: the short version
- Roll a slab about a quarter inch thick and cut a circle for the base.
- Cut a rectangle, roll it into a cup the width of your candle, and join the seam.
- Roll a coil for the handle and attach it.
- Join the cup to the base and blend a coil over the seam.
- Smooth it, let it dry, then paint or fire it.
Air dry clay or kiln clay
Crockd says you do not need a kiln. Air dry clay hardens on its own in a day or two, and you can paint it with acrylics afterward. It is decorative only. It is not waterproof and it is softer than fired clay. If you have a local studio that fires pieces, use a stoneware or earthenware clay instead and you get a harder, glazed finish. Carve your initials in the bottom so the studio knows it is yours.
Sizing the candle cup
Standard taper candles are about 7/8 inch across at the base. Wrap your clay rectangle around a candle, or a marker of the same width, to size the cup. Make it a little snug. Air dry clay shrinks slightly as it dries, and a candle that wobbles is unsafe. A cup about an inch deep holds a taper upright.
Why score and slip every join
Clay pieces do not stick to each other by pressing alone. Scratch both surfaces with little hash marks, dab them with water or slip, then press together and blend. The thin coils Montana adds around the handle and the base are extra glue. They fill the seam and stop cracks forming as it dries.
Drying and finishing
- Dry slowly, away from heaters, loosely covered with plastic for the first day.
- Turn it now and then so the base dries evenly and does not curl.
- Sand rough spots lightly once it is bone dry.
- Paint with acrylics, then seal with a matte varnish for a soft stone look.
Ways to change the design
- Cut the base as a square, a scalloped flower or a little dish that catches drips.
- Skip the handle and make the cup taller for a simple candlestick.
- Press lace or a leaf into the slab before cutting for texture.
- Make a pair in two heights for a mantel or a dinner table.
Common problems
- Handle cracks off. The join was not scored, or it dried too fast. Score, wet and add a reinforcing coil.
- Base curls up. It dried faster than the cup. Cover it loosely and turn it while drying.
- Candle wobbles. The cup is too wide. Wrap a little poster putty around the candle base.
Candle safety
Use it with a real flame only if it holds the candle firmly and sits flat. Keep it away from anything that can catch, and never leave a lit candle alone. LED tapers are a good choice for air dry pieces and for homes with kids or pets.
More clay projects
Learn the join in detail in how to score and slip clay. Practise coils with a coil pot, try a slab mug next, or read how to use air dry clay.