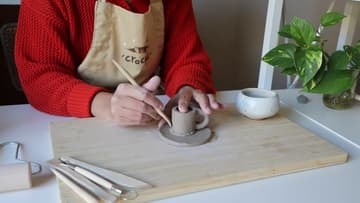
How to Make a Clay Candle Holder
Source: Crockd • Full tutorial: www.craftingstepbystep.com/pottery/how-to-make-a-clay-candle-holder
- Difficulty
- Easy
- Hands-on time
- About 45 minutes
- Wait time
- 48 hours
- Cost
- About $3 to $8
- Makes
- 1 candle holder

Tools
- rolling pin
- wooden pottery tools
- scoring tool or fork
- small bowl of water
Materials
- air dry clay or stoneware clay
- taper candle
- acrylic paint (optional)
Steps
1. Roll the Clay Into a Flat Slab for the Candle Holder
Tear off about a quarter of your clay and put the rest back in the bag so it does not dry out. Warm the clay by slapping it between your palms, then roll it into a ball.
Tip: Lay two paint stirrers either side of the clay and roll over them for an even thickness.
2. Cut a Round Clay Base for the Candle Holder
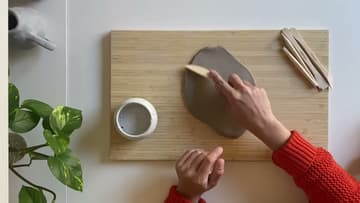
Once the slab is smooth and even, cut out the base. It can be any shape.
Tip: Smooth the cut edge with a damp finger so it does not crack as it dries.
3. Roll a Clay Rectangle Into the Candle Cup Cylinder
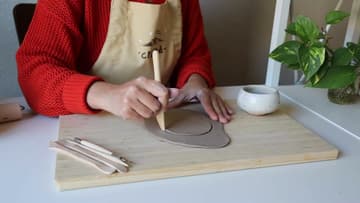
Roll a second slab and cut a rectangle for the cup that holds the candle. Roll it into a cylinder to check the size.
Tip: Wrap the rectangle around a candle or a marker to size the cup exactly.
4. Score the Clay Edges Where the Cylinder Seam Joins
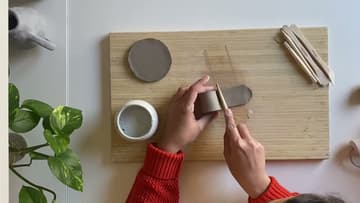
Unroll the rectangle. Use a spiky scoring tool to draw little x's or hash marks along one end.
Tip: A fork works if you do not have a scoring tool.
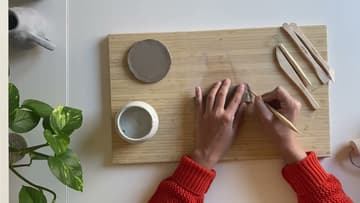
5. Blend the Seam on the Clay Candle Cup
Roll the rectangle back into a cylinder, pressing the scored ends together. Use a wooden spoon-shaped tool to drag clay across the join, first one way, then the other, until you cannot see a line.
Tip: Blend on the outside and the inside. A seam left on one side can split as it dries.
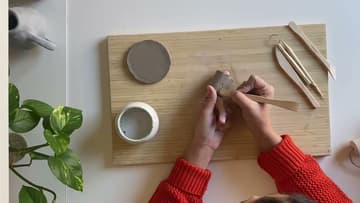
6. Roll a Clay Coil for the Candle Holder Handle
Grab a small chunk of clay and roll it into a ball. Then roll the ball back and forth under your fingers, on the board or between your hands, until it becomes a long, even coil.
Tip: Keep your fingers spread and move from the middle outward for an even coil.
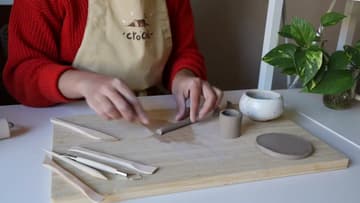
7. Attach the Clay Coil Handle to the Candle Cup
Score both ends of the handle and the spots on the cup where they will join. Dab the scored areas with water.
Tip: Make the handle big enough to fit a finger through.
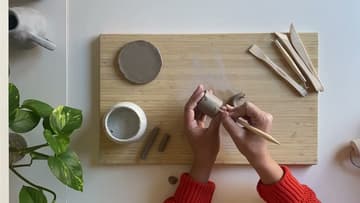
8. Reinforce the Clay Handle Joints With a Thin Coil
For extra strength, roll out a tiny coil. Wrap it tightly around each point where the handle meets the cup.
Tip: Dip the tool in water now and then to smooth the clay more easily.
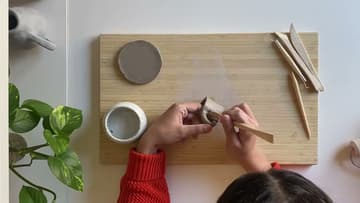
9. Score the Bottom of the Clay Candle Cup to Attach the Base
Now join the cup to the base. Score the bottom rim of the cup and the spot on the base where it will sit.
Tip: Set it toward the middle of the base so the holder does not tip.
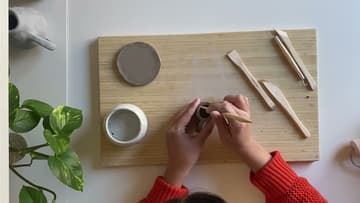
10. Blend a Clay Coil Around the Base Seam of the Candle Holder
Roll one last thin coil and lay it around the seam where the cup meets the base. Blend it up into the cup and down into the base with the spoon tool or your fingers.
Tip: Dry it slowly, loosely covered, so the base does not crack away from the cup.