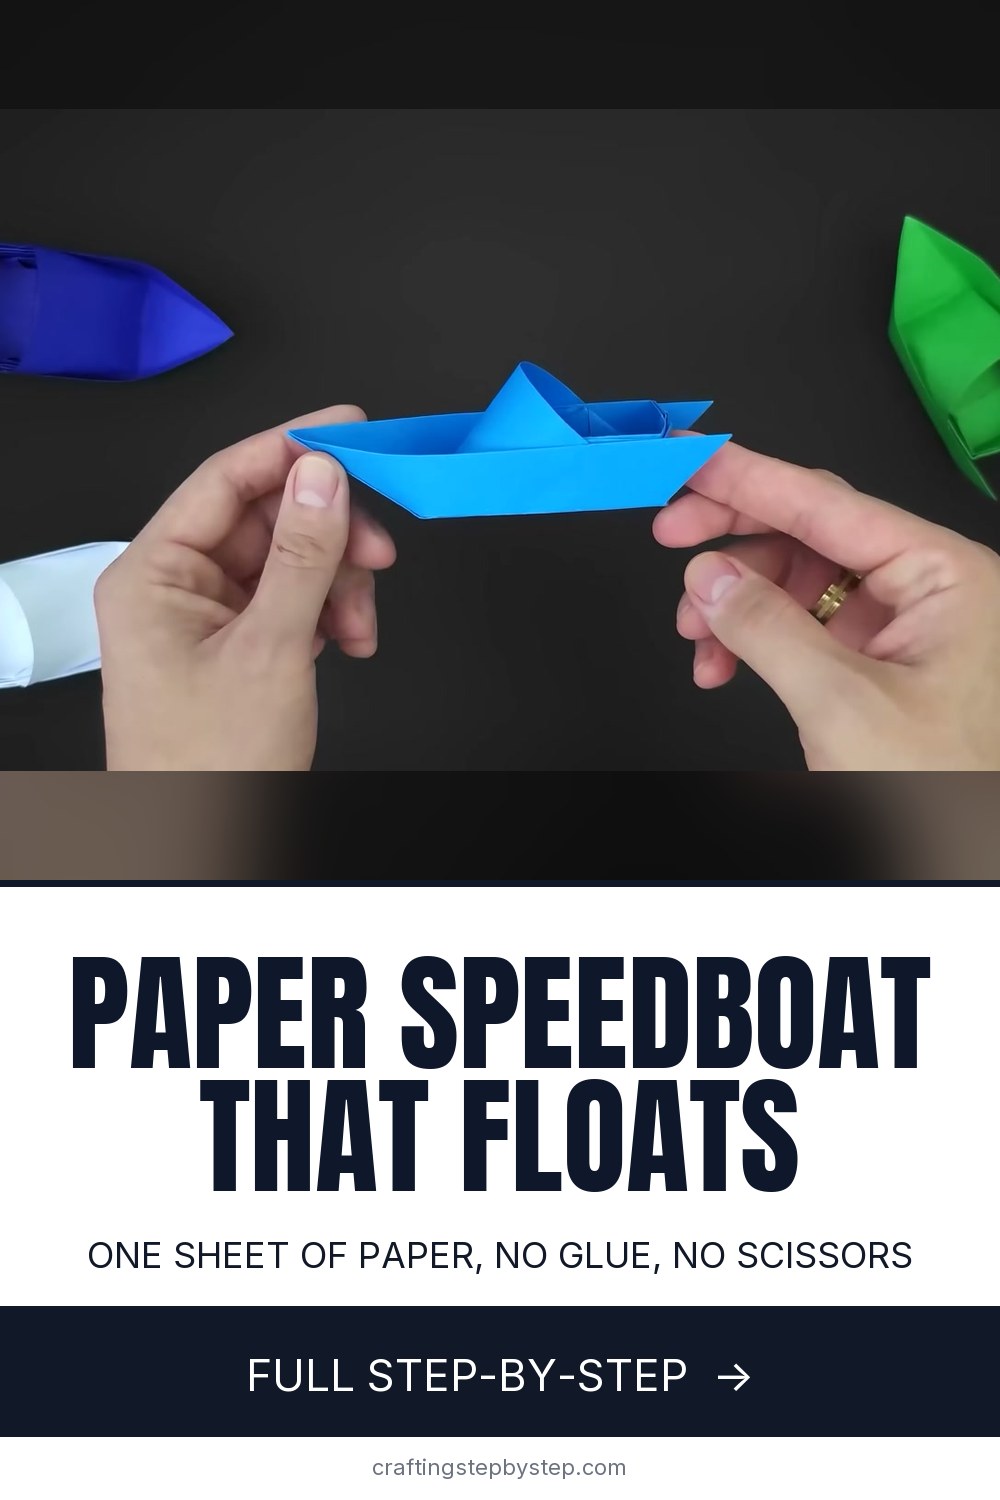
This paper speedboat has a pointed bow, a square stern and an open cockpit, and it floats. It takes one sheet of A4 paper, with no glue and no scissors. This tutorial follows Easy Origami and Crafts, who reworked an older design of theirs so the folds are easier and the finished boat sits better in water. They call it an intermediate model. If you have folded a few origami pieces before, you will be fine.
How to make a paper speedboat: the short version
- Crease an X at the top of an A4 sheet, plus a center line.
- Collapse the top into a triangle and fold the bottom half up.
- Fold the sides to the center and crease the small diagonals and corners.
- Tuck the top layer behind the middle on each side.
- Tuck the back section behind the inner layer, then open and square the hull.
Paper that works
The folds rely on the A4 ratio, so use A4 or any rectangle with the same shape. US letter paper is a little wider and shorter. It still folds, but you may have to fudge the corner folds. Ordinary copy paper is ideal. It is stiff enough to hold the hull shape. Colored copy paper looks smart and lets kids pick a boat each. Thin origami paper is too floppy at this size, and card stock is too thick to collapse cleanly.
Bigger or smaller boats
A3 paper makes a boat twice the size. It is easier for small hands to shape and floats longer. A5 makes a mini boat for a table display or a party place card. Keep the same proportions and every fold works the same way.
Tips for the tricky folds
Two moves trip people up. The first is the guide fold on the corners. The creator says the fold has to line up exactly with the layer underneath. If your paper is a slightly different size, follow the layer edge rather than a measurement. The second is the tuck behind the middle. Watch it once on the video before you try it, as the creator suggests. Crease each fold firmly with a fingernail or a bone folder, because sharp creases make the later collapses go where they should.
Will it float?
Yes, for a while. A boat folded from copy paper floats in a bath, a sink or a puddle for several minutes before it soaks through. To make it last longer, rub a white candle or a crayon over the outside of the hull before you launch it. The wax keeps water out. Make two and race them by blowing across the water, or float a small toy passenger in the cockpit.
Common problems
- The collapse will not lie flat. Go back and sharpen the X and center creases.
- Corners do not meet. Your paper is not A4 ratio. Align with the layer edge, not the crease.
- The hull springs open. Tuck the last flaps fully between the inner layers.
- It tips over in water. Square the bottom so it sits flat.
More paper folds to try
For an easier boat, start with the classic paper boat. Then try a paper airplane, a jumping origami frog or an origami box.