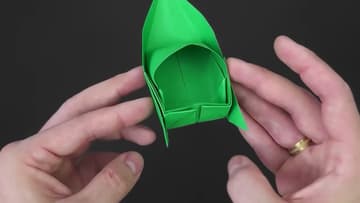
How to Make a Paper Speedboat That Floats
Source: Easy Origami and Crafts • Full tutorial: www.craftingstepbystep.com/paper-crafts/how-to-make-a-paper-speedboat
- Difficulty
- Medium
- Hands-on time
- About 20 minutes
- Makes
- 1 paper speedboat

Tools
- bone folder (optional)
Materials
- 1 sheet of A4 paper (or any sheet with the same proportions)
- white candle or crayon (optional, to waterproof)
Steps
1. Fold the Paper Diagonally to Start the Speedboat X Crease
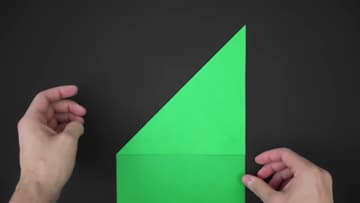
Turn an A4 sheet so it stands tall in front of you. To fold an X at the top, bring the top edge across to the left side, crease it and unfold.
Tip: Line the top edge exactly with the side edge before you crease.
2. Fold the Paper in Half to Crease the Speedboat Center Line
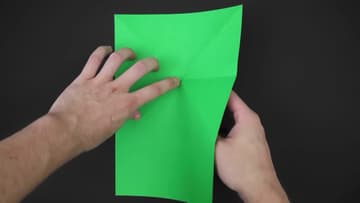
Turn the paper over. Fold the X in half horizontally so the crease runs through its center, then unfold.
Tip: Run a fingernail along each crease. Sharp creases make the next fold much easier.
3. Collapse the Top of the Paper Into a Triangle
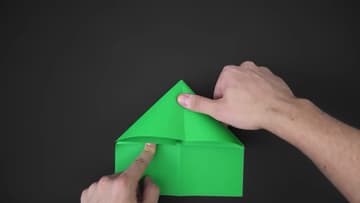
Press the center of the X so it pops down. Bring the two sides in toward the middle along the creases you made.
Tip: If the paper fights you, go back and re-crease the X in both directions.
4. Fold the Lower Paper Rectangle in Half Under the Triangle
Below the triangle there is still a rectangle of paper. Fold it in half by bringing the bottom edge up to the base of the triangle.
Tip: Keep the bottom edge square with the triangle so the boat comes out straight.
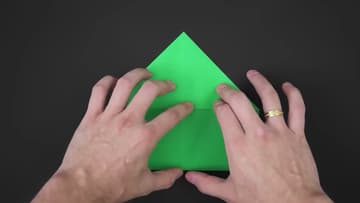
5. Fold the Sides of the Speedboat Base to the Center
On this side you need two diagonal creases. Bring the right side in to the center line and make a firm crease.
Tip: Match both sides to the center line exactly so the boat is symmetrical.
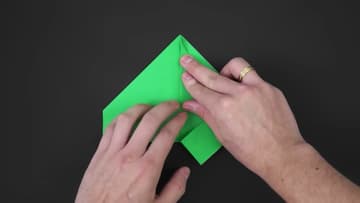
6. Crease Small Diagonals on the Speedboat Bottom Flaps
Fold the paper along the two small diagonal lines at the bottom. Fold the right flap, crease and unfold.
Tip: Pre-creasing now saves a lot of fiddling when you shape the hull.
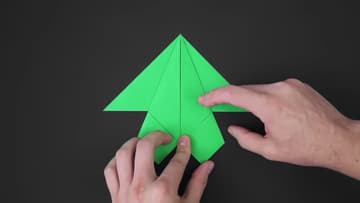
7. Fold the Speedboat Corners on the Guide Marks
Fold the two remaining corners to make a guideline. Line each fold up with the layer underneath, not with a measurement.
Tip: Take this step slowly. Accurate corners make the final hull square.

8. Tuck the Top Layer Behind to Form the Speedboat Bow
A triangle now sits in the middle. Fold it in half by bringing the top corner down to the edge, creasing only the middle layers.
Tip: Watch this part of the video once before you try it. It makes sense once you see it.
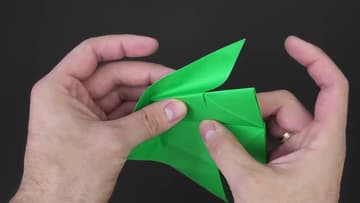
9. Bring the Back Section Behind the Inner Layer
Fold the remaining paper at the bottom, aligning with the layers below and using the two corners as a reference. Unfold.
Tip: Hold the inner layer firmly so it does not spring open while you tuck.
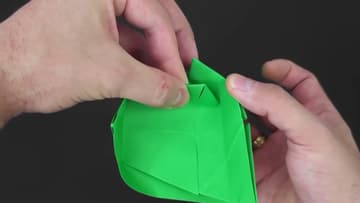
10. Open and Square Up the Paper Speedboat Hull
Adjust the front of the boat first. Then open the middle layer to form the cockpit.
Tip: Pinch the bottom edges sharply. A flat base keeps the boat upright in water.