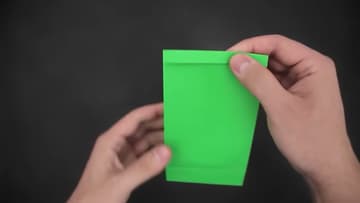
How to Make a Paper Bag
Source: Easy Origami and Crafts • Full tutorial: www.craftingstepbystep.com/paper-crafts/how-to-make-a-paper-bag
- Difficulty
- Easy
- Hands-on time
- About 20 minutes
- Cost
- About $2 to $5
- Makes
- 1 paper bag

Tools
- bone folder or the back of a spoon
Materials
- 1 sheet of A4 or US letter paper
- glue stick or tape runner
Steps
1. Pick Your Paper and Glue
Almost any square or rectangle works, but a standard A4 or letter sheet keeps the proportions easy. You also need glue.
Tip: A tape runner or glue stick beats liquid glue here. Wet glue soaks into the paper and wrinkles the flat panels where it shows most.
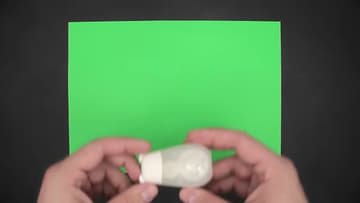
2. Glue the Sheet into a Tube
Run glue down one side edge of the sheet - the right side works fine. Hold the paper upright and bring the opposite side over on top of the glued strip.
Tip: Overlap the glued edge by about a centimeter. Any less and the seam pops open while you are shaping the base.
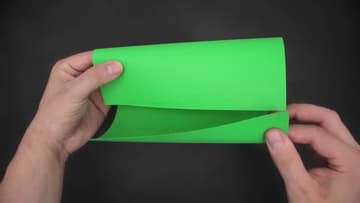
3. Center the Seam and Flatten the Tube
Position the tube so the glued seam sits in the middle of one face rather than at a corner. Push the sides in and flatten it back down into a rectangle.
Tip: If the seam drifts off center, unfold and flatten again. It takes five seconds now and means starting over once the base is glued.
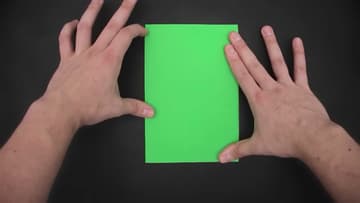
4. Crease the Base Folds
Fold the bottom edge upward, roughly a third of the way. Then fold the two bottom corners down at an angle.
Tip: The one-third mark does not need to be exact, but the two corner folds do need to match each other. They set the depth of the base.
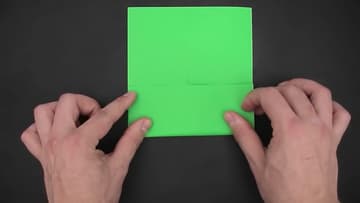
5. Collapse the Bottom into a Diamond
Unfold both corner folds, then open the bottom out. Push the sides in and flatten the two corners against the creases you just made.
Tip: This is the step that decides whether the bag stands up. Press the diamond completely flat and check both corners are symmetrical before moving on.
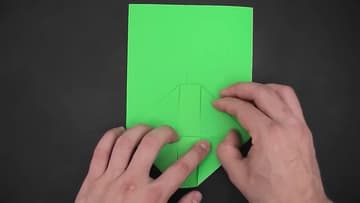
6. Fold the Diamond Points Past Center
Working on that diamond, bring the top point down past the middle a little. Then fold the bottom point up the same way, mirroring what you did on top.
Tip: The two points should overlap the middle by about the same amount. If one goes further than the other the base sits on a slant.
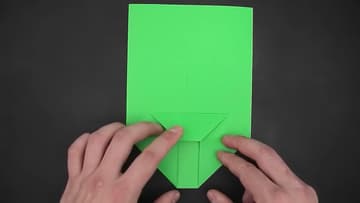
7. Glue the Base Flaps Shut
Put glue on the two triangles at the top and bring the top flap back down onto them. Then add glue to the four remaining spaces and fold the other flap over.
Tip: Hold the base together for a slow count of ten. Letting go early is the most common reason a bag comes apart at the bottom.
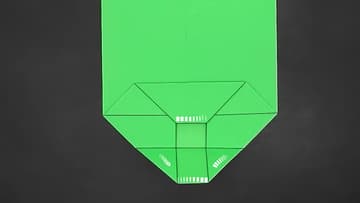
8. Fold the Side Gussets
Look at the two small squares at the bottom - their corners tell you exactly where the side folds go. Fold the left side in using those corners as a guide, then the right side the same way.
Tip: Fold both sides in by the same amount. Uneven gussets are what make a finished bag lean once it is standing.
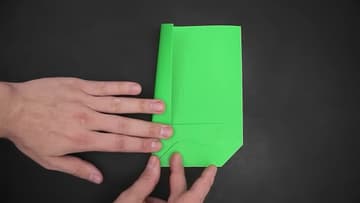
9. Open the Bag and Square the Corners
Unfold the paper and put your hand inside to pop the bag open. Push each side out and press the corners so everything sits straight, like a proper rectangle.
Tip: Run a finger down each vertical crease from the inside once the bag is open. That is what gives the sides their sharp corners.
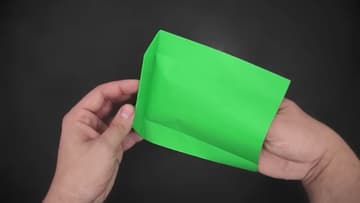
10. Fold the Top Over to Close
You can stop here and leave the bag open. To close it, fold the top edge over and press the lid down.
Tip: Two holes punched through the folded lid and a length of ribbon make the quickest closure. A sticker over the fold works too.