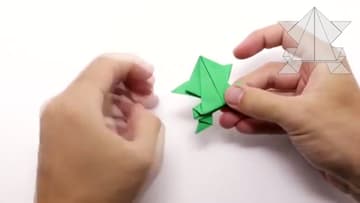
How to Fold an Origami Jumping Frog
Source: Origami with Jo Nakashima • Full tutorial: www.craftingstepbystep.com/paper-crafts/how-to-fold-an-origami-frog
- Difficulty
- Easy
- Hands-on time
- About 15 minutes
- Cost
- About $2 to $4
- Makes
- 1 origami jumping frog

Tools
- bone folder
Materials
- square origami paper (6-inch)
- green origami paper
Steps
1. Crease the Paper in Half
Start with your square sheet, color side down. Fold it in half to make one straight crease down the middle, then open it back up.
Tip: Run your thumbnail or a bone folder along the crease to set it sharp. Loose creases are the number one reason a frog comes out sloppy.
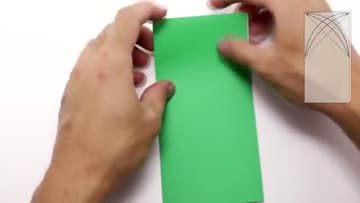
2. Add the Diagonal Creases
Now fold the corners across to make diagonal creases, then unfold each one. You want an X of creases meeting the straight line you already made.
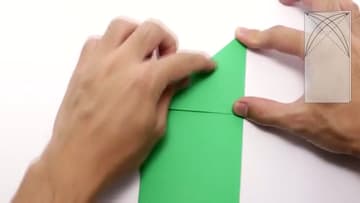
3. Collapse Into a Waterbomb Base
Here is where it turns 3D. Push the two side creases inward and let the top edge drop down.
Tip: If it fights you, the diagonal creases might be facing the wrong way. Reverse the fold direction and it should pop into shape.
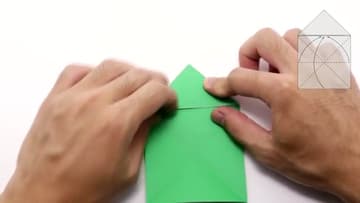
4. Fold Up the Front Legs
Look at the top triangle. Take the loose flaps and valley-fold them up toward the point, one on each side.
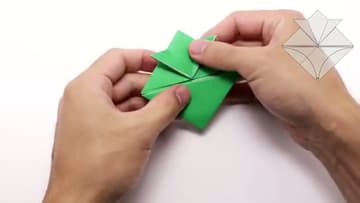
5. Form the Back Legs
Fold the side corners in toward the center, then lift the lower flaps out to make the back legs. Now the model has four points sticking out, two up top and two below.
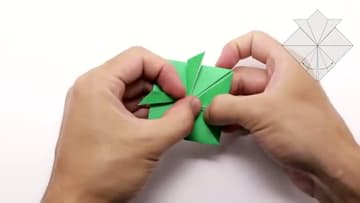
6. Turn Over and Shape the Body
Flip the whole thing over. Valley-fold the bottom corner up, then fold the left and right sides in toward the middle.
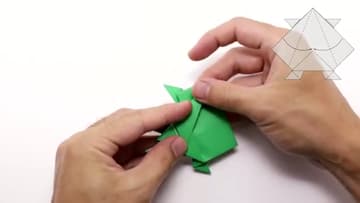
7. Add the Jumping Spring
This fold is what makes it jump. Make a mountain-fold across the lower back, then a valley-fold just below it.
Tip: Keep the two folds close together and parallel. A tight, even pleat jumps way better than a loose one.
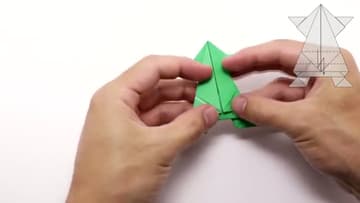
8. Make It Jump
Your frog is done. To launch it, set it on a flat surface, press down firmly on the back near the pleat, then slide your finger off the edge and let go.