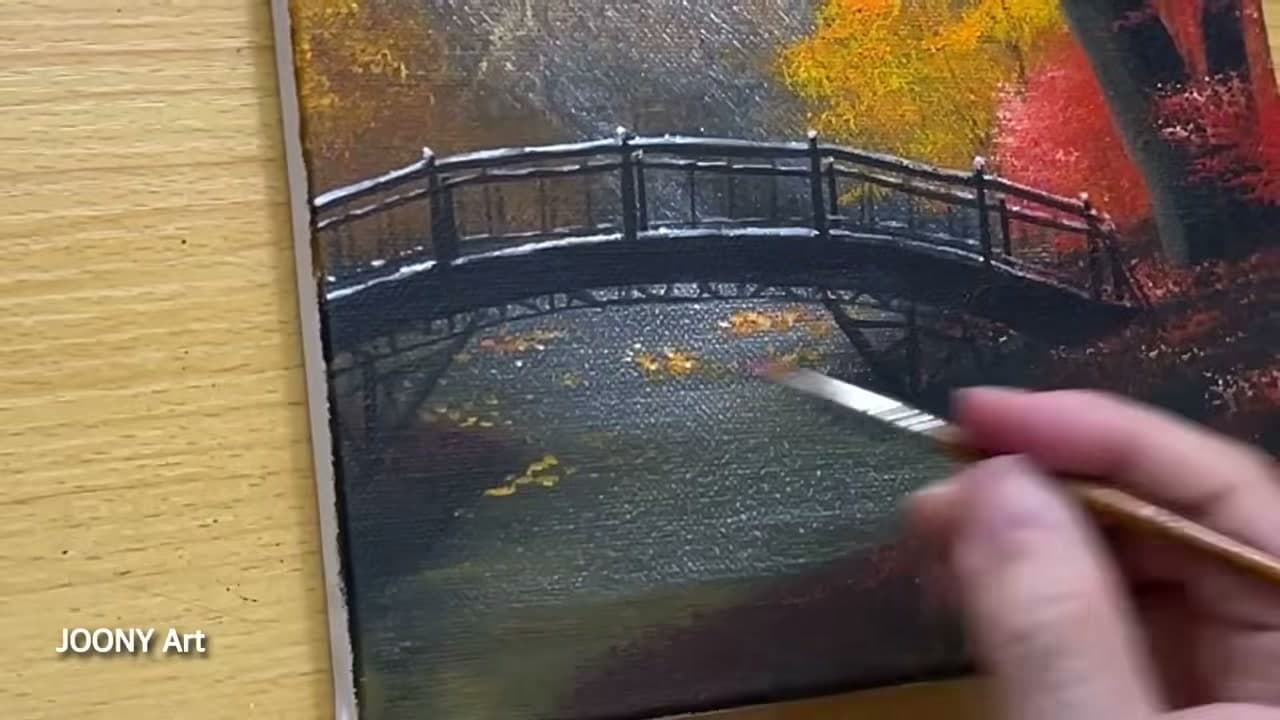
How to Paint Fall Trees - Easy Autumn Forest in Acrylics

PaintingEasy10:018 stepsBrowse more →

By CraftingStepByStepPublished

Based on a video by Joony art.

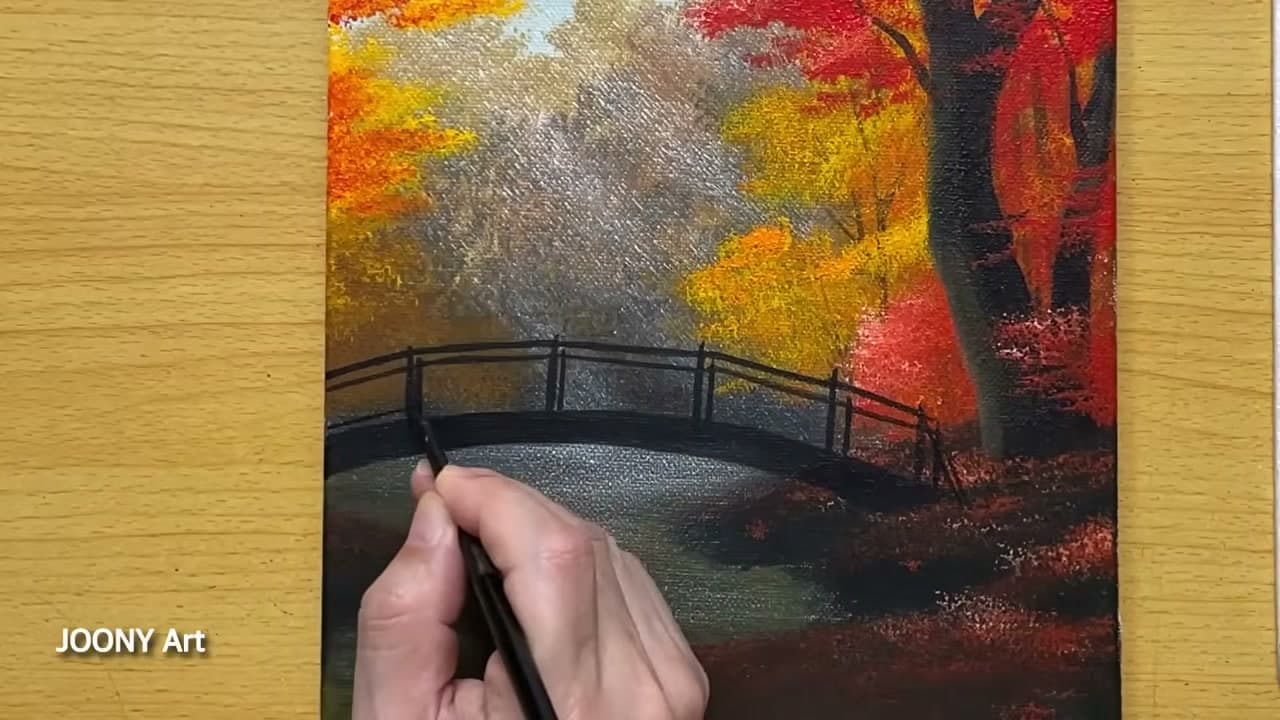
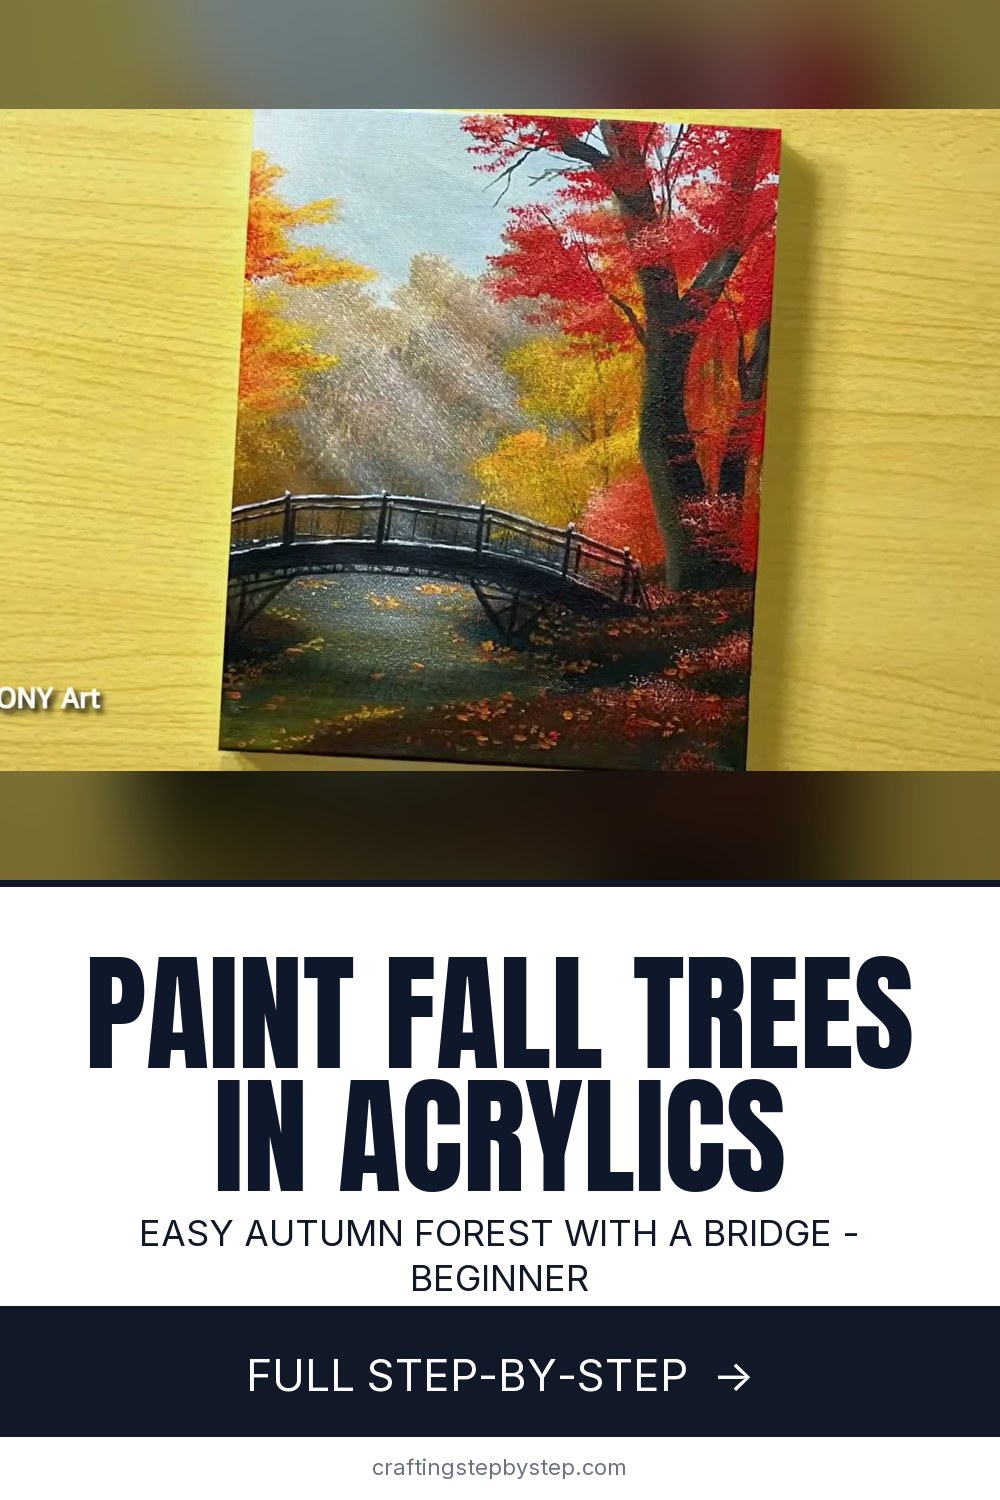
An autumn forest with a little arched bridge over still water looks like it should be hard, but Joony art breaks it into a few easy layers you can follow along with. This is a beginner acrylic painting, and the whole thing works because you build it back to front: a hazy sky, distant trees, dark water, then the fiery reds and oranges of fall on top. By the end you have a moody park scene glowing with warm color.

The palette is small on purpose. Seven acrylics do all the work here - white, black, cerulean blue, permanent yellow, vermilion, and a couple of browns mixed from them. If you have never blocked in a scene like this, it helps to be comfortable with the basics first, so skim acrylic painting for beginners before you start. The rest is layering and patience.

Two moments make or break the painting. The first is the tree line, which is the same soft-dabbing idea you would use in how to paint a forest. The second is that big foreground tree - getting the tapered trunk and branches right is worth practicing on its own, and how to paint a tree walks through it. If bare pale trunks are more your thing, how to paint birch trees uses the same brush control in reverse. Credit for this calm little scene goes to Joony art, who paints these step-by-step landscapes on YouTube.

Step-by-Step Guide

8 steps · about 10 minutes.Check off each step as you go and your progress saves automatically.

1

Step 1: Wash In the Autumn Sky

0:36
Step 1: Step 1: Wash In the Autumn Sky

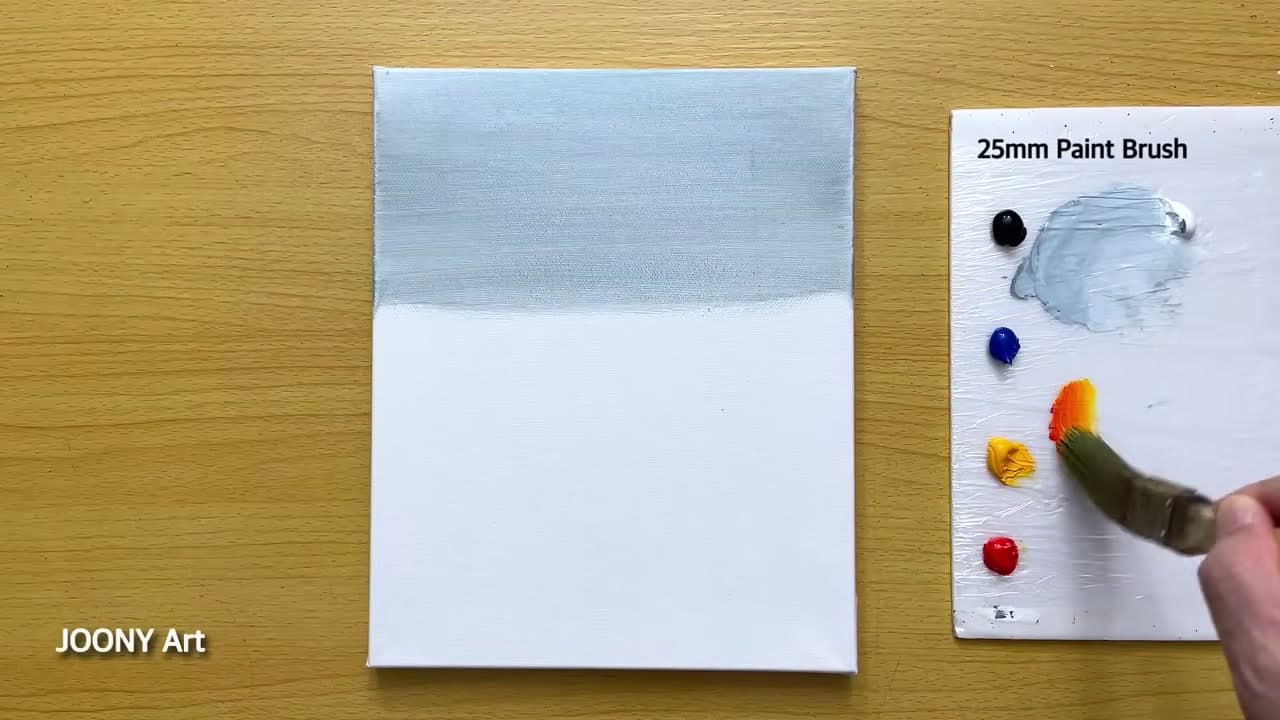
Squeeze out your seven colors along a palette and grab a wide flat brush. Mix white with a small amount of cerulean blue and just a touch of black. You want a soft, hazy grey-blue, not a bright summer sky.

Pull the color across the top third of the canvas in smooth side-to-side strokes. Keep it pale. This muted backdrop is what makes the reds and oranges glow once they go on later.

Tip

Watch this step A pale sky reads as an overcast fall day and lets the leaf colors do the talking. Fight the urge to go too blue.
2

Step 2: Dab In the Distant Tree Line

1:18
Step 2: Step 2: Dab In the Distant Tree Line

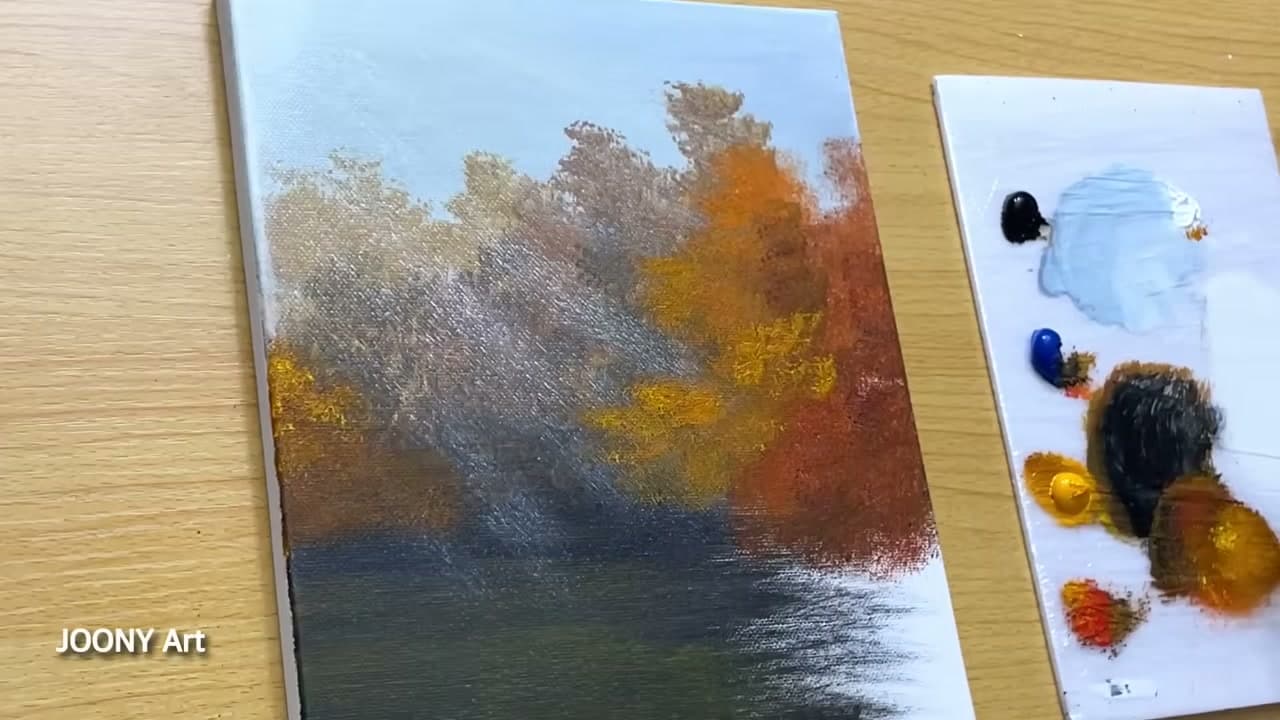
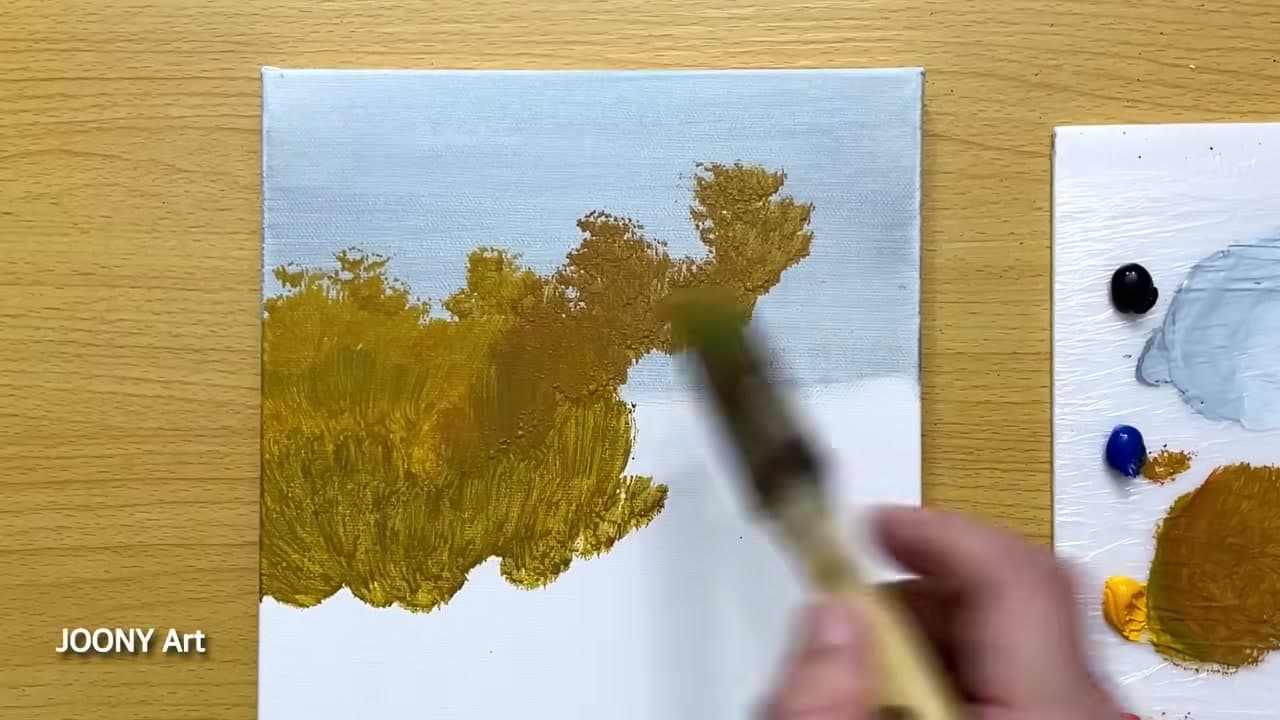
Mix permanent yellow with a little black to knock it down into a muted olive-gold. This is your far-off tree color. Load the tip of a flat brush and tap it along the horizon line.

Use a light bouncing motion instead of solid strokes. Those broken edges read as clumps of distant leaves. Build the mass up a little from where the water will sit, keeping the tops soft and irregular.

Tip

Watch this step Tap, do not drag. A stippling touch keeps the far trees hazy so they sit behind the brighter mid-ground.

3

Step 3: Lay In the Still Water

2:30
Step 3: Step 3: Lay In the Still Water

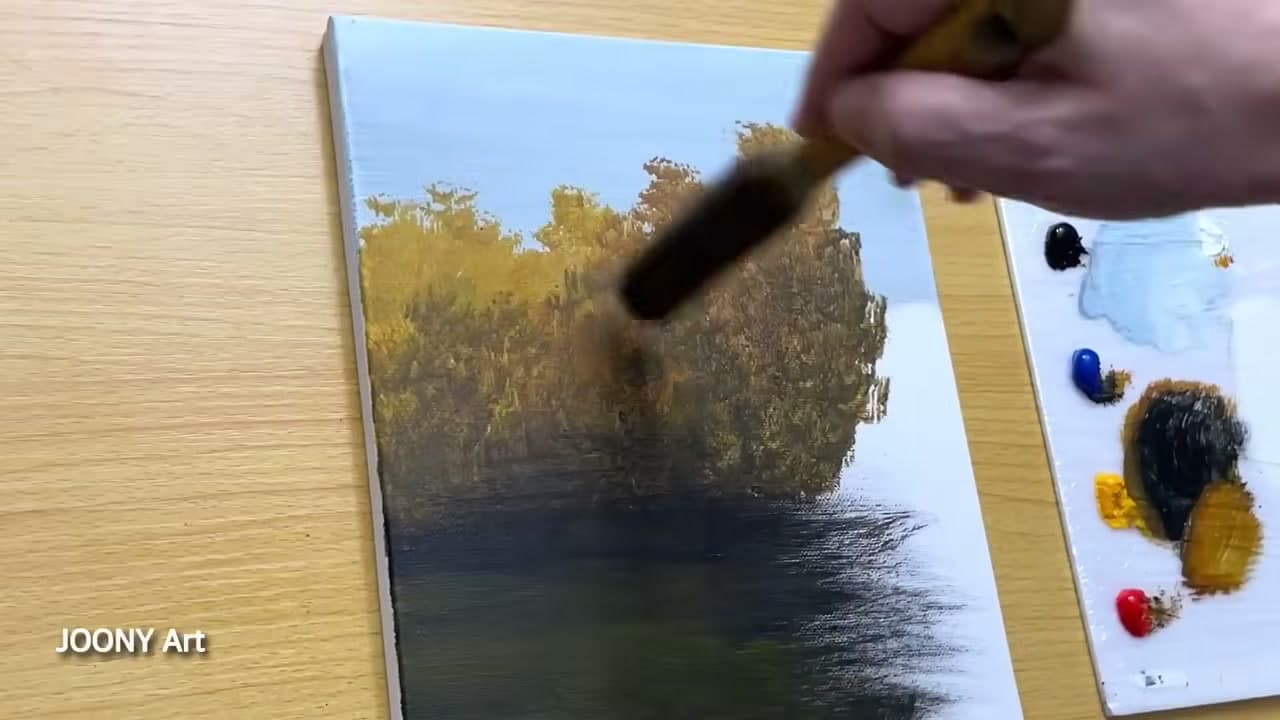
Now the pond. Mix black with a touch of blue for a deep, cool dark and load a flat brush. Drag it flat across the lower half of the canvas, pulling straight down from the base of the tree line so the trees look like they meet their own reflection.

Keep every stroke horizontal. That is what tells the eye it is looking at still water. Leave the very bottom edge a shade lighter for the reflected sky.

Tip

Watch this step Horizontal strokes only on the water. Any vertical drag here and the pond stops looking flat.

4

Step 4: Build the Warm Autumn Foliage

3:40
Step 4: Step 4: Build the Warm Autumn Foliage

Here is where it turns to fall. Mix vermilion with permanent yellow for a glowing orange. Dab it into the mid-ground trees right over the gold you laid down, letting some of the under-color peek through.

Vary your pressure. Some clumps should stay bright and forward, others should sink back into shadow. Scatter a few brighter hits where the light would catch the canopy.

Tip

Watch this step Layer orange over the gold rather than replacing it. The two colors together give the canopy real depth.

5

Step 5: Paint the Foreground Tree Trunk

6:40
Step 5: Step 5: Paint the Foreground Tree Trunk

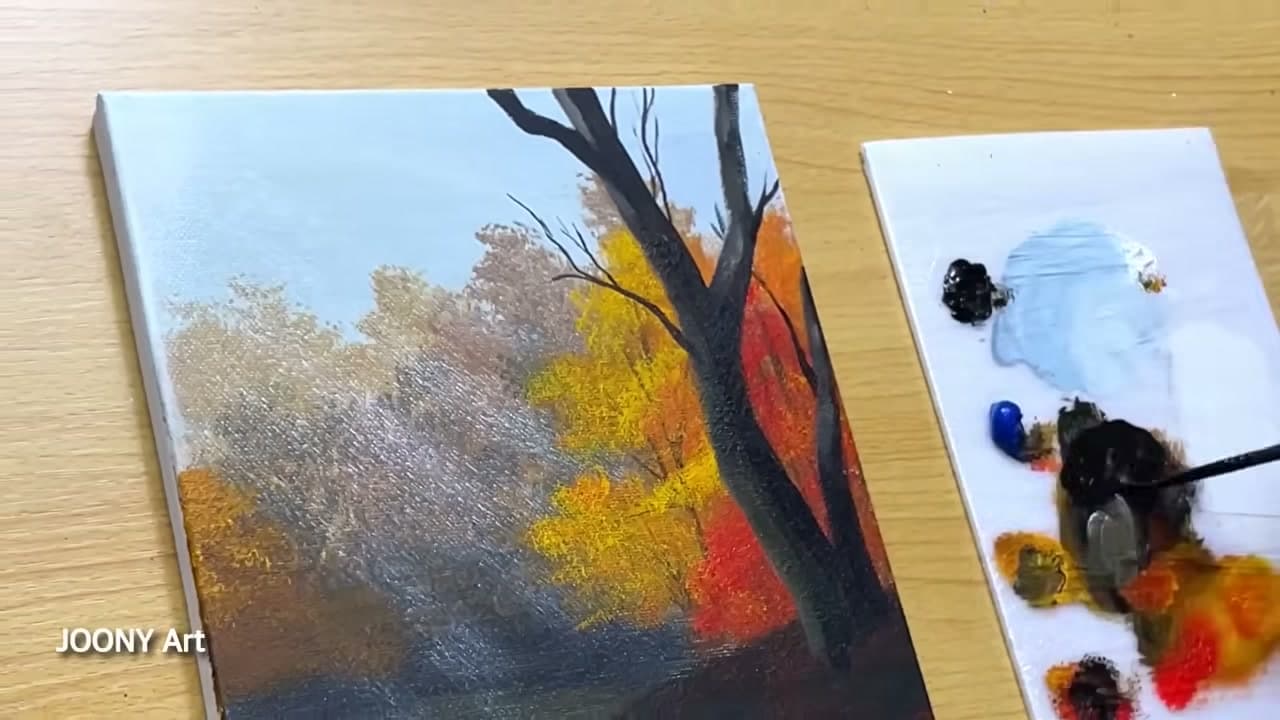
Time for the big tree that anchors the whole scene. Load a round brush with a dark brown-black and pull the trunk up from the water line on the right side. Let it lean and taper as it rises.

Split the top into a few bare branches, thinning your stroke as each branch reaches toward the edges. Keep the trunk slightly off-center. A trunk planted dead in the middle always looks stiff.

Tip

Watch this step Lift the brush as you pull each branch so it tapers to a fine point. Fat, even branches look fake.

6

Step 6: Clothe the Tree in Red

7:10
Step 6: Step 6: Clothe the Tree in Red

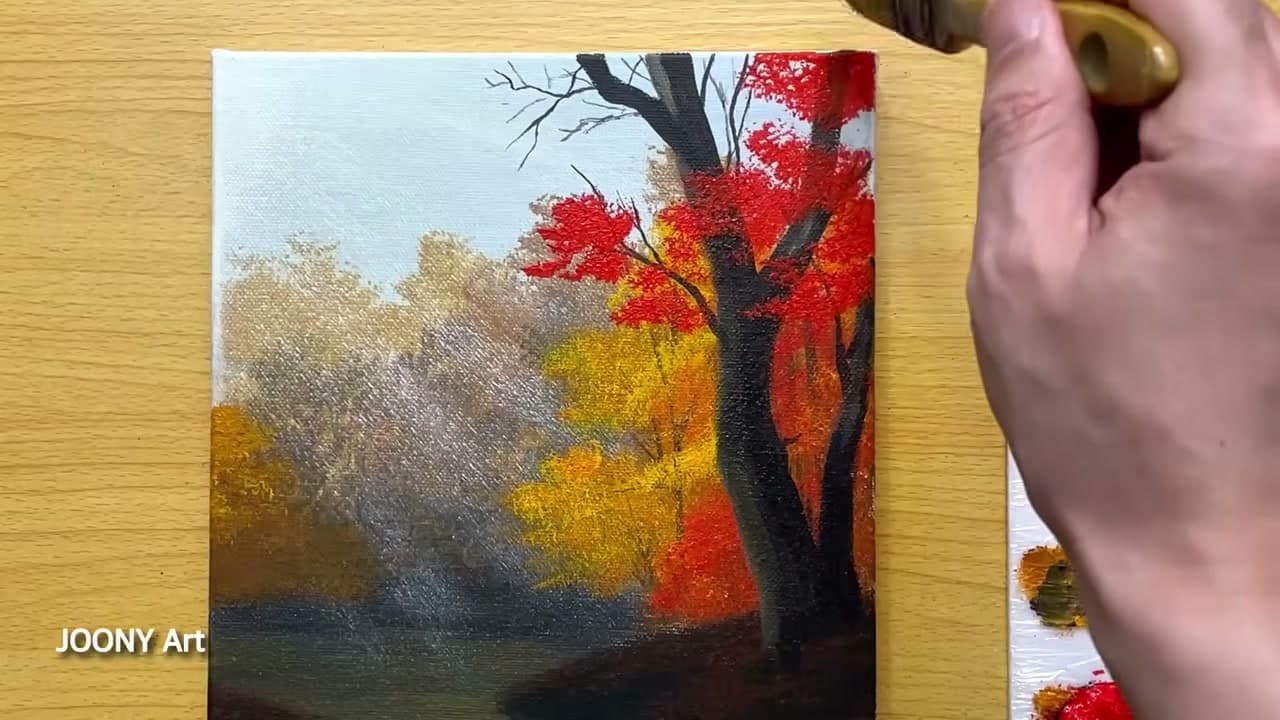
Give the foreground tree its fiery red. Mix vermilion with a touch of white for a bright maple red and stipple it in tight clusters around the branches. Let the dark trunk and a little sky show through the gaps so the canopy breathes.

Carry a few red dabs down onto the low right bank too. That pulls the color to the ground and keeps the bottom corner from feeling empty.

Tip

Watch this step Cluster the red, do not smear it. Little grouped dabs read as leaves; a solid patch reads as a blob.

7

Step 7: Draw the Arched Bridge

8:20
Step 7: Step 7: Draw the Arched Bridge

The bridge ties the two banks together. Switch to a fine round brush and sketch a gentle arch across the water. Then add the two end posts, the deck line under the arch, and a row of short vertical railing pickets.

Keep it dark and simple. You are suggesting a wooden footbridge, not drafting it. Rest your wrist on the table so each line stays steady and clean.

Tip

Watch this step Paint the arch first, then hang the railings off it. Getting the curve right before the details keeps the bridge from looking crooked.

8

Step 8: Add Highlights and Fallen Leaves

9:20
Step 8: Step 8: Add Highlights and Fallen Leaves

The finishing touches sell it. Flick tiny dots of orange and yellow onto the water and the near bank for scattered fallen leaves. Then drag a nearly dry brush of pale grey straight down through the trees to suggest soft shafts of light.

Add a few white touches along the bridge rail and the water edge to catch the light. Step back, and your quiet autumn scene is done.

Tip

Watch this step Use a dry brush with barely any paint for the light rays. Too much and you lose the misty, glowing effect.

Products Used

☐ The Checklist

How to Paint Fall Trees - Easy Autumn Forest in Acrylics

Tools
6
Materials
7
Steps
8
Video
10 min

Tools we recommend

Your Guide

Joony art

As an Amazon Associate we earn from qualifying purchases. Links on this page may be affiliate links - clicking them and buying doesn't change your price, but helps support ShowMeStepByStep.

Tags

Sunday How-To

New painting tutorials, every Sunday

One short email with the week's best step-by-step guides. Free, no spam, unsubscribe anytime.

Did this work for you?

What's next

Related collections

Curated theme pages that include this tutorial.

Weekly Digest

Liked this painting tutorial?

Pick the categories you want to hear about. Weekly digest of new step-by-step tutorials. No spam, easy unsubscribe.

Send me tutorials about

We only email about new tutorials. Easy unsubscribe anytime.