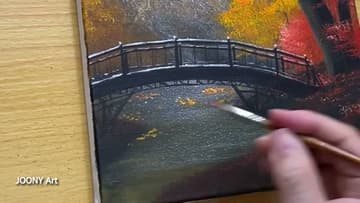
How to Paint Fall Trees - Easy Autumn Forest in Acrylics
Source: Joony art • Full tutorial: www.craftingstepbystep.com/painting/how-to-paint-fall-trees
- Difficulty
- Easy
- Hands-on time
- About 1 hour
- Cost
- About $12 to $20
- Makes
- 1 fall trees painting

Tools
- flat acrylic brush (25mm)
- round acrylic brush
- liner detail brush
- paint palette
- stretched canvas
- water cup
Materials
- acrylic paint - white
- acrylic paint - black
- acrylic paint - cerulean blue
- acrylic paint - permanent yellow
- acrylic paint - vermilion
- acrylic paint - brown
- paper towel
Steps
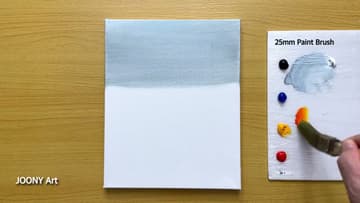
1. Wash In the Autumn Sky
Squeeze out your seven colors along a palette and grab a wide flat brush. Mix white with a small amount of cerulean blue and just a touch of black.
Tip: Watch this step A pale sky reads as an overcast fall day and lets the leaf colors do the talking. Fight the urge to go too blue.
2. Dab In the Distant Tree Line
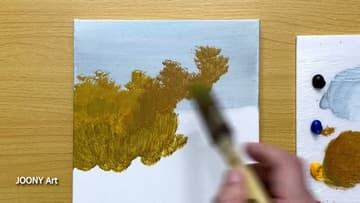
Mix permanent yellow with a little black to knock it down into a muted olive-gold. This is your far-off tree color.
Tip: Watch this step Tap, do not drag. A stippling touch keeps the far trees hazy so they sit behind the brighter mid-ground.
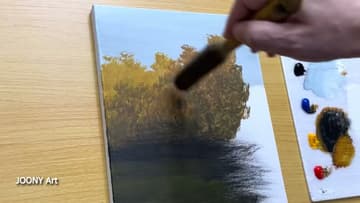
3. Lay In the Still Water
Now the pond. Mix black with a touch of blue for a deep, cool dark and load a flat brush.
Tip: Watch this step Horizontal strokes only on the water. Any vertical drag here and the pond stops looking flat.
4. Build the Warm Autumn Foliage
Here is where it turns to fall. Mix vermilion with permanent yellow for a glowing orange.
Tip: Watch this step Layer orange over the gold rather than replacing it. The two colors together give the canopy real depth.
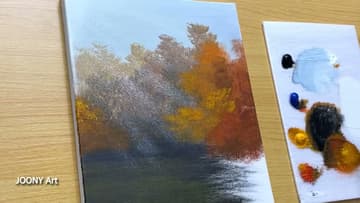
5. Paint the Foreground Tree Trunk
Time for the big tree that anchors the whole scene. Load a round brush with a dark brown-black and pull the trunk up from the water line on the right side.
Tip: Watch this step Lift the brush as you pull each branch so it tapers to a fine point. Fat, even branches look fake.
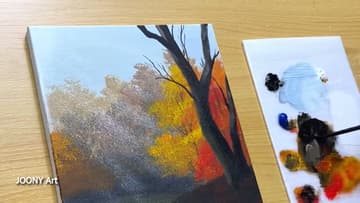
6. Clothe the Tree in Red
Give the foreground tree its fiery red. Mix vermilion with a touch of white for a bright maple red and stipple it in tight clusters around the branches.
Tip: Watch this step Cluster the red, do not smear it. Little grouped dabs read as leaves; a solid patch reads as a blob.
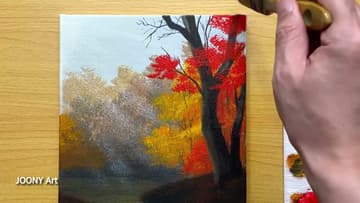
7. Draw the Arched Bridge
The bridge ties the two banks together. Switch to a fine round brush and sketch a gentle arch across the water.
Tip: Watch this step Paint the arch first, then hang the railings off it. Getting the curve right before the details keeps the bridge from looking crooked.
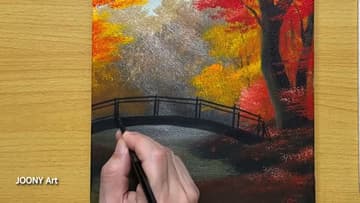
8. Add Highlights and Fallen Leaves
The finishing touches sell it. Flick tiny dots of orange and yellow onto the water and the near bank for scattered fallen leaves.
Tip: Watch this step Use a dry brush with barely any paint for the light rays. Too much and you lose the misty, glowing effect.