How to Paint Birch Trees in Acrylics

PaintingEasy10:018 stepsBrowse more →

By CraftingStepByStepPublished

Based on a video by Jay Lee Painting.

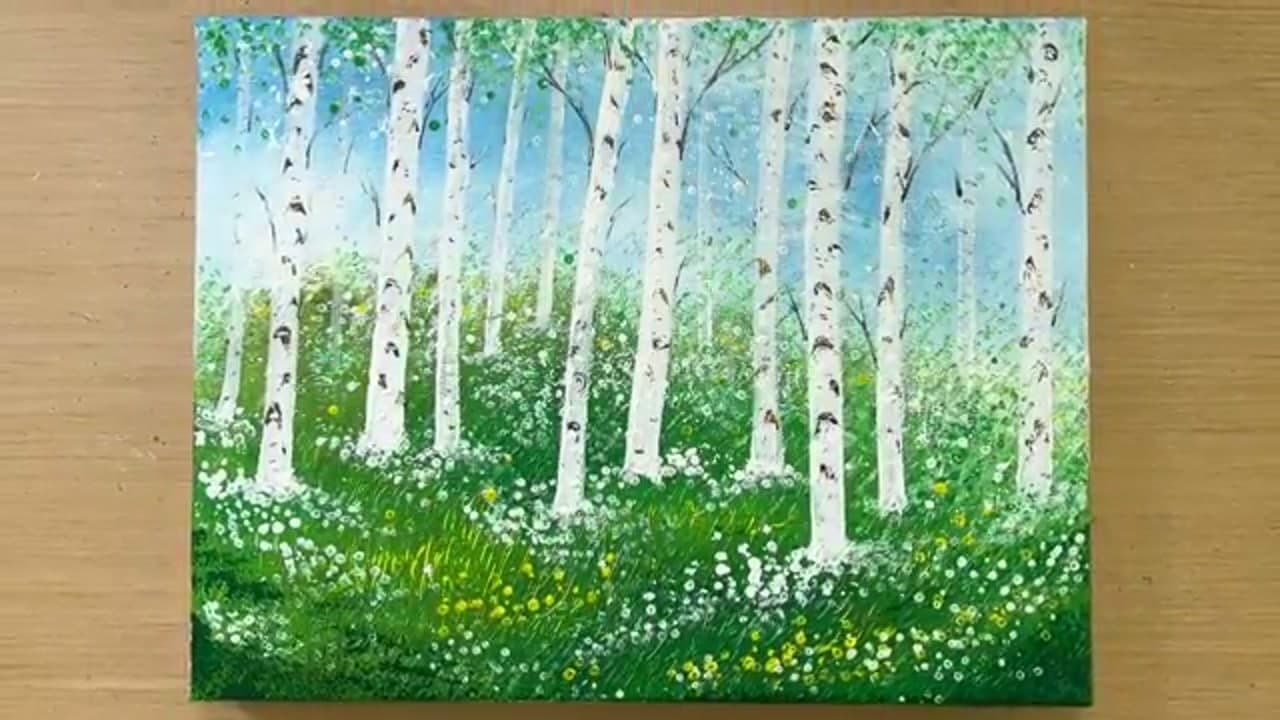
This one looks harder than it is. Artist Jay Lee of Jay Lee Painting builds a whole spring birch forest out of a few household tools and a small set of acrylics. A card spreads the sky, a comb draws the grass, and cotton swabs stamp the dandelions.

You do not need fancy brushes to get a clean result. The white trunks go down as simple vertical strokes, and the black bark marks are what sell the birch look. Take your time on that step and the trees come alive.

Once you are comfortable with trees, try painting a fuller scene next. Our guide on how to paint a forest walks through depth, layering, and color mixing for a deeper woodland.

Step-by-Step Guide

1

Step 1: Spread the Sky

0:15
Step 1: Step 1: Spread the Sky

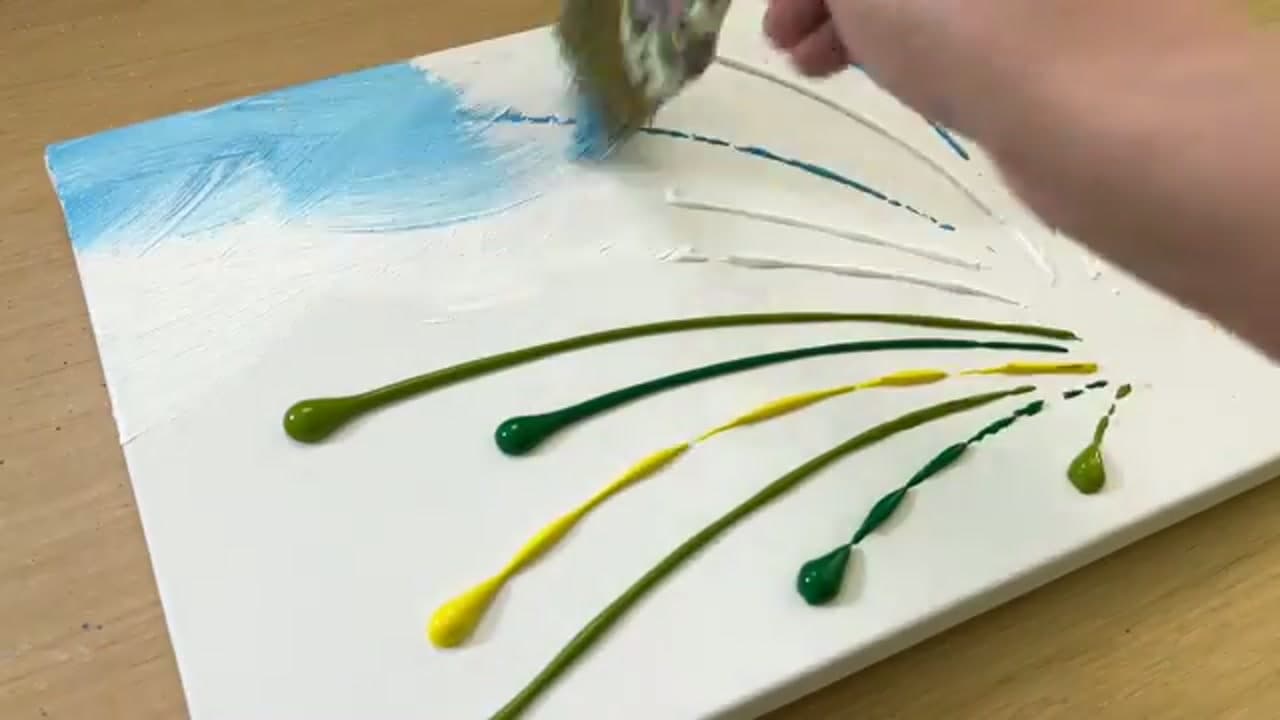
Squeeze dots of blue paint along the top of the canvas. Pull them sideways with a palette knife or the edge of an old plastic card to smear a loose blue wash. Leave a few gaps of white showing through for clouds. Keep the strokes light so the sky stays soft and airy behind the trees you will add later.

Tip

A little blue goes a long way. Start thin, then add more if the sky looks patchy.
2

Step 2: Comb the Grass

1:15
Step 2: Step 2: Comb the Grass

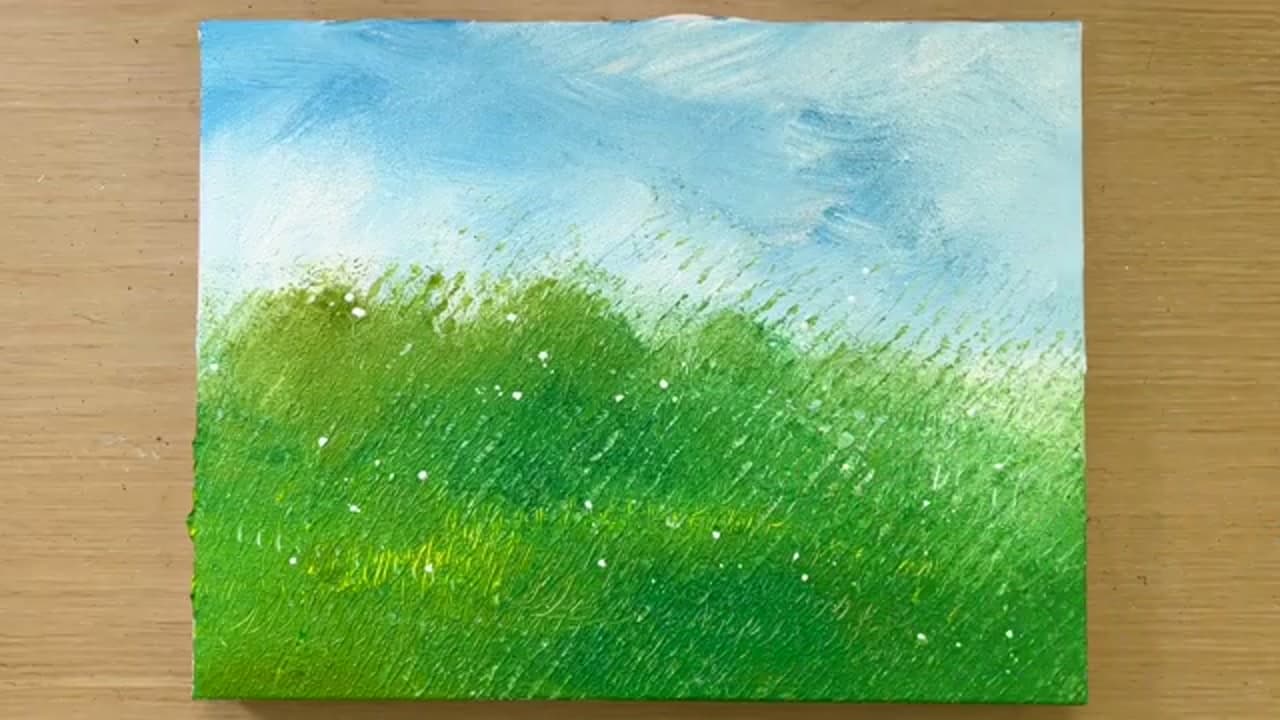
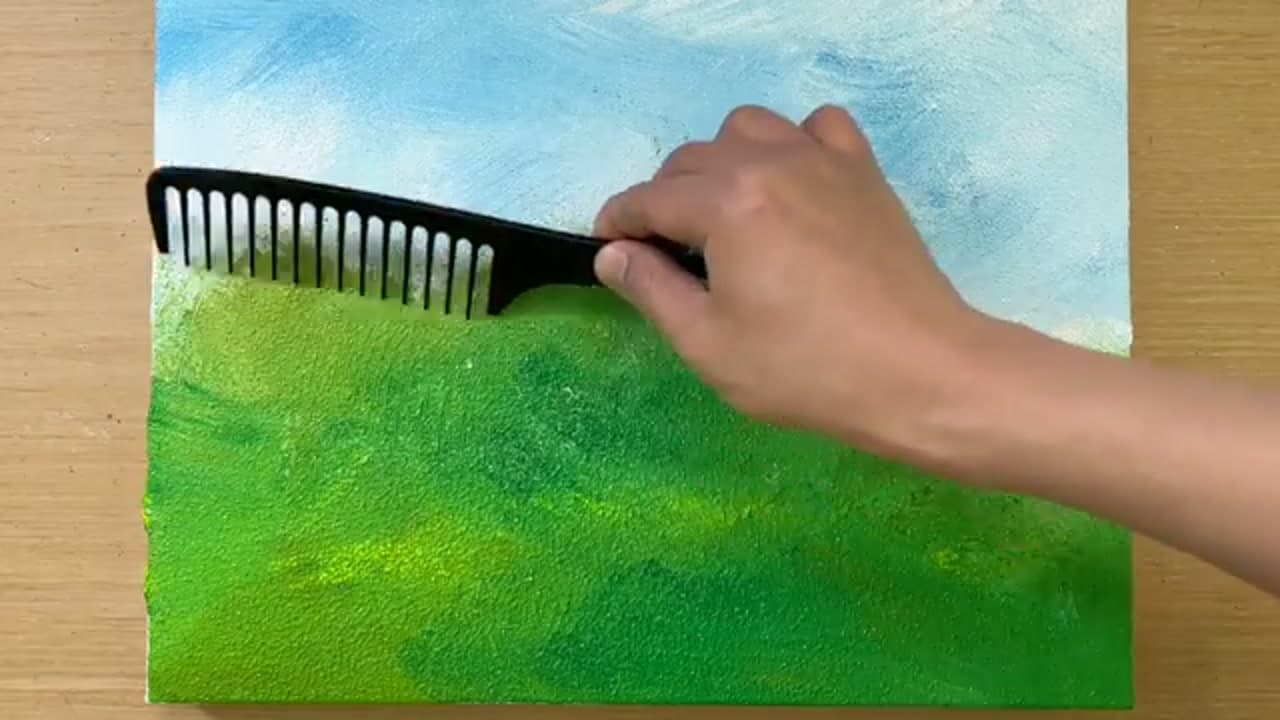
Block in green across the bottom two-thirds of the canvas, then drag a wide-tooth comb straight up through the wet paint. The teeth carve fine vertical lines that read as blades of grass. Work in short sections and reload the green as you go so the texture stays crisp instead of muddy.

Tip

Any cheap plastic hair comb works. Wipe it on a paper towel between passes.

3

Step 3: Soften the Meadow

2:15
Step 3: Step 3: Soften the Meadow

Blend the greens so the field fades lighter and hazier toward the top where it meets the sky. Add a lighter yellow-green low in the foreground to suggest sunlight on the grass. A few tiny flicks of white now hint at the flowers you will build up later. Let this layer settle before moving on.

Tip

Keep the far grass paler than the near grass. That contrast is what creates depth.

4

Step 4: Pull the White Trunks

2:45
Step 4: Step 4: Pull the White Trunks

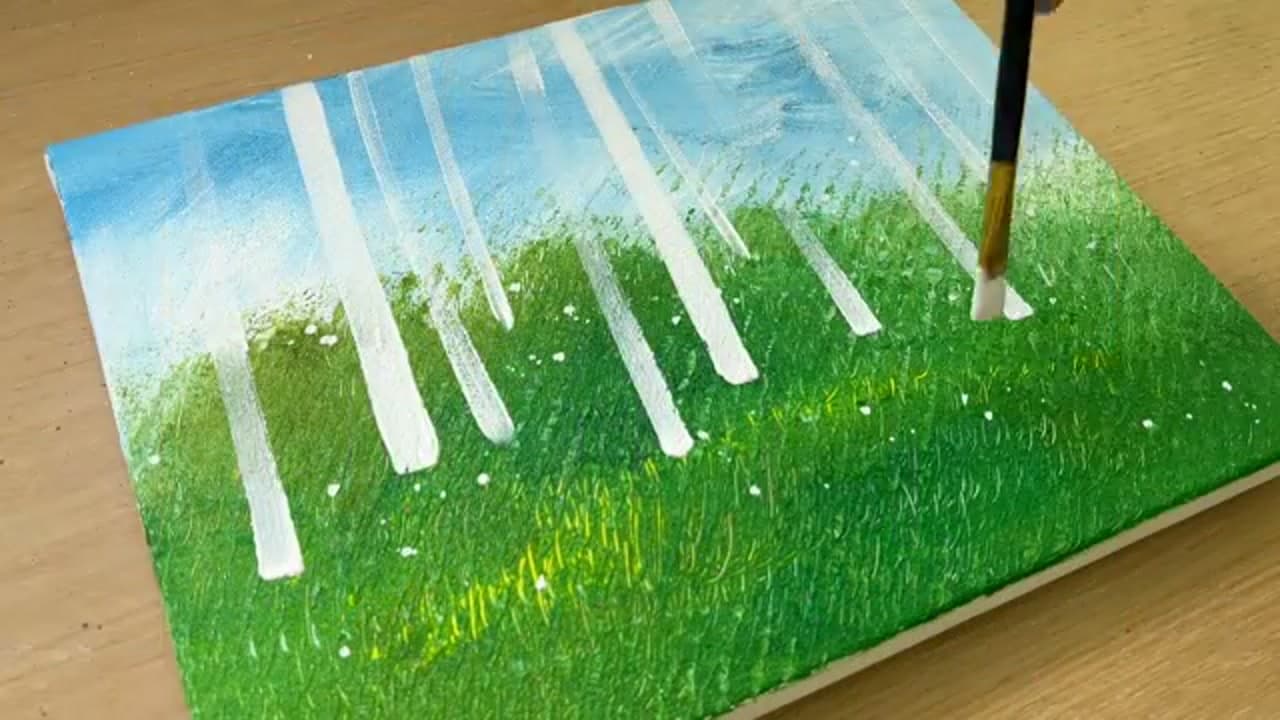
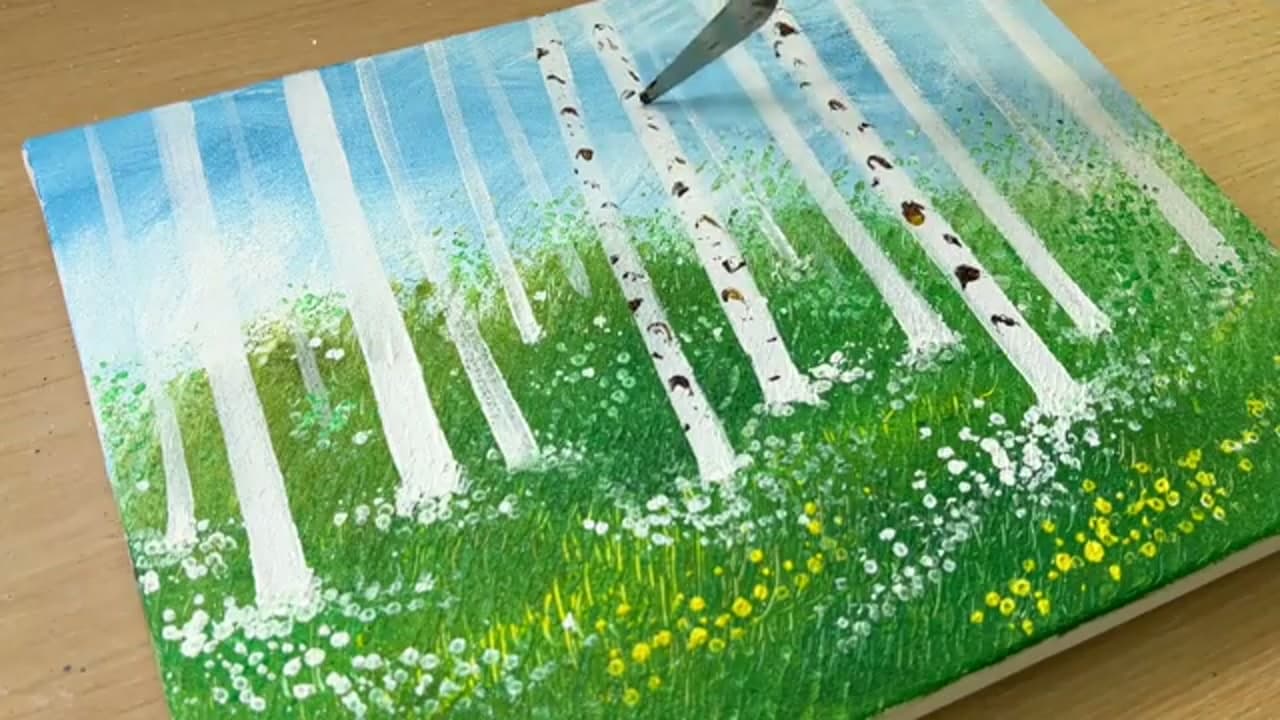
Load a flat brush with white and pull straight strokes down from the sky into the grass. Vary the spacing and the width so the trees do not look identical. Lean one or two trunks slightly for a natural stand. Thinner trunks toward the back push those trees into the distance and make the grove feel real.

Tip

Do not overwork the white. One or two confident strokes per trunk beats scrubbing.

5

Step 5: Stamp the Dandelions

3:45
Step 5: Step 5: Stamp the Dandelions

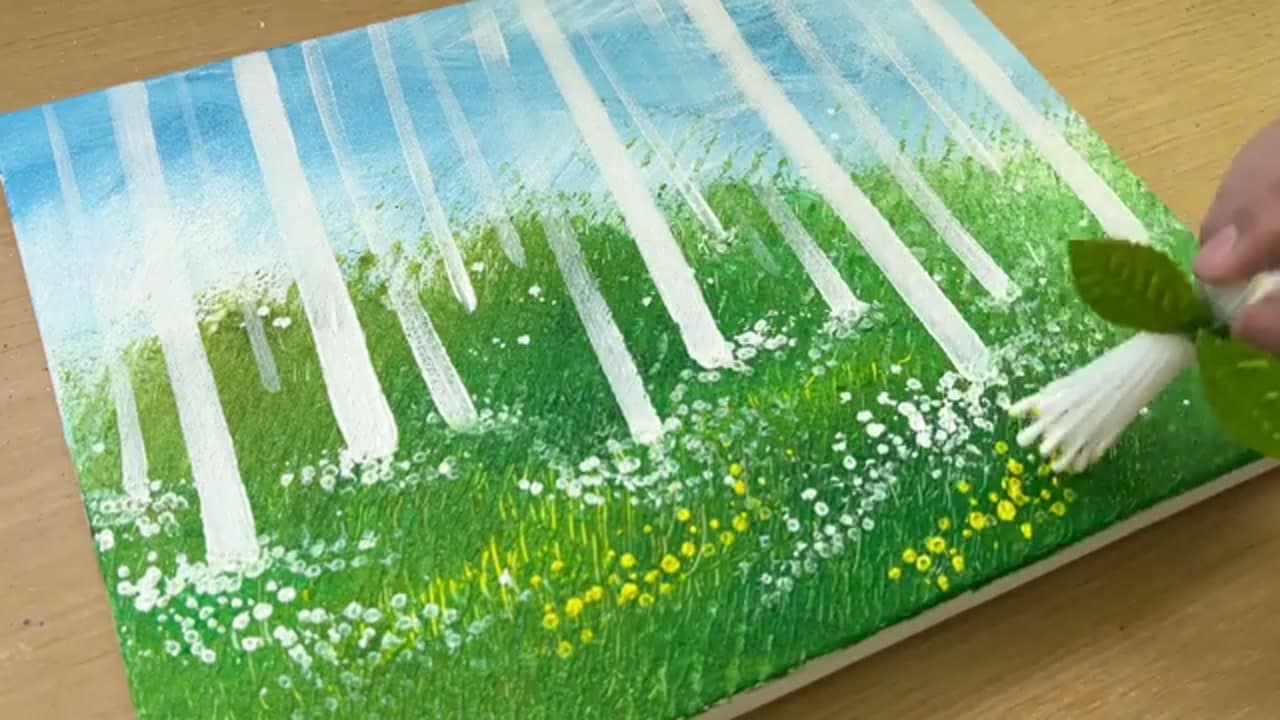
Dab a bunched brush or small sponge in white and tap clusters of tiny flowers low in the grass. Cluster them tighter near the front and scatter them thinner in the back. Drop in a few small yellow dots among the white for open dandelions. This is where the meadow starts to feel alive.

Tip

Less is more up top. Heavy flowers everywhere flattens the sense of distance.

6

Step 6: Add the Black Bark

5:15
Step 6: Step 6: Add the Black Bark

Here is the step that turns white poles into birch trees. Use the edge of a palette knife to press short dark horizontal marks and small knots onto the trunks. Keep them irregular, heavier near the base and lighter up top. A little black goes a long way, so build the marks up gradually rather than all at once.

Tip

Look at a real birch photo. The marks are ragged dashes, not neat stripes.

7

Step 7: Dab the Leaf Canopy

9:00
Step 7: Step 7: Dab the Leaf Canopy

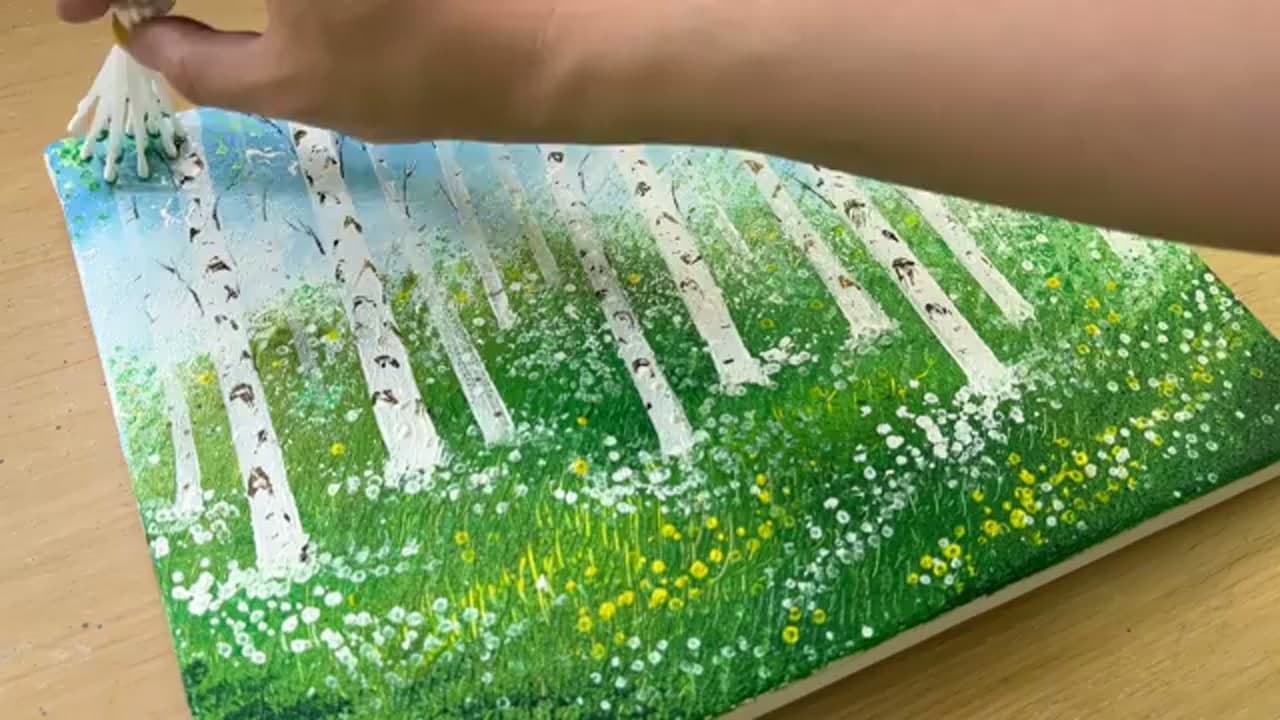
Tap a fan brush loaded with a couple of greens across the tops of the trees to build a light, dappled canopy. Keep it broken and airy so the sky still peeks through. A few darker dabs among the lighter ones give the foliage some depth without turning it into a solid green wall.

Tip

Hold the brush loosely and let it bounce. Pressing hard makes flat blobs.

8

Step 8: Finish With Q-Tip Flowers

9:58
Step 8: Step 8: Finish With Q-Tip Flowers

Press a cotton swab into white paint and stamp round dandelion heads across the meadow, heaviest in the foreground. Add a last handful of yellow centers for pop. Step back and check the balance of trunks, flowers, and open grass. When it feels full but still airy, your spring birch forest is done.

Tip

Use a fresh swab once the tip flattens out. A crisp round tip gives cleaner flowers.

Products Used

☐ The Checklist

How to Paint Birch Trees in Acrylics

Tools
6
Materials
7
Steps
8
Video
10 min

Your Guide

Jay Lee Painting

As an Amazon Associate we earn from qualifying purchases. Links on this page may be affiliate links - clicking them and buying doesn't change your price, but helps support ShowMeStepByStep.

Tags

Sunday How-To

New painting tutorials, every Sunday

One short email with the week's best step-by-step guides. Free, no spam, unsubscribe anytime.

Did this work for you?

What's next

Related collections

Curated theme pages that include this tutorial.

Weekly Digest

Liked this painting tutorial?

Pick the categories you want to hear about. Weekly digest of new step-by-step tutorials. No spam, easy unsubscribe.

Send me tutorials about

We only email about new tutorials. Easy unsubscribe anytime.