How to Make Melt and Pour Soap

Other CraftsEasy6:3110 stepsPart of DIY Crafts for BeginnersBrowse more →
The finished result: How to Make Melt and Pour Soap

By CraftingStepByStepPublished

Based on a video by CandleScience.

Melt and pour soap skips the lye. If you want the from-scratch cold process kind, see how to make soap. This page is the easy route. Rose from CandleScience melts a ready-made soap base in the microwave, adds color and scent, and pours two layers into a slab mold. You get eight coral and red bars from a 2 lb block. Hands-on time is about 30 minutes. The soap needs a day to harden.

What is melt and pour soap?

It is soap that has already been made. The chemistry with lye happened at the factory. You melt it, customize it and pour it. That makes it safe to do at the kitchen table, and it is a good first project to share with a grandchild.

Clear, goat milk or shea base?

Clear glycerin base shows off color and layers. It is what the video uses. Goat milk base is creamy white and feels gentle on dry skin. Colors turn pastel in it. Shea butter base is opaque too, with a richer lather. Pick one base per batch. Mixing types in one layer can look cloudy. A 2 lb block fills one 8-bar slab mold, about 4 oz per bar.

How much fragrance to add

Rose uses 0.5 oz of fragrance oil per pound of base. That is a safe place to start. Always use oils labeled skin-safe for soap, and check the supplier's maximum. More is not better. Too much scent can irritate skin and make the soap sweat. Candle-only oils do not belong in soap.

Why spray rubbing alcohol?

Pouring traps tiny air bubbles on the surface. A light mist of rubbing alcohol pops them in a second. It also helps a second layer grab the first, so the bar does not split apart later. Use 91% or 99% isopropyl in a fine-mist spray bottle.

Heat safety

Melted base gets hot fast. Heat it in short bursts, stir between them, and never let it boil. Overheated base turns thick and rubbery and can burn you. Hold the pitcher by the handle and keep kids back while you pour.

Sweating, glycerin dew and wrapping

Glycerin pulls moisture from the air. In a humid room your bars can bead up with little drops. That is glycerin dew, not spoiled soap. The fix is to wrap each bar tightly in plastic wrap as soon as it is cut and store it somewhere cool and dry.

Gift ideas

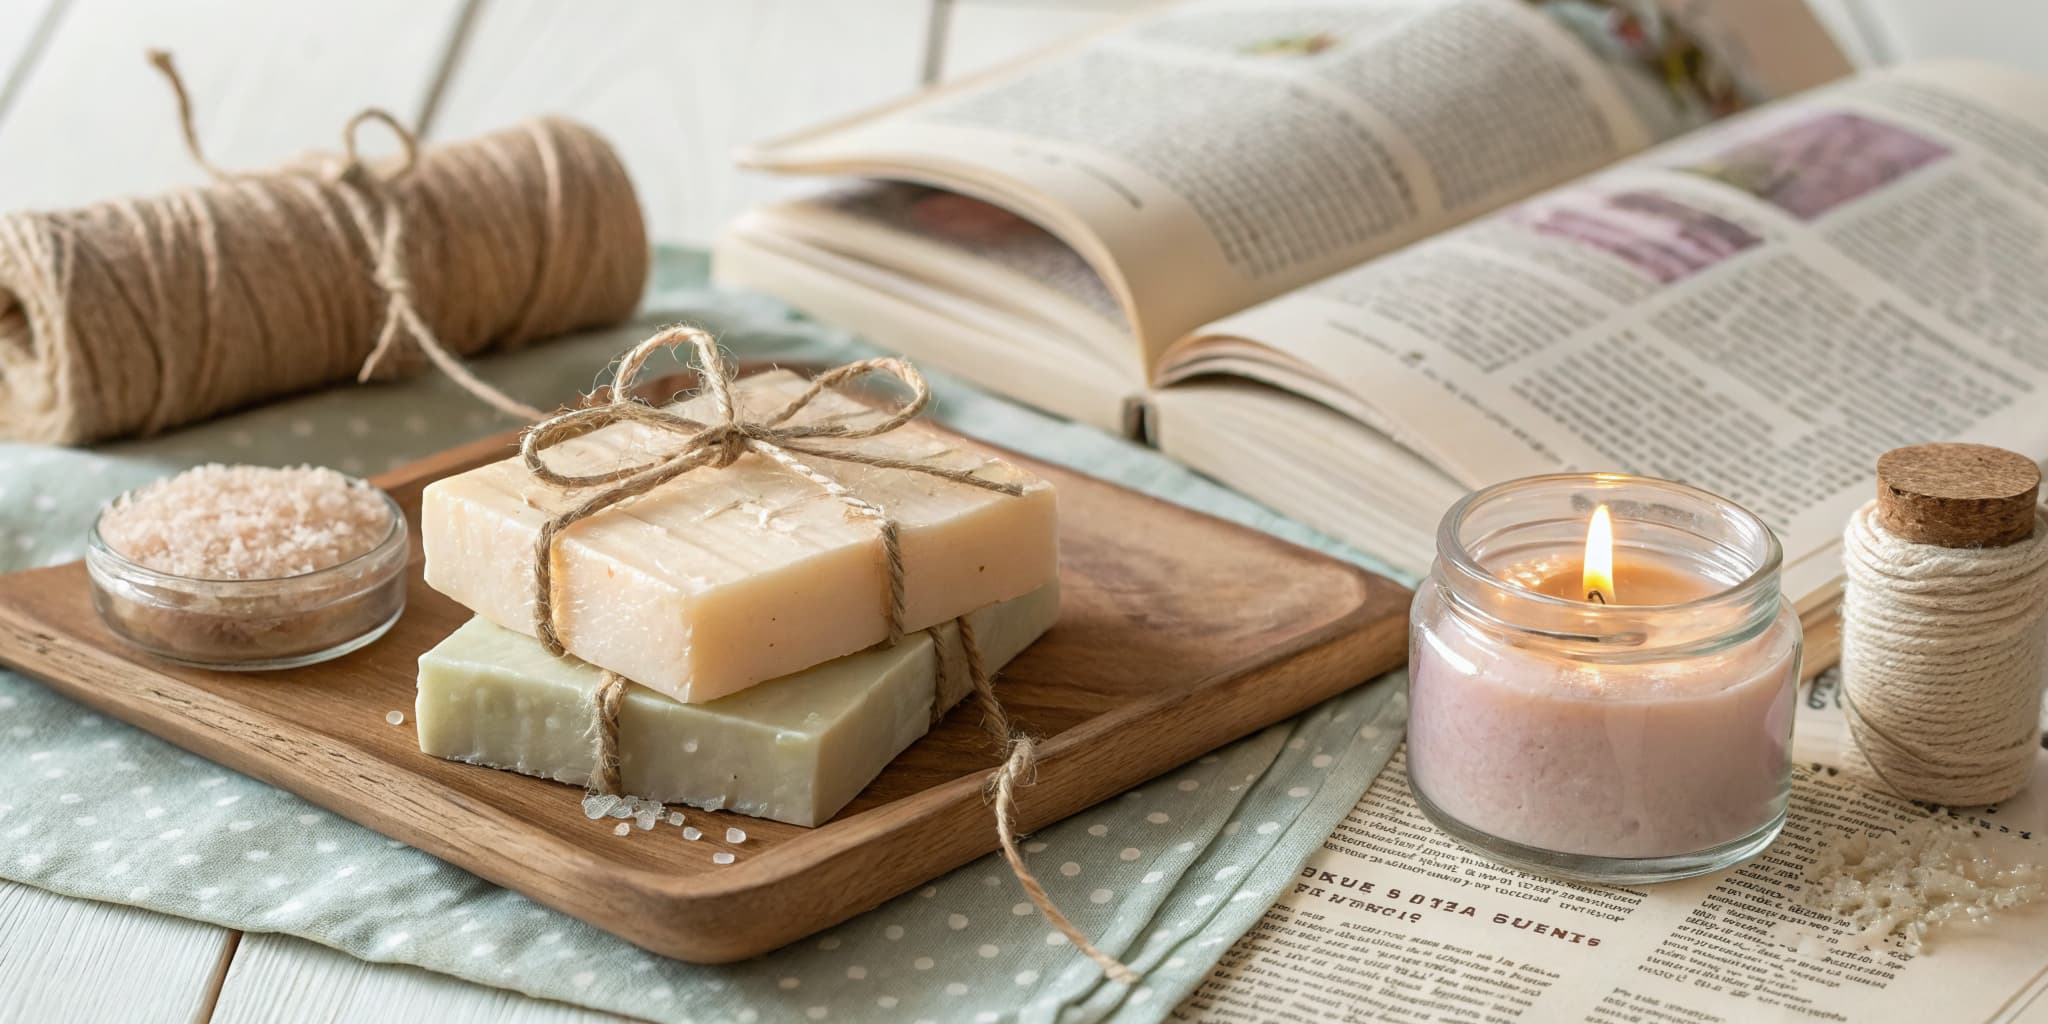
A wrapped bar tied with twine makes a sweet hostess or teacher gift. Add a label with the ingredients and the scent. Pair a bar with a homemade bath bomb or a jar of sugar scrub for a spa basket. Set it on a concrete soap dish you made yourself.

Troubleshooting

  • Layers separate. The first layer set too hard or was not sprayed. Pour the second layer once the top holds a light touch, and mist it with alcohol first.
  • Bubbles on top. Spray again right after pouring. Pour slowly and low to the mold.
  • Cloudy clear soap. The base got too hot, or the fragrance clouded it. Melt gently and use oils known to stay clear.
  • Color bleeds between layers. Liquid dyes migrate over time. Mica powder stays put better.

What you'll need

Step-by-Step Guide

10 steps · about 7 minutes.Check off each step as you go and your progress saves automatically.

1

Cut the Melt and Pour Soap Base Into 1-Inch Cubes

2:25
Step 1: Cut the Melt and Pour Soap Base Into 1-Inch Cubes - How to Make Melt and Pour Soap

Pop the soap base out of its tray and cut the 2 lb block in half. Set one half aside for the second layer. Cut the other half into cubes about 1 inch across. Small, even pieces melt faster and more evenly, so the base is less likely to scorch. A straight soap cutter makes clean cuts, but a sharp kitchen knife works too. Work on a sturdy cutting board.

Tip

Wipe your mat, mold, pitcher and spatula with rubbing alcohol before you start to keep the soap clean.

2

Weigh 1 lb of Soap Base Cubes on a Digital Scale

2:35
Step 2: Weigh 1 lb of Soap Base Cubes on a Digital Scale - How to Make Melt and Pour Soap

Set the empty pouring pitcher on your digital scale and press tare so it reads zero. Now add soap cubes until the scale shows 1 lb. Weighing matters here. Your fragrance amount is based on the weight of the base, so a guess throws off the scent. One pound fills the slab mold halfway, which is one layer.

Tip

A funnel pitcher with a pointed spout makes the pour much cleaner later.

Used in this stepDigital Kitchen Scale
3

Measure the Fragrance Oil for Your Soap Before Melting

3:04
Step 3: Measure the Fragrance Oil for Your Soap Before Melting - How to Make Melt and Pour Soap

Measure the scent now, before any heat. Once the base melts you only have a few minutes to add everything before it starts to set. Put a small glass jar on the scale, tare it, and pour in 0.5 oz of fragrance oil. Rose uses Blood Orange. Set the jar off to the side where it will not get knocked over.

Tip

Use only fragrance oils labeled safe for soap and skin. Candle scents can irritate skin.

4

Melt the Soap Base in the Microwave in Short Bursts

3:35
Step 4: Melt the Soap Base in the Microwave in Short Bursts - How to Make Melt and Pour Soap

Cover the pitcher with plastic wrap and microwave it for 45 seconds. Take it out and stir well with a silicone spatula. If chunks remain, heat again for 20 seconds and stir. Repeat until it is liquid. Stay close by. Melt and pour base can overheat in a hurry, and overheated soap turns thick and rubbery. A couple of small chunks will melt as you stir.

Tip

Never let the base boil. Short bursts keep it smooth and clear.

5

Add Liquid Soap Dye and Fragrance to the Melted Soap

3:54
Step 5: Add Liquid Soap Dye and Fragrance to the Melted Soap - How to Make Melt and Pour Soap

Squeeze in your color a drop at a time and stir. Rose only needs about 2 drops of coral dye for a bright orange. Stir until the color is even, with no streaks. Then pour in the fragrance you measured and stir slowly for 20 to 30 seconds. Slow stirring keeps you from whipping air bubbles into the soap.

Tip

Mica powder is a good swap for liquid dye. Mix it with a little rubbing alcohol first so it does not clump.

6

Pour the First Coral Soap Layer Into the Mold

4:22
Step 6: Pour the First Coral Soap Layer Into the Mold - How to Make Melt and Pour Soap

Hold the pitcher low and pour slowly into the mold. Let the soap find its own level and fill every cavity. This coral layer is the bottom half of each bar. Rose uses an 8-bar slab mold. Individual cavity molds work the same way and save you the cutting step at the end. Fill each cavity about halfway.

Tip

Set the mold on a level surface before you pour, or the layer line will slant.

7

Spritz Rubbing Alcohol to Pop Bubbles on the Soap Layer

4:31
Step 7: Spritz Rubbing Alcohol to Pop Bubbles on the Soap Layer - How to Make Melt and Pour Soap

Mist rubbing alcohol over the top of the fresh layer. The bubbles on the surface vanish almost right away. Spray again if more pop up. Then wait 5 to 10 minutes. Touch the surface lightly. When it holds without breaking or rippling, the layer is ready for the next pour. Too soft and the colors blend. Too hard and the layers may not stick.

Tip

Melt the second half of the base while the first layer sets so it is ready on time.

8

Pour the Red Second Soap Layer Over the Set Coral Layer

5:23
Step 8: Pour the Red Second Soap Layer Over the Set Coral Layer - How to Make Melt and Pour Soap

Melt the rest of the base the same way, this time with red dye and fragrance. Mist the coral layer with alcohol first. That light coat helps the two layers bond. Pour the red soap slowly and evenly across the whole surface. Then spray the top again to clear any bubbles. Let it sit 30 minutes, cover the mold with plastic wrap, and leave it for 24 hours.

Tip

Check the temperature by feel. If the second layer is very hot, let it cool a minute so it does not melt the first.

9

Unmold the Hardened Soap Slab

5:47
Step 9: Unmold the Hardened Soap Slab - How to Make Melt and Pour Soap

After a full day the soap is firm. Give each side of the mold a gentle tug. That lets air slip down the sides and breaks the seal. Turn the mold over onto a clean surface and press lightly on the bottom. The square slab of soap will drop out in one piece. If it sticks, pop it in the freezer for 15 minutes and try again.

Tip

Silicone molds release even easier. Peel the sides back and push from below.

10

Cut the Soap Slab Into Bars and Wrap Them

6:05
Step 10: Cut the Soap Slab Into Bars and Wrap Them - How to Make Melt and Pour Soap

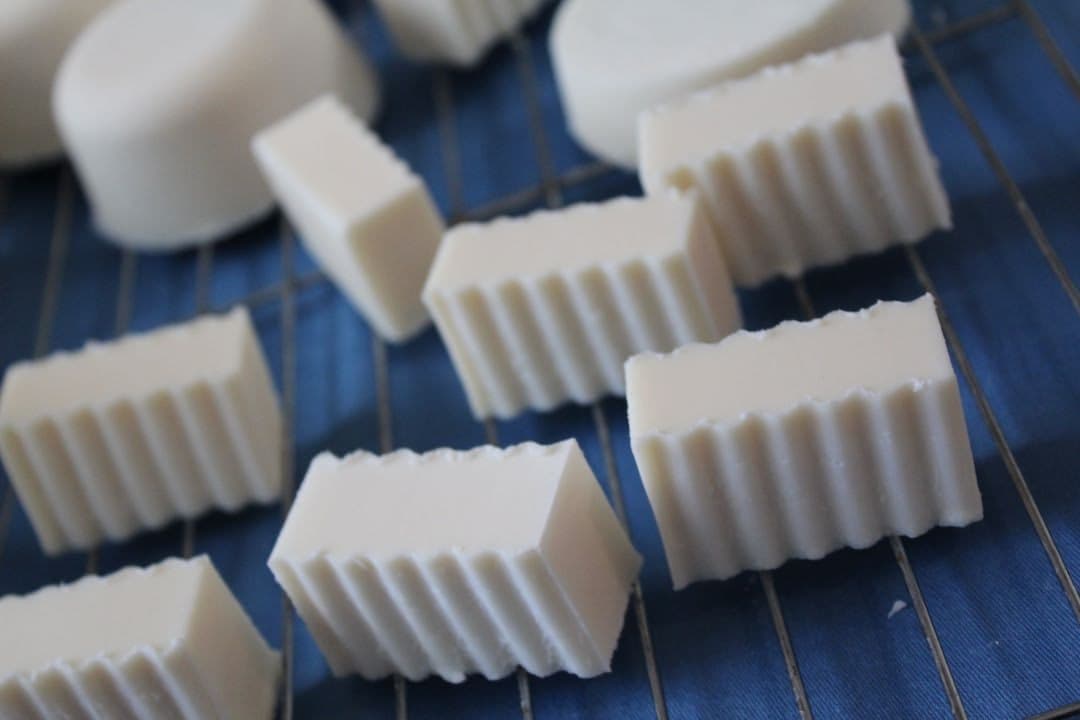
Line the soap cutter up with the grooves in the slab and press straight down. Cut along every groove to get eight even bars. Your soap is ready to use right away. Wrap each bar tightly in plastic wrap and store them somewhere cool and dry. For gifts, add an ingredients label and a pretty bag or box.

Tip

Wrap the bars the same day. Unwrapped glycerin soap pulls moisture from the air and beads up.

Keep going

How to Make a Book Vase - Hidden Flower Display in 7 Steps

Products Used

The Checklist

How to Make Melt and Pour Soap

Tools
9
Materials
6
Steps
10
Video
7 min

Tools we recommend

Your Guide

CandleScience

As an Amazon Associate we earn from qualifying purchases. Links on this page may be affiliate links - clicking them and buying doesn't change your price, but helps support CraftingStepByStep.

Tags

Sunday How-To

New other crafts tutorials, every Sunday

One short email with the week's best step-by-step guides. Free, no spam, unsubscribe anytime.

Did this work for you?

What's next

Related collections

Curated theme pages that include this tutorial.

Weekly Digest

Liked this other crafts tutorial?

Pick the categories you want to hear about. Weekly digest of new step-by-step tutorials. No spam, easy unsubscribe.

Send me tutorials about

We only email about new tutorials. Easy unsubscribe anytime.