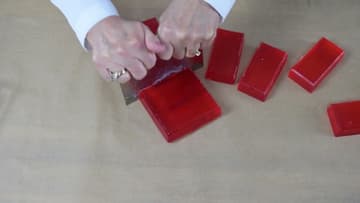
How to Make Melt and Pour Soap
Source: CandleScience • Full tutorial: www.craftingstepbystep.com/other-crafts/how-to-make-melt-and-pour-soap
- Difficulty
- Easy
- Hands-on time
- About 45 minutes
- Wait time
- 24 hours
- Cost
- About $10 to $20
- Makes
- about 4 to 6 soap bars

Tools
- digital kitchen scale
- microwave
- funnel pouring pitcher
- silicone spatula
- soap cutter or kitchen knife
- soap mold
- spray bottle
- small glass jar
- cutting board
Materials
- melt and pour soap base
- skin-safe fragrance oil
- liquid soap dye or mica powder
- rubbing alcohol
- plastic wrap
- parchment paper
Steps
1. Cut the Melt and Pour Soap Base Into 1-Inch Cubes
Pop the soap base out of its tray and cut the 2 lb block in half. Set one half aside for the second layer.
Tip: Wipe your mat, mold, pitcher and spatula with rubbing alcohol before you start to keep the soap clean.
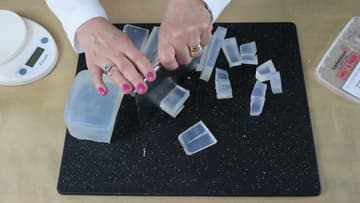
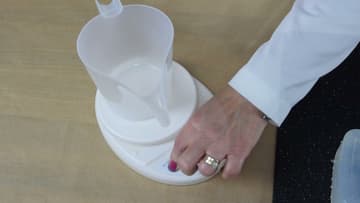
2. Weigh 1 lb of Soap Base Cubes on a Digital Scale
Set the empty pouring pitcher on your digital scale and press tare so it reads zero. Now add soap cubes until the scale shows 1 lb.
Tip: A funnel pitcher with a pointed spout makes the pour much cleaner later.
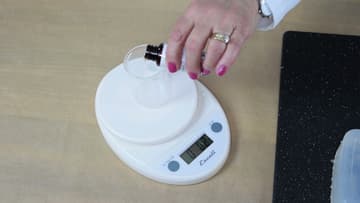
3. Measure the Fragrance Oil for Your Soap Before Melting
Measure the scent now, before any heat. Once the base melts you only have a few minutes to add everything before it starts to set.
Tip: Use only fragrance oils labeled safe for soap and skin. Candle scents can irritate skin.
4. Melt the Soap Base in the Microwave in Short Bursts
Cover the pitcher with plastic wrap and microwave it for 45 seconds. Take it out and stir well with a silicone spatula.
Tip: Never let the base boil. Short bursts keep it smooth and clear.
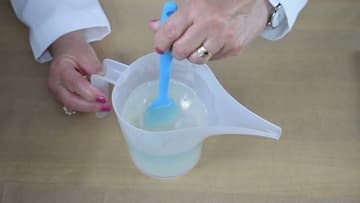
5. Add Liquid Soap Dye and Fragrance to the Melted Soap
Squeeze in your color a drop at a time and stir. Rose only needs about 2 drops of coral dye for a bright orange.
Tip: Mica powder is a good swap for liquid dye. Mix it with a little rubbing alcohol first so it does not clump.
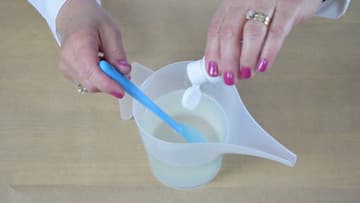
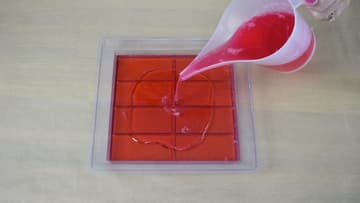
6. Pour the First Coral Soap Layer Into the Mold
Hold the pitcher low and pour slowly into the mold. Let the soap find its own level and fill every cavity.
Tip: Set the mold on a level surface before you pour, or the layer line will slant.
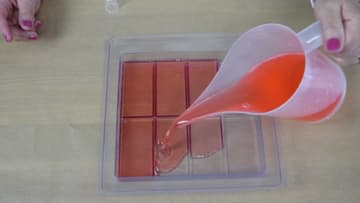
7. Spritz Rubbing Alcohol to Pop Bubbles on the Soap Layer
Mist rubbing alcohol over the top of the fresh layer. The bubbles on the surface vanish almost right away.
Tip: Melt the second half of the base while the first layer sets so it is ready on time.
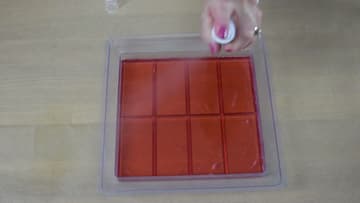
8. Pour the Red Second Soap Layer Over the Set Coral Layer
Melt the rest of the base the same way, this time with red dye and fragrance. Mist the coral layer with alcohol first.
Tip: Check the temperature by feel. If the second layer is very hot, let it cool a minute so it does not melt the first.
9. Unmold the Hardened Soap Slab
After a full day the soap is firm. Give each side of the mold a gentle tug.
Tip: Silicone molds release even easier. Peel the sides back and push from below.
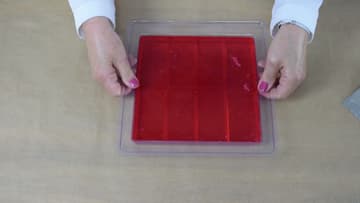
10. Cut the Soap Slab Into Bars and Wrap Them
Line the soap cutter up with the grooves in the slab and press straight down. Cut along every groove to get eight even bars.
Tip: Wrap the bars the same day. Unwrapped glycerin soap pulls moisture from the air and beads up.