How to Make Lip Balm

Other CraftsEasy8:578 stepsPart of DIY Crafts for BeginnersBrowse more →
The finished result: How to Make Lip Balm
Also in:Crafts

By CraftingStepByStepPublished

Based on a video by The Homesteading RD.

Four ingredients, one double boiler, and about twenty minutes of real work. This walkthrough follows The Homesteading RD, who melts coconut oil, shea butter and beeswax pellets together, stirs in a little olive oil and five drops of lemongrass, then pours the batch into fifteen tubes. She has run the same recipe for ten years without changing it.

She prices a finished tube at about seventeen cents, which is the number that makes people stop buying chapstick. Her reason for this particular batch was Christmas, with a row of homemade lip balms headed into stockings for friends and family. The Homesteading RD keeps the list short on purpose: no petroleum, no dye, and nothing that leaves your lips wanting another coat half an hour later.

Timing is the only thing to stay ahead of. The balm thickens the moment it comes off the heat, so line your tubes up while the wax is still melting and pour as soon as the oils are stirred through. Everything sets in about ten minutes.

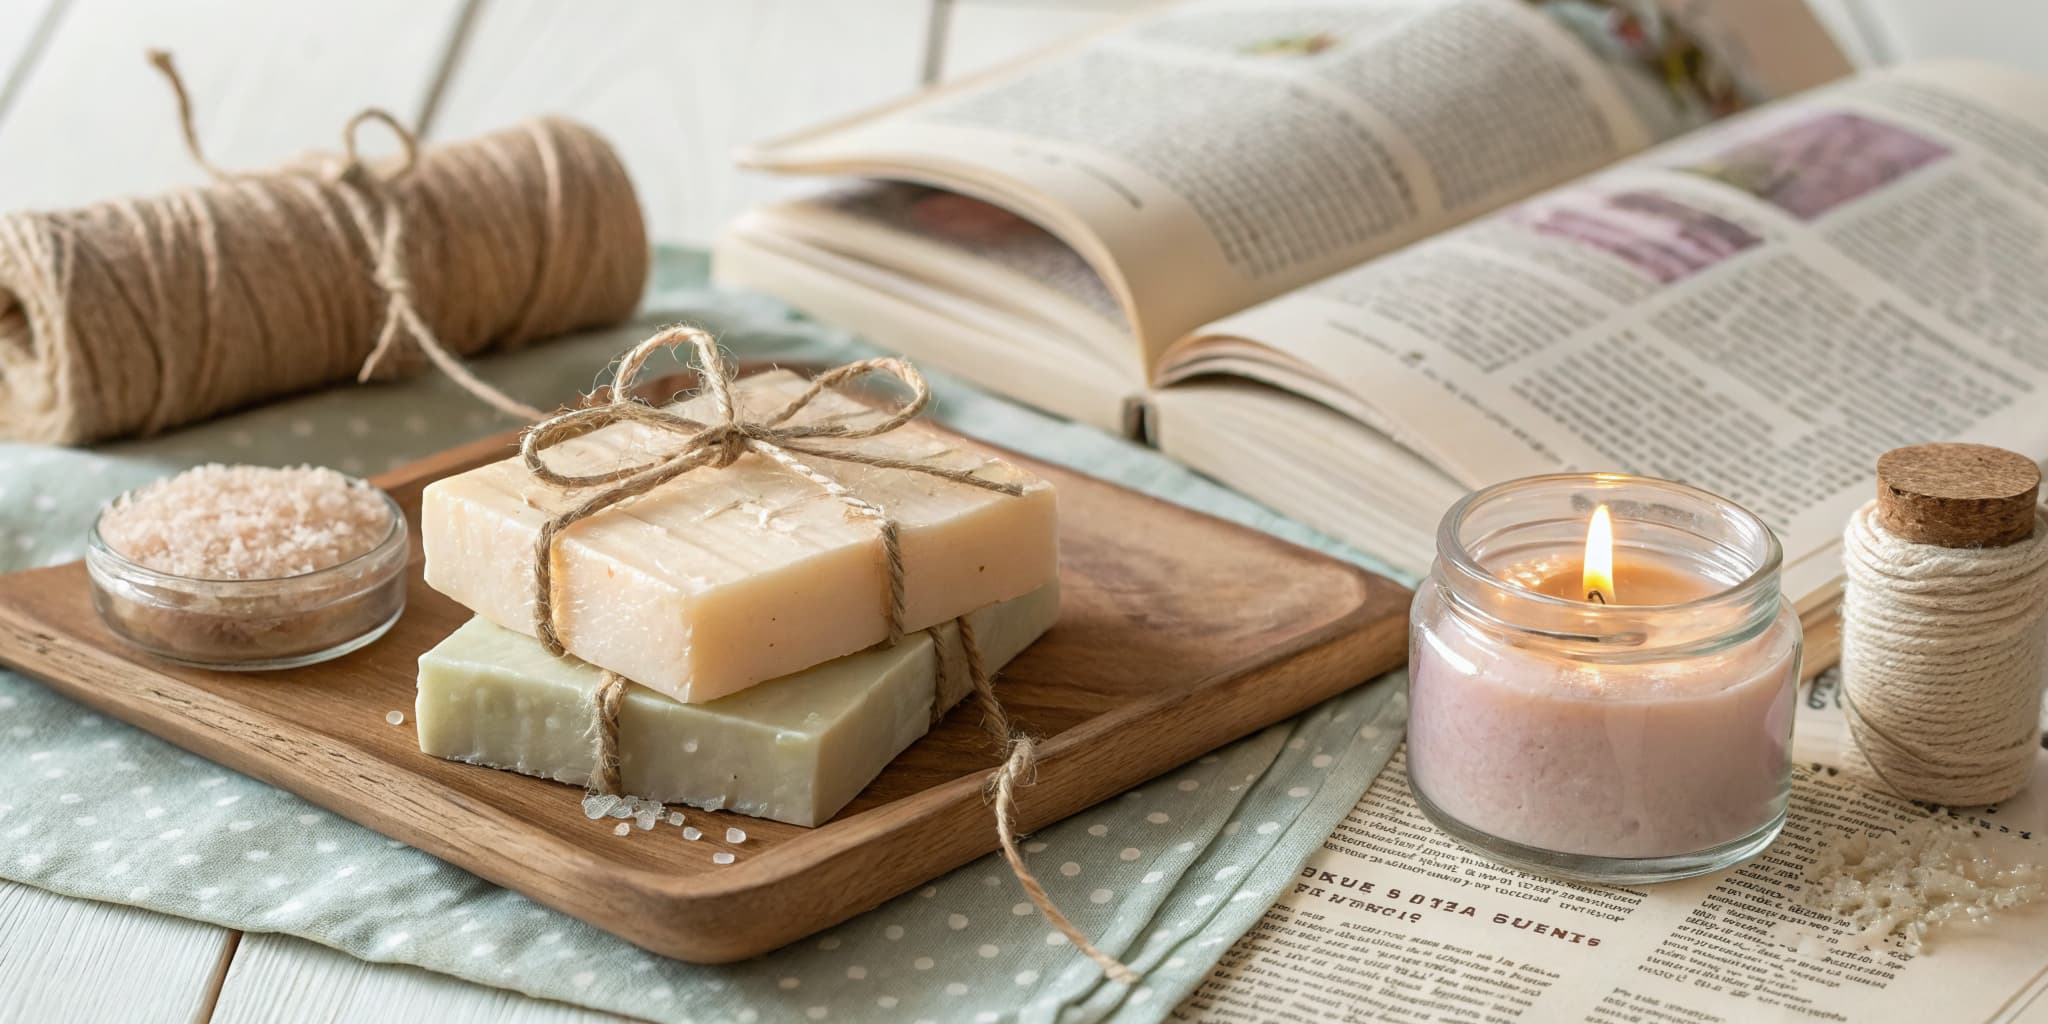
Making a gift basket? The same afternoon gets you a jar of sugar scrub, bath bombs and a soy candle.

What you'll need

Step-by-Step Guide

8 steps · about 9 minutes.Check off each step as you go and your progress saves automatically.

1

Gather the Coconut Oil, Shea Butter, Beeswax and Olive Oil

1:58
Step 1: Gather the Coconut Oil, Shea Butter, Beeswax and Olive Oil - How to Make Lip Balm

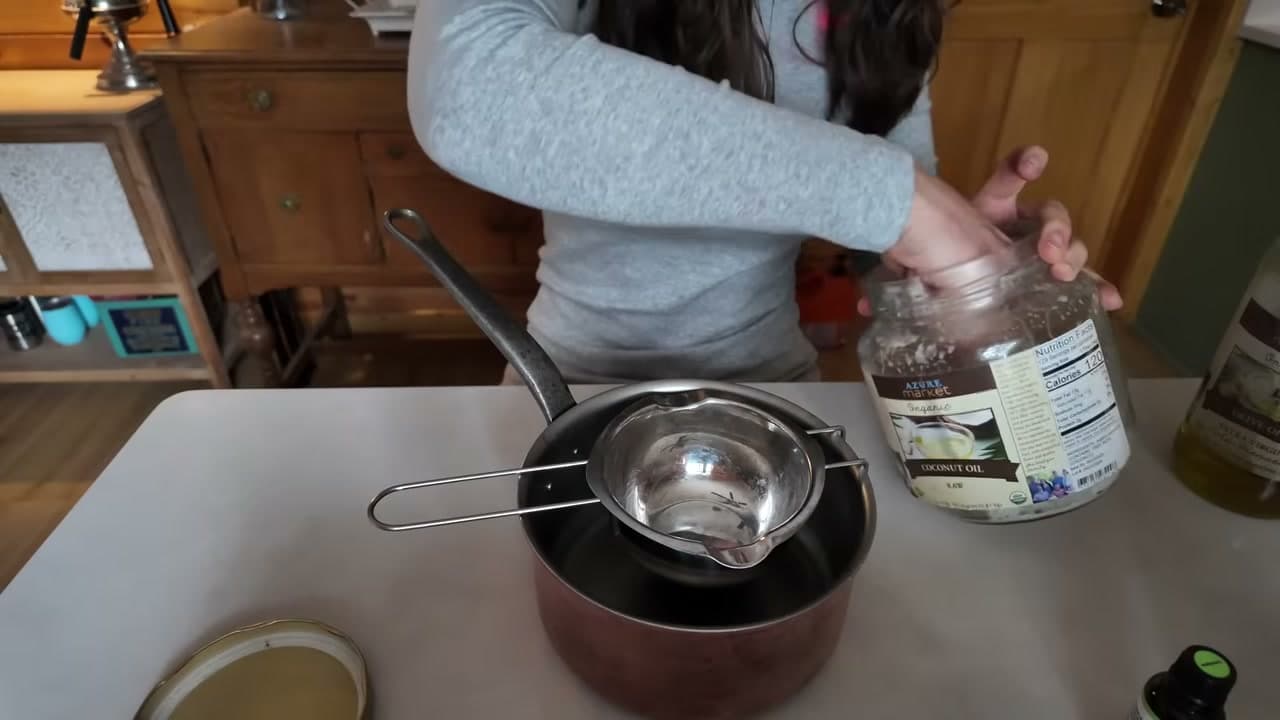
Pull out coconut oil, shea butter, beeswax pellets and extra virgin olive oil. That is the whole ingredient list. Essential oil is optional, and the balm smells good on its own, so leave it out if scent bothers your skin.

A double boiler with a pour spout does the hard part later. Lift the insert off the pot and set it on the counter, where you can measure into it without fighting the handle.

Tip

No double boiler? Stand a heatproof glass measuring cup in a saucepan of water. The spout matters more than the pot does.
2

Measure Two Tablespoons Each of the Three Solid Fats

3:34
Step 2: Measure Two Tablespoons Each of the Three Solid Fats - How to Make Lip Balm

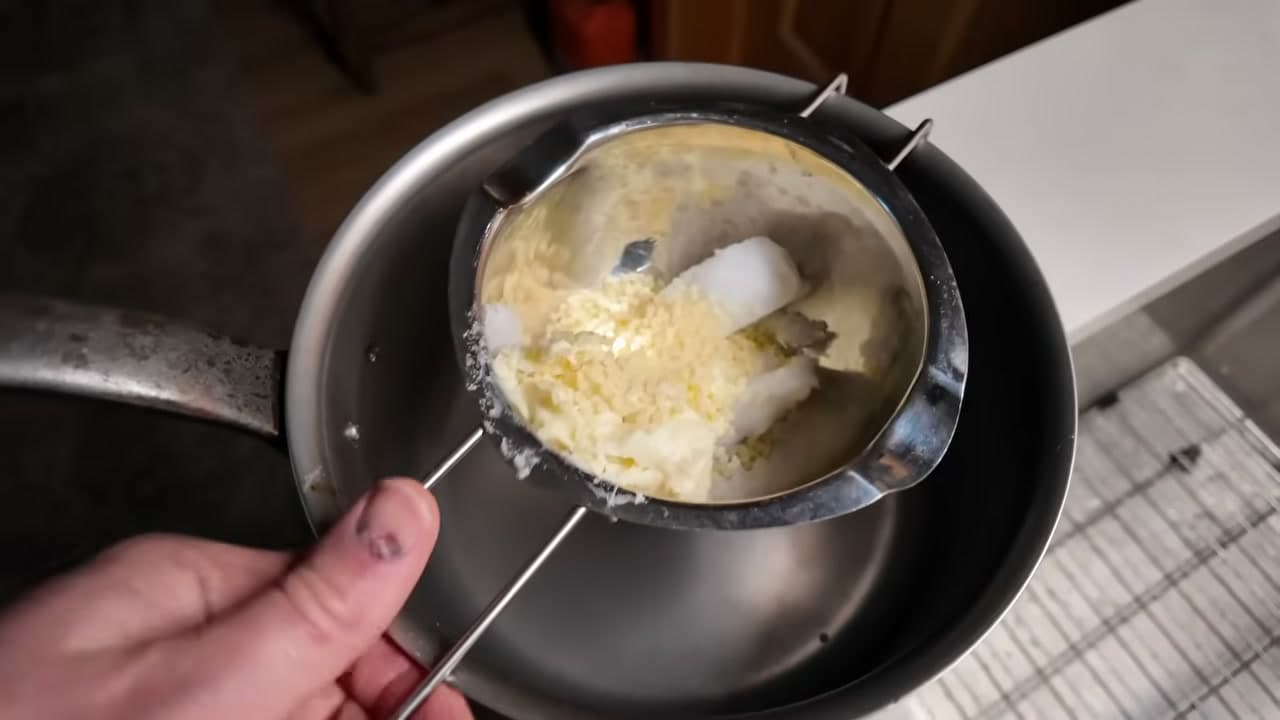
Two tablespoons of coconut oil, two of shea butter, two of beeswax pellets. Same measure for all three, which is why this recipe is easy to keep in your head. Scrape each spoonful level, then push the solid fat out with a chopstick, because a good third of it stays stuck in the spoon otherwise.

Do the beeswax pellets first. They pour out clean, while the butters leave a greasy film you have to wash off before pellets will slide.

Tip

Cold coconut oil is rock hard in a winter kitchen. Set the jar near the stove for a few minutes and it scoops like soft butter.

3

Set the Boiler Over an Inch of Simmering Water

3:50
Step 3: Set the Boiler Over an Inch of Simmering Water - How to Make Lip Balm

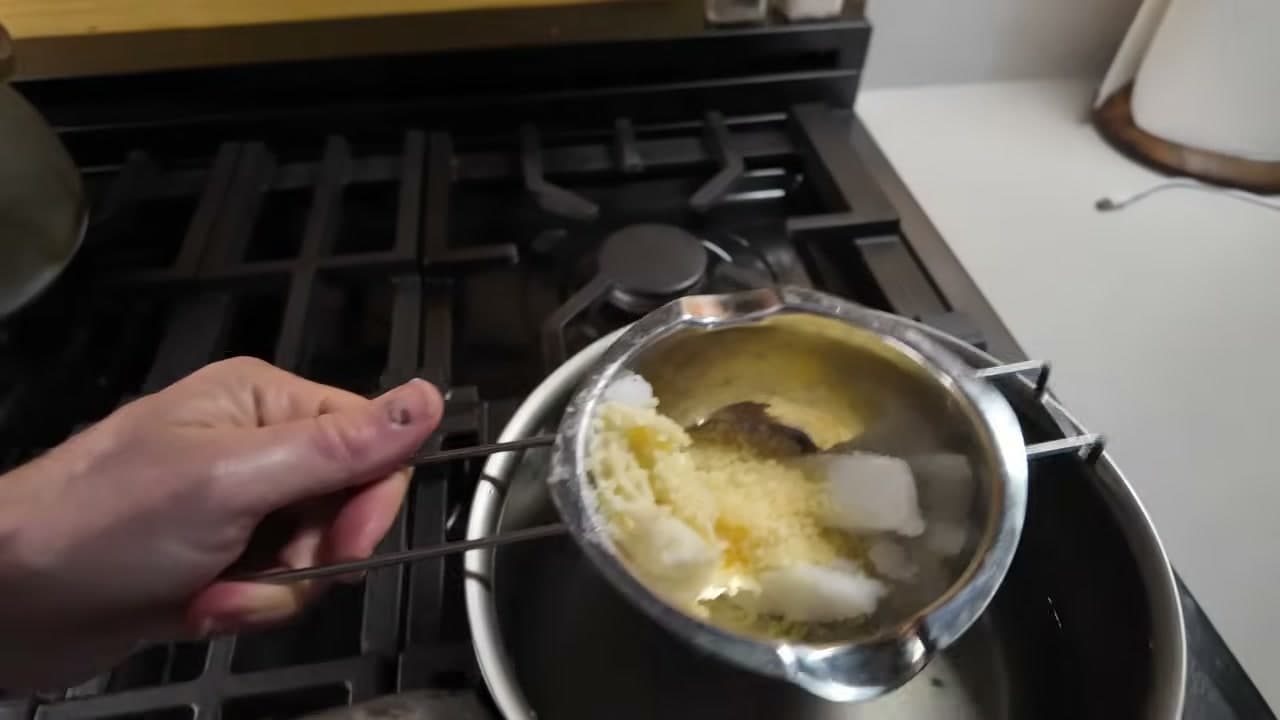
Add one to two inches of water to the bottom pot, then set the loaded insert on top. Turn the burner to medium and bring the water to a low boil.

Steam is what melts the fats here. Direct heat or a microwave can scorch beeswax and cook the good properties out of the oils. A double boiler holds the temperature down with no attention from you, which is also why it is the right tool for infusing herbs into oil.

Tip

Lift the insert out before you pour the water in. Water in your oils ruins the batch, and you will not spot it until the balm sets cloudy.

4

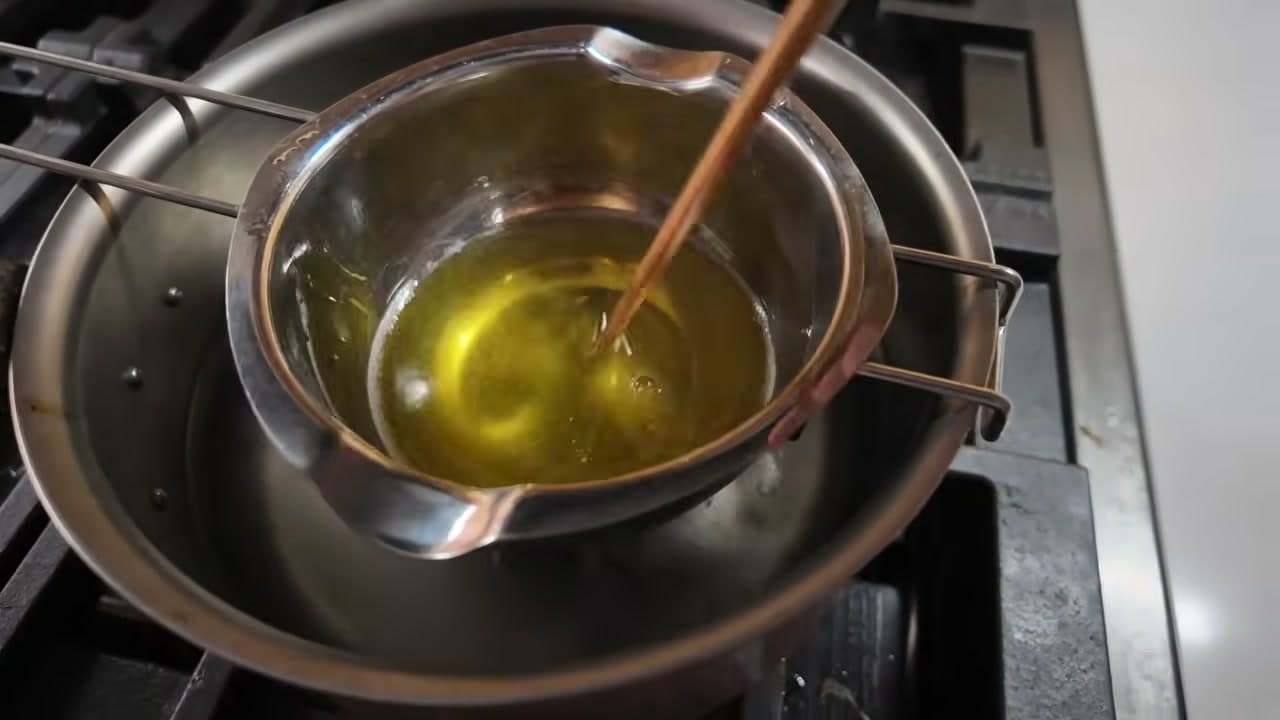
Stir Until the Wax and Butters Melt Into Clear Gold

5:50
Step 4: Stir Until the Wax and Butters Melt Into Clear Gold - How to Make Lip Balm

Stir now and then with a chopstick or a wooden skewer as the fats give way. Coconut oil goes first, shea next, beeswax last. Give it a few more minutes once the final chunks disappear.

When the liquid runs clear gold with nothing solid on the bottom, turn the burner off and lift the insert off the water.

Tip

Beeswax hides. Tilt the insert and check the bottom edge before you call it melted, since a stray pellet leaves a gritty spot in the finished balm.

Used in this stepbamboo chopsticks
5

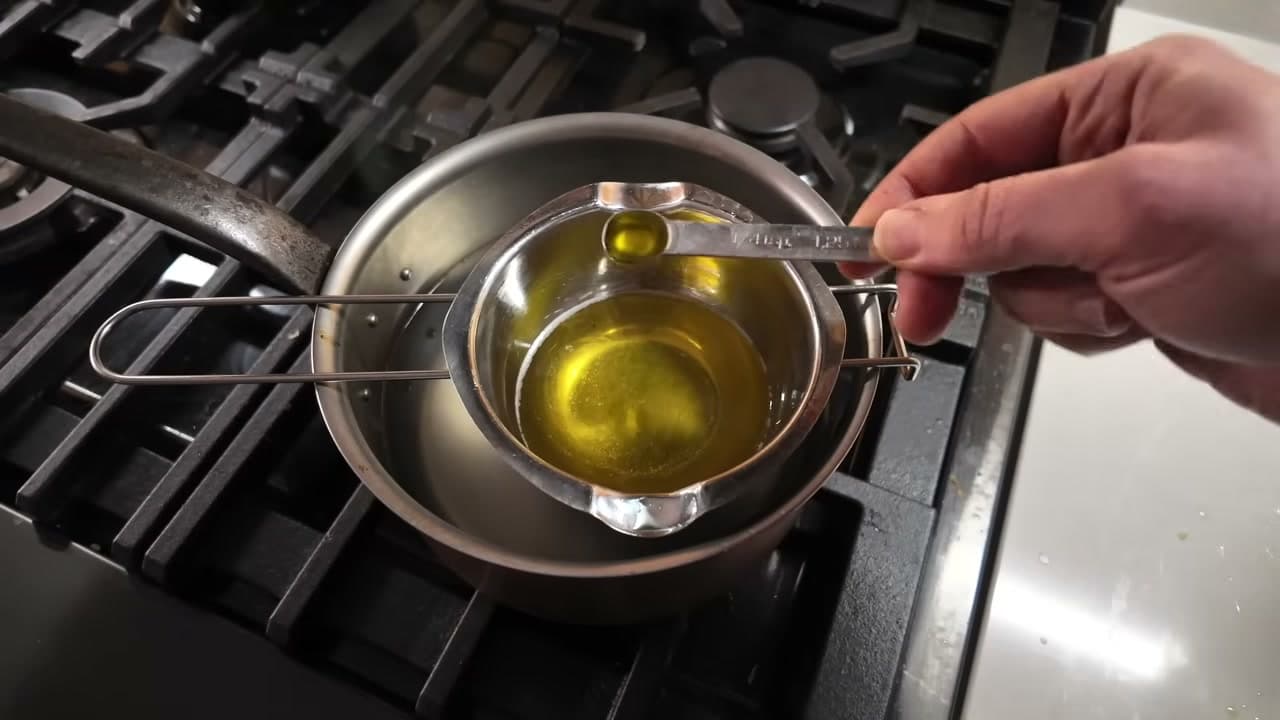
Stir In the Olive Oil and Essential Oil Off the Heat

5:58
Step 5: Stir In the Olive Oil and Essential Oil Off the Heat - How to Make Lip Balm

Off the heat, stir in a quarter teaspoon of olive oil. Any oil in your kitchen works here. Extra virgin olive oil is what The Homesteading RD reaches for because it is always on the shelf.

Add five drops of essential oil if you want scent. Lemongrass is her pick. Peppermint and vanilla both work. Stir for a few seconds, then carry the insert straight over to your row of tubes.

Tip

Essential oils go in off the heat. Drop them into a boiling mixture and most of the scent leaves as steam before it ever reaches a tube.

6

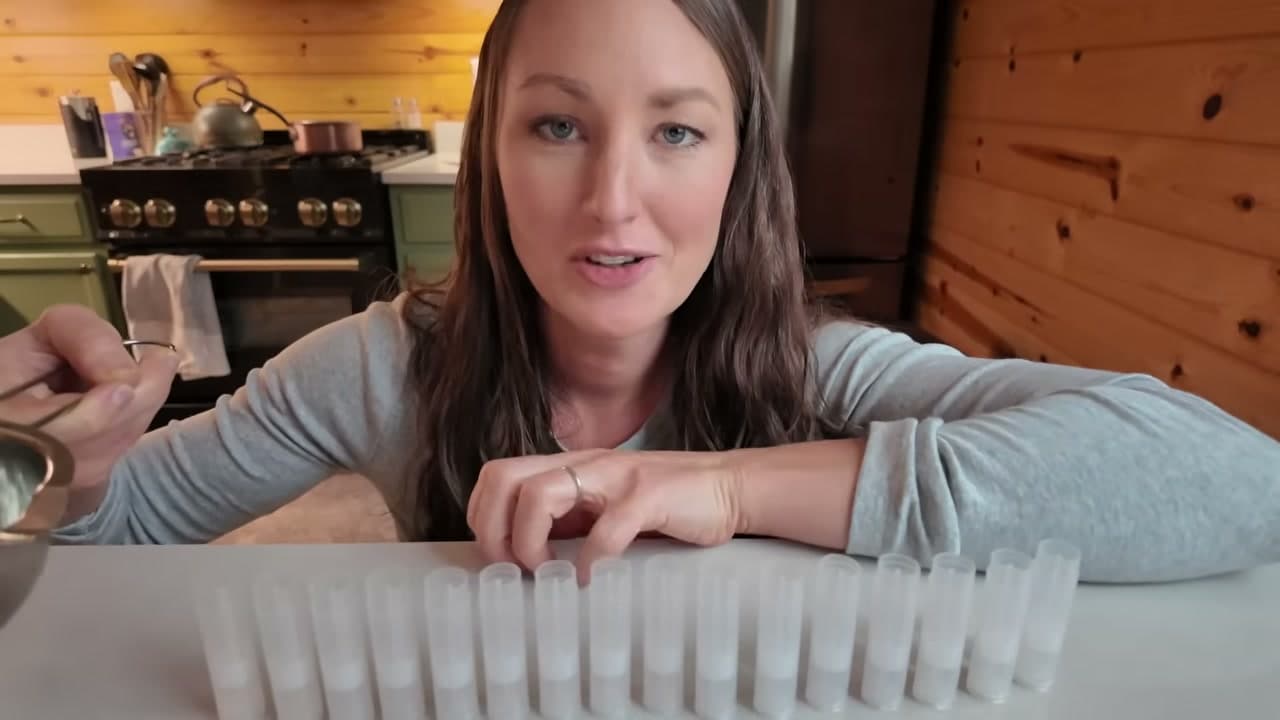
Line Up the Empty Tubes and Have Them Ready to Fill

6:30
Step 6: Line Up the Empty Tubes and Have Them Ready to Fill - How to Make Lip Balm

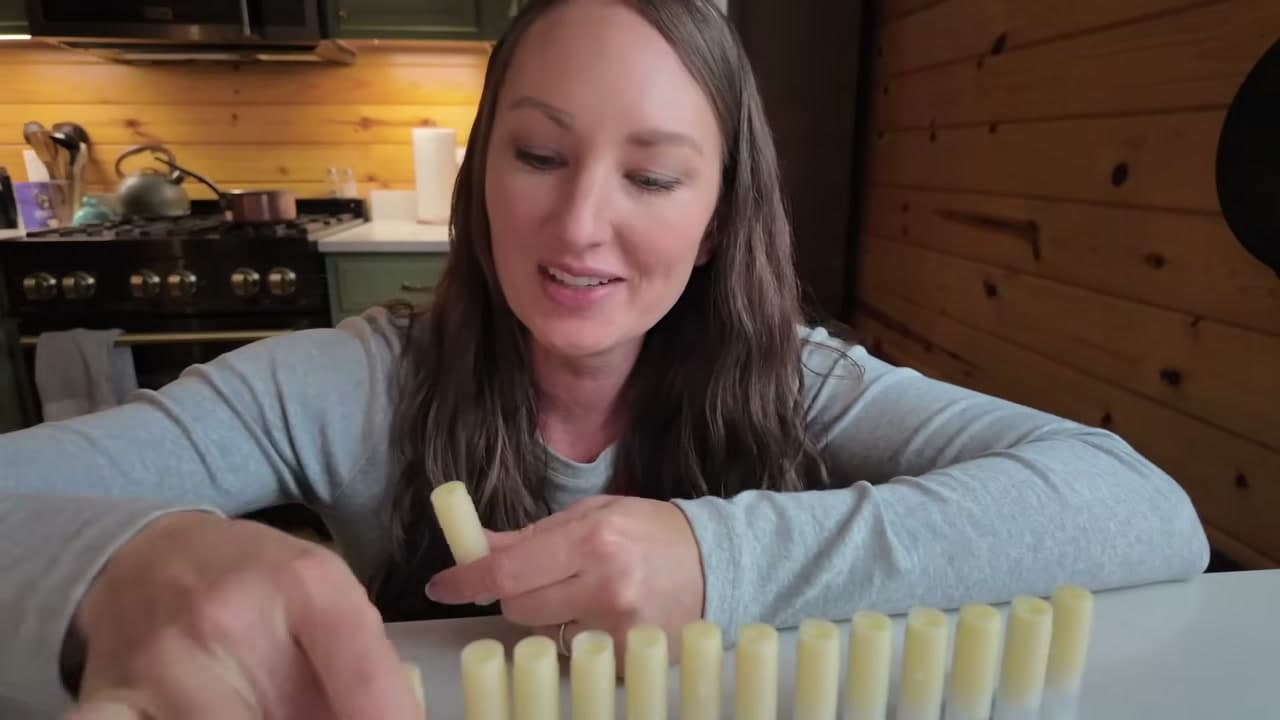
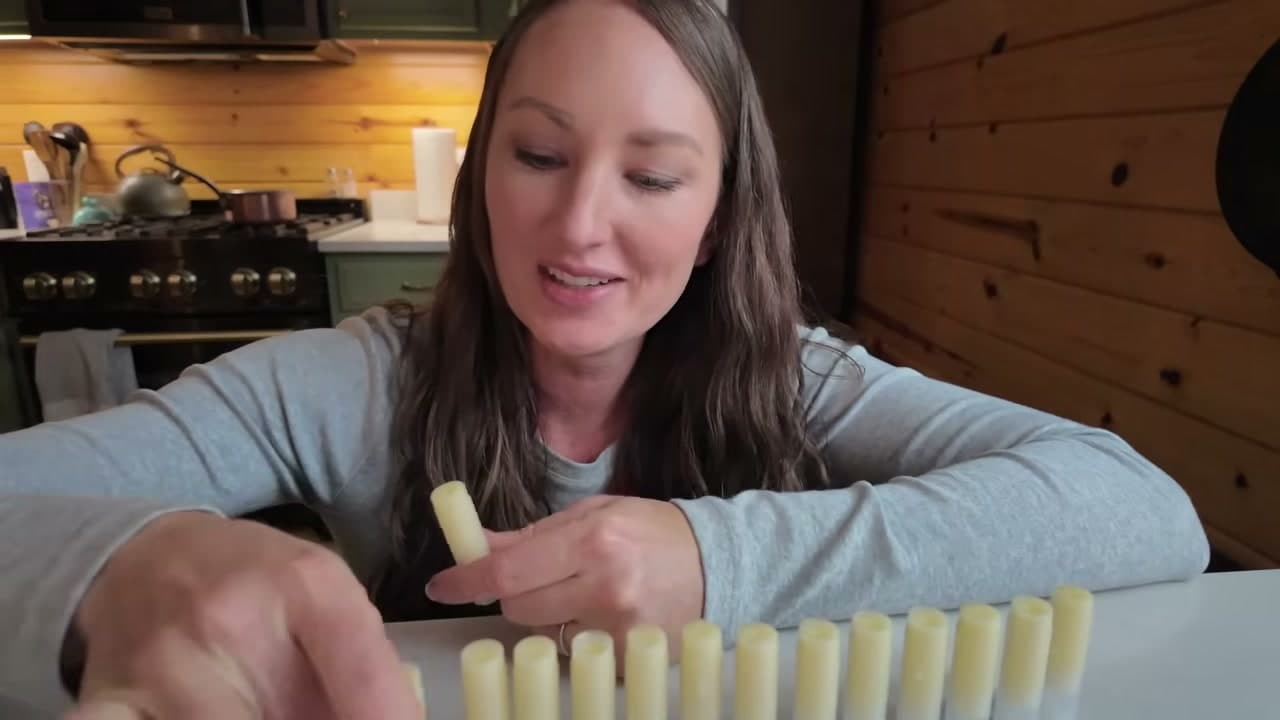
Stand your empty tubes on a flat surface with the caps off, close together so they hold each other upright. This batch fills about fifteen, so set out sixteen. You can do this at any point while the fats melt; what matters is that the row is ready before the balm is.

Line them up in easy reach of the stove. Once the balm comes off the heat you have a few minutes before it starts to thicken, and hunting for a tube is how a calm project turns into a mess.

Tip

Slide a sheet of parchment or an old cutting board under the tubes. There will be dribbles, and hardened balm is a pain to scrape off a worktop.

Used in this stepempty lip balm tubes
7

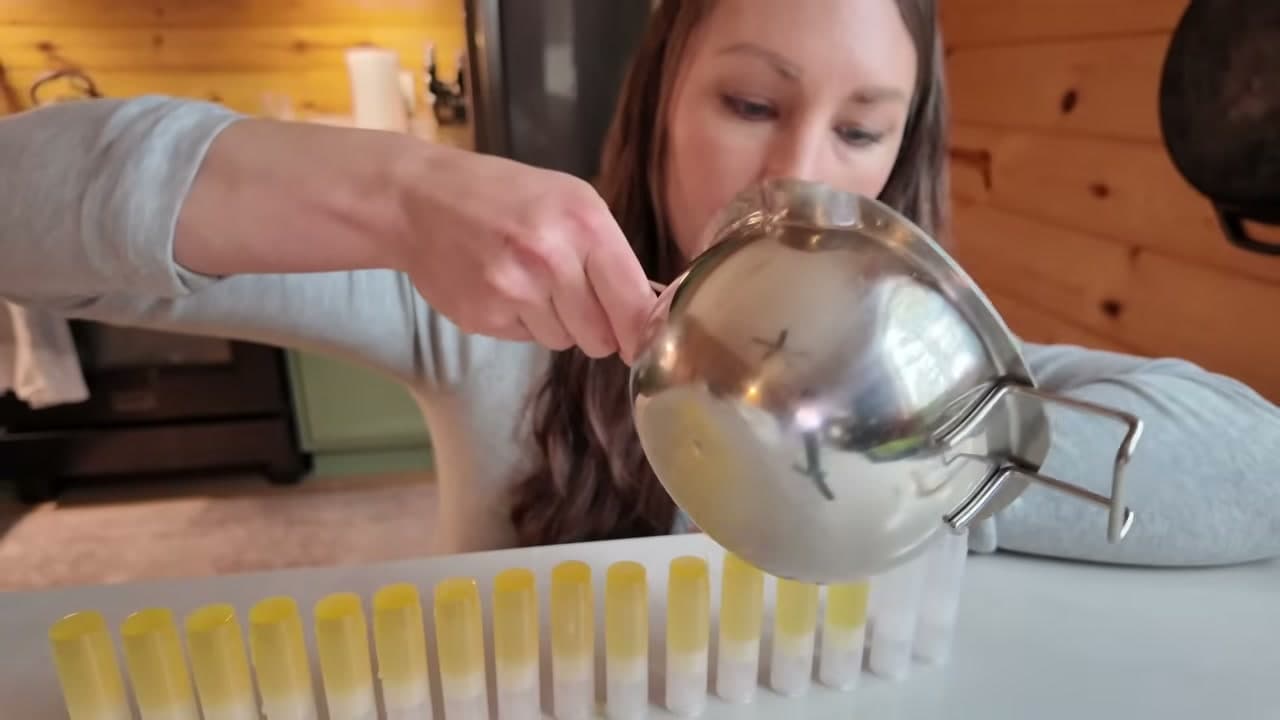
Pour the Hot Balm Down the Row of Tubes

7:11
Step 7: Pour the Hot Balm Down the Row of Tubes - How to Make Lip Balm

Tip the spout over the first tube and fill it close to the top, then move down the row. Do not stop to admire your work. The balm thickens the second it leaves the pot, and a slow pour leaves you with half-filled tubes at the end of the line.

A few dribbles down the sides are normal. Wipe them while the balm is still warm.

Tip

Wash the double boiler right away. Once the balm hardens on the metal you are scraping wax instead of rinsing a pot.

8

Let the Balm Set for Ten Minutes, Then Cap the Tubes

7:50
Step 8: Let the Balm Set for Ten Minutes, Then Cap the Tubes - How to Make Lip Balm

Leave the tubes alone for about ten minutes. The balm starts bright yellow and turns a soft off white as it firms up, which is your cue that they are done. No overnight wait on this one.

Press a cap onto each tube once the tops are solid to the touch. Fifteen tubes at roughly seventeen cents apiece, and they drop straight into a Christmas stocking.

Tip

Look at the tops before capping. A tube with a dimple in the middle sank as it cooled, and a small top-up from the leftover balm fills it back in.

Used in this stepempty lip balm tubes

Keep going

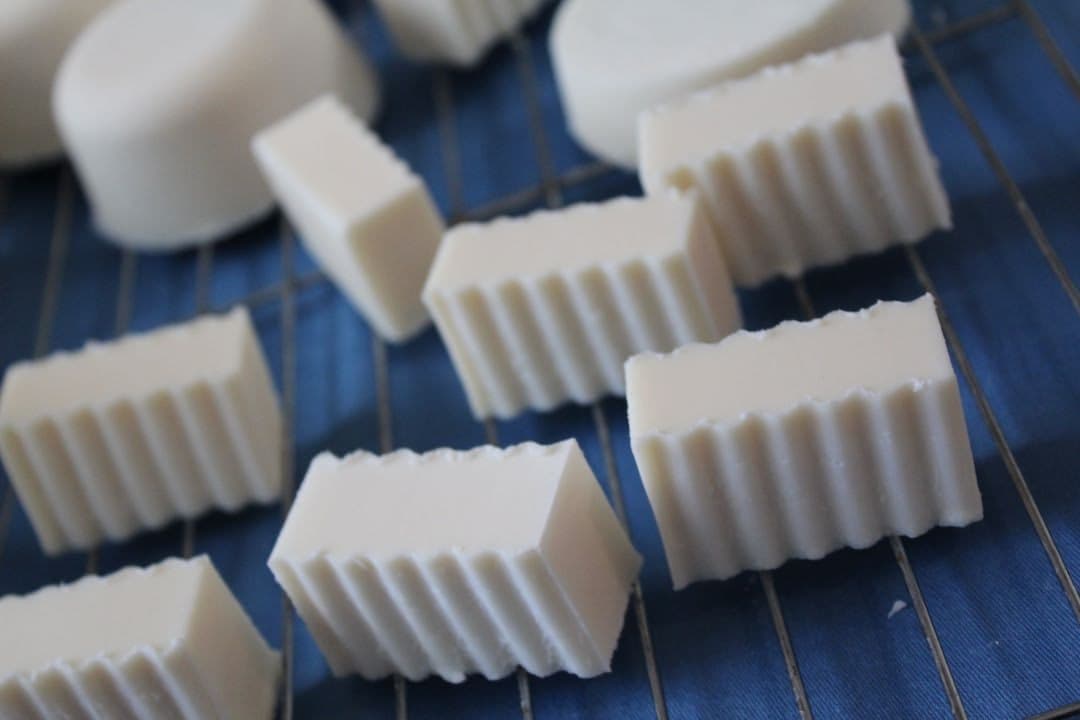
How to Make Soap from Scratch

6 steps · about 8 minutes

Products Used

The Checklist

How to Make Lip Balm

Tools
4
Materials
6
Steps
8
Video
9 min

Tools we recommend

Your Guide

The Homesteading RD

As an Amazon Associate we earn from qualifying purchases. Links on this page may be affiliate links - clicking them and buying doesn't change your price, but helps support CraftingStepByStep.

Tags

Sunday How-To

New other crafts tutorials, every Sunday

One short email with the week's best step-by-step guides. Free, no spam, unsubscribe anytime.

Did this work for you?

What's next

Related collections

Curated theme pages that include this tutorial.

Weekly Digest

Liked this other crafts tutorial?

Pick the categories you want to hear about. Weekly digest of new step-by-step tutorials. No spam, easy unsubscribe.

Send me tutorials about

We only email about new tutorials. Easy unsubscribe anytime.