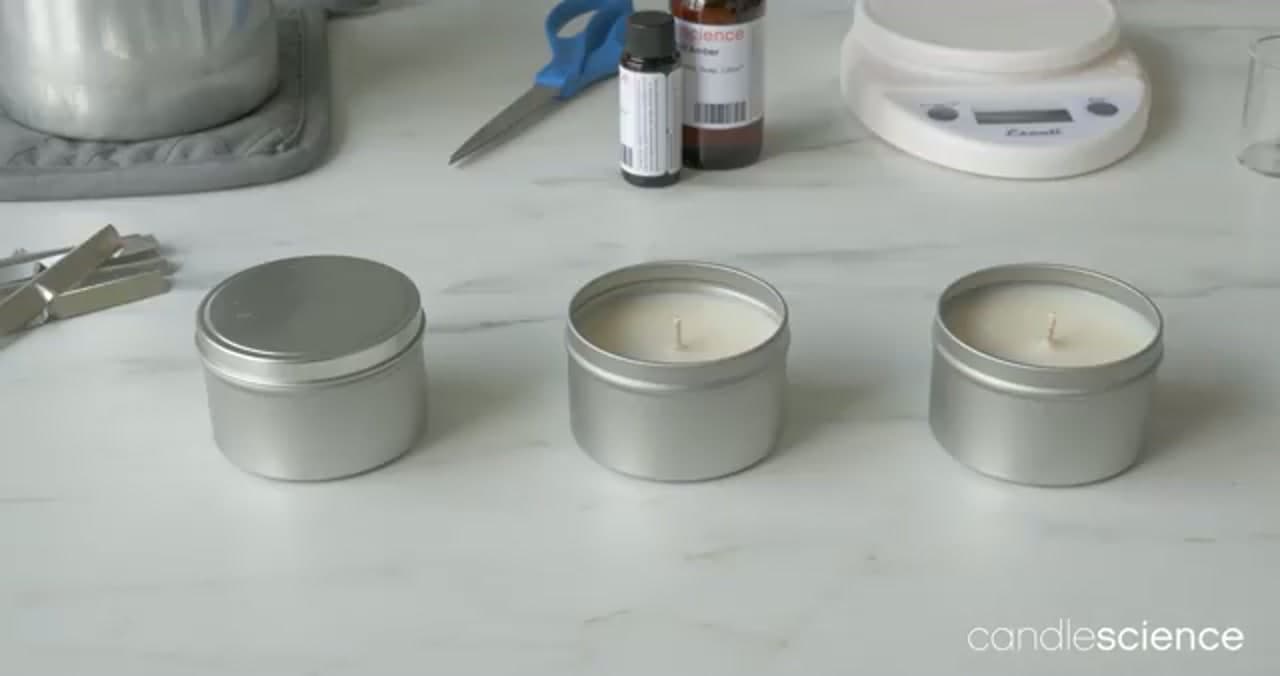
Homemade candles look fancy but come together fast once you know the order of operations. Dana from CandleScience pours three scented soy candles into simple tins, and you can follow the exact same steps at home.
You melt soy wax flakes in a double boiler, add fragrance oil at the right temperature, set the wick and pour. Allow an afternoon for the pour, a night to cool and a few days to cure. If you like this kind of project, pair it with a concrete candle holder to display your finished pour.
Sizing the wick
The wick is the part beginners guess at. It has to match the container's diameter, measured across the inside. Start with your wick supplier's chart for that diameter and wax, then test burn one candle before you make a dozen. The burn tells you if you got it right:
- Tunneling (a narrow hole down the middle, wax left on the walls): wick too small.
- Tall flame, smoke, a black mushroom on the tip, a hot container: wick too big, or not trimmed.
Fragrance and dye change how a wick behaves, so re-test when you change either.
Fragrance load and temperature
Soy wax takes about 6-10% fragrance by weight. One ounce in a pound of wax is roughly 6%, a good first batch. Stay under the wax's stated max. Extra oil does not make a stronger candle. It seeps out and can make the flame burn badly. Fragrance goes in at about 185F, then two minutes of steady stirring off the heat.
Why pour temperature matters with soy
Soy shrinks as it cools. Pour too hot and you get sinkholes around the wick and more frosting, the white crystal bloom soy is known for. Pour too cool and the surface sets lumpy. Around 135F for this wax is the middle ground. Warm the tins a little and keep the room draft-free.
Cure time and the first burn
Soy needs time for the fragrance to settle in. Four or five days is the minimum and two weeks is better. On the first burn, let the wax melt all the way to the edge before you blow it out. That's about an hour per inch of diameter, never more than four hours. A short first burn sets a memory ring and starts a tunnel.
Container safety
- Use tins and jars sold for candles. Thick glass and seamless tins handle the heat.
- Skip thin drinking glasses, cracked jars, plastic, wood and anything that isn't heat-safe.
- Burn on a heat-safe surface, never unattended, away from curtains, kids and pets.
- Stop burning when about 1/2 inch of wax is left so the base doesn't overheat.
Troubleshooting
- Sinkhole near the wick: poke a couple of relief holes and top off with reheated wax.
- White frosting: cosmetic only. Pour cooler and cool slowly to reduce it.
- Wet spots on glass: the wax pulled away from the wall. Warm the jar before pouring.
- Weak scent when lit: cure longer, check the load, and confirm the wick builds a full melt pool.
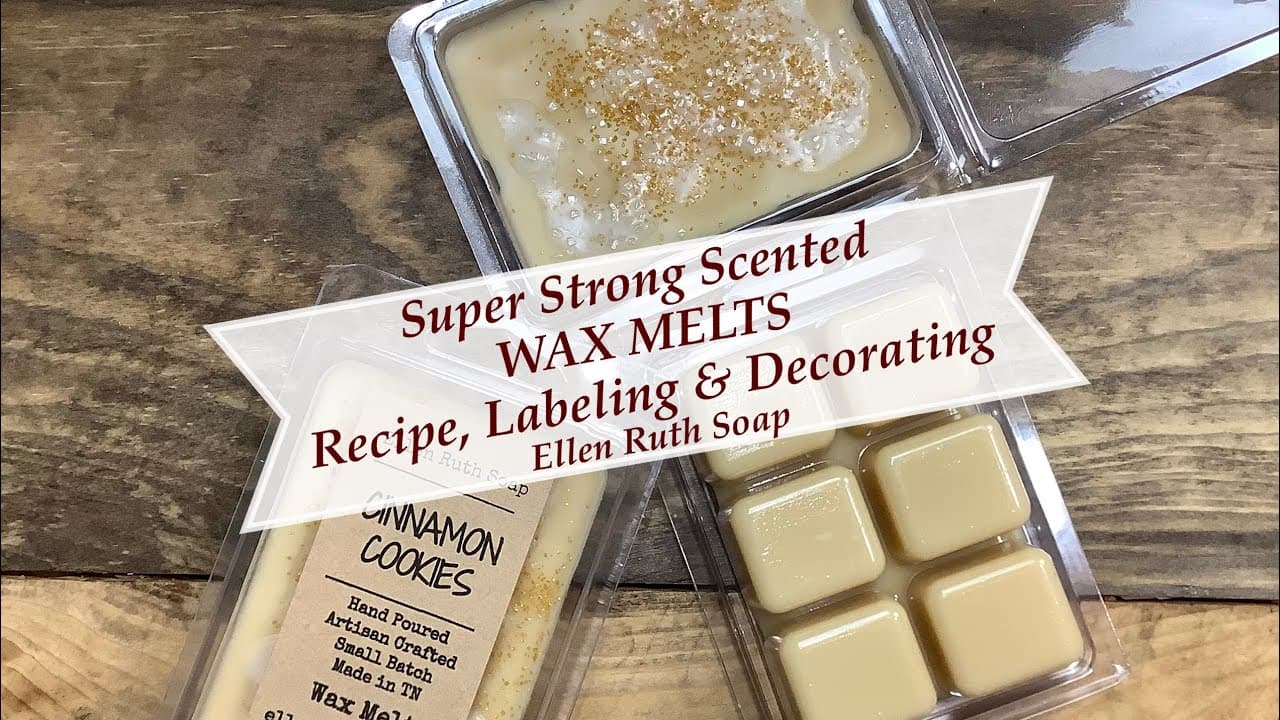
Leftover wax and fragrance can go straight into wax melts, which skip the wick testing. For a gift set, add a bar of homemade soap.
If you already have a double boiler out, how to make lip balm is the next easy thing to pour.