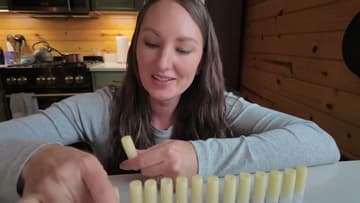
How to Make Lip Balm
Source: The Homesteading RD • Full tutorial: www.craftingstepbystep.com/other-crafts/how-to-make-lip-balm
- Difficulty
- Easy
- Hands-on time
- About 30 minutes
- Wait time
- 10 minutes
- Cost
- About $10 to $20
- Makes
- 16 lip balm tubes

Tools
- Double boiler with a pour spout
- Measuring spoons
- Chopstick or wooden skewer
- Saucepan
Materials
- 2 tbsp coconut oil
- 2 tbsp shea butter
- 2 tbsp beeswax pellets
- 1/4 tsp extra virgin olive oil
- 5 drops essential oil (optional)
- 16 empty lip balm tubes
Steps
1. Gather the Coconut Oil, Shea Butter, Beeswax and Olive Oil
Pull out coconut oil, shea butter, beeswax pellets and extra virgin olive oil. That is the whole ingredient list.
Tip: No double boiler? Stand a heatproof glass measuring cup in a saucepan of water. The spout matters more than the pot does.
2. Measure Two Tablespoons Each of the Three Solid Fats
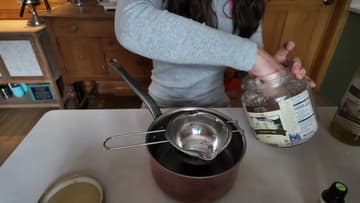
Two tablespoons of coconut oil, two of shea butter, two of beeswax pellets. Same measure for all three, which is why this recipe is easy to keep in your head.
Tip: Cold coconut oil is rock hard in a winter kitchen. Set the jar near the stove for a few minutes and it scoops like soft butter.
3. Set the Boiler Over an Inch of Simmering Water
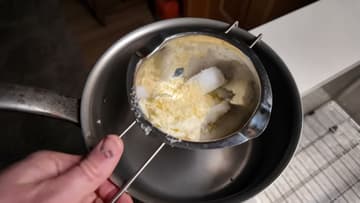
Add one to two inches of water to the bottom pot, then set the loaded insert on top. Turn the burner to medium and bring the water to a low boil.
Tip: Lift the insert out before you pour the water in. Water in your oils ruins the batch, and you will not spot it until the balm sets cloudy.
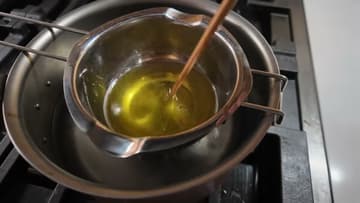
4. Stir Until the Wax and Butters Melt Into Clear Gold
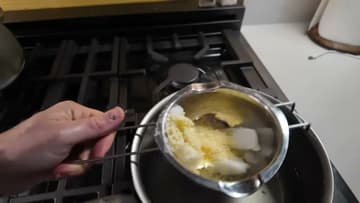
Stir now and then with a chopstick or a wooden skewer as the fats give way. Coconut oil goes first, shea next, beeswax last.
Tip: Beeswax hides. Tilt the insert and check the bottom edge before you call it melted, since a stray pellet leaves a gritty spot in the finished balm.
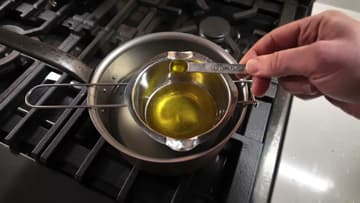
5. Stir In the Olive Oil and Essential Oil Off the Heat
Off the heat, stir in a quarter teaspoon of olive oil. Any oil in your kitchen works here.
Tip: Essential oils go in off the heat. Drop them into a boiling mixture and most of the scent leaves as steam before it ever reaches a tube.
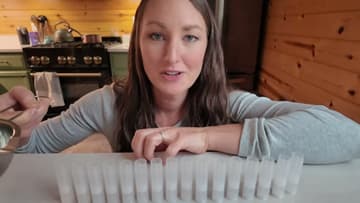
6. Line Up the Empty Tubes and Have Them Ready to Fill
Stand your empty tubes on a flat surface with the caps off, close together so they hold each other upright. This batch fills about fifteen, so set out sixteen.
Tip: Slide a sheet of parchment or an old cutting board under the tubes. There will be dribbles, and hardened balm is a pain to scrape off a worktop.
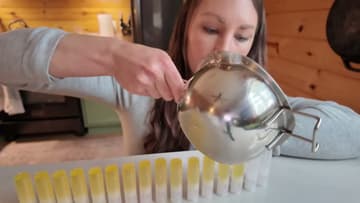
7. Pour the Hot Balm Down the Row of Tubes
Tip the spout over the first tube and fill it close to the top, then move down the row. Do not stop to admire your work.
Tip: Wash the double boiler right away. Once the balm hardens on the metal you are scraping wax instead of rinsing a pot.
8. Let the Balm Set for Ten Minutes, Then Cap the Tubes
Leave the tubes alone for about ten minutes. The balm starts bright yellow and turns a soft off white as it firms up, which is your cue that they are done.
Tip: Look at the tops before capping. A tube with a dimple in the middle sank as it cooled, and a small top-up from the leftover balm fills it back in.