How to Tie a Lark's Head Knot (Macramé Mounting Knot)

Save it for later. We'll email you a link, no password.

Find it again on your phone or computer, with your finished steps ticked.

You tapped Save

Save this project for later

We'll email you a link, no password.

How to Tie a Lark's Head Knot (Macramé Mounting Knot)

  • Your saved projects in one list
  • Your ticked steps on any device

Check your inbox for an email from us. Not there? Look in your spam folder.

  • 6 steps
  • 5:20 video
  • Difficulty: Easy
  • About 15 minutes
  • Materials about $5 to $8
  • Macramé

Based on a video by BOCHIKNOT

Opens their YouTube channel

Steps written out by Crafting Step by Step · Published · Updated

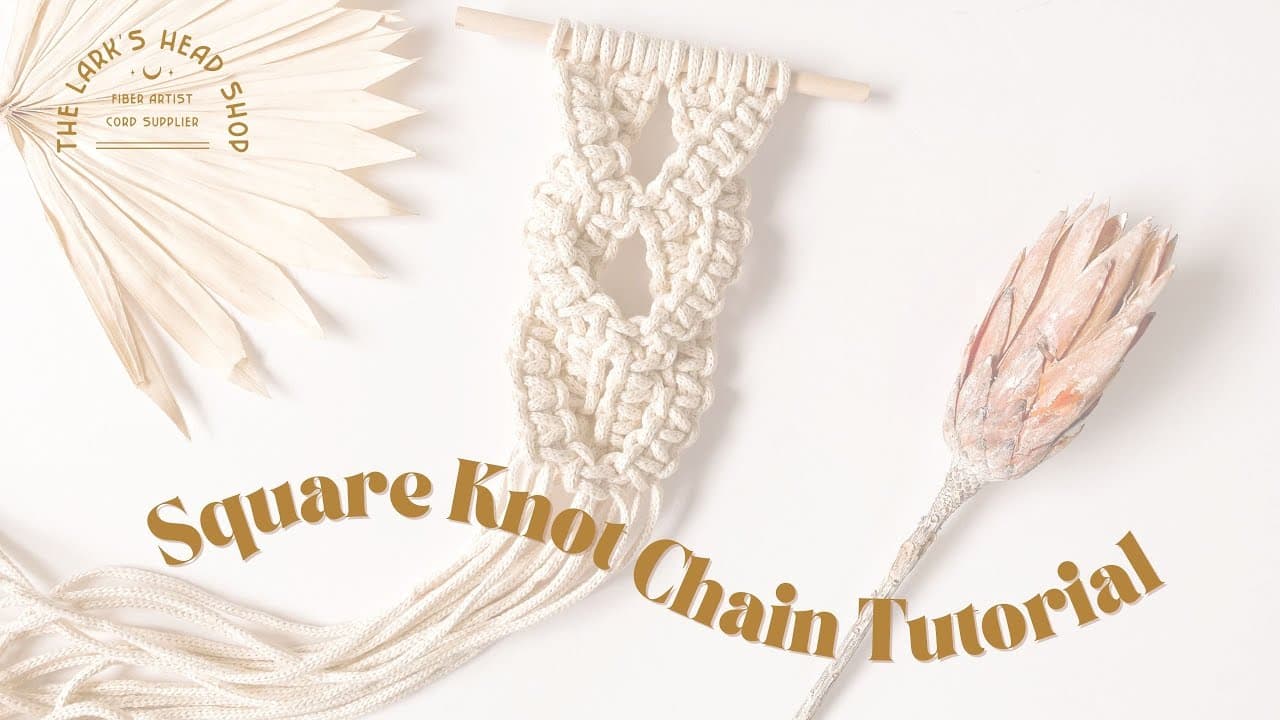
The finished result: How to Tie a Lark's Head Knot (Macramé Mounting Knot)
Also in:Crafts

The lark's head knot is the first knot you'll learn in macrame. Every wall hanging, plant hanger, and friendship bracelet starts with cord mounted to something - a dowel, a ring, a branch - and the lark's head is how you do it. Get this knot down and you can read any macrame pattern.

This walkthrough from Nicole at BOCHIKNOT covers the basic lark's head and then takes it a step further with the vertical lark's head, a decorative variation that builds a chained knot pattern down your cord. The vertical version takes a few practice tries to get the cord direction right, but once it clicks, you'll use it everywhere.

What the lark's head knot is for

Mounting. You fold a cord in half, loop it over a dowel or ring, and pull the tails through. Two working strands now hang from one secure point, and nothing slips. Almost every macrame project starts with a row of these along the top.

It also works as a way to hang a tag from a bag strap, and it's the start of most cord keychains.

Standard vs reverse lark's head

Same knot, two faces. With the standard lark's head the horizontal bump sits on the front of the dowel. Loop the cord over from the front instead and the bump ends up at the back, so the front shows two clean vertical strands. That's the reverse lark's head.

Neither one is wrong. Pick one per piece and stick to it, because a mix of both along the same dowel looks messy.

Double lark's head and lark's head sinnets

A double lark's head adds a half hitch on each side of the mount. You get a wider knot that grips the dowel harder, which helps on heavy pieces.

The vertical lark's head in this tutorial, repeated down an anchor cord, becomes a lark's head sinnet - a chain with a zig-zag edge. It makes a good border, or a strap for a small hanger.

How much cord to cut for mounting

Because the cord folds in half, every mounted piece hangs as two strands at half the length you cut. Work out how long you want each strand to hang, add length for the knots you'll tie, then double it. A rough rule: knotted sections eat three to four times their finished length in cord. Running short halfway down a wall hanging is no fun, so cut long.

Other uses for the knot

  • Keychains and bag charms: mount a few cords on a split ring and knot down from there.
  • Bracelets: start a cord bracelet on a lark's head loop, then finish with a sliding bracelet knot.
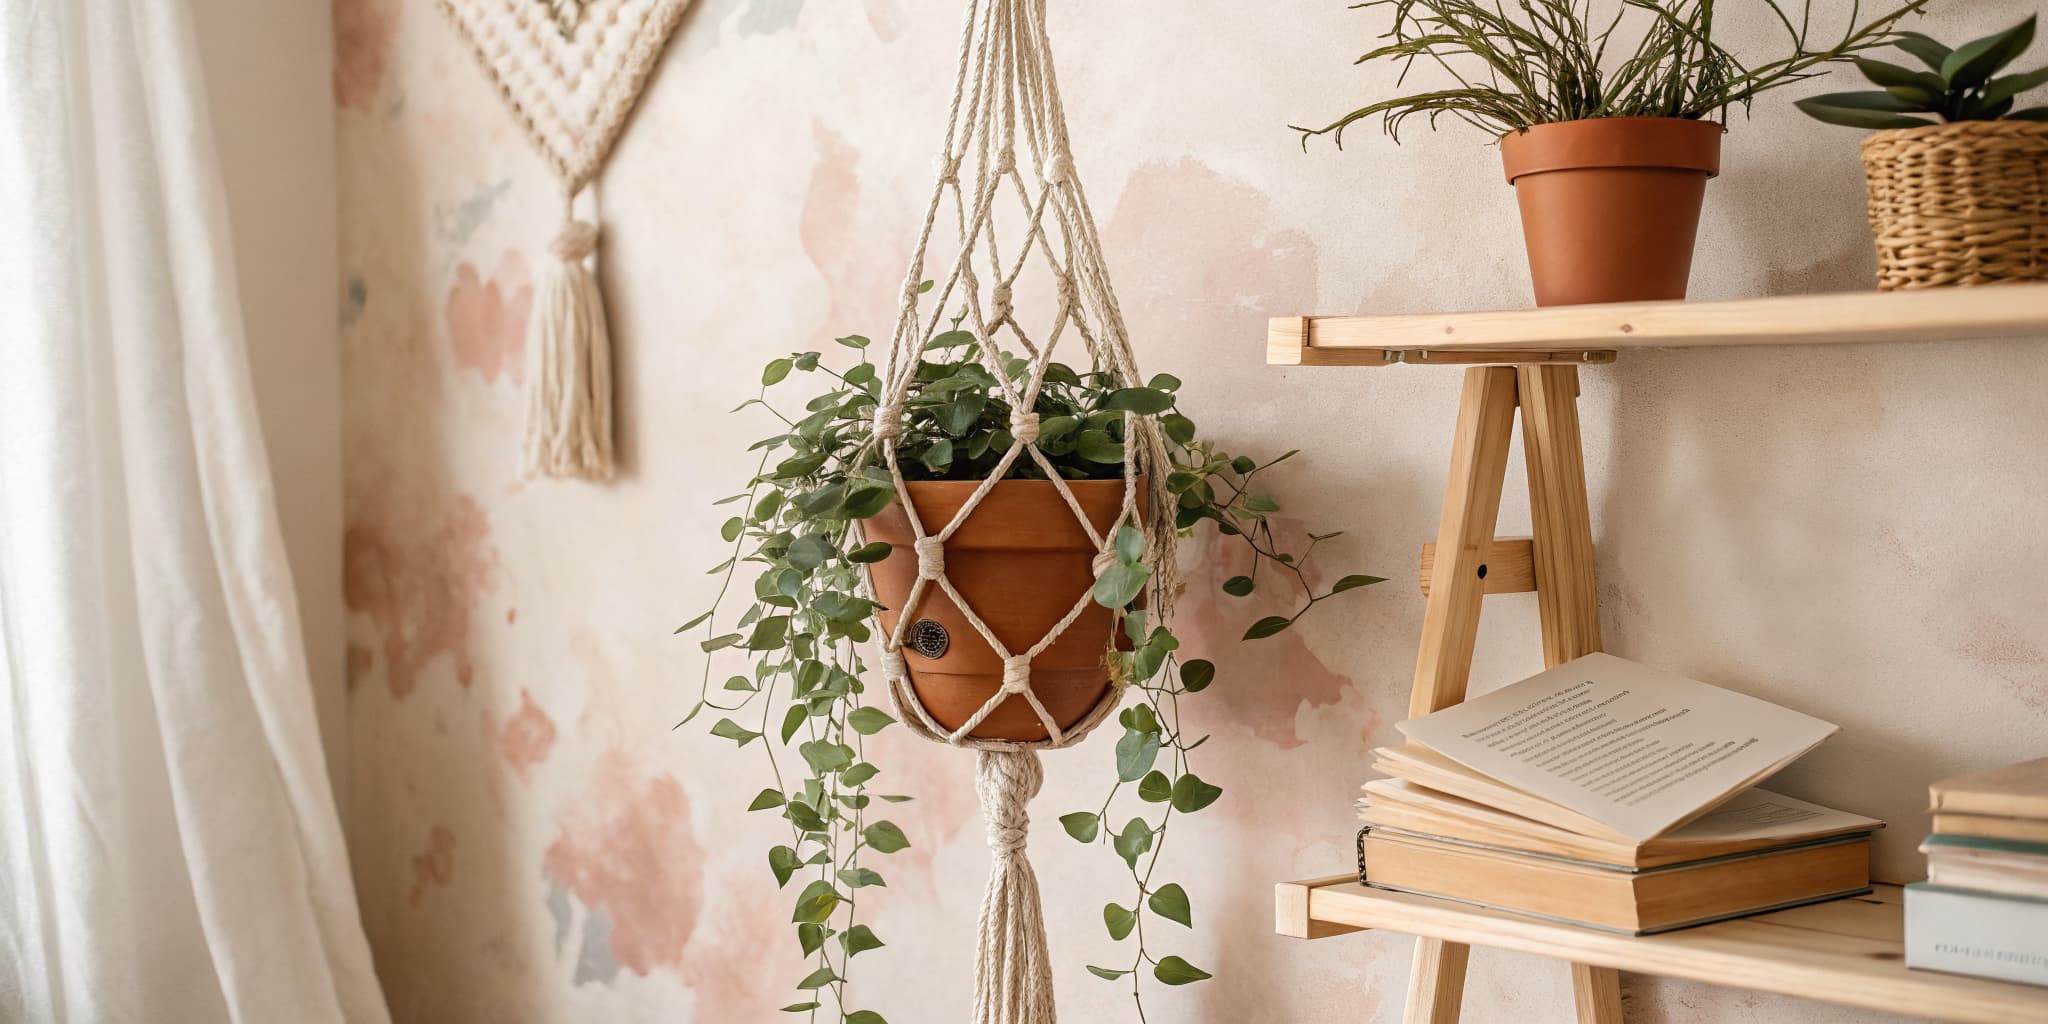
  • Plant hangers: mount on a wooden ring and build down to a macrame plant hanger.

Troubleshooting

  • Twisted loops. One strand crossed over the other as you pulled through. Loosen it, lay both strands flat and side by side, and tighten again.
  • Uneven tails. The fold wasn't centered. Line the ends up before you fold, or one side runs out first.
  • Knots sliding on the dowel. Tighten each mount firmly and push them snug against each other. On a smooth dowel, a double lark's head grips better.

What to tie next

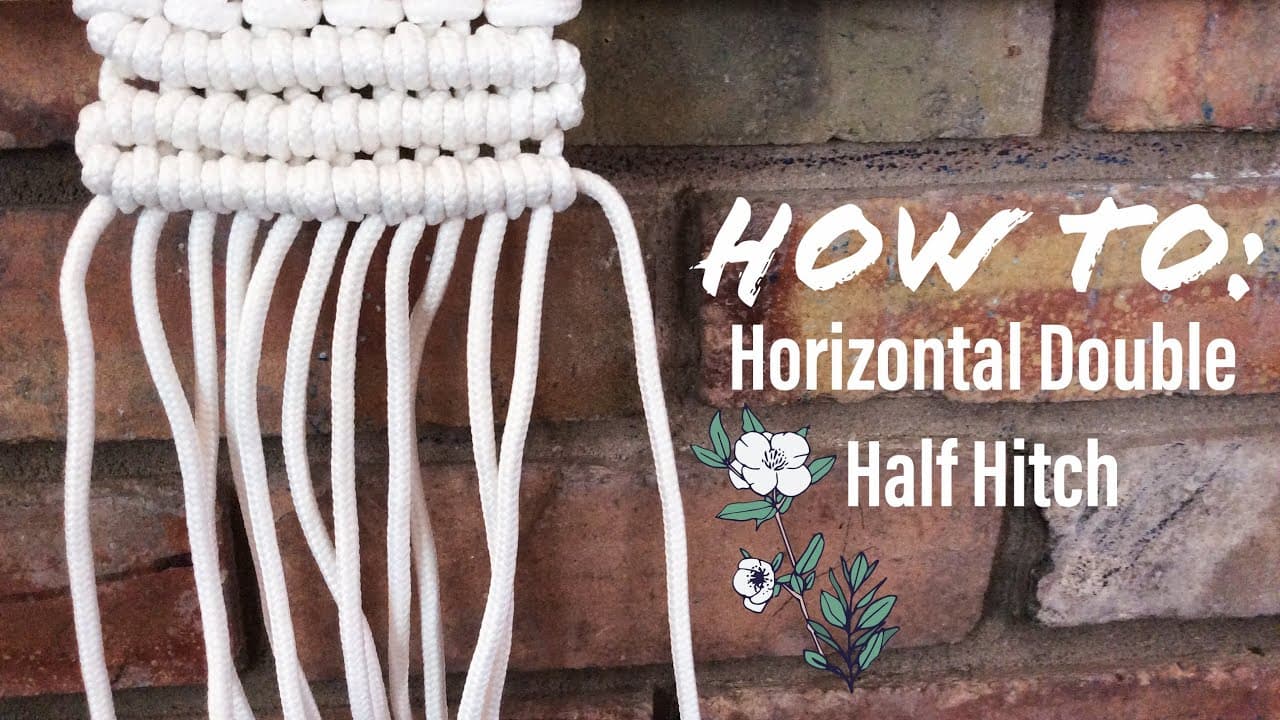
Once your cords are mounted, the knot you almost always tie next is the square knot. For the other basic knots, see how to macrame, then put them together in a macrame wall hanging. A good first project is an easy macrame wall hanging that uses lark's head mounting plus a few square knots.
What you'll need

Free, for this project

Get this checklist by email

  • All 5 tools and materials, with tick boxes
  • A link to print all 6 steps on paper, to keep by you while you craft

No password. The whole tutorial stays free on this page.

Quick answer

Learn the lark's head knot, the foundational macrame mounting knot. An easy project: about 15 minutes. Materials cost about $5 to $8. You need 5 things, including Macramé cord, Wooden dowel or driftwood branch and Macramé fringe comb. The 6 steps start with gather Your Cord and Dowel, mount the Cord With a Standard Lark's Head, first Half of the Vertical Lark's Head, second Half - Close the Sideways Knot and repeat to Build a Chain.

Step-by-step guide

6 steps, about 5 minutes. Tap a picture to jump to that step. Your progress saves automatically.

Tick each step off as you go.

  1. Step 1: Gather Your Cord and Dowel

    Watch this step · 1:40

    Nicole works with a 200 cm strand of 3.5 mm twisted cotton cord on a wooden dowel. That length gives you enough working cord to build a full chain of vertical lark's heads with tails left over.

    For practice, any wooden dowel or sturdy branch works. Pull up scissors and a macramé comb so you can clean up the ends later.

    Back to all steps

  2. Step 2: Mount the Cord With a Standard Lark's Head

    Watch this step · 1:50

    Here's the foundational lark's head. Fold your cord in half so you have a loop on one end. Drape that folded loop behind the dowel from the back, then pull the loop forward over the top of the dowel toward you.

    Now feed the two cord tails up through the loop and pull them down. The loop snugs against the dowel and the two tails hang straight down. That's the basic lark's head - the mounting knot every other macramé tutorial assumes you already know.

    Tip:

    If your knot wants to spin around the dowel, you didn't pull both tails through at the same time. Loosen and re-thread - both tails go through the same loop together.

    Back to all steps

  3. Step 3: First Half of the Vertical Lark's Head

    Watch this step · 1:58

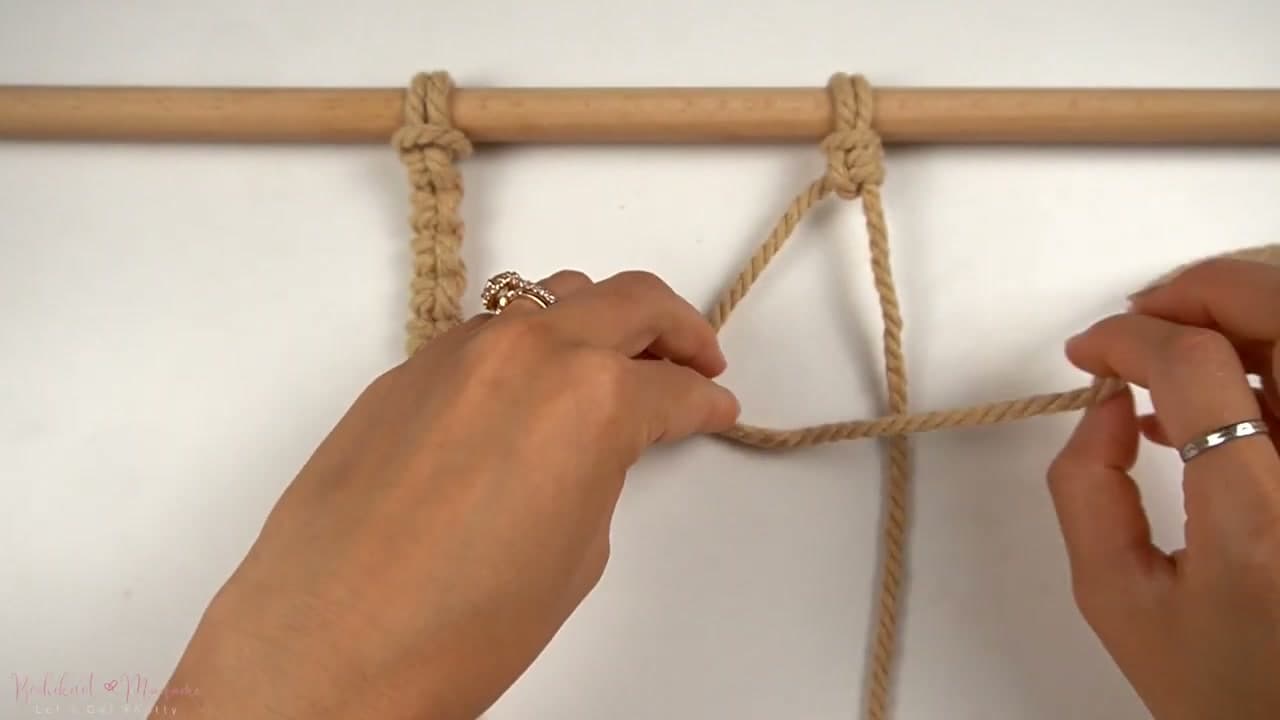
    Now build the decorative variation on top of that mount. You have two tails hanging - the right tail is your working cord, the left tail is your anchor cord.

    Take the right working cord and bring it OVER the left anchor cord, then back down through the loop you just created underneath. Pull the right cord end to tighten. You should see a small bump forming on the right side of the anchor.

    Back to all steps

  4. Step 4: Second Half - Close the Sideways Knot

    Watch this step · 2:18

    Same right working cord, opposite direction this time. Take it UNDER the left anchor cord, then up and through the loop above on the right side. Pull tight again.

    What you should see now is a small sideways lark's head sitting horizontally on the anchor cord, mirroring the mounting knot at the top of the dowel. If it looks flipped or twisted, loosen and re-thread - the working cord always finishes pointing back to its own side.

    Tip:

    This is the step that trips most beginners up. The first half wraps OVER, the second wraps UNDER. If you do two of the same direction in a row, you'll get a spiral instead of a sideways lark's head.

    Back to all steps

  5. Step 5: Repeat to Build a Chain

    Watch this step · 2:50

    To turn one vertical lark's head into a chain, repeat the same two-part knot directly below. Right cord over the anchor, through the loop, pull tight. Right cord under the anchor, up through the loop, pull tight. That's another vertical lark's head sitting flush against the first.

    Keep going for as many repeats as you want. Each knot stacks tight against the previous one, building a zig-zag pattern down one side of the anchor cord.

    Back to all steps

  6. Step 6: Mirror the Pattern on the Other Side

    Watch this step · 3:35

    For a symmetrical piece, do the same thing on the left. This time the LEFT cord is the working cord and the right cord is the anchor. Take the left cord over the right anchor, through the loop underneath, pull tight. Then under the anchor, up through the loop, pull tight.

    Repeat down the cord and you'll have a matching chain mirroring the first. That's the entire vertical lark's head pattern - one knot, two halves, repeated on each side.

    Tip:

    Once you can tie this chain in your sleep, try alternating colors of cord or pair it with square knots from a basic macramé tutorial. The vertical lark's head shows up in plant hangers, wall hangings, and belts.

    Back to all steps

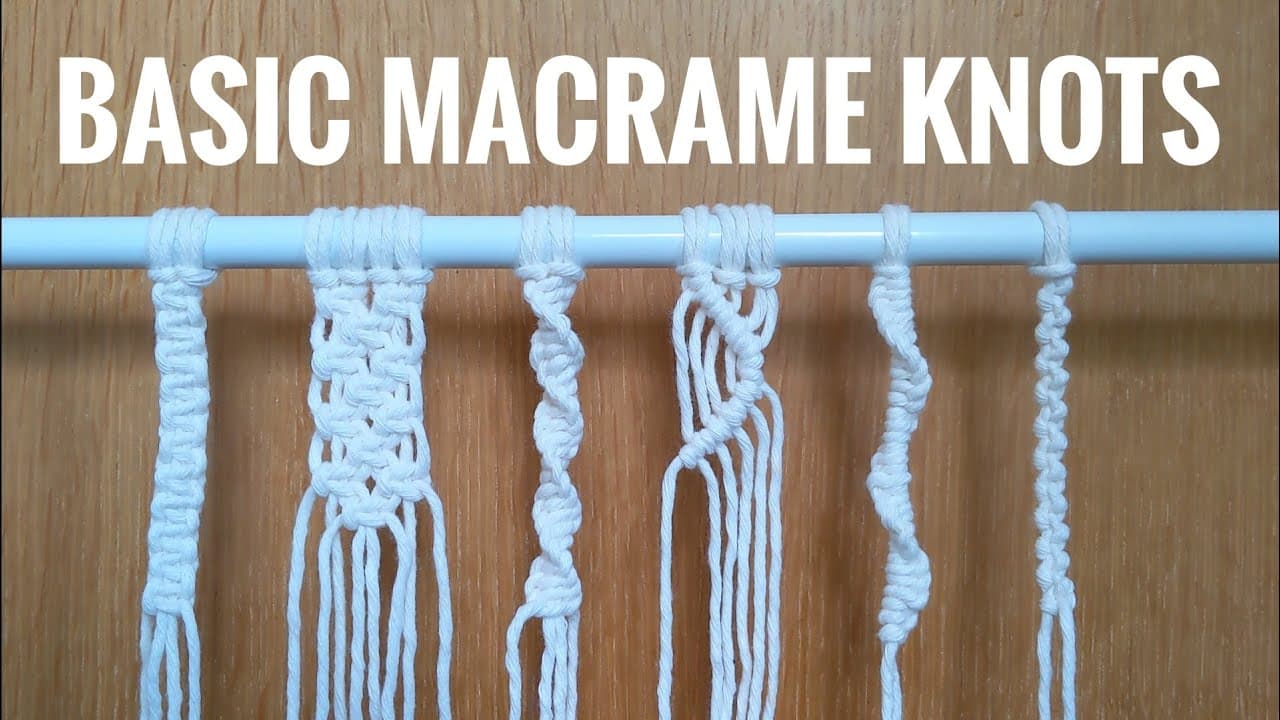
How to Macrame: 7 Basic Knots Every Beginner Must Know

Keep going

How to Macrame: 7 Basic Knots Every Beginner Must Know

7 steps · about 11 minutes

Products Used

The Checklist

How to Tie a Lark's Head Knot (Macramé Mounting Knot)

Tools
3
Materials
2
Steps
6
Video
5 min

Tools we recommend

As an Amazon Associate we earn from qualifying purchases. Links on this page may be affiliate links - clicking them and buying doesn't change your price, but helps support Crafting Step by Step.

Tags

The Crafter's Weekly

New macramé tutorials, every Sunday

One short email with the week's best step-by-step guides. Free, no spam, unsubscribe anytime.

Test your knowledge

Did the lesson stick? Start with this one.

5 questions covering what you just read. No signup, no score saved, and you can stop after this one.

Question 1 of 5

What is the lark's head knot used for?

Quick reference

Key takeaways from How to Tie a Lark's Head Knot (Macramé Mounting Knot)

5 questions, answers, and one-line explanations. Tap to expand.

  1. 1.What is the lark's head knot used for?

    Answer: Mounting your cord to a dowel - it starts every wall hanging, plant hanger, and bracelet

    Lark's head is THE mounting knot every macramé tutorial assumes you know.

  2. 2.What's the first move to mount the cord?

    Answer: Fold the cord in half so you have a loop at one end

    Fold in half first, then drape the folded loop behind the dowel.

  3. 3.After folding, how do you complete the mount?

    Answer: Drape the loop behind the dowel, pull it forward over the top, feed the tails up through the loop and pull down

    Loop behind, over the top, tails through the loop - snugs flat against the dowel.

  4. 4.In the vertical (decorative) variation, what are the two cords called?

    Answer: Working cord (does the wrapping) and anchor cord (stays straight)

    Working cord wraps around the anchor cord; same concept as square-knot fillers.

  5. 5.To get a SYMMETRICAL piece, what do you do on the LEFT side?

    Answer: Switch roles: LEFT cord is the working cord, RIGHT cord is the anchor; do the over-then-under sequence in mirror

    Swap roles for the left side and you get a clean mirrored chain.

Did this work for you?

What's next

Related collections

Curated theme pages that include this tutorial.

Similar tutorials

Hand-picked next reads based on the one you just finished.

Liked this macramé tutorial?

Pick the crafts you want to hear about. One email every Sunday with new step-by-step tutorials. No spam, easy to unsubscribe.

Get more like this in your inbox

Weekly digest. Pick the categories you want. Unsubscribe anytime.

Send me tutorials about

We only email about new tutorials. Easy unsubscribe anytime.