Easy Macrame Wall Hanging for Beginners

The finished result: Easy Macrame Wall Hanging for Beginners
  • Difficulty: Easy
  • About 1 hour 30 minutes
  • 7 steps

You tapped Save

Save this project for later

We'll email you a link, no password.

Easy Macrame Wall Hanging for Beginners

  • Your saved projects in one list
  • Your ticked steps on any device

Check your inbox for an email from us. Not there? Look in your spam folder.

Print

Steps written out by Crafting Step by Step from Soulful Notions' video (opens YouTube) (8:28). Published . Updated .

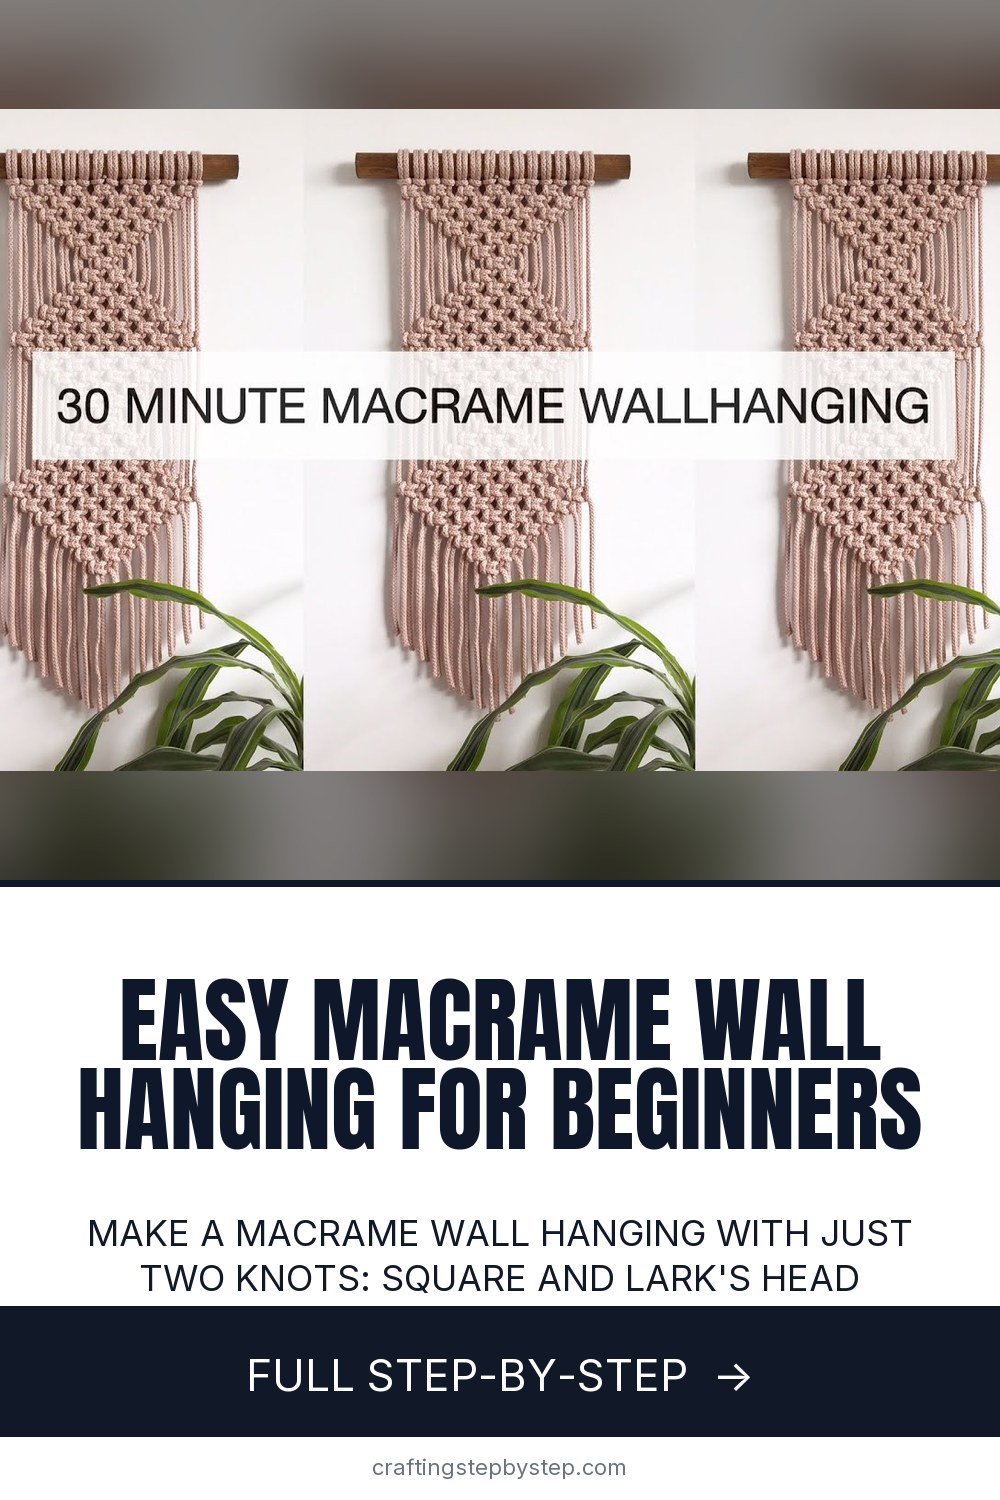
Macrame looks complicated but this project uses only two knots repeated in a pattern. If you can tie a square knot, you can make this wall hanging in about 30 minutes.

Soulful Notions walks through a geometric diamond pattern that looks impressive on a wall but is one of the easiest macrame projects to start with. You build the pattern row by row, and the diamond shape emerges naturally as you add and subtract cords from each row.

Free printable

Print the steps and supply list for this project

One page you can take to the table. Free with a free account, no password.

Get the free printable

What you'll need

Free, for this project

Get this checklist by email

  • All 4 tools and materials, with tick boxes
  • A link to print all 7 steps on paper, to keep by you while you craft

No password. The whole tutorial stays free on this page.

Quick answer

Make a macrame wall hanging with just two knots: square and lark's head. An easy project: about 1 hour 30 minutes. Materials cost about $10 to $20. You need 4 things, including Macrame cord, Scissors and Wooden dowel. The 7 steps: mount Cords with Larks Head Knots, learn the Square Knot, make the First Row of Square Knots, create the V Shape with Alternating Knots, reverse into the Diamond Shape, complete the Pattern and Repeat and trim the Fringe.

Step-by-step guide

7 steps, about 8 minutes. Tap a picture to jump to that step. Your progress saves automatically.

Tick each step off as you go.

  1. Step 1: Mount Cords with Larks Head Knots

    Watch this step · 0:42

    Fold each cord in half and loop it over the wooden dowel. Pull the ends through the loop and tighten. This is the larks head knot.

    Cut cords in graduated lengths - shorter on the outside, longest in the center. The center cords do the most knotting and need extra length. Mount them symmetrically: two of each length on each side.

    Back to all steps

  2. Step 2: Learn the Square Knot

    Watch this step · 1:37

    Take four cords. The outer two are your working cords, the inner two stay straight as filler. Make a figure four with the left cord over the fillers, pull the right cord over, behind, and through the loop. That is half a square knot.

    Now do the same thing from the right side. Left then right makes one complete square knot. That is the only knot you need for this entire project.

    Back to all steps

  3. Step 3: Make the First Row of Square Knots

    Watch this step · 2:53

    Work across the full width, tying square knots with every group of four cords. Pull each knot tight and push it up snug against the dowel so the row is even and secure.

    This first row anchors everything. Take your time getting the tension consistent before moving on.

    Back to all steps

  4. Step 4: Create the V Shape with Alternating Knots

    Watch this step · 3:03

    For the next row, offset by two cords. Take two from one knot and two from the neighboring knot to form a new group of four. Tie a square knot. This is called an alternating square knot.

    Drop two cords from each side with every row. The pattern naturally narrows into a V shape as you work down.

    Tip:

    Keep the tension even on both sides. Lopsided tension makes the V crooked and it is hard to fix later.

    Back to all steps

  5. Step 5: Reverse into the Diamond Shape

    Watch this step · 4:04

    Once you reach the bottom of the V (one knot wide), start adding two cords back into each row as you work down. You are reversing what you just did.

    The pattern widens back out symmetrically, forming the bottom half of the diamond. Make sure both sides match in tension and spacing.

    Back to all steps

  6. Step 6: Complete the Pattern and Repeat

    Watch this step · 6:52

    Once you have expanded back to the full width, you have completed one diamond. Start the V shape again to begin a second diamond directly below the first.

    Two diamonds stacked vertically makes a nice sized wall hanging. You can add more if you want a longer piece.

    Back to all steps

  7. Step 7: Trim the Fringe

    Watch this step · 7:43

    Once all the diamonds are done, trim the hanging cords to your desired length. You can cut them straight across, at an angle, or in a V shape. Brush out the cord ends with a pet brush or comb for a soft, feathered look.

    Back to all steps

How to Make a Concrete Pumpkin (Fall Decor)

Keep going

How to Make a Concrete Pumpkin (Fall Decor)

Keep going with crafts

More on this topic, picked for this project.

You reached the last step

Save this project to come back to it

Your ticked steps, the free printable and your other saved makes, together in My Projects. Free, no password.

You tapped Save

Save this project for later

We'll email you a link, no password.

Easy Macrame Wall Hanging for Beginners

  • Your saved projects in one list
  • Your ticked steps on any device

Check your inbox for an email from us. Not there? Look in your spam folder.

Free printable

Printable sheet and shopping list for this project

The bonus is hidden until you sign up.

Free with a free account, no password. Every step above stays open to everyone.

Products Used

The Checklist

Easy Macrame Wall Hanging for Beginners

Tools
3
Materials
1
Steps
7
Video
8 min

Tools we recommend

As an Amazon Associate we earn from qualifying purchases. Links on this page may be affiliate links - clicking them and buying doesn't change your price, but helps support Crafting Step by Step.

Tags

The Crafter's Weekly

New crafts tutorials, every Sunday

One short email with the week's best step-by-step guides. Free, no spam, unsubscribe anytime.

Test your knowledge

Did the lesson stick? Start with this one.

5 questions covering what you just read. No signup, no score saved, and you can stop after this one.

Question 1 of 5

What knot mounts the cords onto the wooden dowel?

Quick reference

Key takeaways from Easy Macrame Wall Hanging for Beginners

5 questions, answers, and one-line explanations. Tap to expand.

  1. 1.What knot mounts the cords onto the wooden dowel?

    Answer: Larks head knot

    Larks head is the standard mounting knot - fold cord, loop over dowel, pull ends through.

  2. 2.How many cords does ONE square knot use?

    Answer: Four cords (two outer working, two inner filler)

    Square knots always use four cords - two outer wrap around two inner fillers.

  3. 3.How do you make ONE complete (full) square knot?

    Answer: Half from the left, then half from the right

    Left-then-right makes one complete square knot; without the mirror it would spiral.

  4. 4.What does an 'alternating square knot' do for the pattern?

    Answer: Offsetting by two cords to make new groups - creates the V/diamond shape

    Alternating offsets create the diamond/V pattern by grouping two cords from each neighboring knot.

  5. 5.For a feathered fringe finish at the bottom, what do you do after trimming?

    Answer: Brush out the cord ends with a pet brush or comb

    A pet brush separates the cord plies into a soft feather.

Did this work for you?

What's next

Related collections

Curated theme pages that include this tutorial.

Similar tutorials

Hand-picked next reads based on the one you just finished.

Liked this crafts tutorial?

Pick the crafts you want to hear about. One email every Sunday with new step-by-step tutorials. No spam, easy to unsubscribe.

Get more like this in your inbox

Weekly digest. Pick the categories you want. Unsubscribe anytime.

Send me tutorials about

We only email about new tutorials. Easy unsubscribe anytime.