1
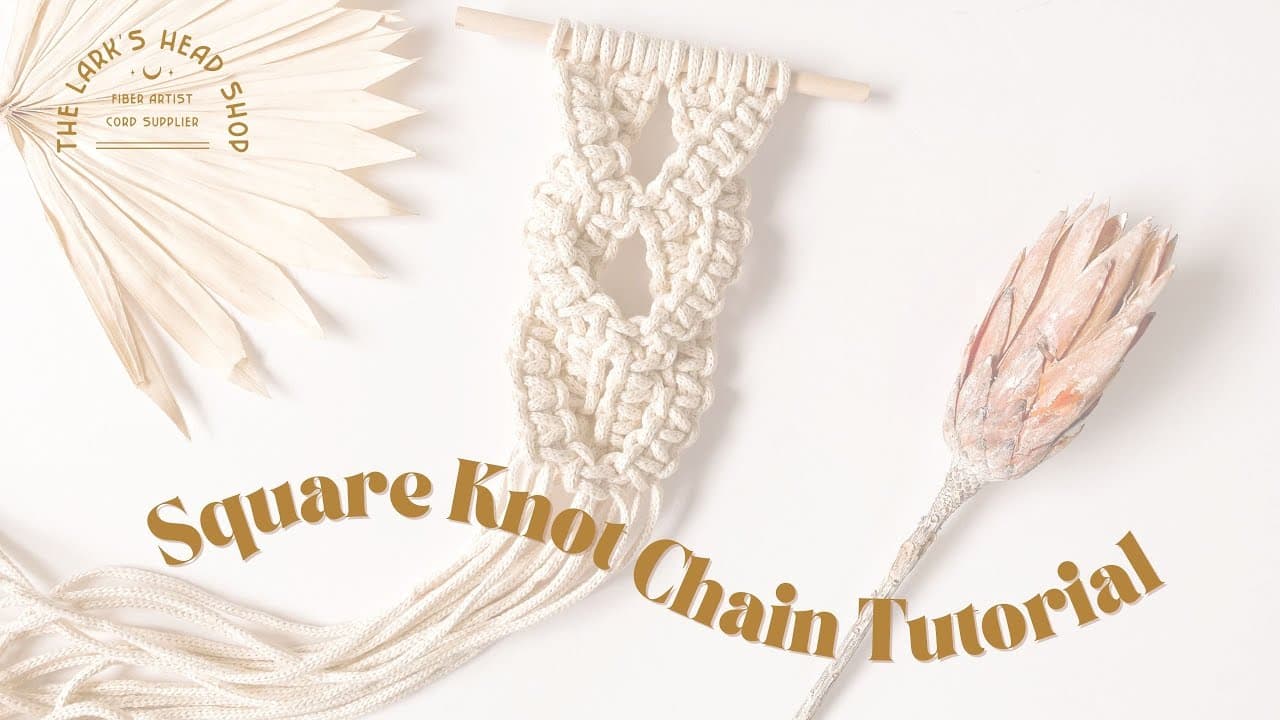
Step 1: Tie a Larks Head Knot
0:12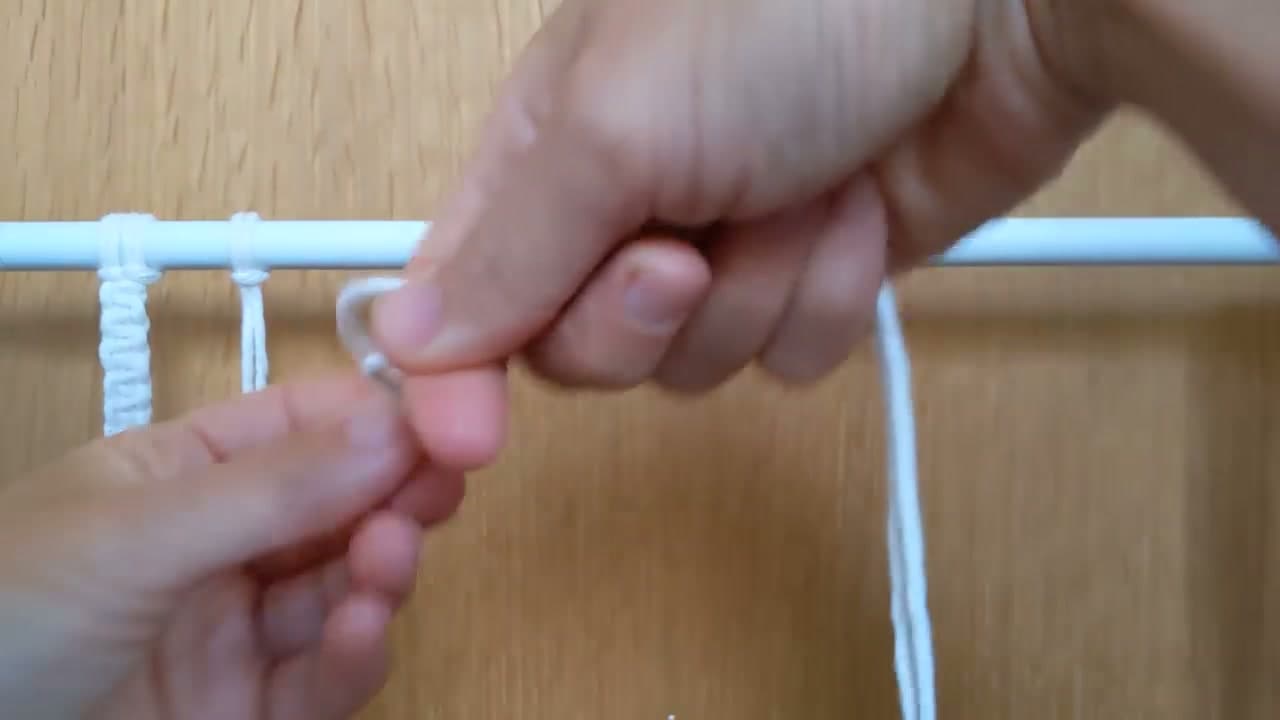
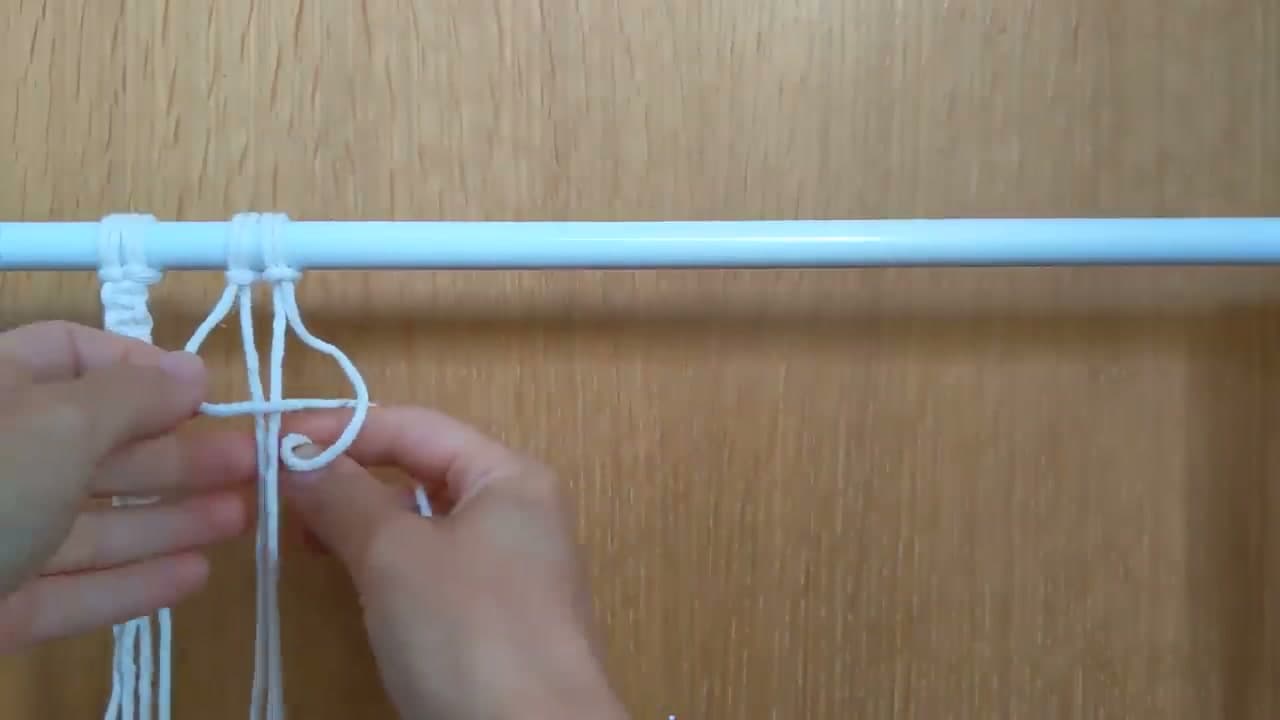
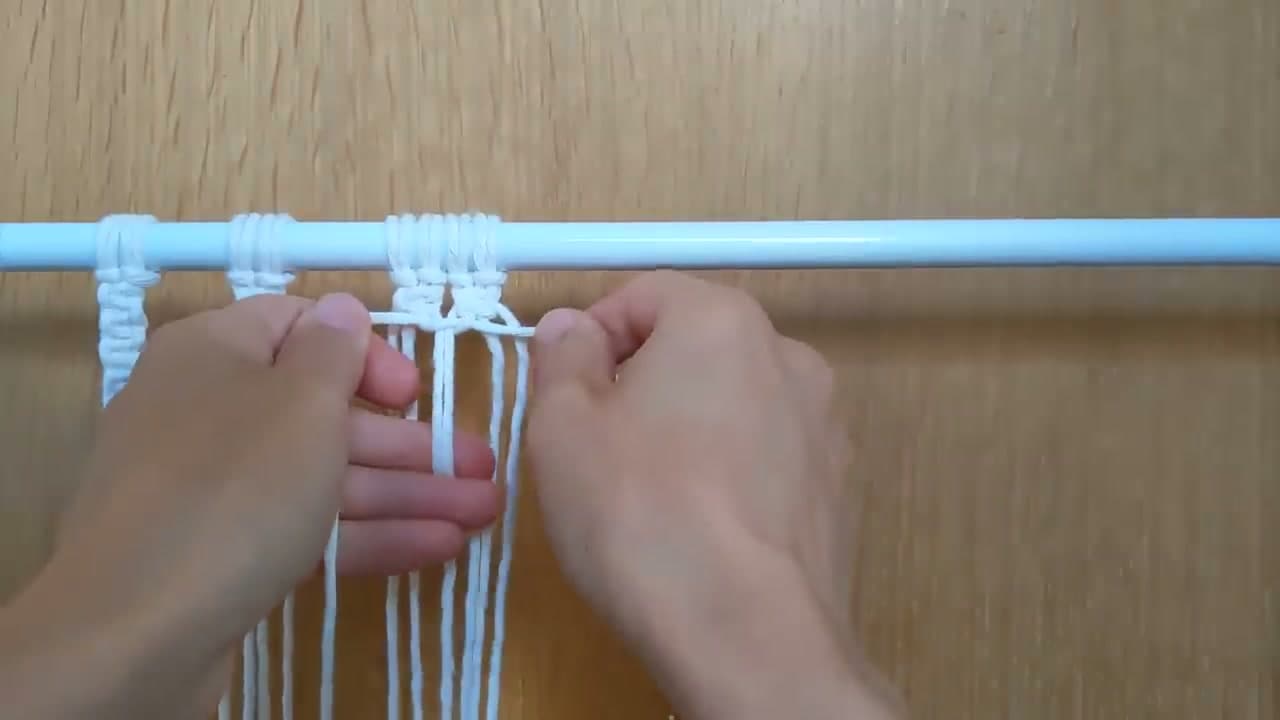
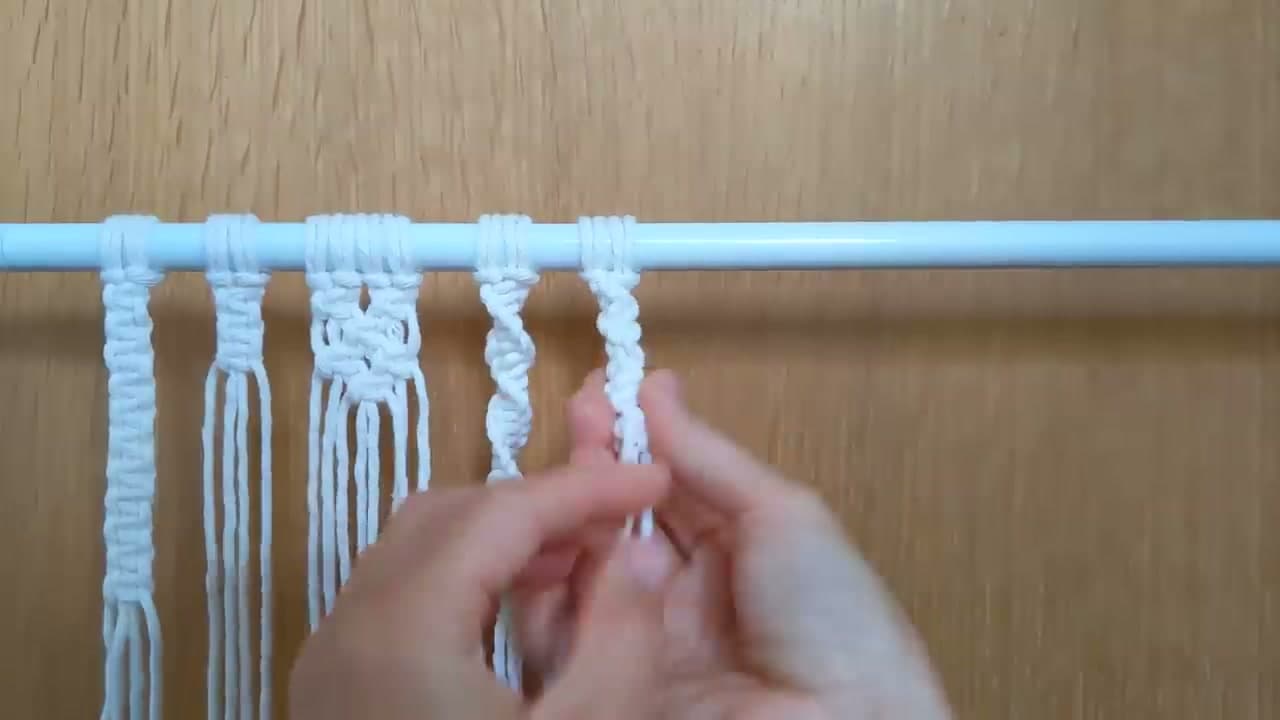
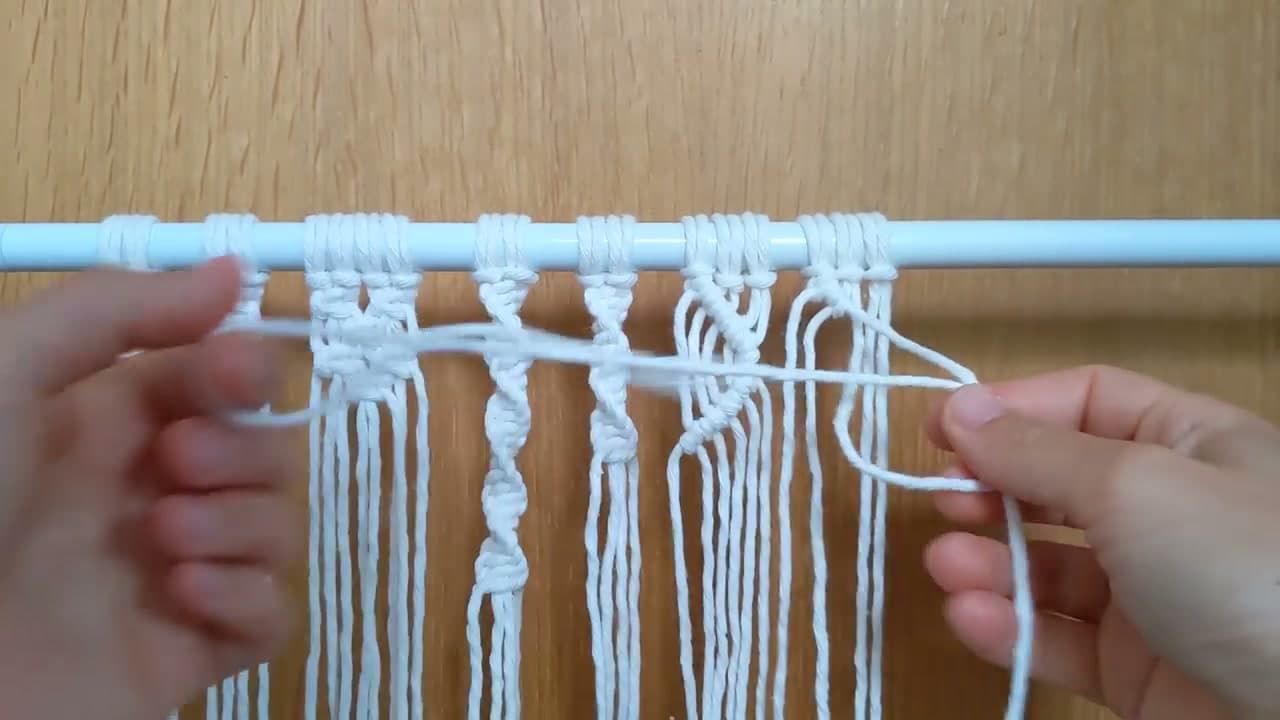
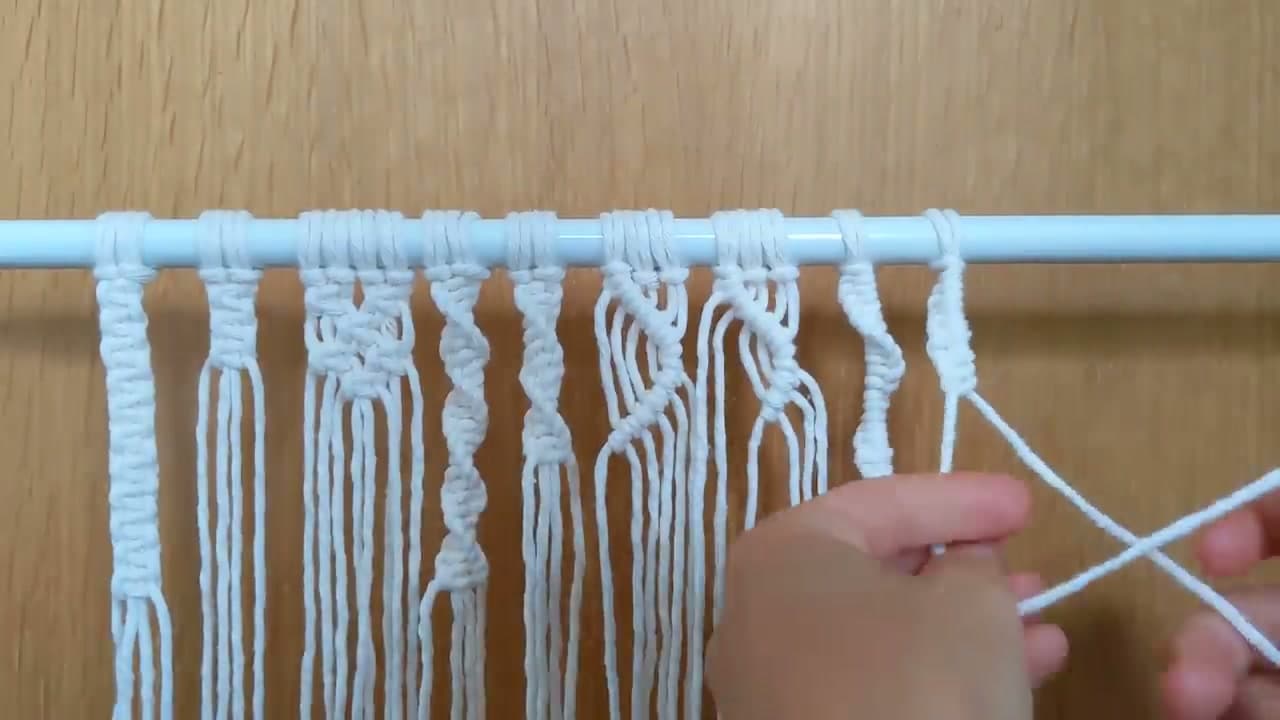
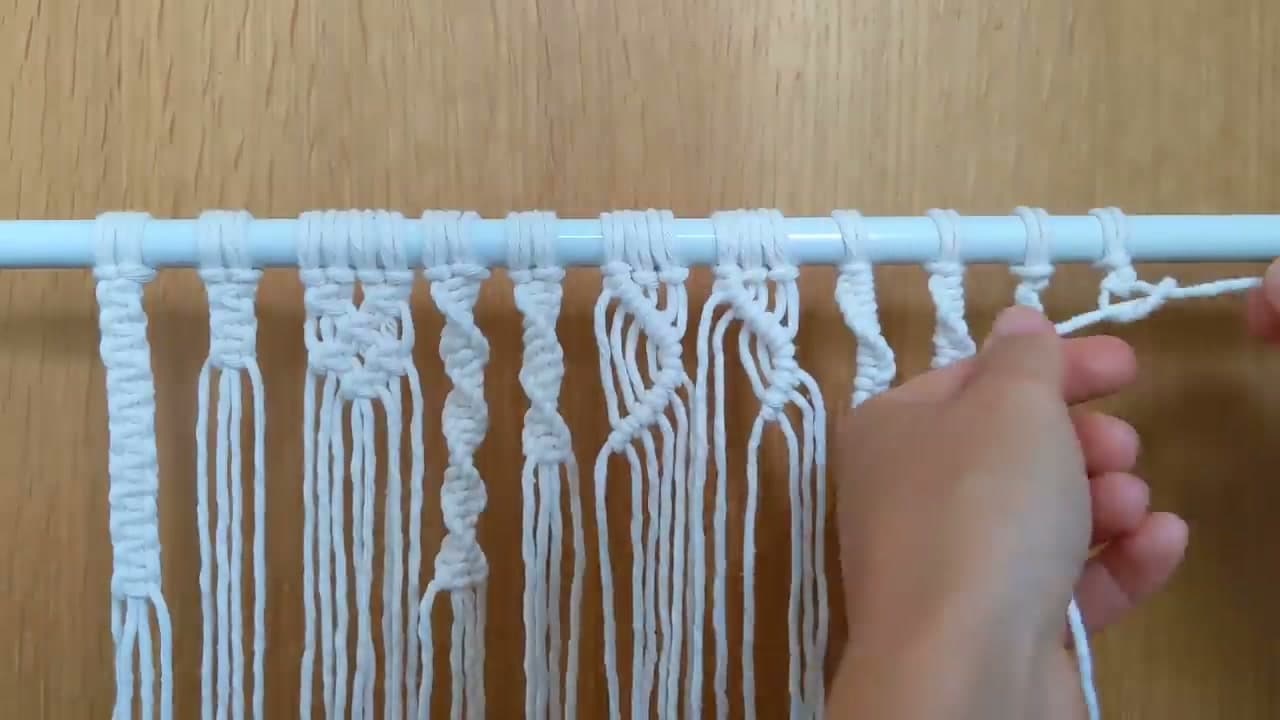
Every macrame project starts with attaching cord to a rod. Fold a long cord in half, drape the fold over the back of the dowel, then bring both cord ends through the loop and pull tight. That's a Larks Head Knot.
Each Larks Head produces 2 working strands. Most projects use 4-8 Larks Head knots side by side, giving you 8-16 working strands to knot down through the body of the project.