How to Tie a Half Hitch (Horizontal Double Half Hitch, 2 Methods)

Based on a video by Gray Wonders

Opens their YouTube channel

Steps written out by CraftingStepByStep · Published · Updated

Watch the original video (opens YouTube)
The finished result: How to Tie a Half Hitch (Horizontal Double Half Hitch, 2 Methods)
Also in:Crafts

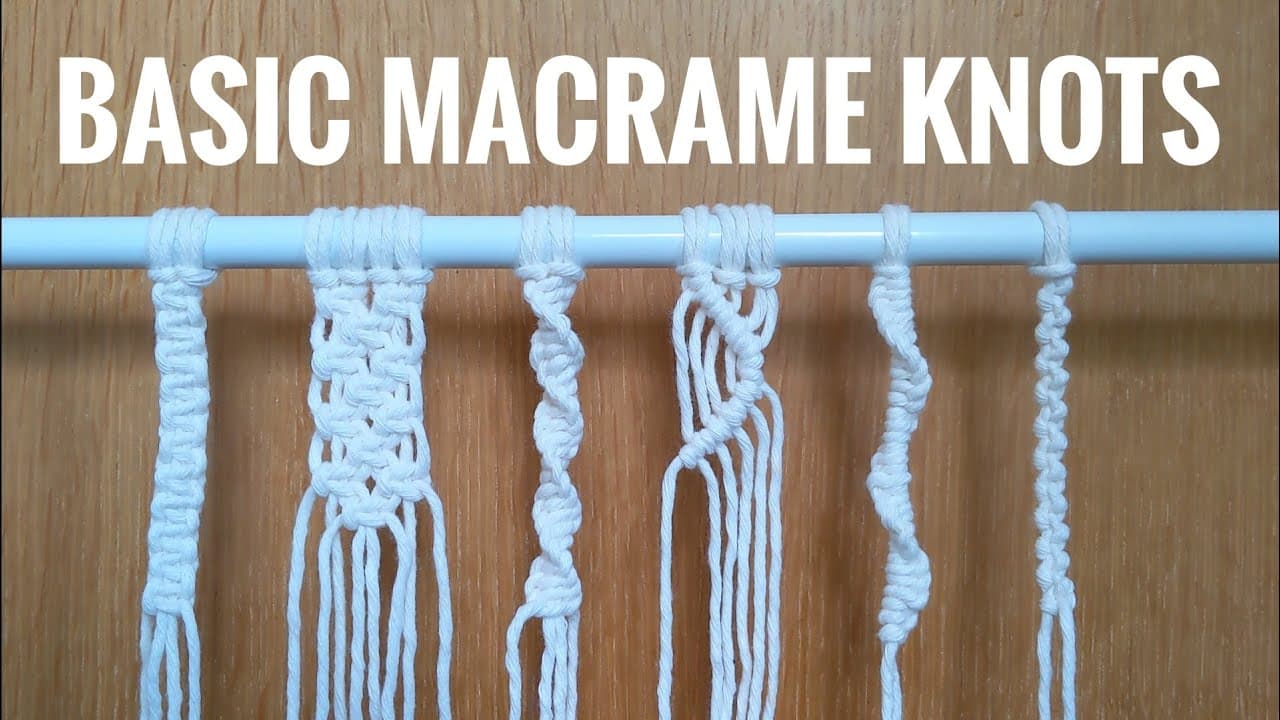
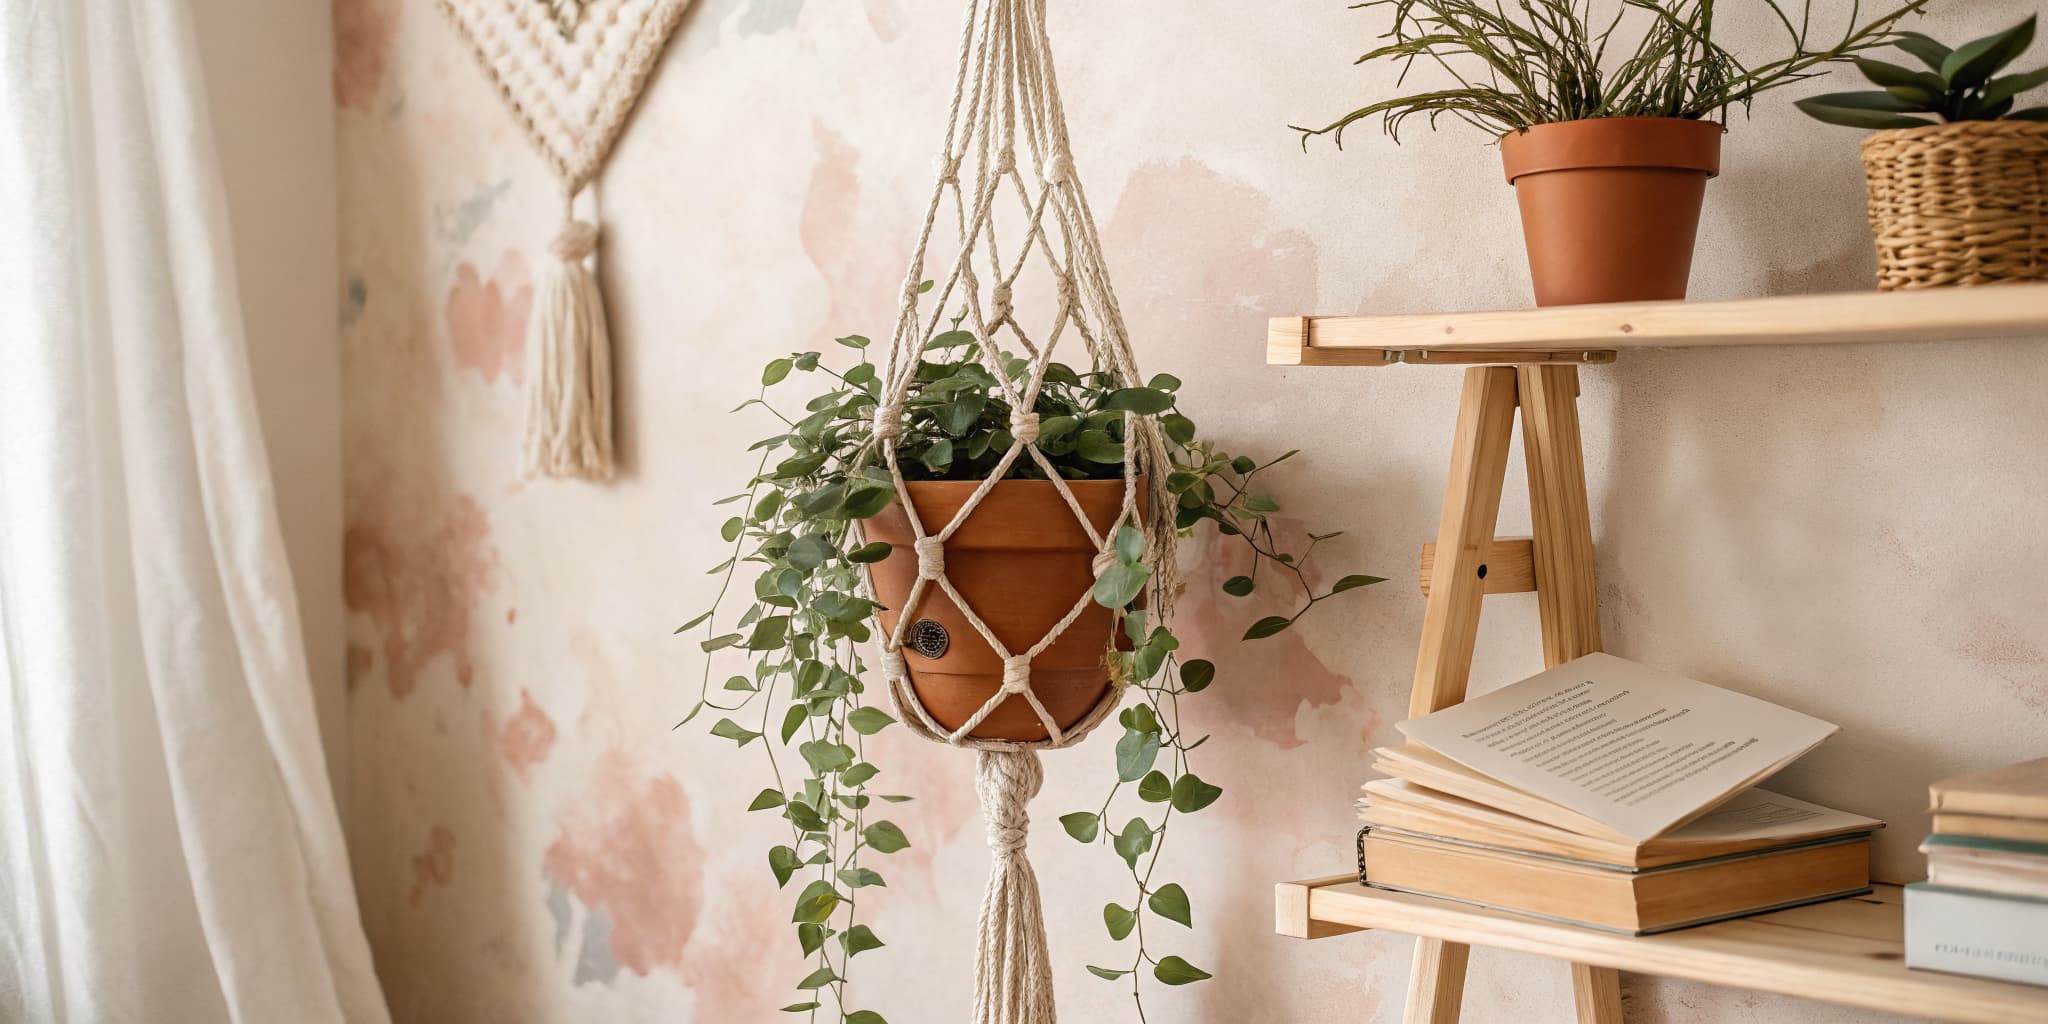
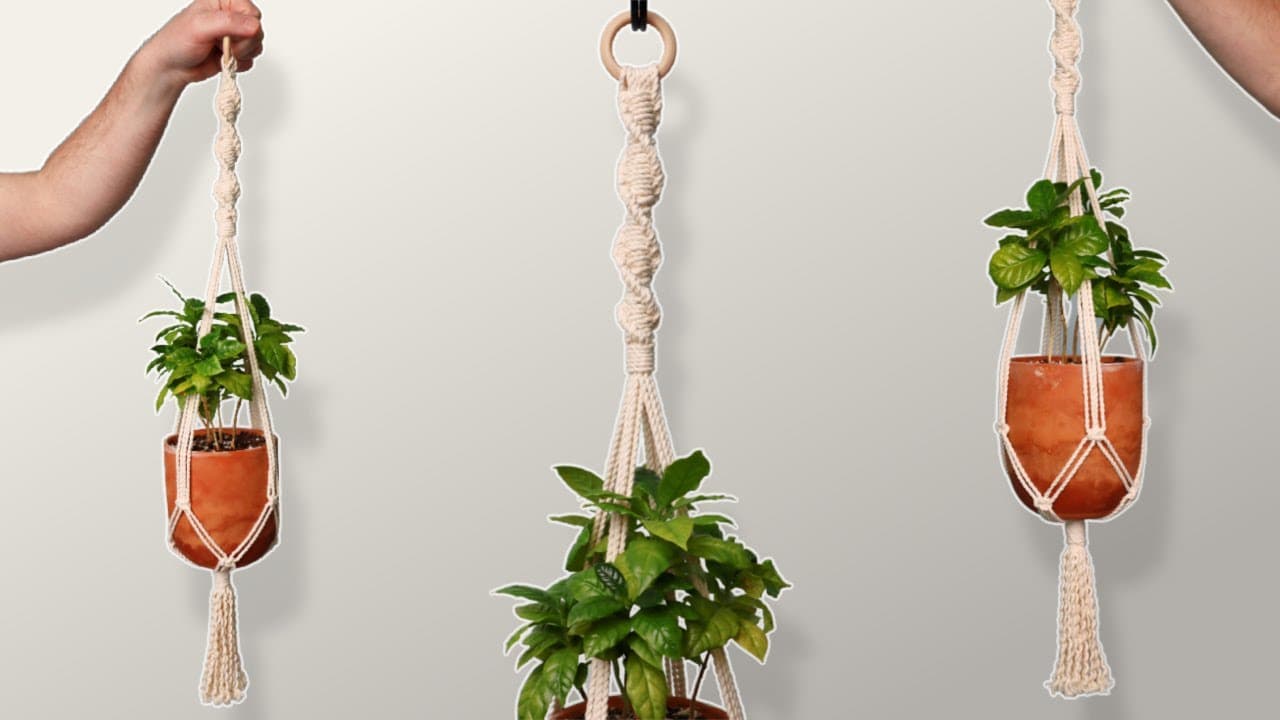
The horizontal double half hitch is one of the four core macrame knots, alongside the lark's head, the square knot, and the gathering knot. It's what makes those clean horizontal bars you see across the top of macrame plant hangers and wall hangings.

Gray Wonders walks through two ways to tie it. The first method uses one of the cords already mounted in your project as the leading rope - quick to set up, slightly curved edge. The second method brings in a separate filler cord - trickier to start, but the edge comes out perfectly straight. Both rows tie identically once the first knot is set, so once you have one method down the other is just a different setup.

This knot is also called the clove hitch. Same knot, two names depending on which corner of the fiber-arts world you learned it in. If you can already tie a square knot, this is your next building block. From here you can layer half hitch rows into diagonal patterns, V shapes, and the geometric borders you see on every macrame wall hanging.

The half hitch is also the finishing turn that makes a clove hitch trustworthy. Add one to a clove and it stops working loose in the wind while still coming undone when you want it to. See how to tie a clove hitch for the full knot and five more variations.

What you'll need

Step-by-step guide

7 steps, about 10 minutes. Tap a picture to jump to that step. Your progress saves automatically.

Tick each step off as you go.

  1. Step 1: Identify Your Leading Rope and Working Ropes

    Watch this step · 0:18
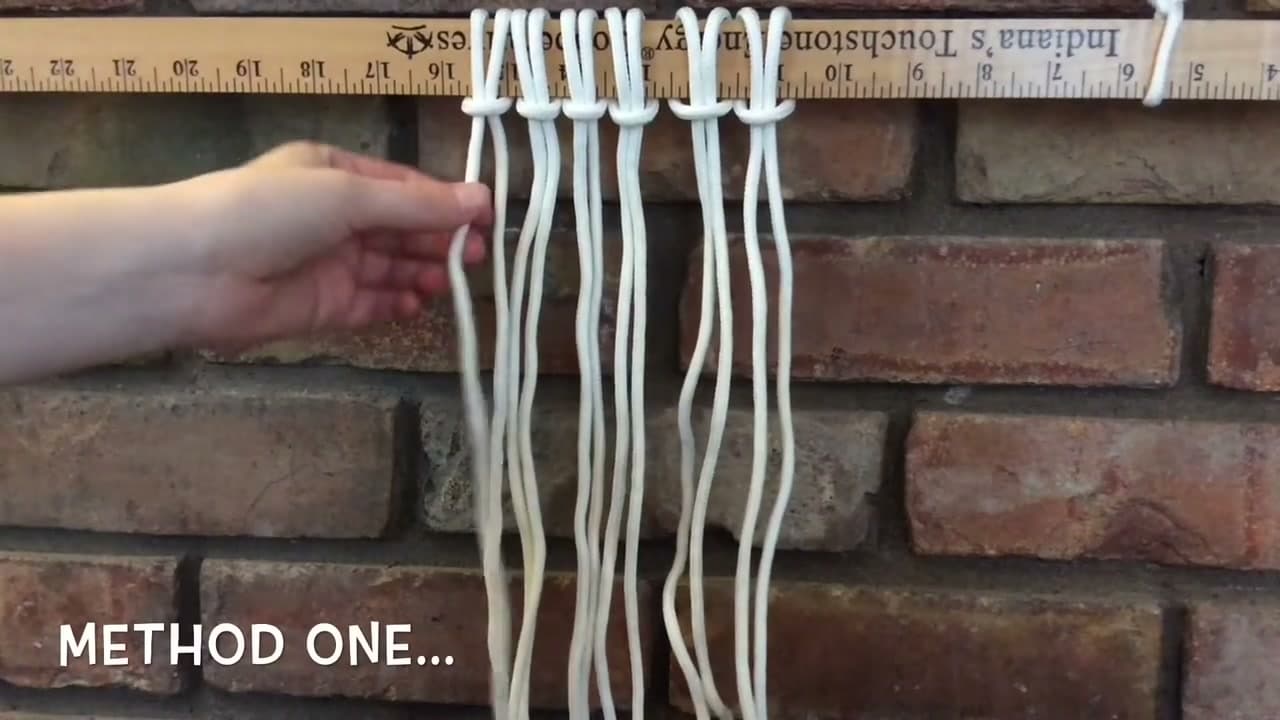
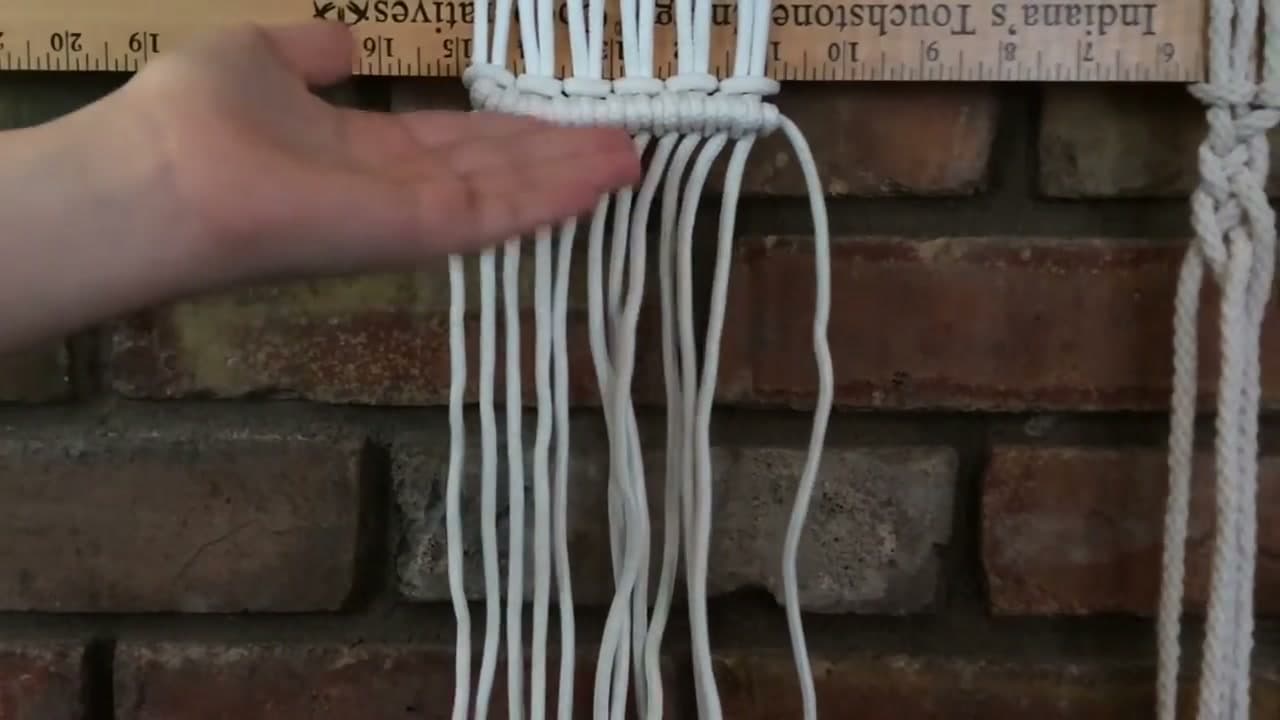
    Before you make a single knot you need to know which cord is which. The leading rope (also called the filler cord or anchor cord) is the one all your knots will wrap around. The working ropes are every other cord in your project - those are the ones that do the actual wrapping.

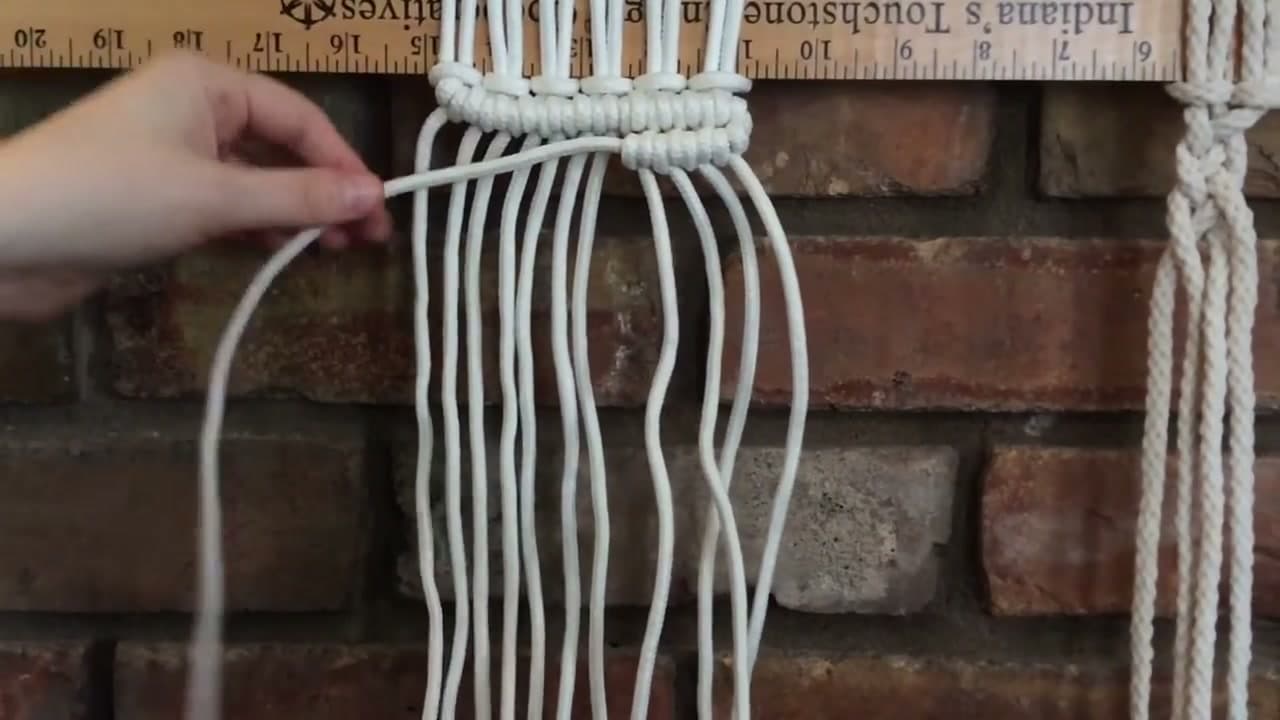
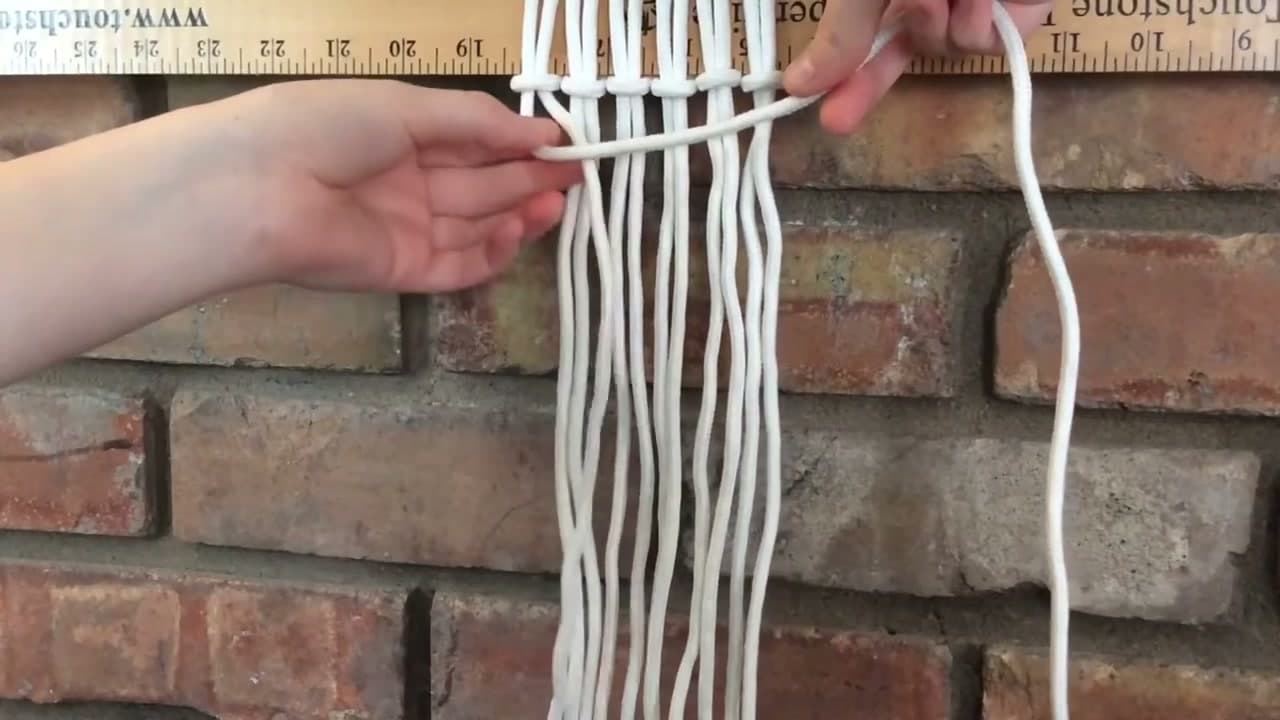
    For method one, pick one of the cords already mounted in your project to be the leading rope. Pull it horizontally across the front of all the other cords and hold it in that direction. It needs to stay pointed the same way for the entire row.

    Tip:

    The cord on the far left or far right of your project is the easiest leading rope to use. You're not splitting the cord group in half partway across.
    Back to all steps

  2. Step 2: Tie the First Half Hitch

    Watch this step · 0:43

    Take your first working rope - the cord right next to your leading rope - and bring it up from behind the leading rope. Curl it up over the leading rope, then bring it back through the loop you just formed.

    Pull it tight up against the leading rope. The working rope should now be snug against the leading rope with a single half hitch sitting on top of it.

    Tip:

    If the knot is sliding sideways as you pull, you're not keeping enough tension on the leading rope. Grip it with your non-dominant hand and don't let it move.

    Back to all steps

  3. Step 3: Add the Second Half Hitch to Complete the Double

    Watch this step · 1:05

    Same working rope, second wrap. This time bring it in front of the leading rope to form a loop, curl it up and over and through that loop, and pull it tight against the first half hitch.

    That's the double half hitch - two half hitches stacked next to each other on the leading rope. Move to the next working rope to your right and do the same two-wrap sequence. Keep going across until every working rope has its double half hitch on the leading rope.

    Tip:

    Gray's memory hook: first wrap, the leading rope is in FRONT of the working rope. Second wrap, the leading rope is BEHIND. Whisper that to yourself for the first few knots until your hands take over.

    Back to all steps

  4. Step 4: Add a Second Row in the Opposite Direction

    Watch this step · 3:35

    One row of double half hitches gives you a clean horizontal bar. A second row right below it doubles the visual weight and is what most macrame patterns ask for.

    Once you reach the end of row one, point that same leading rope back across in the opposite direction. Tie double half hitches with each working rope exactly the same way - one wrap from behind, one from in front. The two rows stack into a thick horizontal band.

    Tip:

    You can also point the leading rope diagonally instead of horizontally on the second pass - that's how you get the V shapes and chevron borders in modern macrame patterns. Same knot, different angle.

    Back to all steps

  5. Step 5: Switch to Method Two With a Separate Filler Cord

    Watch this step · 5:22

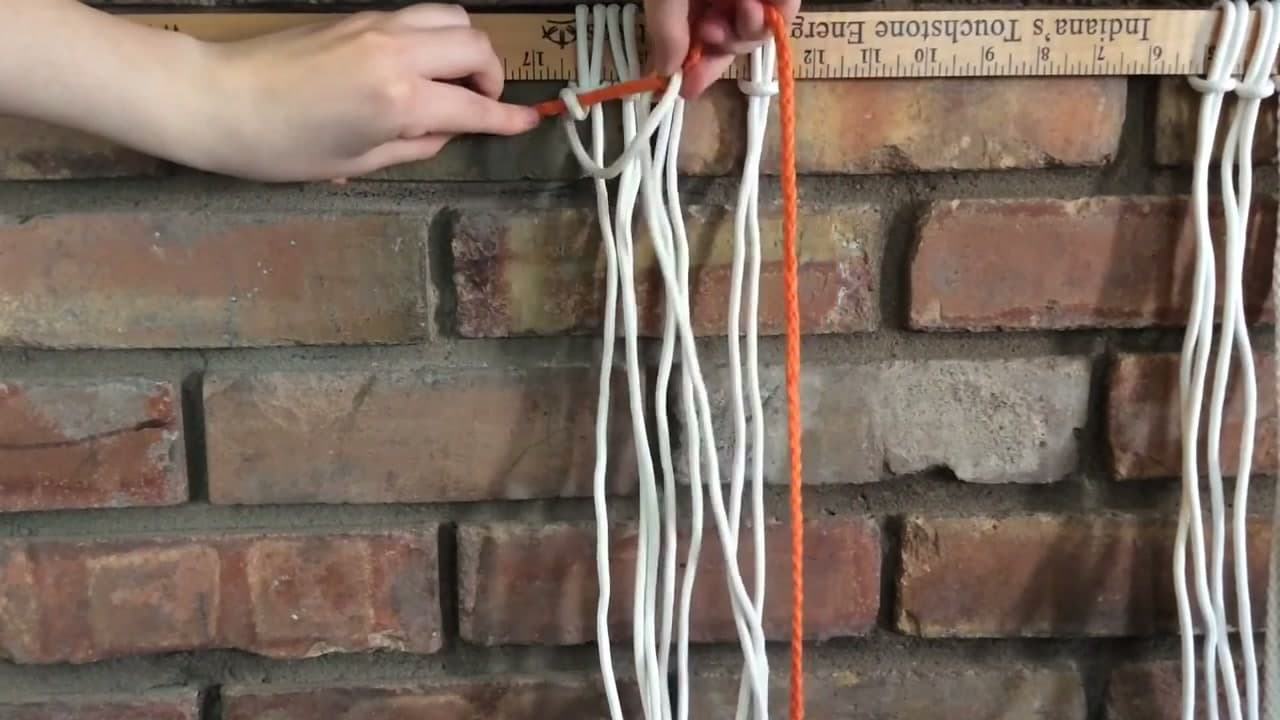
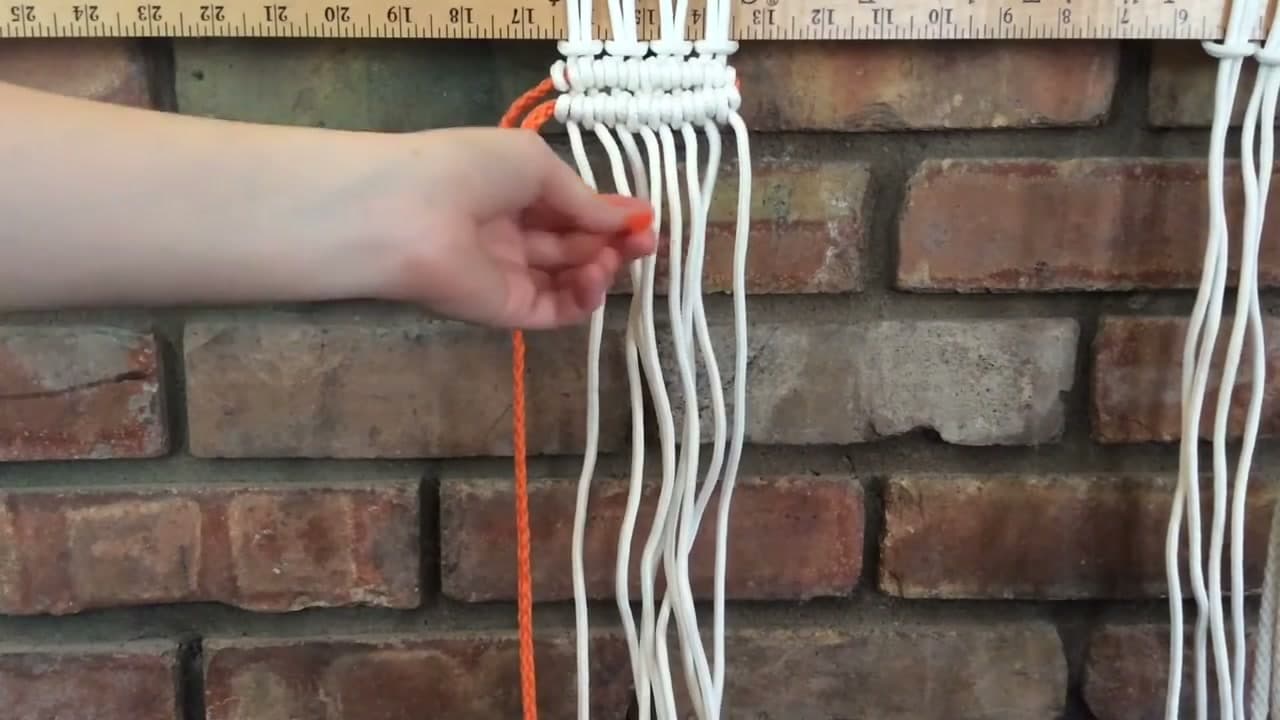
    Method two uses a fresh cord as the leading rope instead of borrowing one from your project. Bring in a separate piece of cord, lay it horizontally across the front of your working ropes, and hold it firmly in place.

    This setup is useful for two reasons. First, all your project cords stay full length for the rest of the design - nothing got committed to being a leading rope. Second, the edge of the knot row comes out straighter because the filler cord doesn't pull at an angle the way a project cord does.

    Tip:

    A contrasting color filler cord makes it way easier to see what you're doing while you learn. Use bright orange or red against white project cord. Once you're comfortable, switch back to a matching color so the filler hides inside the knots.

    Back to all steps

  6. Step 6: Tie the First Knot of Method Two

    Watch this step · 6:27

    The starting knot of method two is the trickiest part of the whole tutorial. The leading rope is loose at both ends, so you have to hold it steady with one hand while you tie with the other.

    Bring the first working rope up from behind the leading rope, curl it into a loop, and pull it through. Hold the leading rope tight and pull the knot snug. Then bring the same working rope around the front to form the second loop, curl behind, pull through, and tighten again. That's your first double half hitch in method two. Every knot after this one ties exactly like method one.

    Tip:

    Pinch the leading rope between your thumb and the project board (or against the wall, or against a clamp) so it can't slip while you tie. Once that first knot is locked in, the leading rope holds itself in place.

    Back to all steps

  7. Step 7: Trim, Tape, and Tuck the Filler Ends

    Watch this step · 9:40

    With method two you end up with two loose ends of filler cord sticking out the sides. Trim each one down to about three or four inches.

    Wrap a piece of tape - masking tape, painter's tape, even washi tape - around the very end of each filler. The tape stops the cord from fraying into a fuzzy mess and stiffens the tip enough to slide cleanly. Flip your project to the back and tuck each taped end behind the knot row you just made. They disappear behind the work and the front shows a perfectly straight knot bar.

    Tip:

    If the filler ends are too short to tuck, weave them between the working cords with a tapestry needle the way you'd weave in knitting ends. Skip the tape in that case - the needle pulls the cord through cleanly without snagging.

    Back to all steps

Keep going

How to Macrame: 7 Basic Knots Every Beginner Must Know

7 steps · about 11 minutes

Products Used

The Checklist

How to Tie a Half Hitch (Horizontal Double Half Hitch, 2 Methods)

Tools
4
Materials
2
Steps
7
Video
10 min

Tools we recommend

As an Amazon Associate we earn from qualifying purchases. Links on this page may be affiliate links - clicking them and buying doesn't change your price, but helps support CraftingStepByStep.

Tags

The Crafter's Weekly

New macramé tutorials, every Sunday

One short email with the week's best step-by-step guides. Free, no spam, unsubscribe anytime.

Test your knowledge

Did the lesson stick? Start with this one.

5 questions covering what you just read. No signup, no score saved, and you can stop after this one.

Question 1 of 5

In a horizontal double half hitch, what is the 'leading rope'?

Quick reference

Key takeaways from How to Tie a Half Hitch (Horizontal Double Half Hitch, 2 Methods)

5 questions, answers, and one-line explanations. Tap to expand.

  1. 1.In a horizontal double half hitch, what is the 'leading rope'?

    Answer: The cord that all your knots wrap around (also called the filler cord)

    The leading rope is the anchor; every working rope wraps onto it.

  2. 2.A horizontal double half hitch is also commonly called a...

    Answer: Clove hitch

    It's the same knot as a clove hitch - used to create clean horizontal bars in macramé.

  3. 3.How many wraps make ONE complete double half hitch on a working rope?

    Answer: Two wraps (one from behind, one from in front)

    Two half hitches stacked = the double; both wraps on the same working rope.

  4. 4.What advantage does using a separate filler cord (Method 2) give you?

    Answer: All your project cords stay full length AND the edge comes out straighter

    Borrowing a project cord shortens it and pulls the edge at an angle; a fresh filler avoids both.

  5. 5.After finishing a Method 2 row, what do you do with the loose filler ends?

    Answer: Trim to 3-4 inches, tape the tips, and tuck behind the knot row

    Tape stops fraying; tucking behind hides the ends so the front shows a perfectly straight bar.

Did this work for you?

What's next

Related collections

Curated theme pages that include this tutorial.

Similar tutorials

Hand-picked next reads based on the one you just finished.

Liked this macramé tutorial?

Pick the crafts you want to hear about. One email every Sunday with new step-by-step tutorials. No spam, easy to unsubscribe.

Get more like this in your inbox

Weekly digest. Pick the categories you want. Unsubscribe anytime.

Send me tutorials about

We only email about new tutorials. Easy unsubscribe anytime.