1
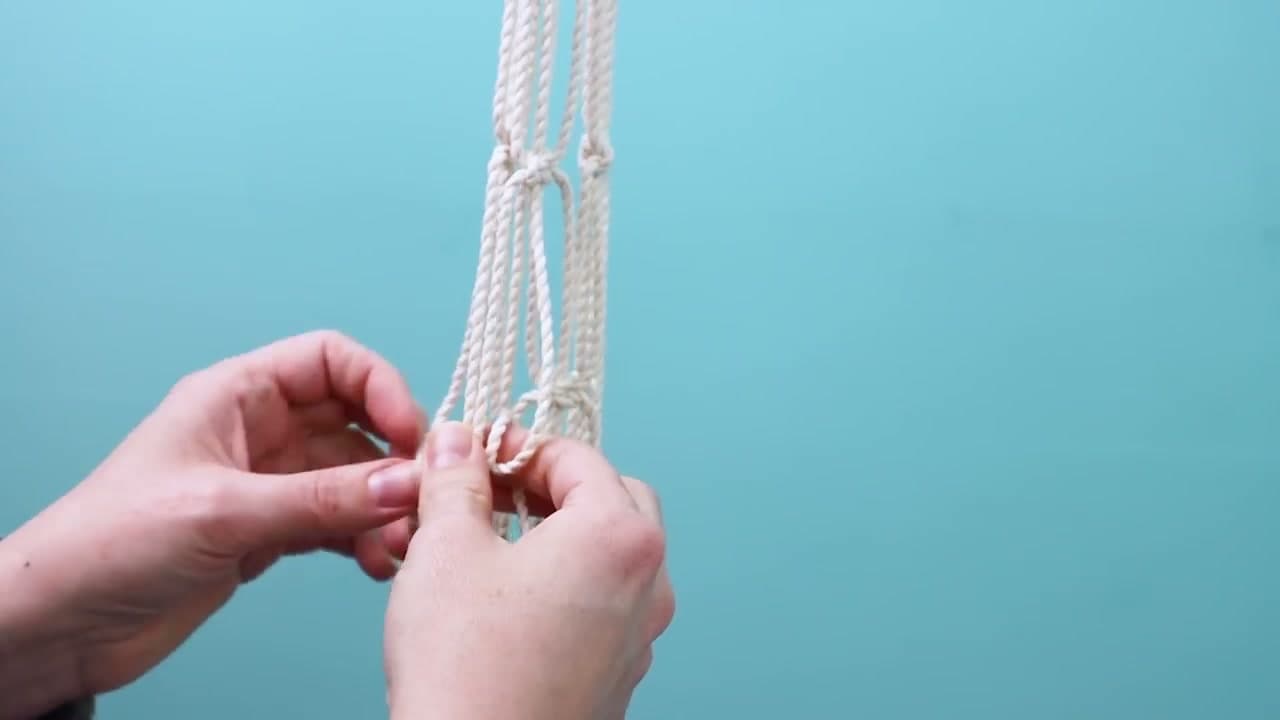
Step 1: Thread Cords Through the Ring
0:24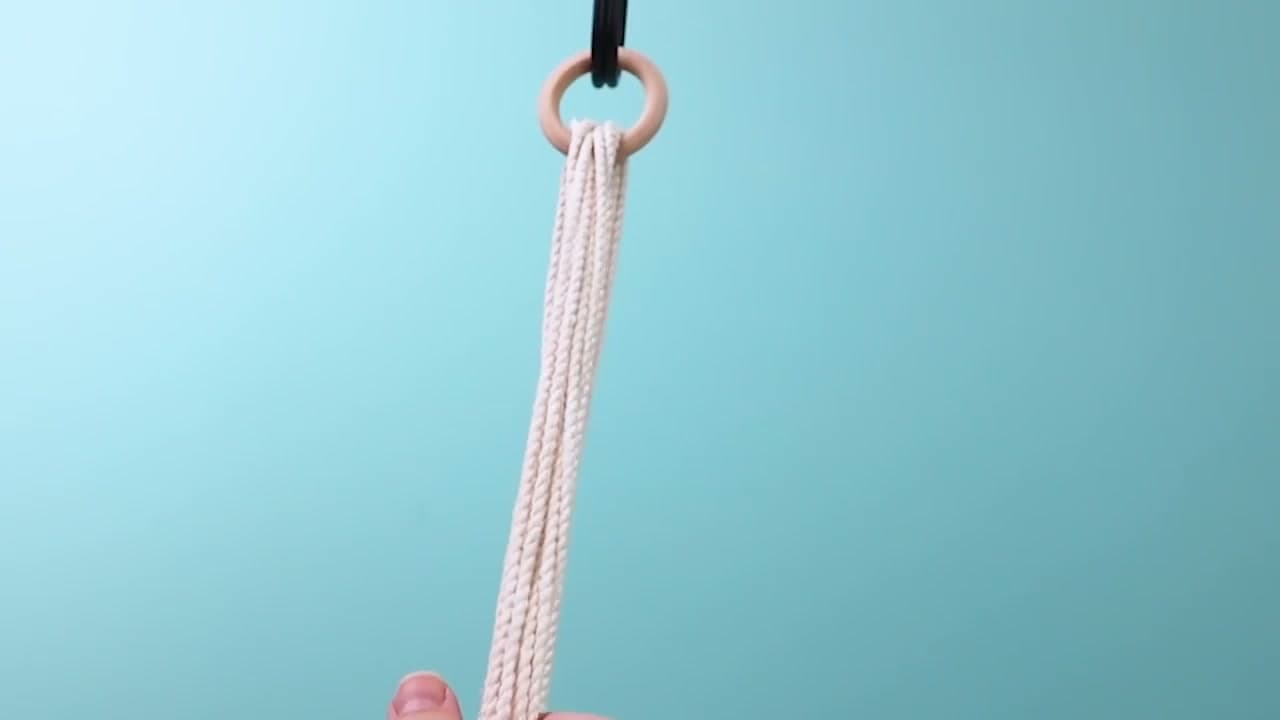
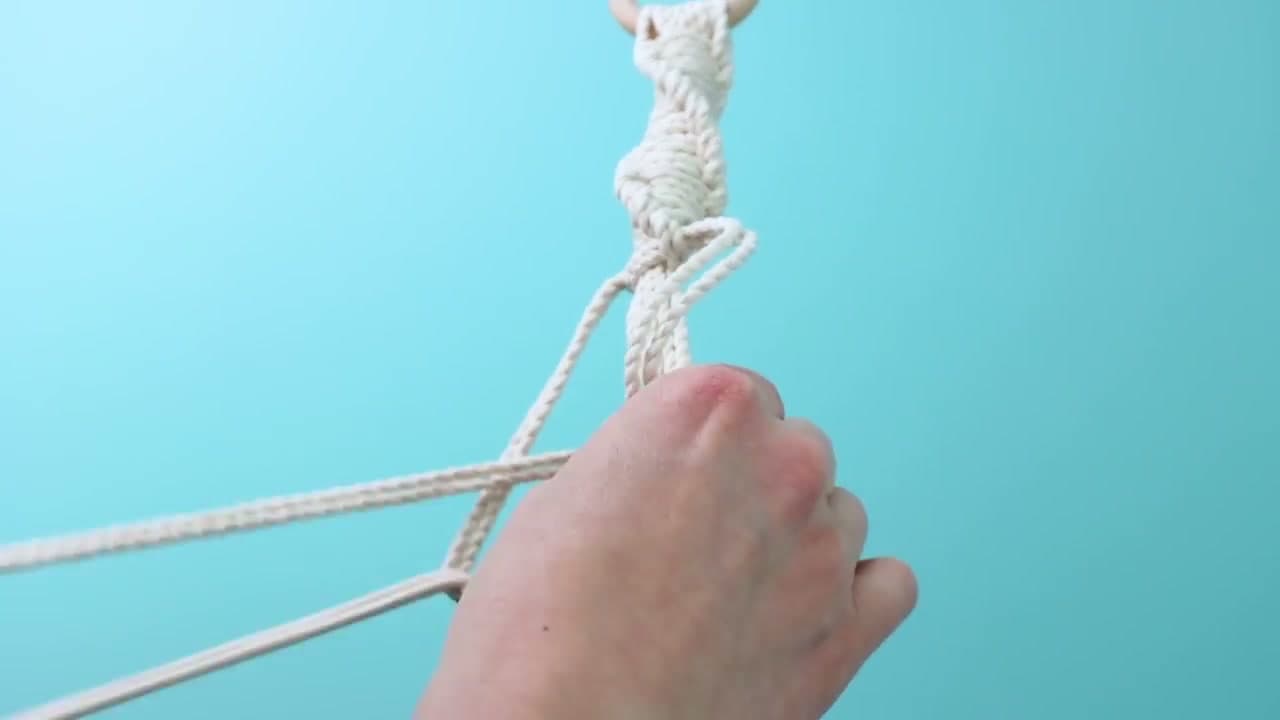
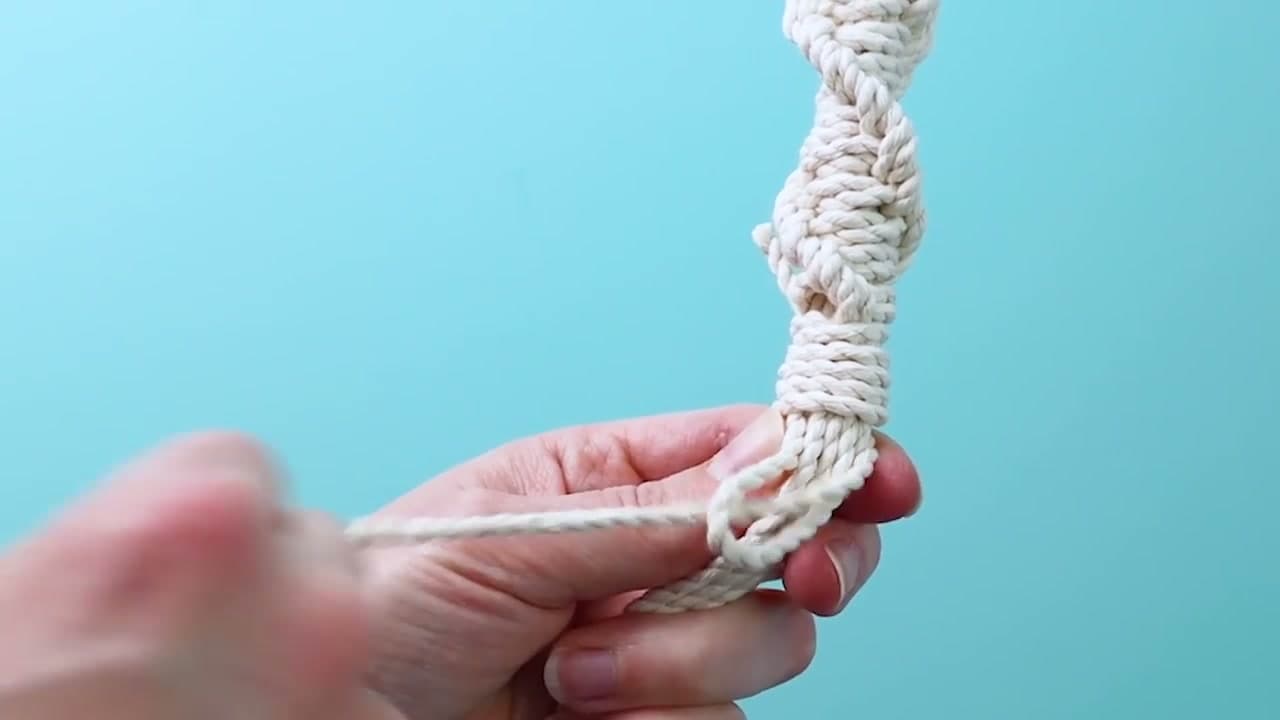
Pass 8 long cotton cords through a 2-inch wooden ring and fold each at its midpoint, leaving 16 working strands hanging below the ring. The TWO outermost strands need to be longer (about 9 feet) since they do all the spiral knotting in step 2 - the inner 6 cords stay short and become fillers.
Center each cord through the ring so the lengths hang evenly below. Hang the ring from a doorknob or hook so the cords dangle naturally as you work - tying knots horizontally is much harder.