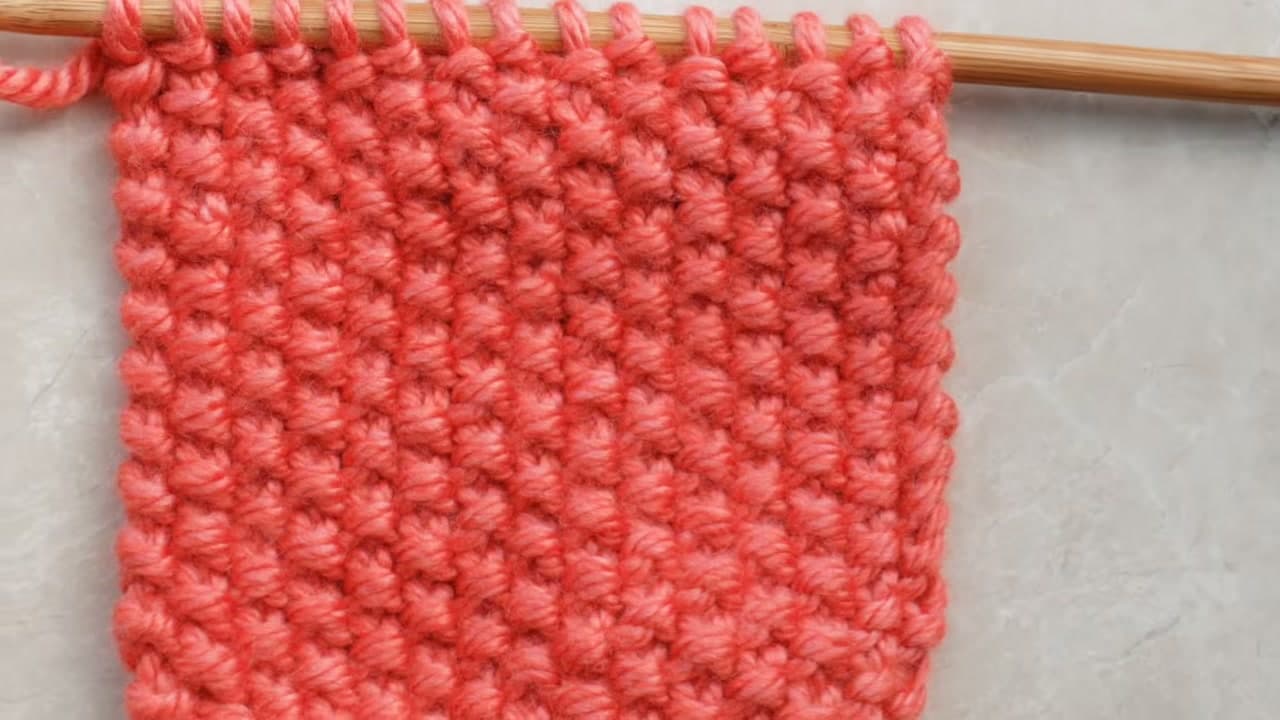
How to Knit a Bobble That Pops - Easy 5-Stitch Bobble

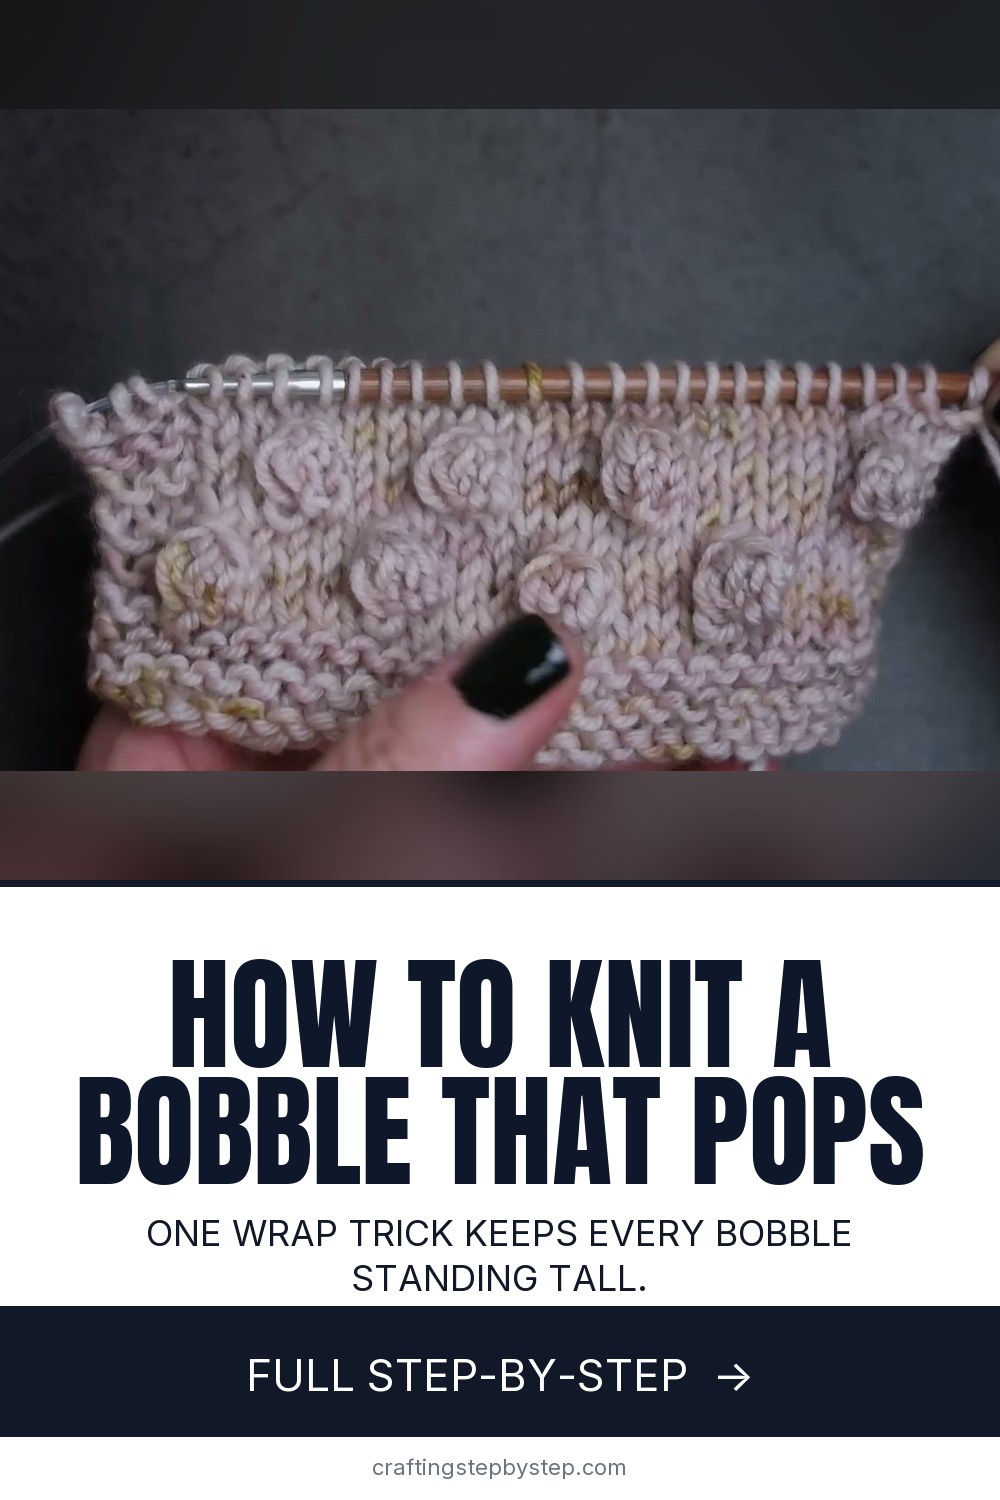
The finished result: How to Knit a Bobble That Pops - Easy 5-Stitch Bobble
  • Difficulty: Medium
  • About 15 minutes
  • 10 steps

You tapped Save

Save this project for later

We'll email you a link, no password.

How to Knit a Bobble That Pops - Easy 5-Stitch Bobble

  • Your saved projects in one list
  • Your ticked steps on any device

Check your inbox for an email from us. Not there? Look in your spam folder.

Print

Steps written out by Crafting Step by Step from Voolenvine's video (opens YouTube) (7:46). Published .

A bobble is a little ball of knitting that sits on top of your fabric. You make it by working five new stitches into one stitch, knitting back and forth on those five for a few rows, then closing them back down to one. Kristin Lehrer of Voolenvine shows the classic method, plus one extra move that keeps the bobble from sinking back into the fabric. She calls it choking the bobble. It works.

How to knit a bobble: the short version

  • Knit to the bobble stitch.
  • Knit, purl, knit, purl, knit into that one stitch (5 stitches).
  • Turn, slip 1, purl 4.
  • Turn, slip 1, knit 4.
  • Turn, slip 1, purl 2 together twice (3 stitches).
  • Turn, slip 1, knit 2 together, pass the slipped stitch over (1 stitch).
  • Yarn forward, slip the bobble stitch back, yarn back, slip it again, then knit on.

What MB means in a pattern

Patterns usually write a bobble as MB, for make bobble, and spell out the exact recipe in the stitch key. Bobbles vary. Some use three stitches, some five, some work two rows and some four. Always follow the pattern's own version so your bobbles match the designer's gauge. The method here is a solid default when a pattern leaves it up to you.

Why bobbles go flat, and the fix

A bobble is only attached at its base, so it tends to lean or sink back into the stockinette around it. The choke wrap fixes that. After closing the bobble you bring the yarn to the front, move the bobble stitch to the left needle, take the yarn to the back and move the stitch back. The yarn now hugs the bobble's neck. Hold it snug and knit the next stitch. The bobble stands up on its own, no extra sewing needed.

Yarn and needles

Kristin uses a DK weight yarn on US 7 (4.5 mm) needles. Smooth, light-colored yarn shows bobbles best. Fuzzy mohair or very dark yarn hides them. Wool has a bit of spring that helps bobbles keep their shape. Cotton makes crisp but heavier bobbles that pull down on a garment, so keep them small and far apart.

Where to use bobbles

Bobbles look great scattered across a hat brim or a baby blanket border, lined up between cables on a sweater or as the center of a knitted flower. A single row of them makes a fun edging on a cowl. On anything a baby might chew, use the choke wrap and a firm tension so nothing loosens.

Common problems

  • Holes beside the bobble. Pull the first stitch after the bobble snug. The choke wrap helps here too.
  • Lost count on the five stitches. Say it out loud: knit, purl, knit, purl, knit. You always start and end on a knit.
  • Bobble on the wrong side. Bobbles are made on a right side row. If they pop out the back, you started on a wrong side row.
  • Fiddly decreases. Five stitches on a short needle end feel tight. Push them close to the tip and go slowly. It gets faster by the third one.

Skills that help

Bobbles are increases and decreases packed into one spot, so it helps to know how to increase and how to decrease first. The slipped stitches are covered in how to slip a stitch. Bobbles pair well with cables.

Free printable

Print the steps and supply list for this project

One page you can take to the table. Free with a free account, no password.

Get the free printable

What you'll need

Free, for this project

Get this checklist by email

  • All 4 tools and materials, with tick boxes
  • A link to print all 10 steps on paper, to keep by you while you craft

No password. The whole tutorial stays free on this page.

Quick answer

Learn how to knit a bobble in 10 steps: five stitches from one, four short rows, then a wrap around the base so the bobble stands out. A medium project: about 15 minutes. You need 4 things, including DK weight yarn, US 7 knitting needles and stitch markers. The 10 steps start with knit Across to the Bobble Stitch, knit Into the Bobble Stitch Without Dropping It and purl and Knit Into the Same Bobble Stitch.

Step-by-step guide

10 steps, about 8 minutes. Tap a picture to jump to that step. Your progress saves automatically.

Tick each step off as you go.

  1. Step 1: Knit Across to the Bobble Stitch

    Watch this step · 0:55

    Work a right side row as normal until you reach the stitch where the bobble goes. Kristin knits English style, throwing the yarn with her right hand, but the steps are the same if you knit continental. Stop with the bobble stitch sitting first on your left needle. If you knit one stitch too many, like Kristin did, tink it back before you start.

    Tip:

    Place a stitch marker before each bobble stitch on your first bobble row so you never miss one.

    Back to all steps

  2. Step 2: Knit Into the Bobble Stitch Without Dropping It

    Watch this step · 1:08

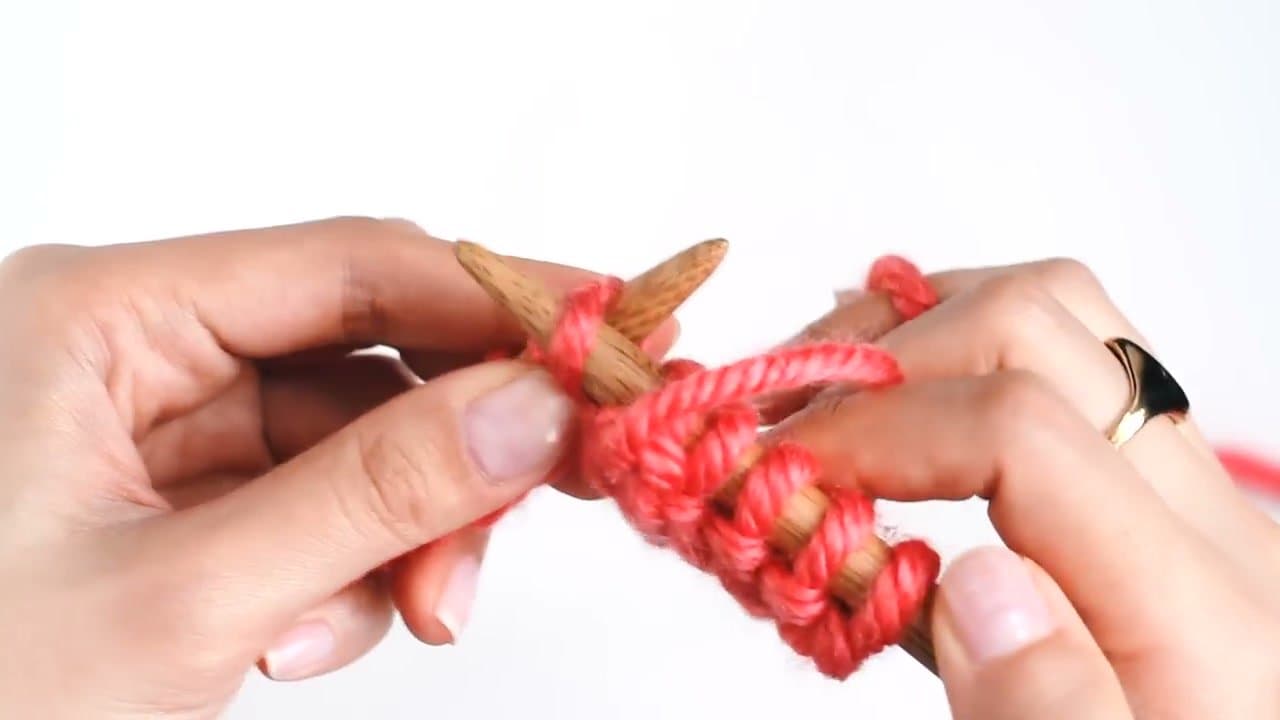
    Insert your right needle into the stitch as if to knit, wrap the yarn and pull the loop through. Here is the catch. Do not slide the old stitch off the left needle. Leave it right where it is. You now have one new loop on the right needle and the original stitch still waiting on the left, ready to be worked again.

    Tip:

    Keep the old stitch near the tip of the left needle so it stays loose enough to work four more times.

    Back to all steps

  3. Step 3: Purl and Knit Into the Same Bobble Stitch

    Watch this step · 1:24

    Bring the yarn to the front and purl into that same stitch, still leaving it on the left needle. Take the yarn to the back and knit into it again. That gives you three new loops. Keep alternating purl and knit until you have five loops on the right needle. You always finish on a knit: knit, purl, knit, purl, knit.

    Tip:

    Count each new loop out loud. It is easy to lose track at four.

    Back to all steps

  4. Step 4: Make Five Bobble Stitches From One Stitch

    Watch this step · 1:46

    Once all five loops are on the right needle, slide the original stitch off the left needle. One stitch has become five. They will look tight and bunched together at the end of the right needle. That is normal. These five stitches are the whole bobble, and the next four short rows turn them into a round little ball.

    Tip:

    Before you move on, check that you have exactly five loops. A sixth loop makes a lopsided bobble.

    Back to all steps

  5. Step 5: Turn and Purl the Five Bobble Stitches

    Watch this step · 2:18

    Instead of knitting on, turn your work so the purl side faces you. The five bobble stitches are now first on the left needle. Slip the first stitch purlwise, since you are on the purl side. That counts as stitch one. Purl the next four. You have worked one short row over the bobble stitches only.

    Tip:

    Ignore the rest of the row. Those stitches wait on the other needle until the bobble is done.

    Back to all steps

  6. Step 6: Turn and Knit the Five Bobble Stitches

    Watch this step · 2:37

    Turn your work again so the knit side faces you. Slip the first stitch knitwise this time, because you are on the knit side. Knit the second, third, fourth and fifth stitches. Going back and forth like this is what builds the body of the bobble. Each short row adds a little more fabric inside that one small spot.

    Tip:

    For a bigger bobble, repeat the purl row and knit row once more before decreasing.

    Back to all steps

  7. Step 7: Purl Two Together Twice to Shrink the Bobble

    Watch this step · 3:20

    Turn to the purl side again. Slip the first stitch purlwise. Then purl the next two stitches together, and purl the last two stitches together. Five stitches are now three. This part gets fiddly because the stitches are packed tight. Kristin's advice is to be patient. Push the stitches near the tip and work slowly.

    Tip:

    A sharp-tipped needle makes the purl two together much easier on tight bobble stitches.

    Back to all steps

  8. Step 8: Close the Bobble With Slip, Knit Two Together, Pass Over

    Watch this step · 3:54

    Turn to the knit side one last time. Slip the first stitch. Knit the next two stitches together. Then lift the slipped stitch over the new stitch and off the needle. Three stitches become one, and the bobble closes into a round ball. You are back to the single stitch you started with.

    Tip:

    Use the left needle tip to lift the slipped stitch. Your fingers will crowd the bobble.

    Back to all steps

  9. Step 9: Wrap the Yarn Around the Base of the Bobble

    Watch this step · 4:22

    This is the move that makes it pop. Bring the yarn to the front of your work. Slip the bobble stitch back to the left needle. Take the yarn to the back and slip the stitch back to the right needle. The working yarn now wraps around the bobble's neck, like a scarf around its chin. Kristin calls it choking the bobble.

    Tip:

    Slip the stitch purlwise both times so it does not twist.

    Back to all steps

  10. Step 10: Knit the Next Stitch Tight So the Bobble Pops

    Watch this step · 5:06

    Hold the working yarn taut so the wrap stays snug around the base of the bobble. Then knit the next stitch. That locks the wrap in place. The bobble now stands out from the fabric instead of sinking back in. Keep knitting to the next bobble stitch and repeat the whole sequence. It goes quicker every time.

    Tip:

    Purl the stitches above the bobble on the next row as normal. Do not purl the bobble itself.

    Back to all steps

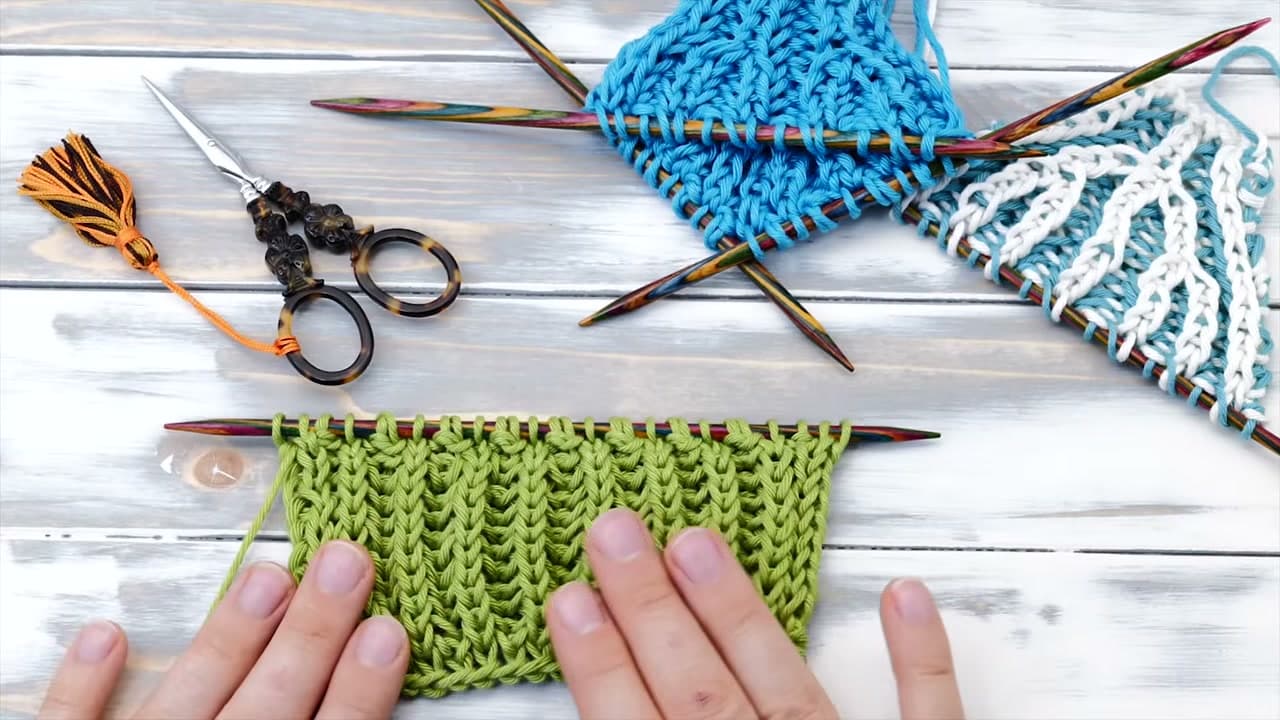
How to Knit Brioche Stitch

Keep going

How to Knit Brioche Stitch

10 steps · about 15 minutes

Keep going with knitting

More on this topic, picked for this bobble that pops.

You reached the last step

Save this project to come back to it

Your ticked steps, the free printable and your other saved makes, together in My Projects. Free, no password.

You tapped Save

Save this project for later

We'll email you a link, no password.

How to Knit a Bobble That Pops - Easy 5-Stitch Bobble

  • Your saved projects in one list
  • Your ticked steps on any device

Check your inbox for an email from us. Not there? Look in your spam folder.

Free printable

Printable sheet and shopping list for this project

The bonus is hidden until you sign up.

Free with a free account, no password. Every step above stays open to everyone.

Products Used

The Checklist

How to Knit a Bobble That Pops - Easy 5-Stitch Bobble

Tools
3
Materials
1
Steps
10
Video
8 min

Tools we recommend

As an Amazon Associate we earn from qualifying purchases. Links on this page may be affiliate links - clicking them and buying doesn't change your price, but helps support Crafting Step by Step.

Tags

The Crafter's Weekly

New knitting tutorials, every Sunday

One short email with the week's best step-by-step guides. Free, no spam, unsubscribe anytime.

Did this work for you?

What's next

Related collections

Curated theme pages that include this tutorial.

Similar tutorials

Hand-picked next reads based on the one you just finished.

Liked this knitting tutorial?

Pick the crafts you want to hear about. One email every Sunday with new step-by-step tutorials. No spam, easy to unsubscribe.

Get more like this in your inbox

Weekly digest. Pick the categories you want. Unsubscribe anytime.

Send me tutorials about

We only email about new tutorials. Easy unsubscribe anytime.