How to Punch Needle for Beginners

EmbroideryEasy6:509 stepsBrowse more →
Also in:Crafts

By CraftingStepByStepPublished

Based on a video by naztazia.

Punch needle looks like rug hooking and works nothing like embroidery. You do not stitch through the fabric and back - you push a hollow needle down, pull it partway out, and slide to the next spot. The cloth grips the yarn on its own. Donna Wolfe of Naztazia walks through the whole thing on a printed beginner design.

What makes it beginner-friendly is that nothing is permanent until you decide it is. No knots, no weaving in ends, and any run of stitches you dislike pulls straight back out. That is a very different feeling from cross stitch, where a mistake means unpicking.

The Two Sides of Punch Needle

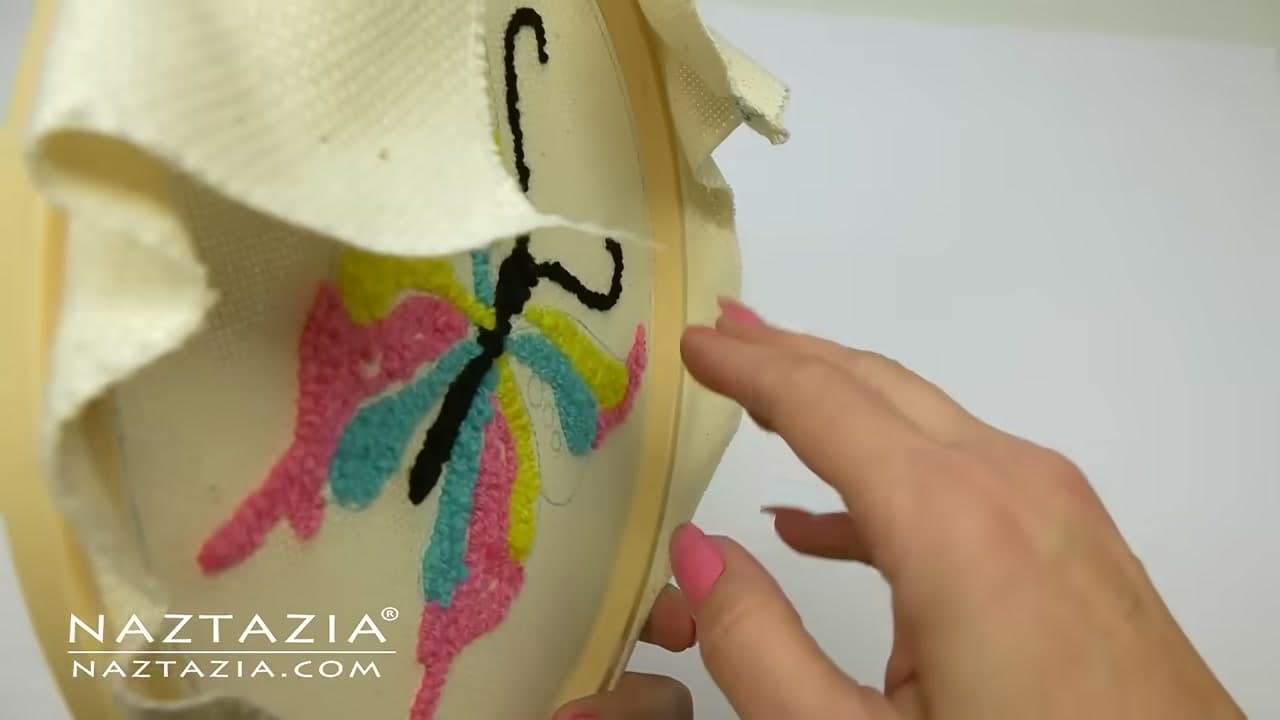
Every piece has a flat-stitch face and a looped face. Whichever side you punch from ends up flat; the loops form on the other side. That is not a flaw to work around - deciding which face you want forward, and mixing the two in one piece, is most of the design work.

What Actually Goes Wrong

Loops pull back out for exactly two reasons: the yarn feeding from the skein has tension on it, or you lifted the needle tip off the cloth between stitches. Keep the skein loose and glide the tip. That is the whole technique.

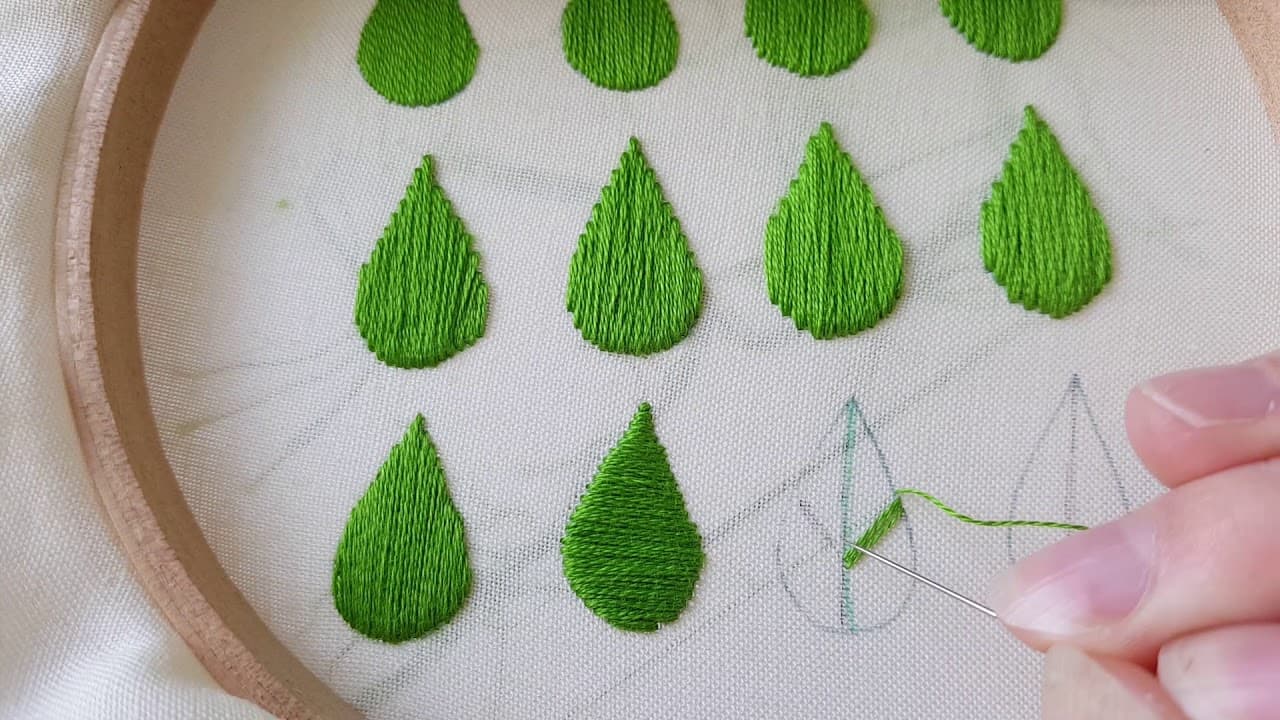
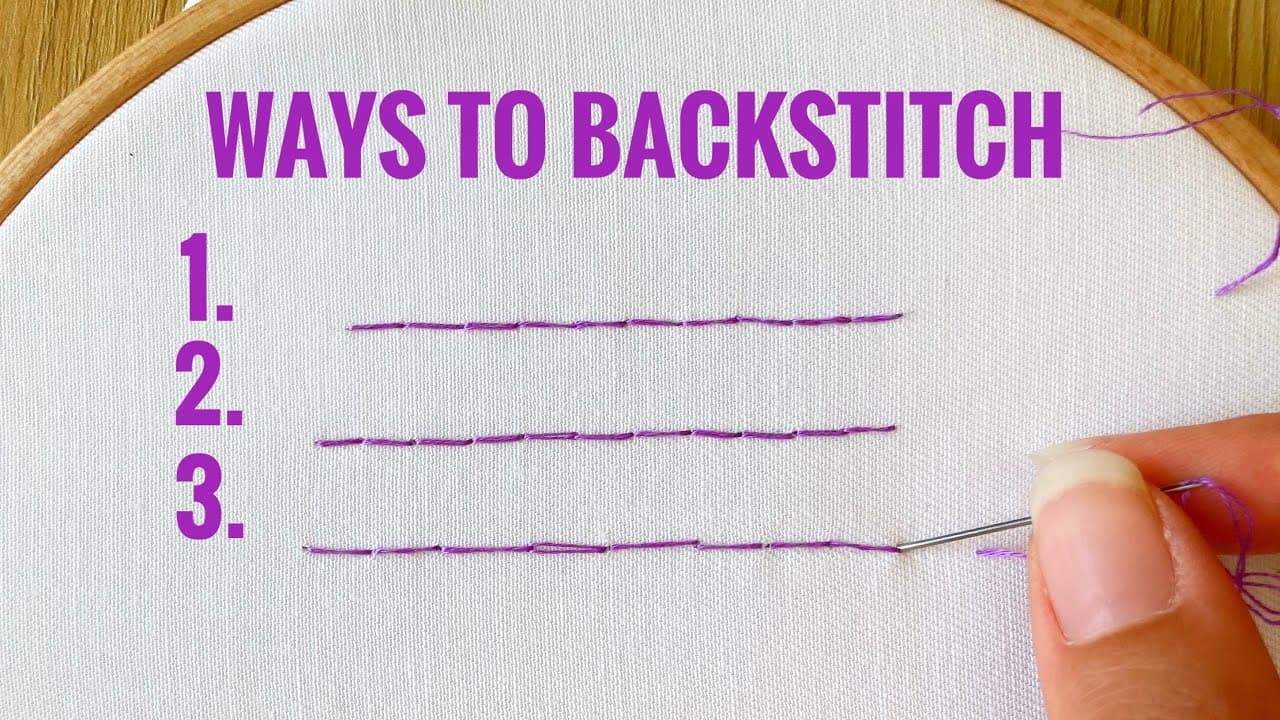
Coming from thread work? Compare it with basic embroidery techniques or the lazy daisy stitch.

Step-by-Step Guide

9 steps · about 7 minutes.Check off each step as you go and your progress saves automatically.

1

Step 1: Gather Your Supplies

0:22
Step 1: Step 1: Gather Your Supplies

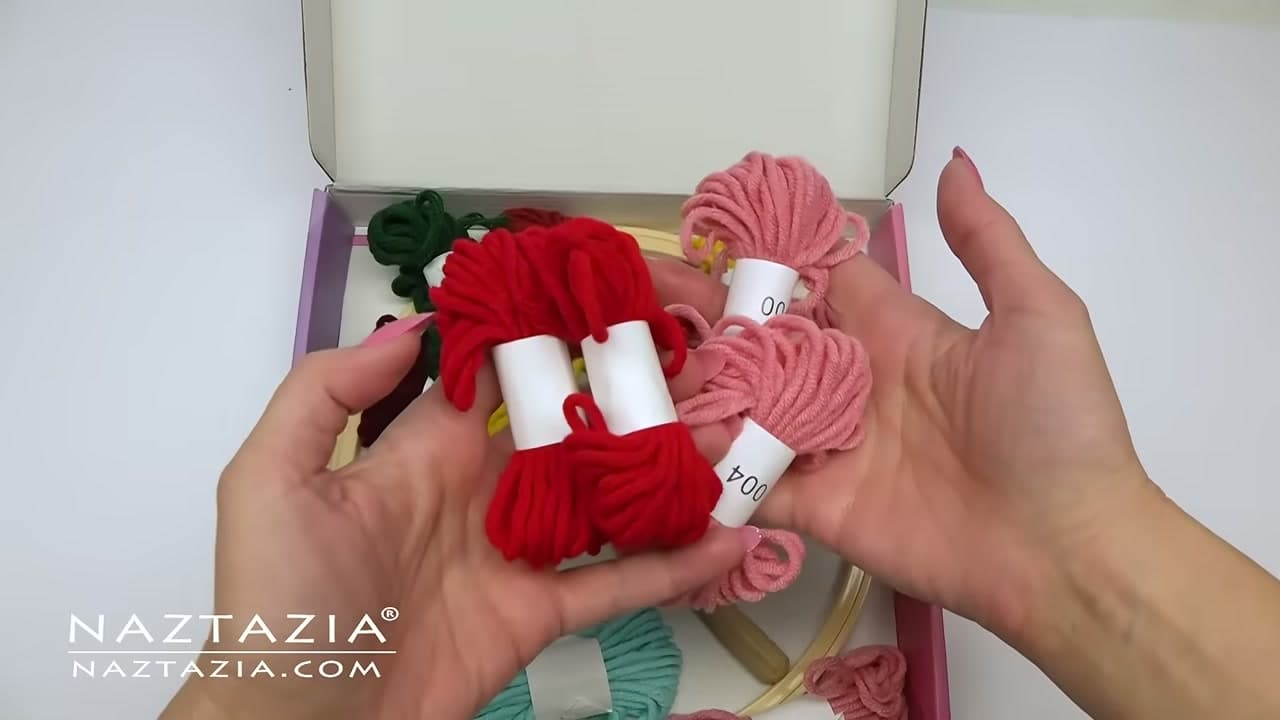
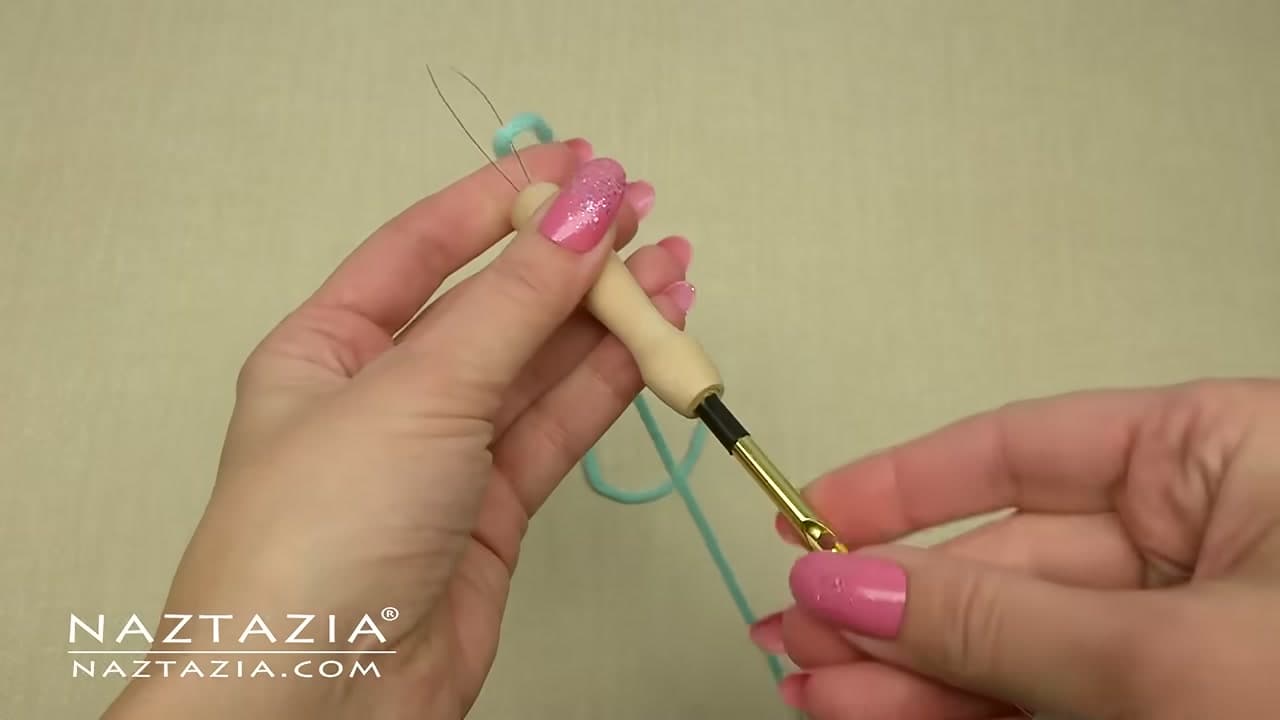
A beginner kit covers everything: cloth with a printed design, yarn, and the punch needle tool. Buying separately works too. The cloth has to be a stiff open weave - monk's cloth for yarn, weaver's cloth for thinner floss and thread.

Tip

Watch this step No printed design? Trace one on with a disappearing ink marker or a plain pencil.
2

Step 2: Iron the Creases Out

0:50
Step 2: Step 2: Iron the Creases Out

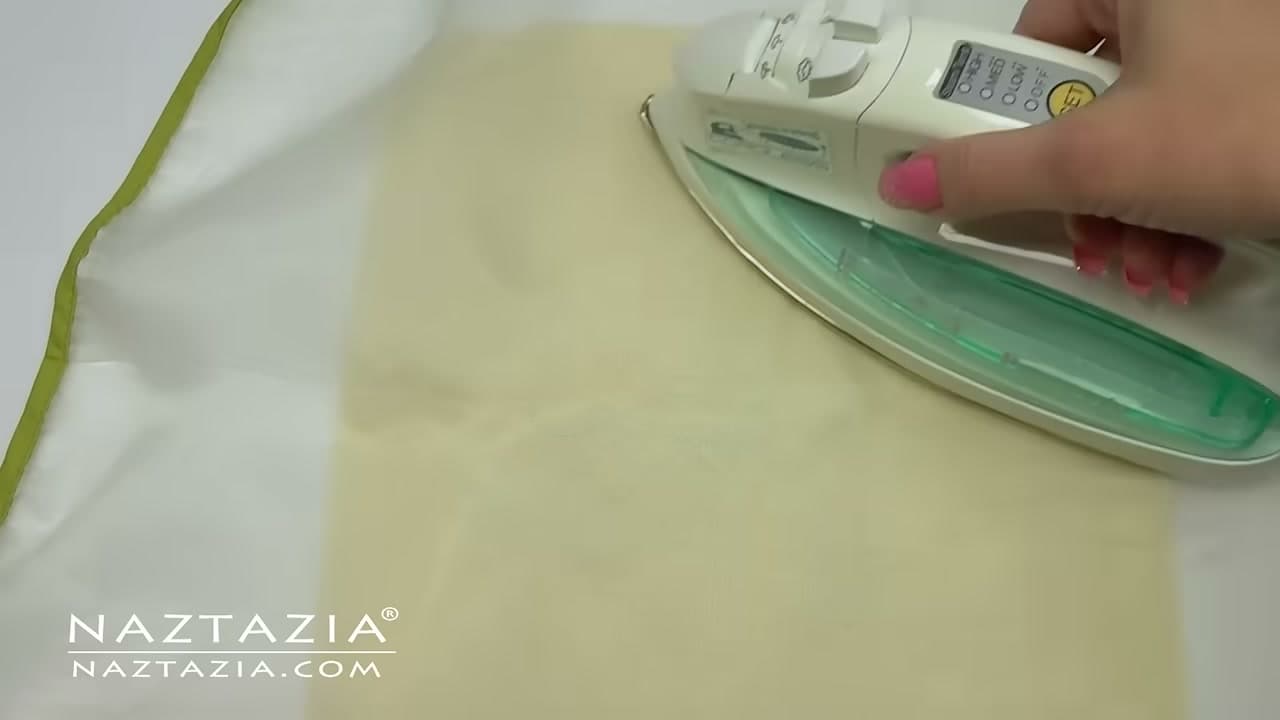
Fabric folded in packaging comes out creased, and a crease throws off your stitch line. Run an iron over it to flatten those folds before anything else.

Tip

Watch this step Skip the steam and water. Moisture smudges a printed or traced design.

Products used in this step

3

Step 3: Thread the Tool with the Wire Threader

1:56
Step 3: Step 3: Thread the Tool with the Wire Threader

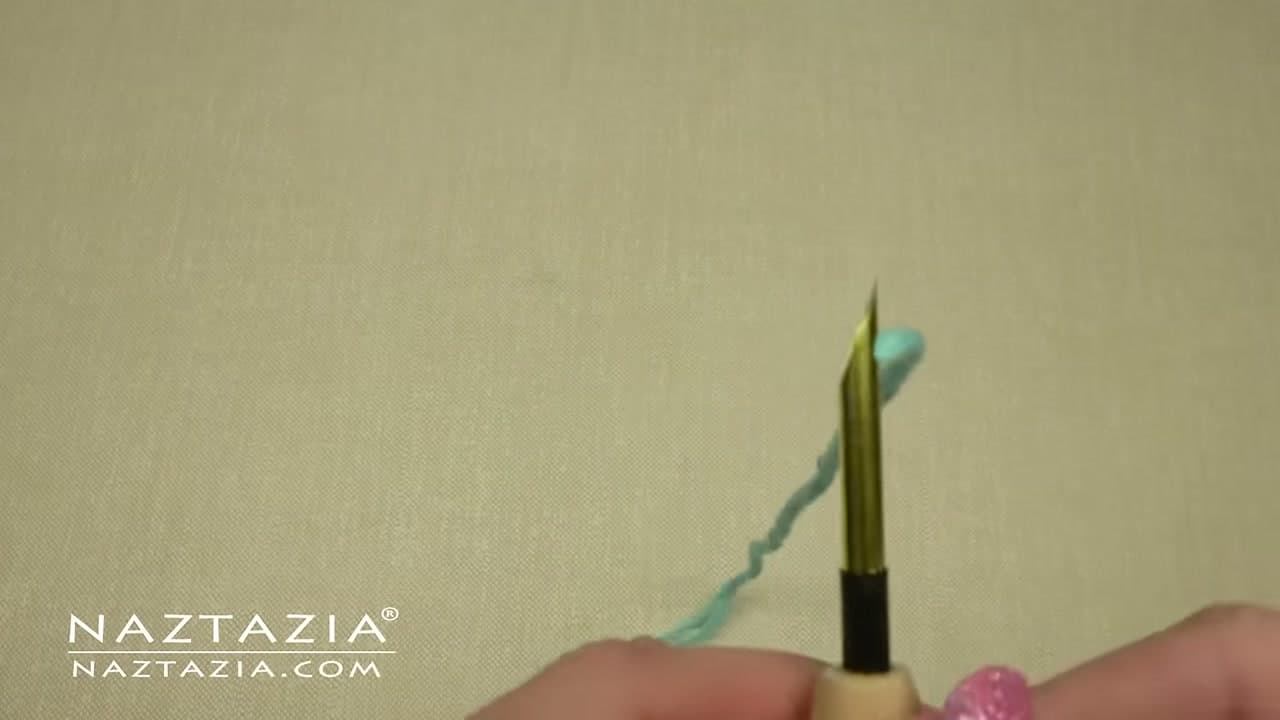
You work straight from the skein with punch needle - no cutting. Push the wire threader down through the metal end of the tool and out the bottom, hook your yarn end through the wire loop, then pull the wire back up to fish the yarn through the handle.

Tip

Watch this step Pulled too much through? Tug the skein side to draw the slack back.

4

Step 4: Fish the Yarn Through the Tip

2:20
Step 4: Step 4: Fish the Yarn Through the Tip

Now thread the yarn out through the small hole near the needle tip. Direction matters: the loop goes in through the curved side first, then pulls out through the hole.

Tip

Watch this step Get this backwards and the tool will not form loops - it just drags the yarn along.

Products used in this step

5

Step 5: Hoop the Cloth Tight

3:00
Step 5: Step 5: Hoop the Cloth Tight

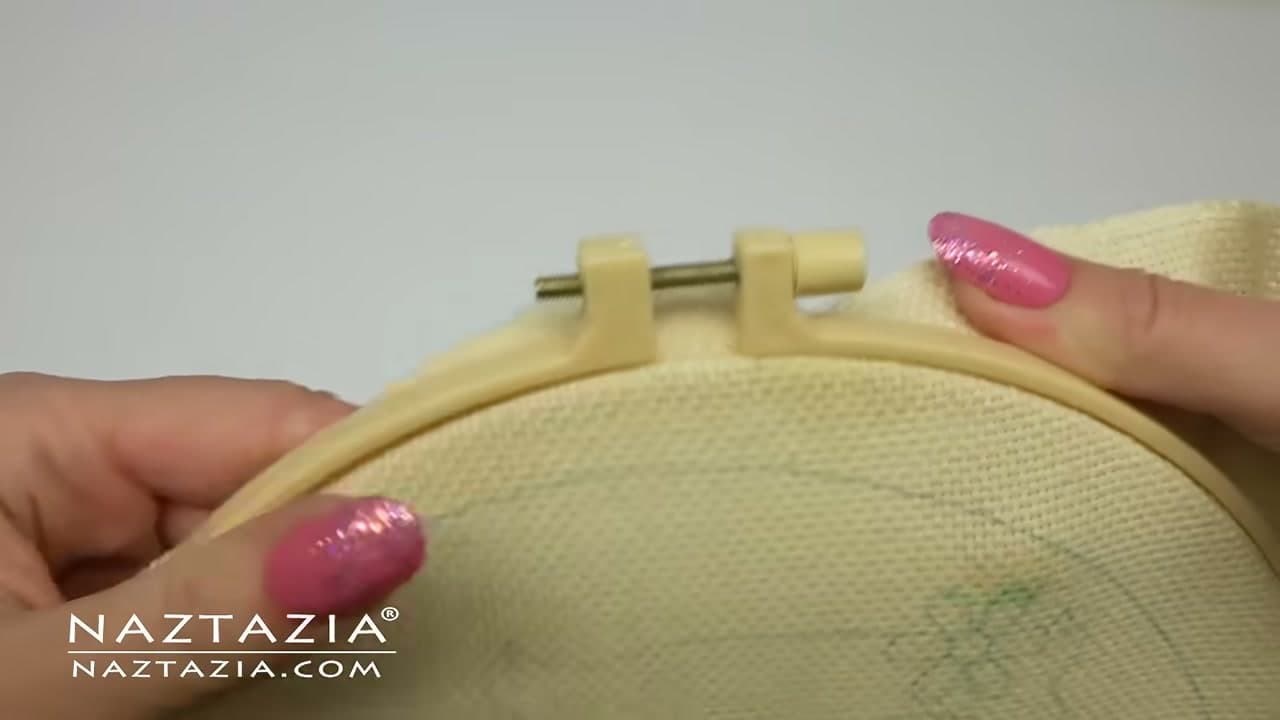
Use a grip hoop with ridges. Punching puts real pressure on the fabric and a plain hoop lets it slip. Lay the cloth over the ring without the screw, press the top ring on, tighten a little, then work around the edge tugging gently.

Tip

Watch this step No slack in the middle. Press the center - it should feel like a drum.

Products used in this step

6

Step 6: Make Your First Punch

3:29
Step 6: Step 6: Make Your First Punch

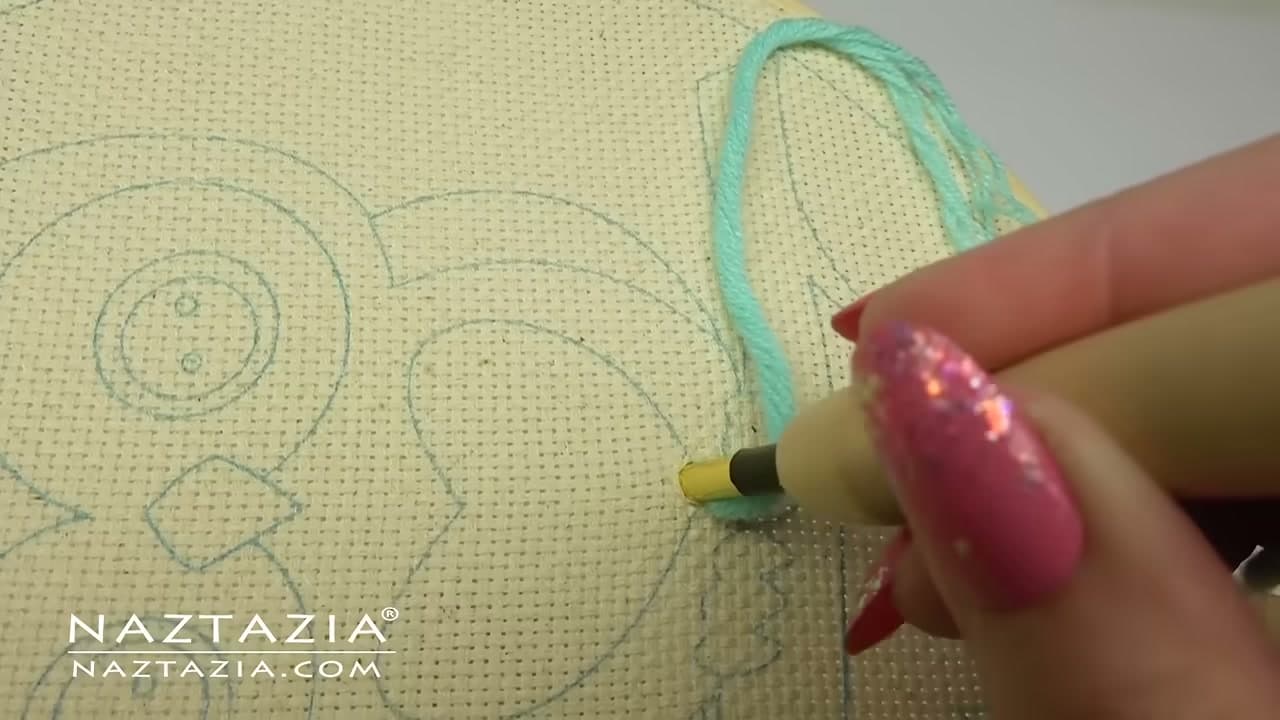
Hold the tool like a pencil with the yarn draped loosely over your hand. The scooped side of the needle always faces the direction you are moving. Push straight into the cloth until the tool stops, then pull back without lifting the tip off the surface.

Tip

Watch this step The yarn feeding from the skein needs lots of slack. Any tension pulls your loops back out.

7

Step 7: Space Your Stitches and Keep Going

4:11
Step 7: Step 7: Space Your Stitches and Keep Going

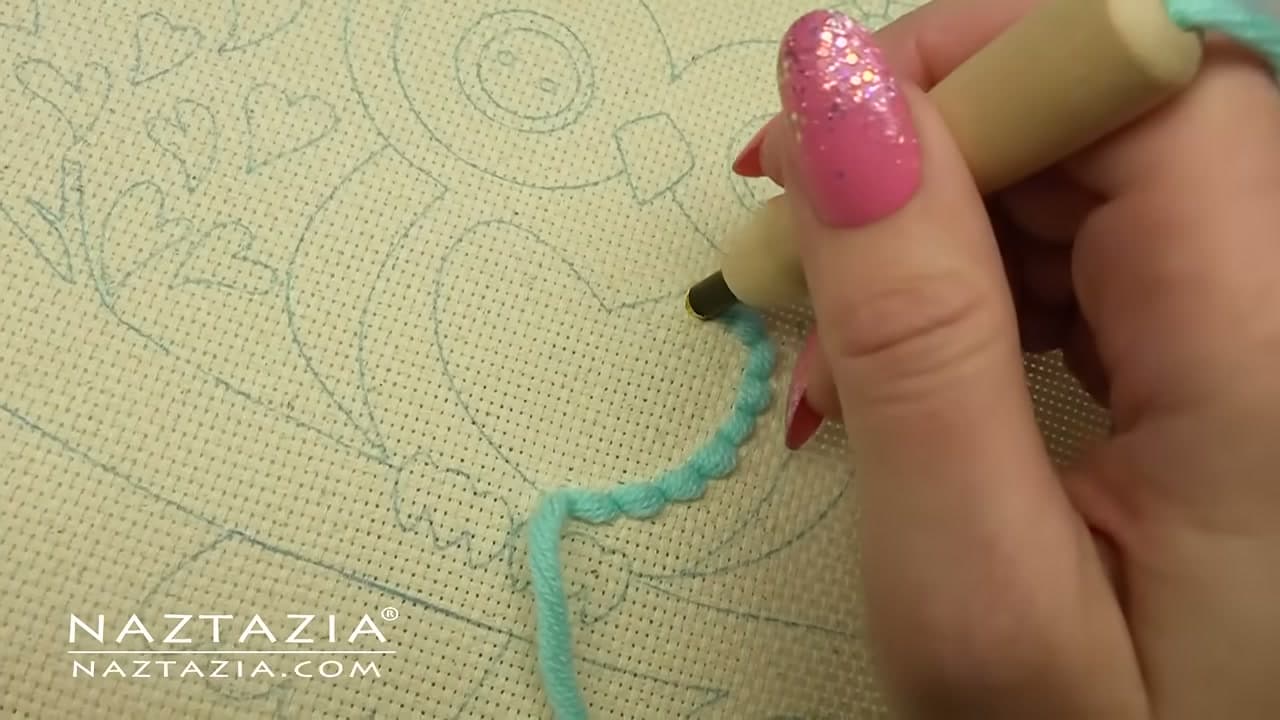
Glide the tip along the cloth to your next spot - lifting it is what yanks the last loop out. Punch in again to the same depth. Stitch spacing is a look rather than a rule; some spacings just suit some designs better.

Tip

Watch this step Made a mess? Pull the stitches straight back out and redo them. Nothing is locked in yet.

Products used in this step

8

Step 8: Cut the Yarn to Change Colors

5:26
Step 8: Step 8: Cut the Yarn to Change Colors

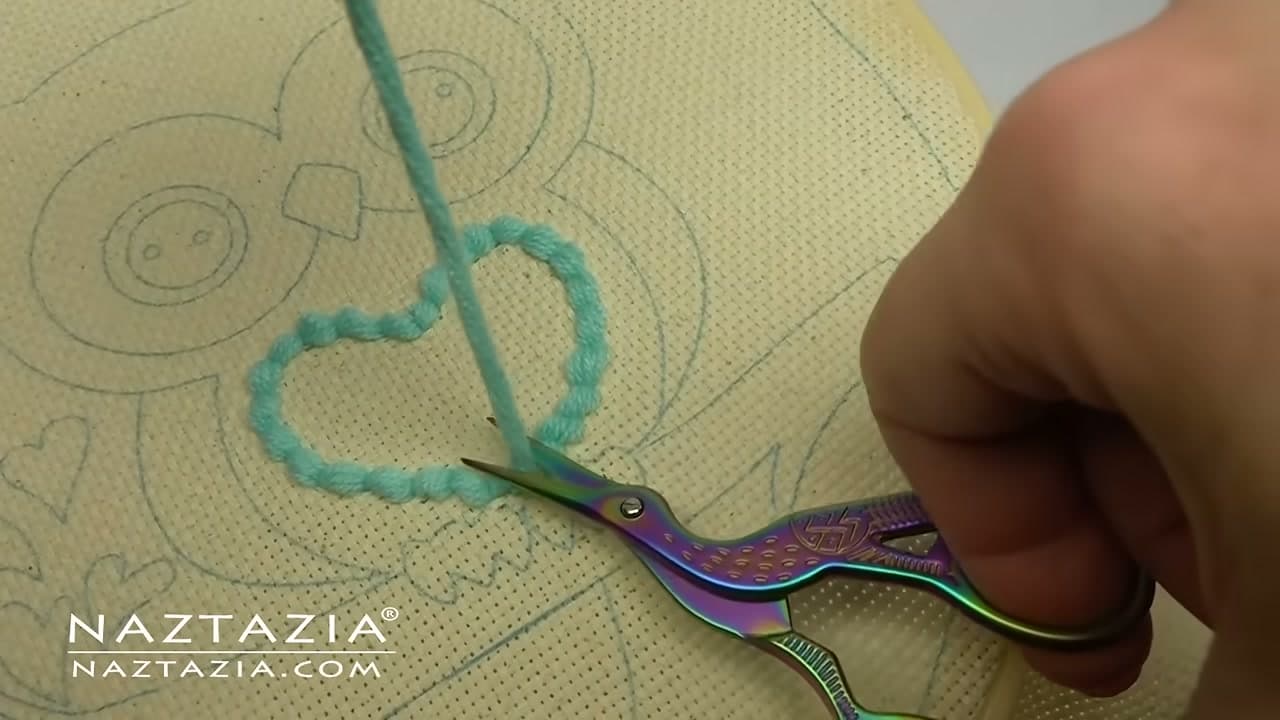
At the end of a color, cut the yarn close to the last stitch. There is no weaving in ends here - the cloth grips the stitches by itself. These are decorative pieces, so no washer or dryer is going to work them loose.

Tip

Watch this step Small sharp embroidery scissors get closer to the surface than craft scissors.

9

Step 9: Flip the Cloth for Loop Texture

6:20
Step 9: Step 9: Flip the Cloth for Loop Texture

Whichever side you punch from gets flat stitches; the other side gets loops. Work from the back to put loops on the front. Mixing flat and looped areas in one piece is where punch needle starts looking like real fiber art.

Tip

Watch this step Trim and display it in the hoop, or cut it out and sew it into a pillow or rug.

Products used in this step

Products Used

☐ The Checklist

How to Punch Needle for Beginners

Tools
5
Materials
4
Steps
9
Video
7 min

Tools we recommend

Your Guide

naztazia

As an Amazon Associate we earn from qualifying purchases. Links on this page may be affiliate links - clicking them and buying doesn't change your price, but helps support ShowMeStepByStep.

Tags

Sunday How-To

New embroidery tutorials, every Sunday

One short email with the week's best step-by-step guides. Free, no spam, unsubscribe anytime.

Did this work for you?

What's next

Related collections

Curated theme pages that include this tutorial.

Weekly Digest

Liked this embroidery tutorial?

Pick the categories you want to hear about. Weekly digest of new step-by-step tutorials. No spam, easy unsubscribe.

Send me tutorials about

We only email about new tutorials. Easy unsubscribe anytime.