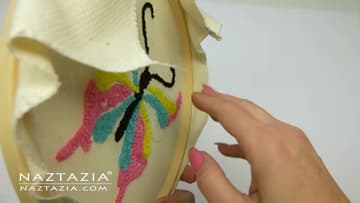
How to Punch Needle for Beginners
Source: naztazia • Full tutorial: www.craftingstepbystep.com/embroidery/how-to-punch-needle
- Difficulty
- Easy
- Hands-on time
- About 20 minutes
- Cost
- About $12 to $22

Tools
- punch needle tool
- wire threader
- grip embroidery hoop
- embroidery scissors
- iron
Materials
- monk's cloth or weaver's cloth
- yarn
- printed or traced design
- disappearing ink marker
Steps
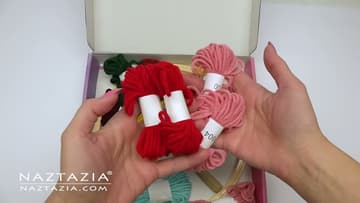
1. Gather the Punch Needle, Hoop, Cloth and Yarn
A beginner kit covers everything: cloth with a printed design, yarn, and the punch needle tool. Buying separately works too.
Tip: Watch this step No printed design? Trace one on with a disappearing ink marker or a plain pencil.
2. Iron the Creases Out of the Punch Needle Cloth
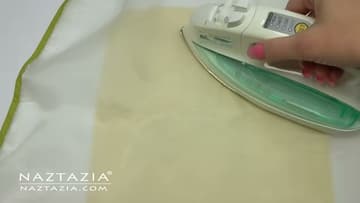
Fabric folded in packaging comes out creased, and a crease throws off your stitch line. Run an iron over it to flatten those folds before anything else.
Tip: Watch this step Skip the steam and water. Moisture smudges a printed or traced design.
3. Thread the Punch Needle with the Wire Threader
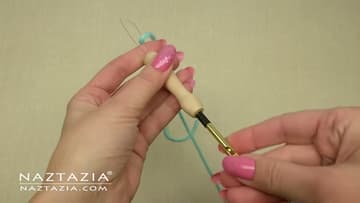
You work straight from the skein with punch needle - no cutting. Push the wire threader down through the metal end of the tool and out the bottom, hook your yarn end through the wire loop, then pull the wire back up to fish the yarn through the handle.
Tip: Watch this step Pulled too much through? Tug the skein side to draw the slack back.
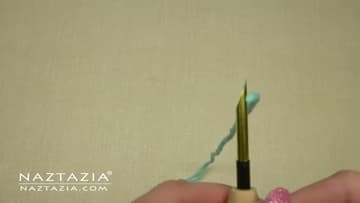
4. Fish the Yarn Through the Punch Needle Tip
Now thread the yarn out through the small hole near the needle tip. Direction matters: the loop goes in through the curved side first, then pulls out through the hole.
Tip: Watch this step Get this backwards and the tool will not form loops - it just drags the yarn along.
5. Stretch the Cloth Tight in the Hoop
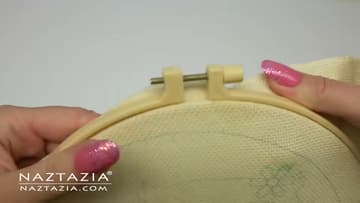
Use a grip hoop with ridges. Punching puts real pressure on the fabric and a plain hoop lets it slip.
Tip: Watch this step No slack in the middle. Press the center - it should feel like a drum.
6. Push the Needle Down for the First Punch
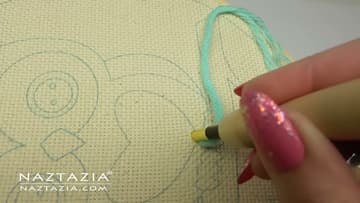
Hold the tool like a pencil with the yarn draped loosely over your hand. The scooped side of the needle always faces the direction you are moving.
Tip: Watch this step The yarn feeding from the skein needs lots of slack. Any tension pulls your loops back out.
7. Space the Punch Needle Stitches Evenly
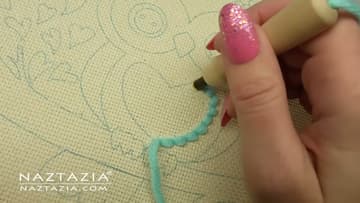
Glide the tip along the cloth to your next spot - lifting it is what yanks the last loop out. Punch in again to the same depth.
Tip: Watch this step Made a mess? Pull the stitches straight back out and redo them. Nothing is locked in yet.
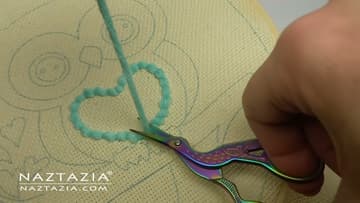
8. Cut the Yarn to Change Colors
At the end of a color, cut the yarn close to the last stitch. There is no weaving in ends here - the cloth grips the stitches by itself.
Tip: Watch this step Small sharp embroidery scissors get closer to the surface than craft scissors.
9. Flip the Cloth to See the Looped Side
Whichever side you punch from gets flat stitches; the other side gets loops. Work from the back to put loops on the front.
Tip: Watch this step Trim and display it in the hoop, or cut it out and sew it into a pillow or rug.