How to Read a Cross Stitch Pattern

By CraftingStepByStepPublished Updated

Based on a video by LoveCrafts.

Cross stitch is one of those crafts where the hardest part isn't the actual stitching - it's figuring out how to read the pattern. Once you understand how the chart works, the rest comes naturally.

Emma from LoveCrafts breaks down a flamingo cross stitch pattern step by step. She covers the color key, the grid system, choosing your fabric, finding your center point, and building the design color by color. By the end, you'll be able to pick up any beginner cross stitch chart and know exactly where to start.

Step-by-Step Guide

1

Understand the Two-Sided Pattern

0:22
Step 1: Understand the Two-Sided Pattern

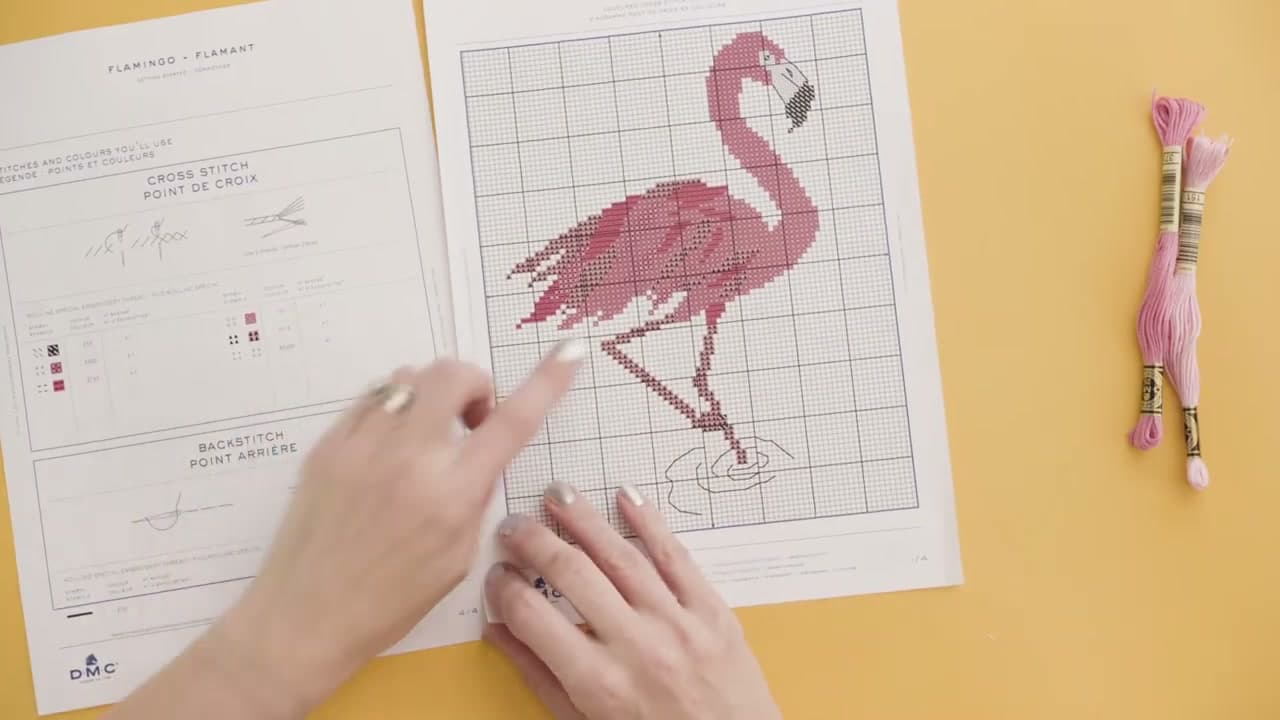
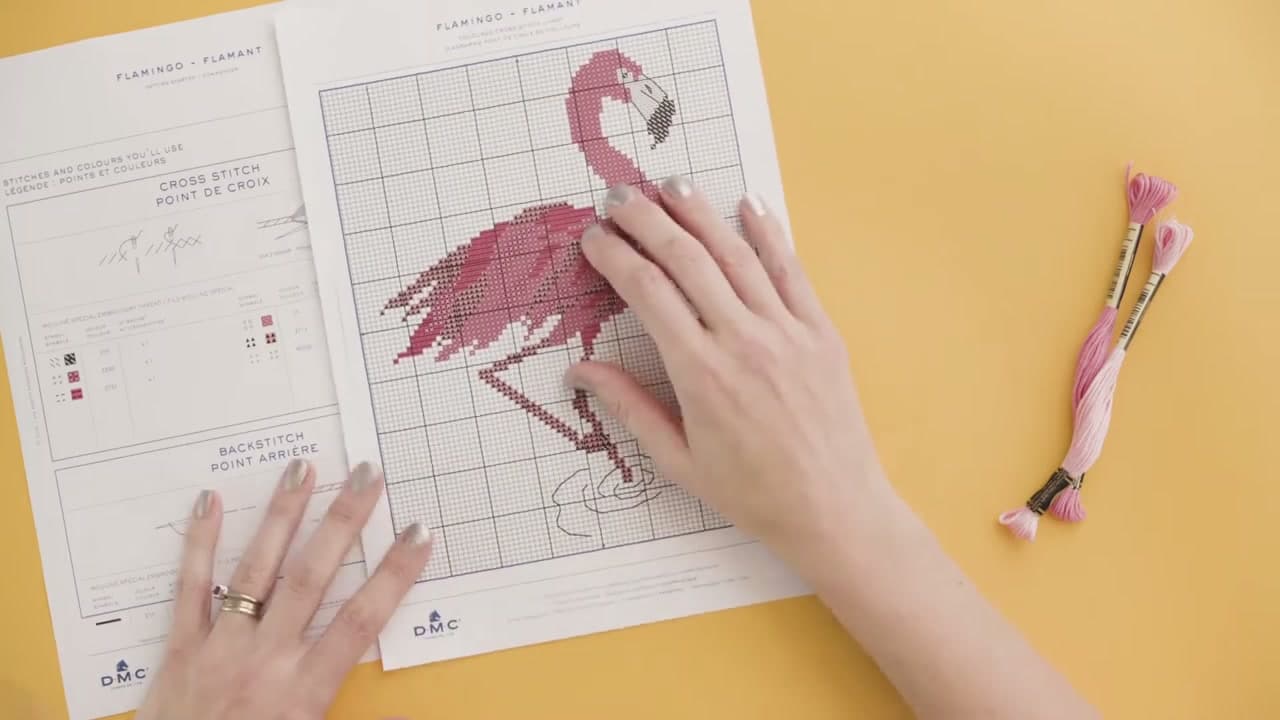
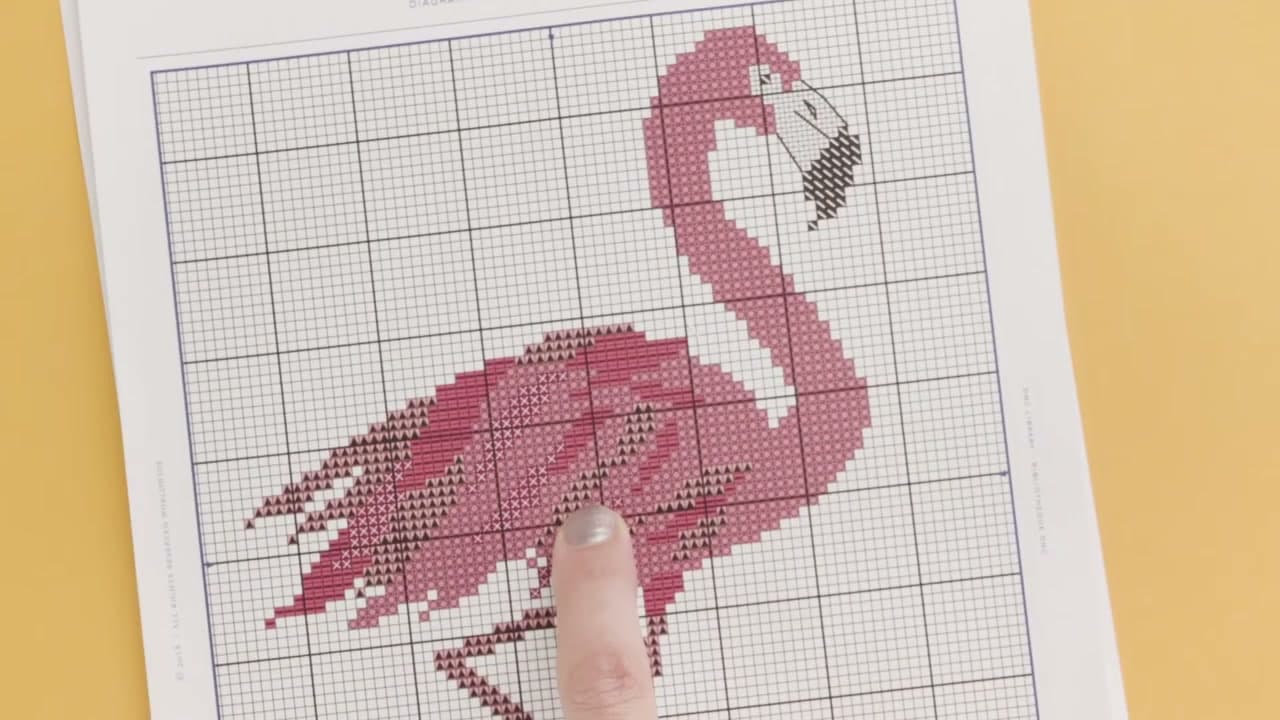
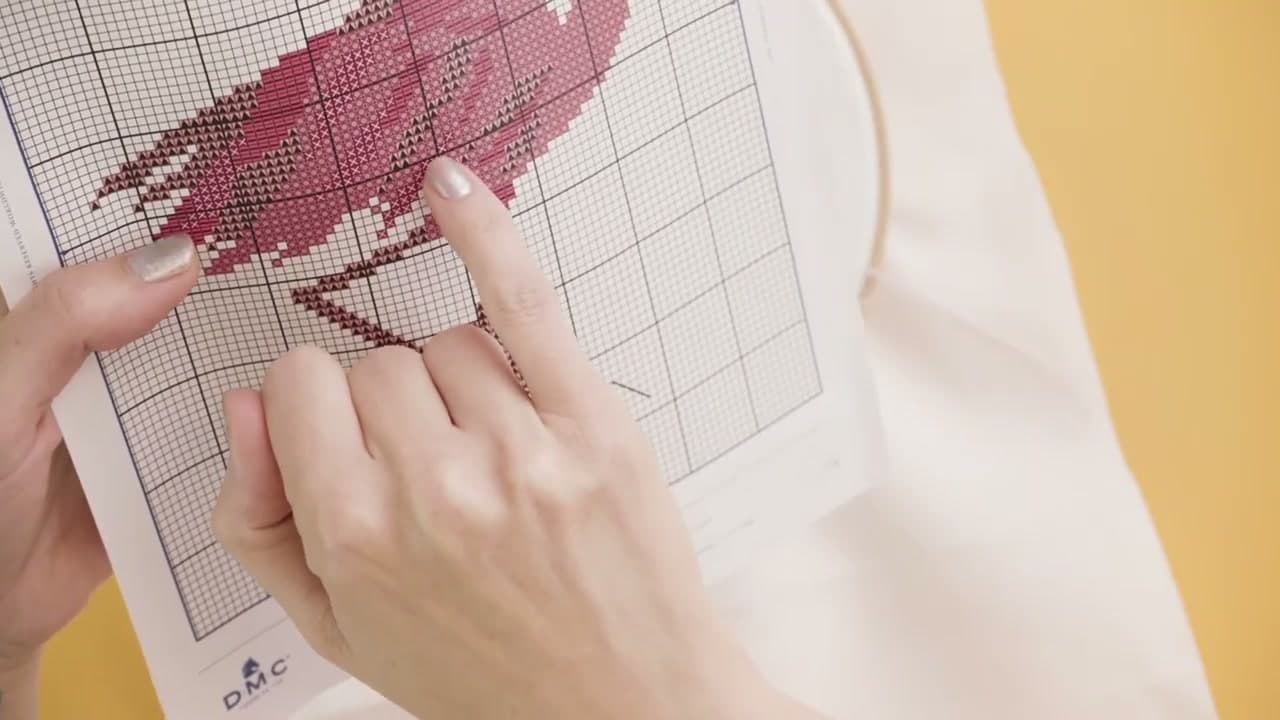
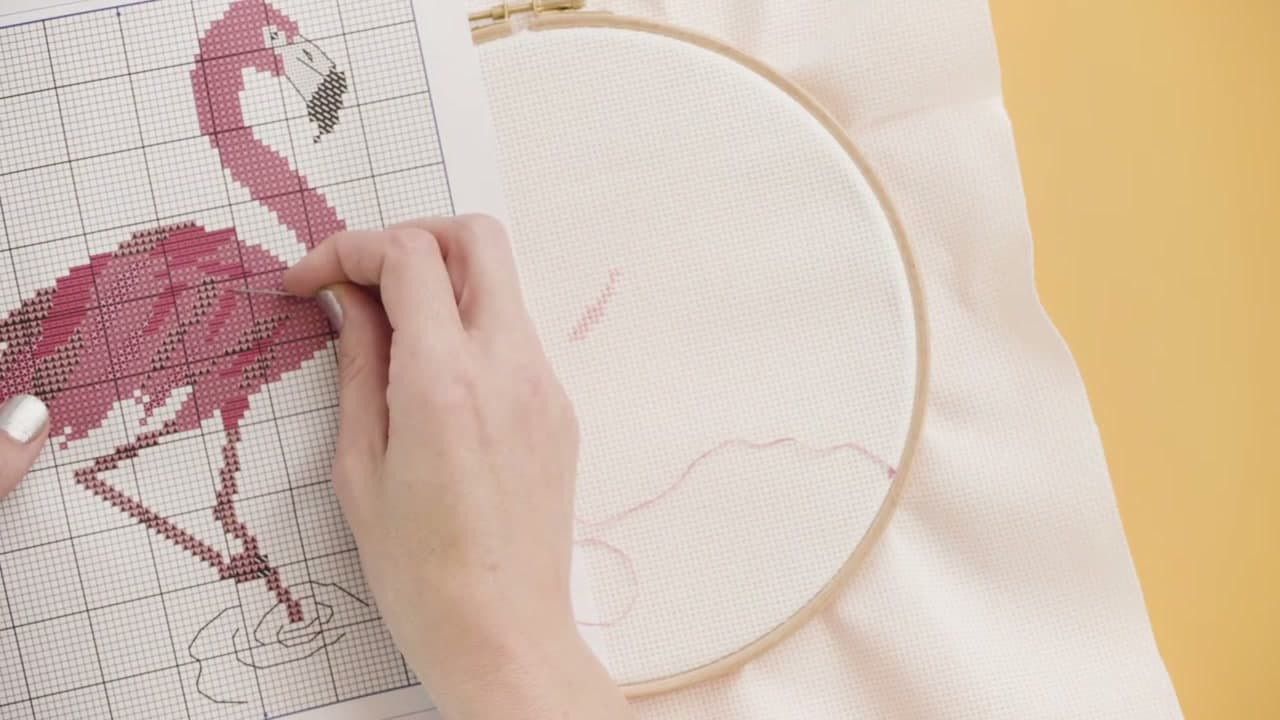
When you print a cross stitch pattern, you get two sides. One is the color chart - a grid with the design shown in color. The other is a black-and-white chart that uses symbols instead of colors. You can use either one, so no color printer is no problem. Even if you do have a color printout, the symbol chart is worth keeping handy when two shades look nearly identical.

Tip

Print both pages and keep the symbol chart nearby even when working from the color version - it prevents mistakes when similar shades are next to each other.

2

Read the Color Key

1:05
Step 2: Read the Color Key

The color key on the pattern page is your decoder. Each color gets its own symbol - for this flamingo pattern, the main pink (DMC 151) is shown as circles, the paler pink as triangles, and white as crosses. Look at the key carefully before you start stitching. When two colors look similar on the fabric, the symbols are the reliable guide for which thread goes where.

Tip

Circle the DMC numbers you'll be using and label your floss skeins with sticky tabs - it saves a lot of squinting at the key mid-project.

3

Identify the Stitch Types

2:15
Step 3: Identify the Stitch Types

The color key doesn't just list colors - it also tells you which stitch to use for each section. The main body of a design typically uses full cross stitch, while fine details and outlines use backstitch. On this flamingo, cross stitch covers the whole body and legs, and backstitch defines the beak details and leg outlines. The key also tells you how many skeins of each color you need, so you can shop before you start.

Tip

Backstitch usually comes last, after all the cross stitch is complete - it sits on top and gives the design crisp, defined edges.

4

Choose Your Fabric and Gather Tools

2:44
Step 4: Choose Your Fabric and Gather Tools

Aida cloth is the standard fabric for cross stitch - it has an open, gridded weave that makes it easy to count stitches. It comes in different counts (the number of holes per inch). 14-count is the most common for beginners and gives a good size finish. You'll also need a blunt tapestry needle, your embroidery thread, and optionally an embroidery hoop to keep the fabric taut. Check the pattern for the final design size, and choose a hoop a few centimeters larger than that.

Tip

A hoop isn't strictly required but makes a real difference - fabric stays flat and your tension stays consistent across the whole piece.

5

Find the Center of Your Fabric

2:57
Step 5: Find the Center of Your Fabric

Don't start from a corner or an edge. Fold your aida cloth in half vertically, then in half again horizontally - where the folds cross is the center. That's your starting point. Starting from the center means the finished design will sit where you want it on the fabric, with even margins on all sides. If you start from an edge and miscalculate, you can run out of fabric on one side.

Tip

Use a water-soluble fabric pen to mark the center point lightly - it washes out completely when you're done and makes it easy to line up the pattern grid.

6

Work Your First Row of Stitches

4:15
Step 6: Work Your First Row of Stitches

Thread up with your main color and find the center square on your chart. Work a small row of stitches from right to left, starting from center. For each cross stitch, go bottom-right to top-left for the first diagonal, then bottom-left to top-right for the crossing stitch. Lock in that direction for the top stitch and keep it consistent through the whole project - it gives the finished piece a uniform texture and sheen.

Tip

Work all the bottom stitches in a row first, then come back and cross them - this is faster than completing each cross individually and keeps tension more even.

7

Add Colors Using the Chart as Your Guide

5:36
Step 7: Add Colors Using the Chart as Your Guide

Once you have your first row stitched, use it as a reference point to bring in the next color. Look at the chart and count the squares from your existing stitches to find where the new color starts. Keep the chart right next to your work and check it frequently - especially when two colors sit close together. Build the design section by section, color by color, always cross-checking your stitch placement against the pattern.

Tip

Stitch one color at a time rather than jumping around - it's easier to maintain your place on the chart and avoids having too many thread ends to weave in.

Products Used

☐ The Checklist

How to Read a Cross Stitch Pattern

Tools
4
Materials
3
Steps
7
Video
7 min

Your Guide

LoveCrafts

As an Amazon Associate we earn from qualifying purchases. Links on this page may be affiliate links - clicking them and buying doesn't change your price, but helps support ShowMeStepByStep.

Tags

What's next

Related collections

Curated theme pages that include this tutorial.

Weekly Digest

Liked this embroidery tutorial?

Pick the categories you want to hear about. Weekly digest of new step-by-step tutorials. No spam, easy unsubscribe.

Send me tutorials about

We only email about new tutorials. Easy unsubscribe anytime.