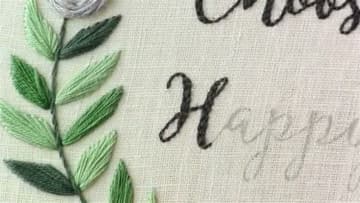
How to Embroider Letters (Backstitch Script)
Source: Cutesy Crafts • Full tutorial: www.craftingstepbystep.com/embroidery/how-to-embroider-letters
- Difficulty
- Easy
- Hands-on time
- About 25 minutes
- Cost
- About $2 to $5
- Makes
- 1 embroidered monogram or word
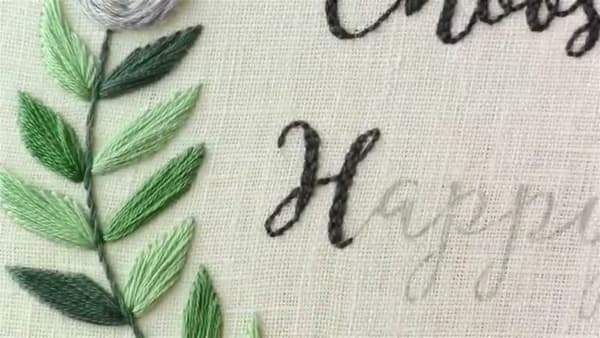
Tools
- Embroidery hoop (6 inch)
- Embroidery needle (size 7 or 8)
- Heat-erase pen or pencil
Materials
- Embroidery floss, dark color, 1 skein
- Linen or cotton fabric
Steps
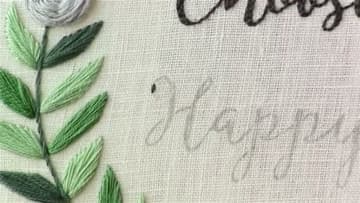
1. Trace Your Letters and Hoop the Fabric
Pick a script font where the thick and thin parts are obvious - that's where this technique shines. Trace the letters lightly onto your fabric in pencil or heat-erase pen.
Tip: Heat-erase pens disappear with a hairdryer or iron when you're done. Pencil sometimes shows through light fabric, so test on a scrap first.
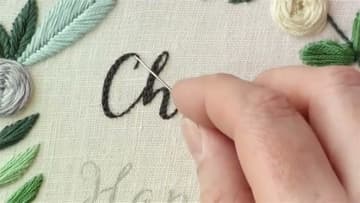
2. Backstitch the Thin Curved Parts
Start anywhere a thin line is. Bring the needle up from the back of the fabric, take a small forward stitch, then come up further along the line and stitch back to meet the previous one.
Tip: Stitch length on curves should be about half what you'd use on a straight line. The tighter the curve, the smaller the stitch.
3. Switch to Outlining at the Thick Parts
When the letter widens into a thick stroke, don't keep stitching down the middle. Instead, run a single backstitch line down ONE side of the thick area.
Tip: The outline doesn't need to be perfectly parallel to the line you traced - aim for the edge of the thick stroke and let the eye smooth out the rest.
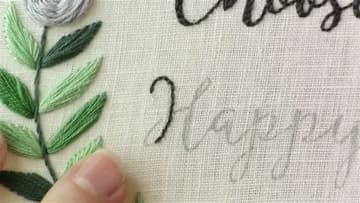
4. Outline the Other Side of the Thick Stroke
Bring the needle up close to where the first thick line started, on the other side of the stroke. Run another row of backstitches parallel to the first one, all the way down to where the thick part ends.
Tip: If your two outline rows ended up too far apart, you can fit two fill rows in the middle.
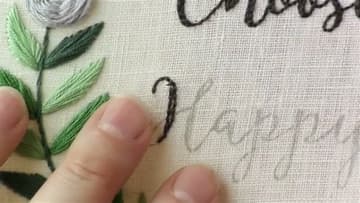
5. Fill the Thick Stroke With a Middle Row
Run a third row of backstitches right down the middle between your two outline rows. Stagger the stitch lengths so they don't all start and stop in the same spot as the outline rows.
Tip: Tiny gaps between stitches usually fill themselves - poke at the threads with the tip of your needle and they spread out to cover the fabric.
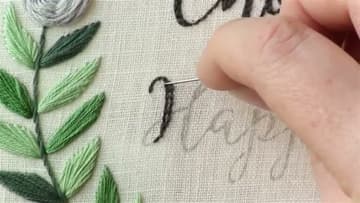
6. Travel Cleanly Through the Back
When you finish a section and need to move to the next part of the letter, don't pull the thread loose across the back of the fabric. Instead, run the needle UNDER existing stitches on the back to travel from one spot to another.
Tip: If you're skipping less than a quarter inch and the fabric is dark, just run the thread across - it won't show.
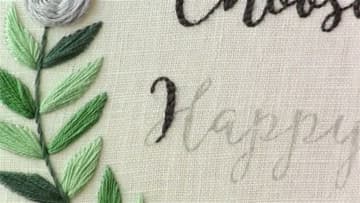
7. Repeat for Each Letter
Apply the same pattern to every letter. Always start at the TOP of a letter when possible - working downward keeps the stitches lying flat.
Tip: For a wall-ready piece, trim excess fabric to about an inch outside the hoop and stitch a running line around the edge.